
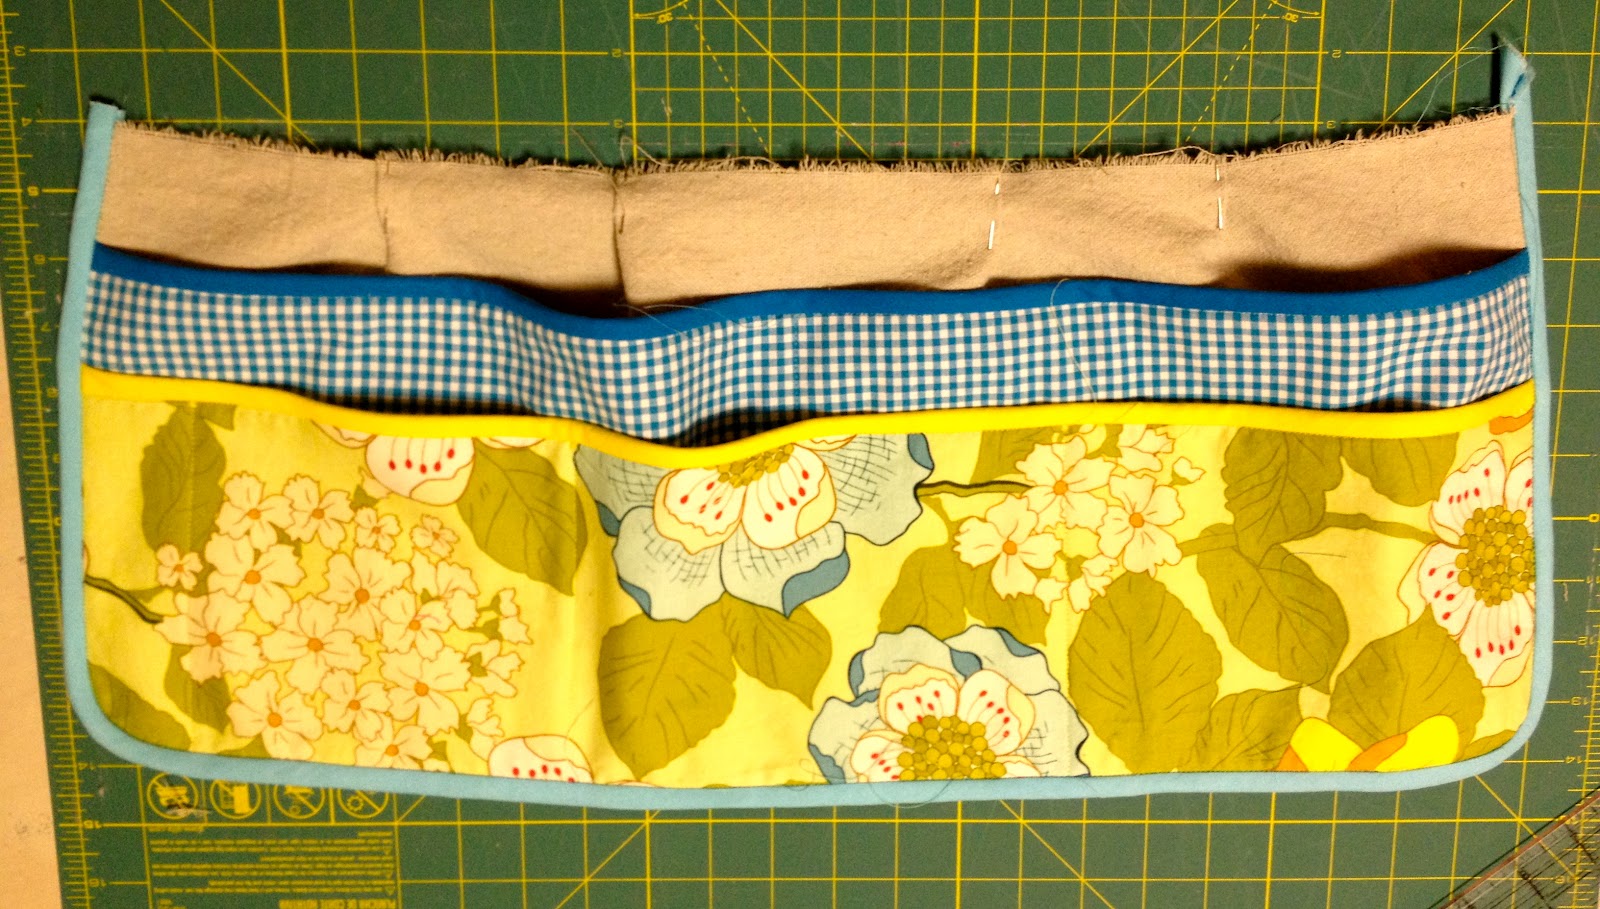
1. We added the option of pleat tucks in the main apron piece where it meets the waistband, for those that may prefer an apron that opens up:
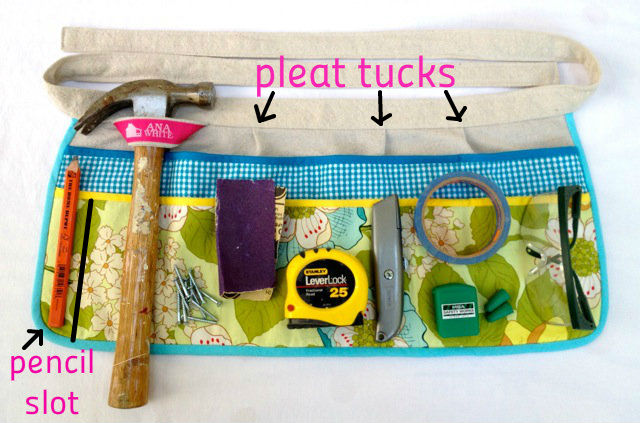
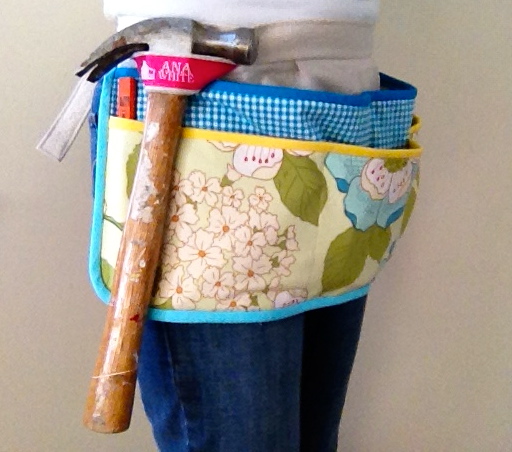
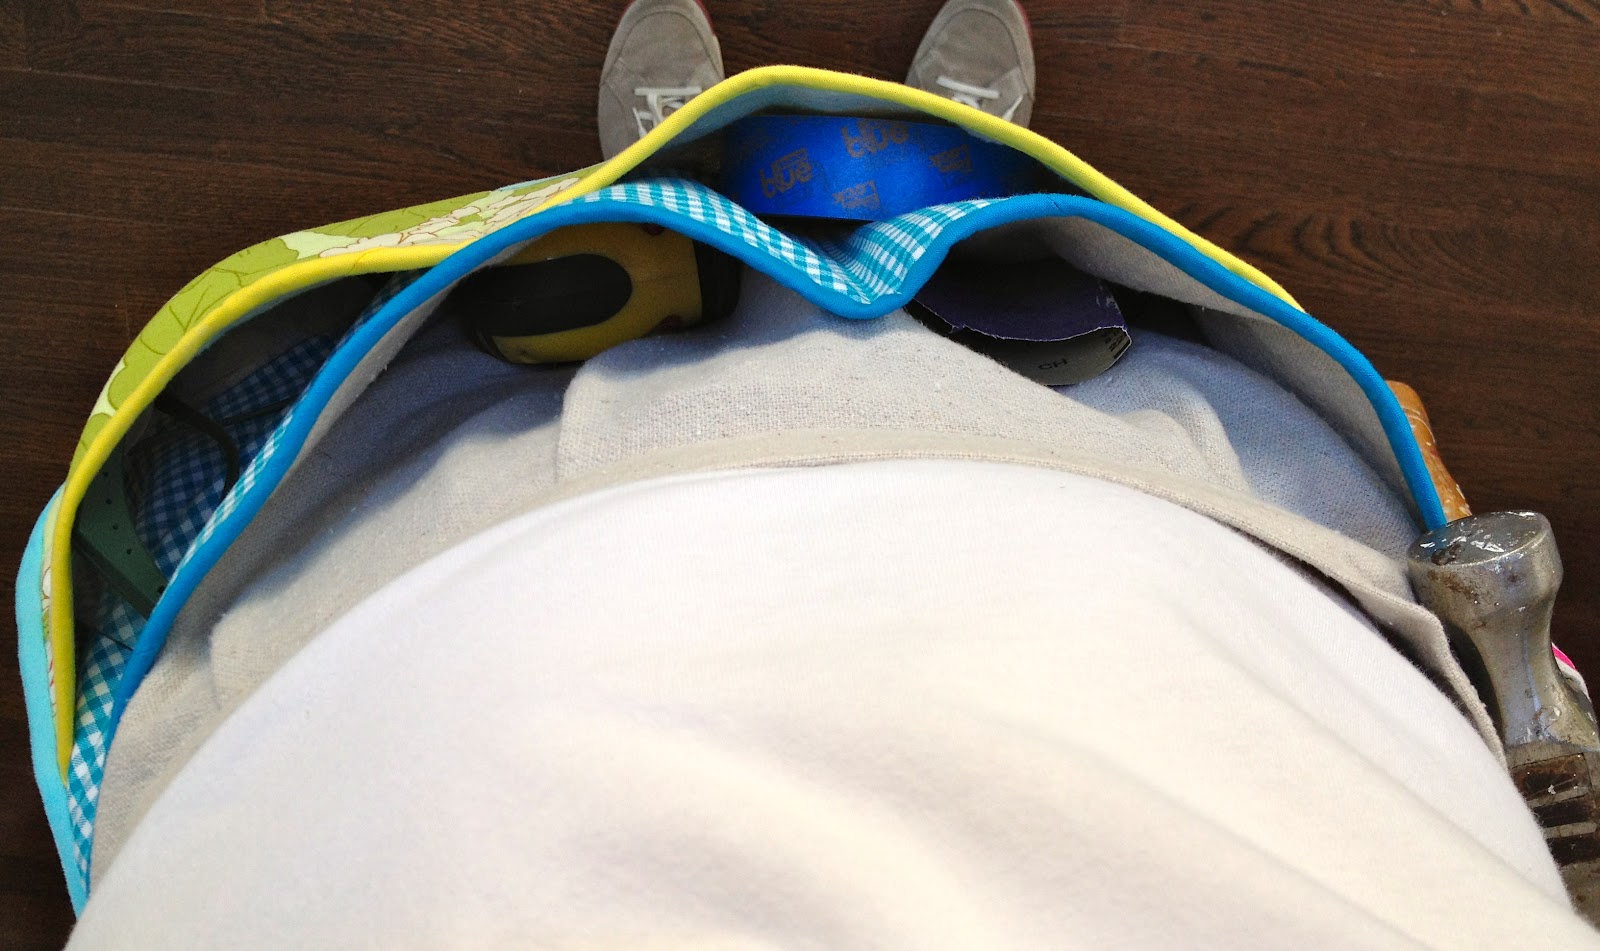
These tucks allow the apron to lie flat against the body while giving ‘room’ in the pockets for tools and supplies.

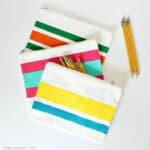
The perfect cozy spot for your pencil to rest and you’ll always know where to find it.
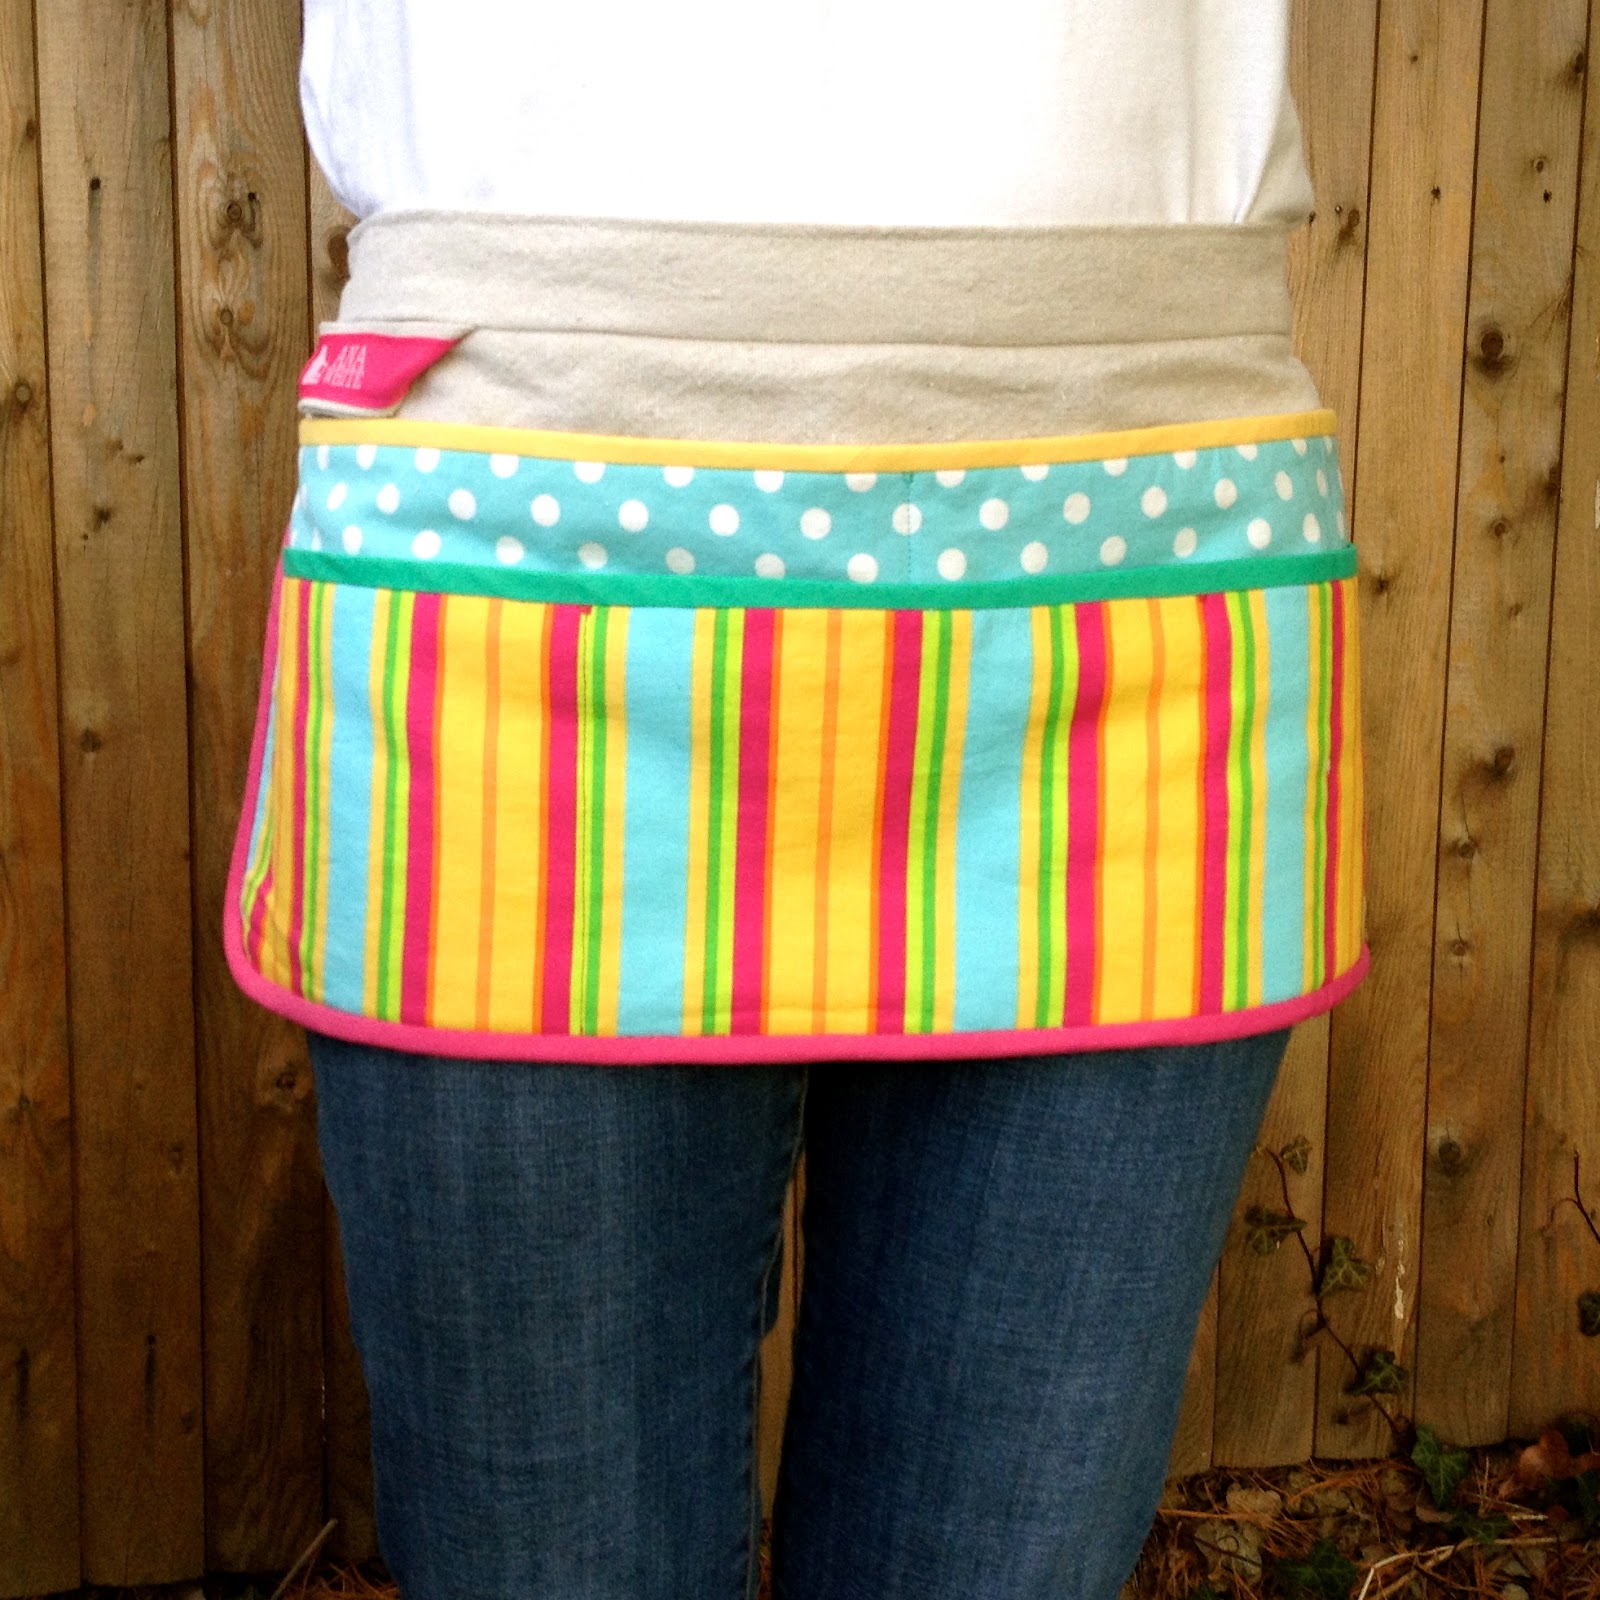
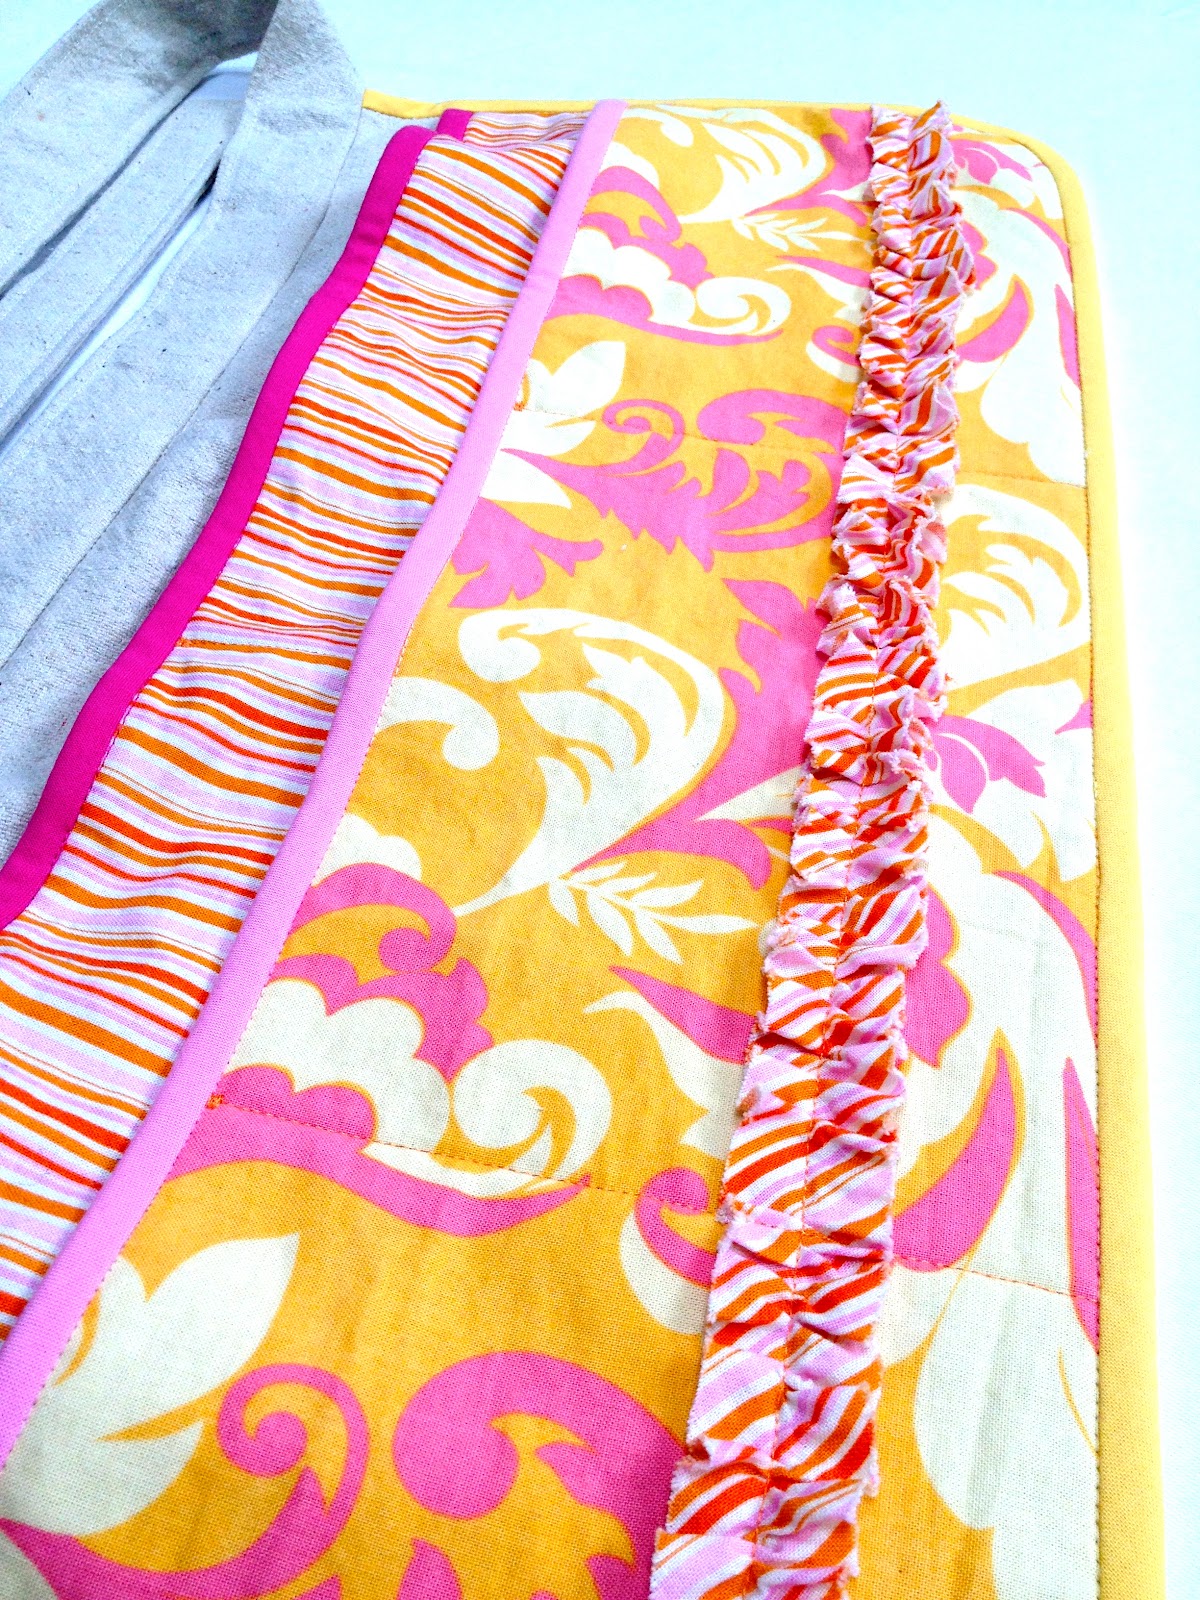
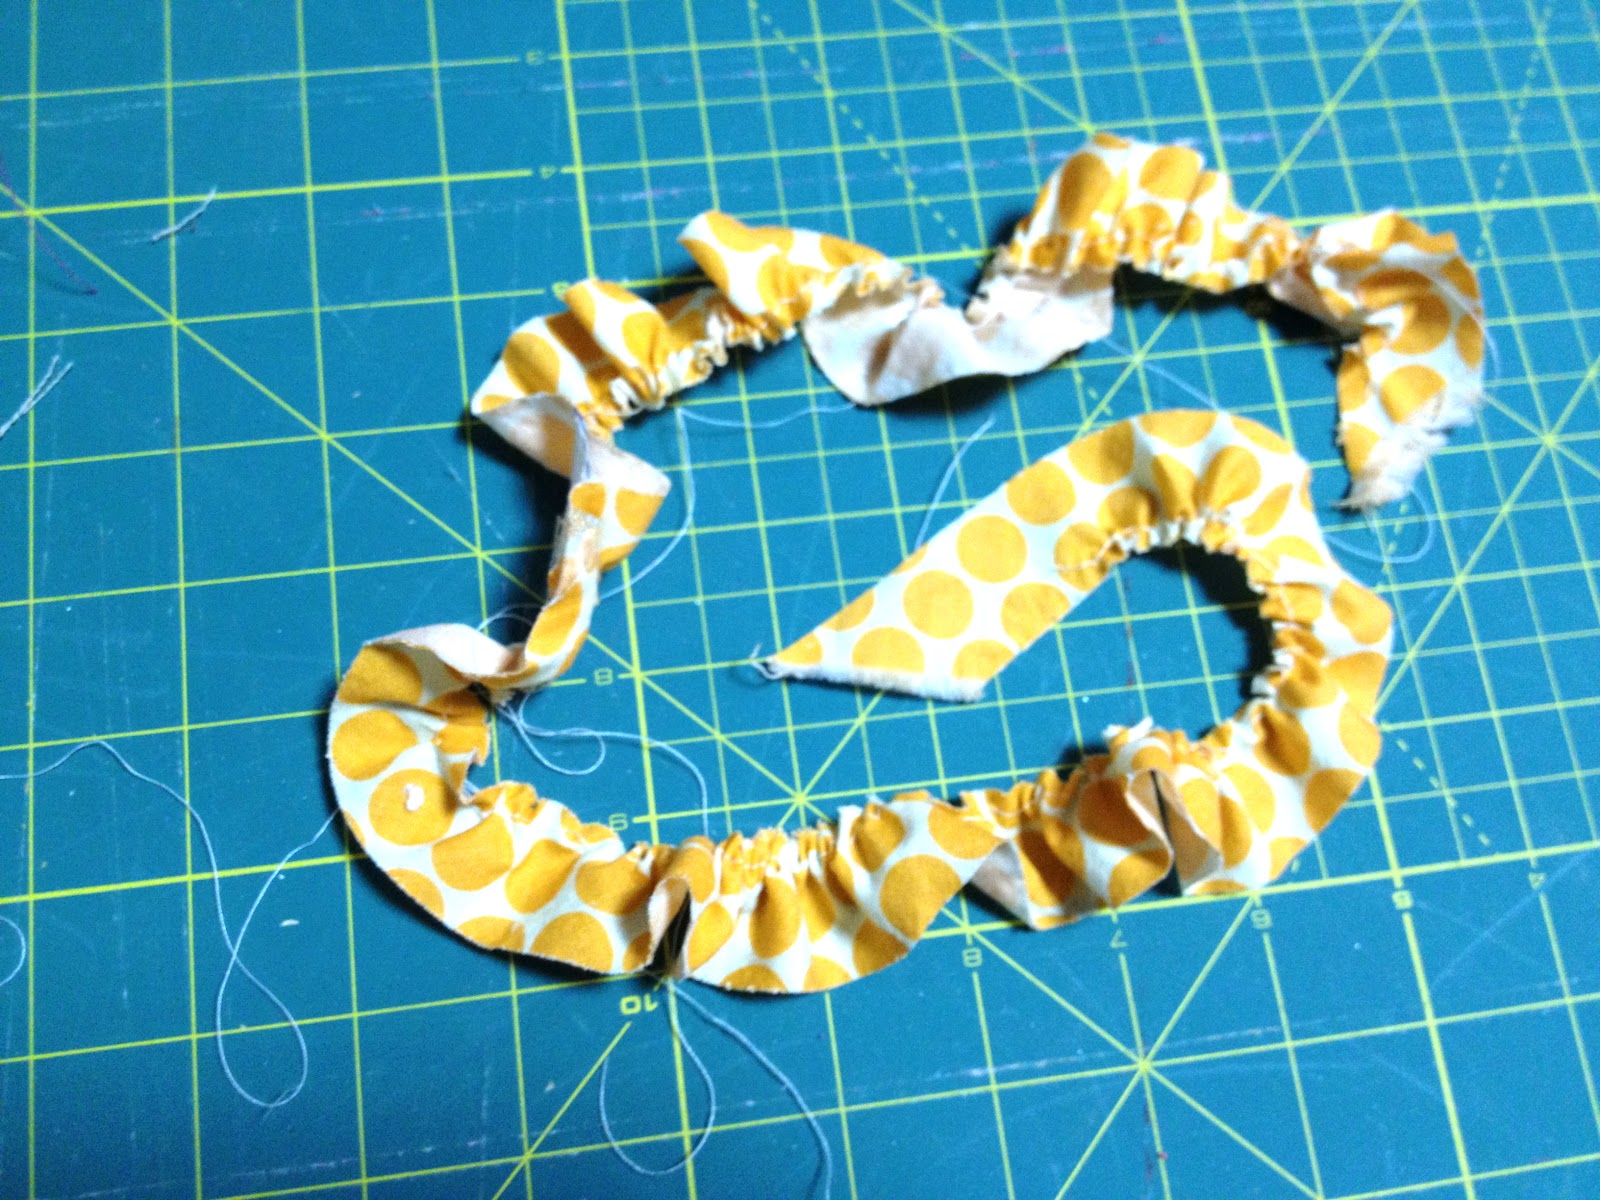
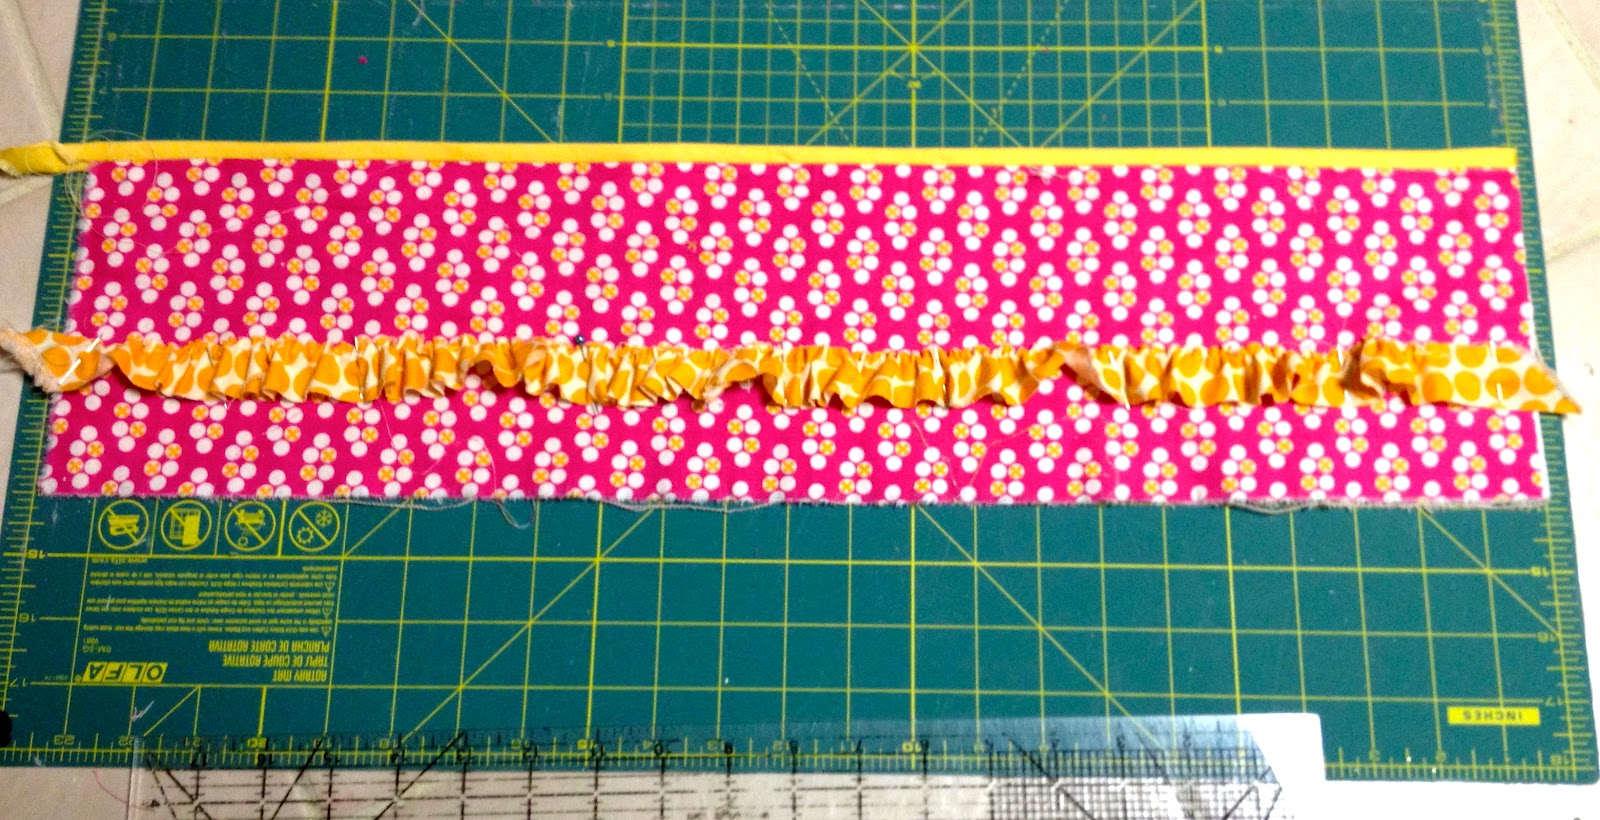
3. We also added a ruffle detail to some of the aprons.
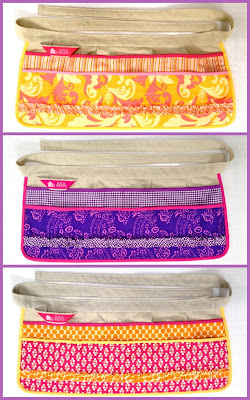
Kick up that cute girly factor just a notch with a fun ruffle on your apron.
Here’s how to make the modifications:
OPTION – ADD PLEAT TUCKS:
1. Use the original apron plans from Ana White here and my post here.
Before you pin the waistband to the apron in Step 7 make 4 small 3/8″ tucks and pin:
(I made them at 3″ and 7″ off center on both sides.)


Very impressive and very cute!
Now I have to make one, too! Please come share at http://sassafrassalvation.blogspot.com/2012/04/sasss-sunday-salvation-show-18.html
I am going to pick up some drop cloth canvas on my next trip to Home Depot – probably today. That place has become my new favorite store! I love the modifications you made, and I was even thinking of adding a pencil slot myself. The pin tucks are a great idea that I hadn't thought of. Can't wait to make one (or two)!
I love the idea of having everything I use frequently on me in its own spot. How awesome to be working with Ana!
Every DIYer needs one of these. So cute. I'm so glad I found your blog via the DIY party and I am now following so we can stay connected. I would love if you stopped by and follow too. Lori
Hi Jaime! I'm near-hopeless and woefully unprepared for sewing endeavors… so I ordered one of these aprons from you last week! I just got it and LOVE it. You and Ana are incredible- and so inspiring. I really could have used this when I tore my closet apart last weekend. Now onto the next project…
I was talking to Ana about your aprons at SNAP. These are the best invention for a DIY gal!!! Thank you so much for the pattern!
And for sharing them in the Parade!