• Home
  • Blog
  • About
  • Contact
    • Disclosure
    • Privacy Policy
  • SHOP
  • Widget area for main menu

    • Email
    • Facebook
    • Instagram
    • Pinterest
    • Twitter
    • YouTube
  • Skip to primary navigation
  • Skip to main content
  • Skip to primary sidebar

Jaime Costiglio

build - paint - sew

  • BUILD
    • BEDS
    • BENCHES
    • DESKS
    • DRESSERS
    • GAMES & TOYS
    • SCRAP WOOD
    • SHELVES
    • STORAGE
    • TABLES
  • TOOLS
  • PAINT
    • CRAFTS
    • FURNITURE
    • HOME DECOR
  • SEW
    • GIFTS
    • HOME DECOR
    • POUCHES
  • HANDBUILT HOLIDAY
    • 2021
    • 2019
    • 2018
    • 2017
    • 2016
    • 2015
    • 2014
    • 2013
  • GIFTS
    • BABIES
    • KIDS
    • FOR HER
    • FOR HIM
    • TEACHERS
    • WEDDINGS
  • SEASONAL
    • 4TH OF JULY
    • FALL
    • HALLOWEEN
    • CHRISTMAS
    • SUMMER
    • SPRING
    • ST. PATRICK’S DAY
    • THANKSGIVING
    • VALENTINE’S DAY
    • WINTER
  • SALTBOX PROJECT
    • BATHROOMS
    • DINING ROOM
    • EXTERIOR
    • FAMILY ROOM
    • FOYER / MUDROOM
    • KIDS BEDROOMS
    • KITCHEN
    • LIVING ROOM
    • MASTER BEDROOM
    • PLAYROOM
  • SCROLL SAW

DIY Play Ice Cream Bars

January 23, 2014

Build: play ice cream bars
Make your own wooden ice cream bars for kids play or party favors.

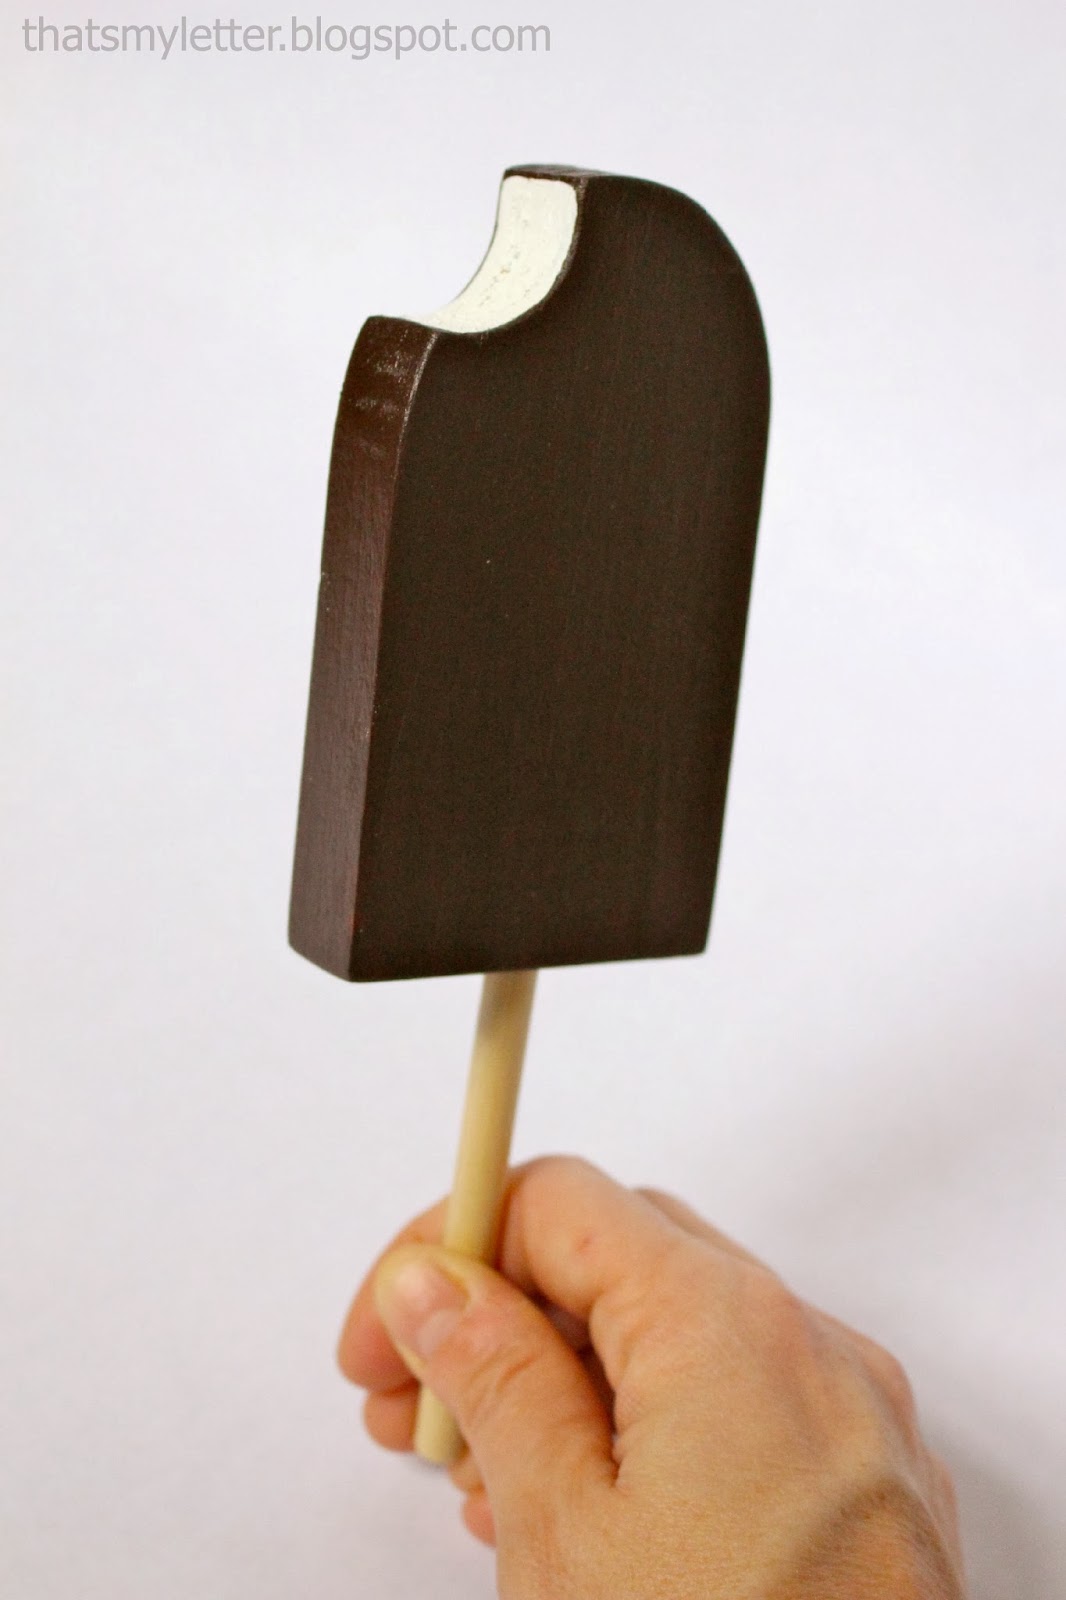
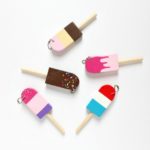
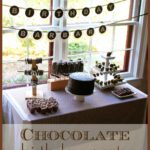
I made these ice cream bars as favors for the chocolate birthday party we had last weekend:
An inexpensive and easy project to make that’s fun for kids and serves as party decor.
A 1×3 pine board and 5/16″ dowel is all you need to make the size and proportion almost identical to the real deal:
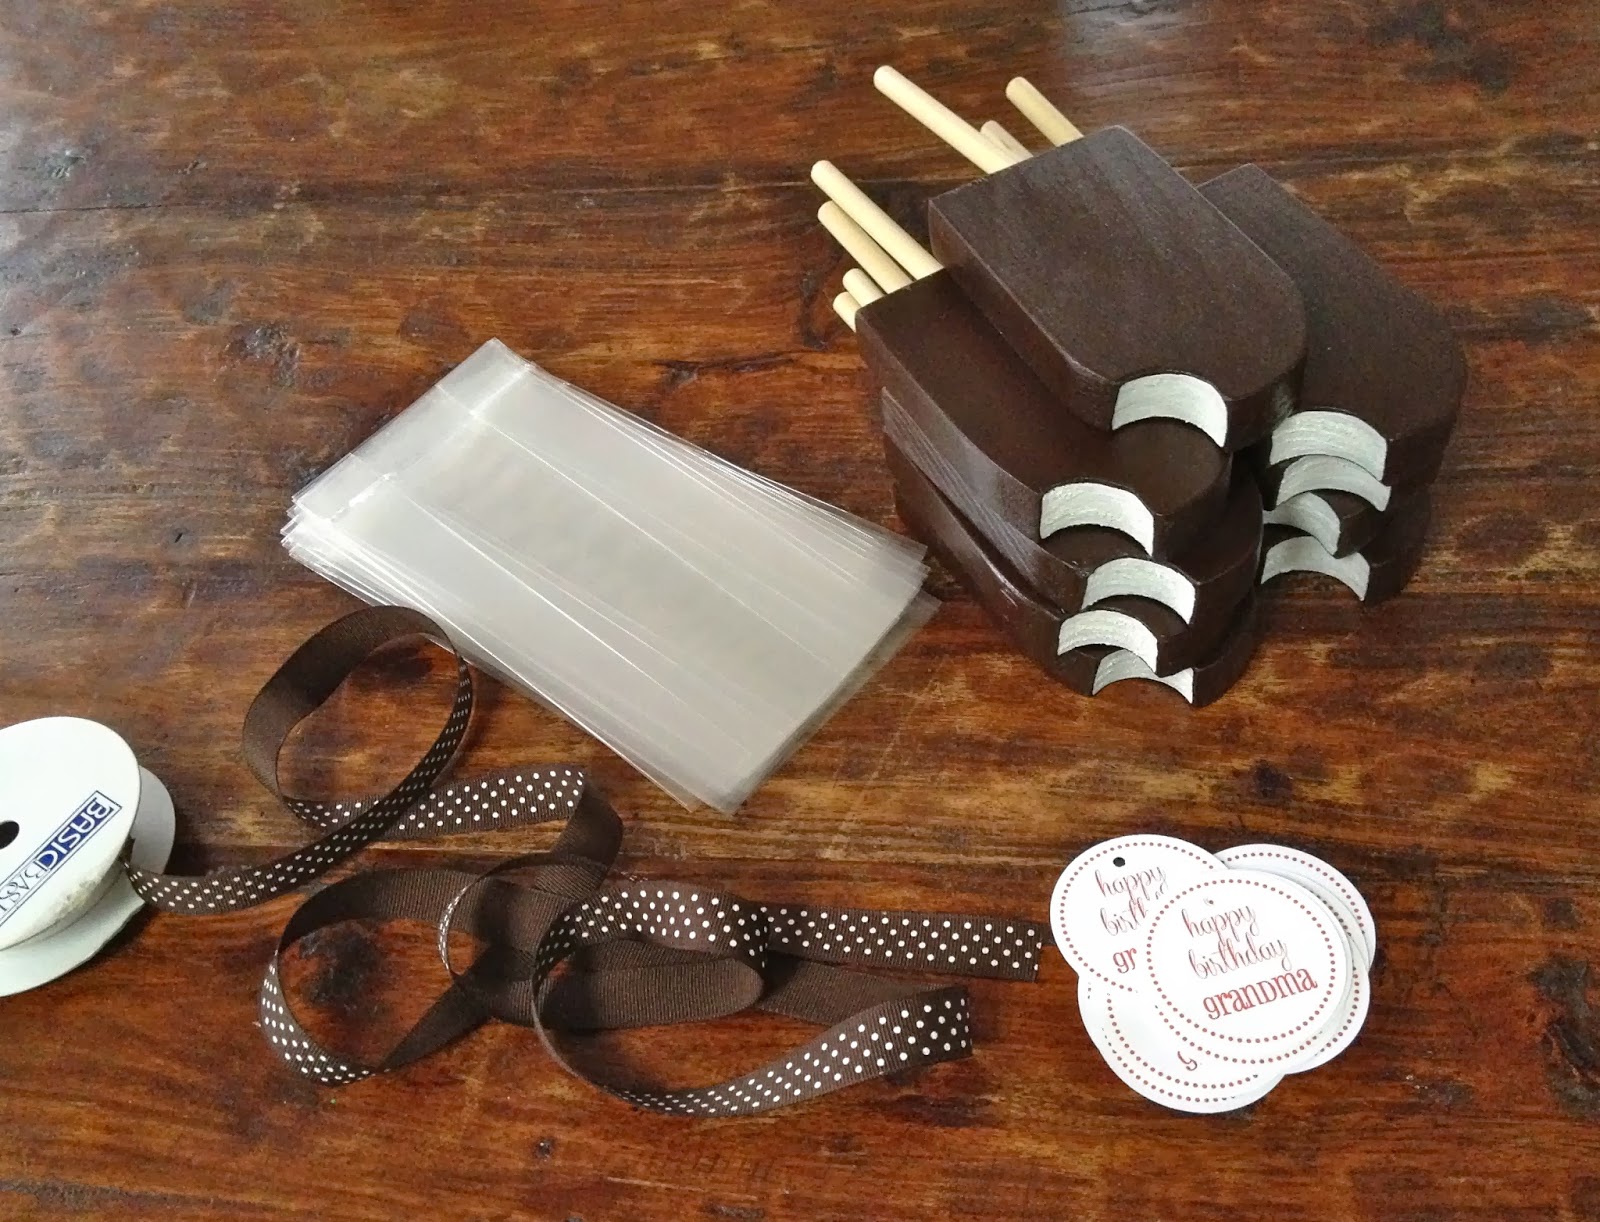
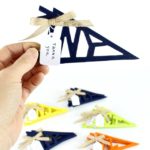
Wrapped up and ready to give as favors.
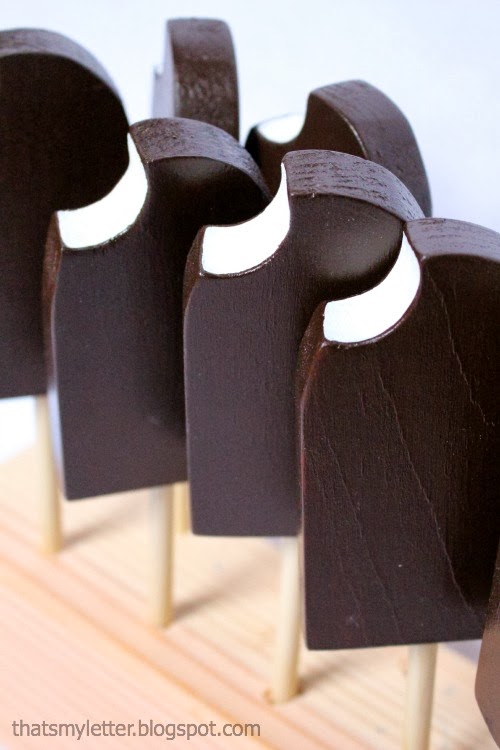
I used a scrap piece of 4×4 and drilled holes to ‘serve’ the ice cream bars:
Good enough to eat:

How to make wooden play ice cream bars:

1. Using a piece of 1×3 pine board at least 6″ long make a mark at 4 1/2″ then draw a curved arch.
This will be the top portion of the ice cream bar.

2. Using a 1 1/4″ spade bit make a circular hole in the upper corner:

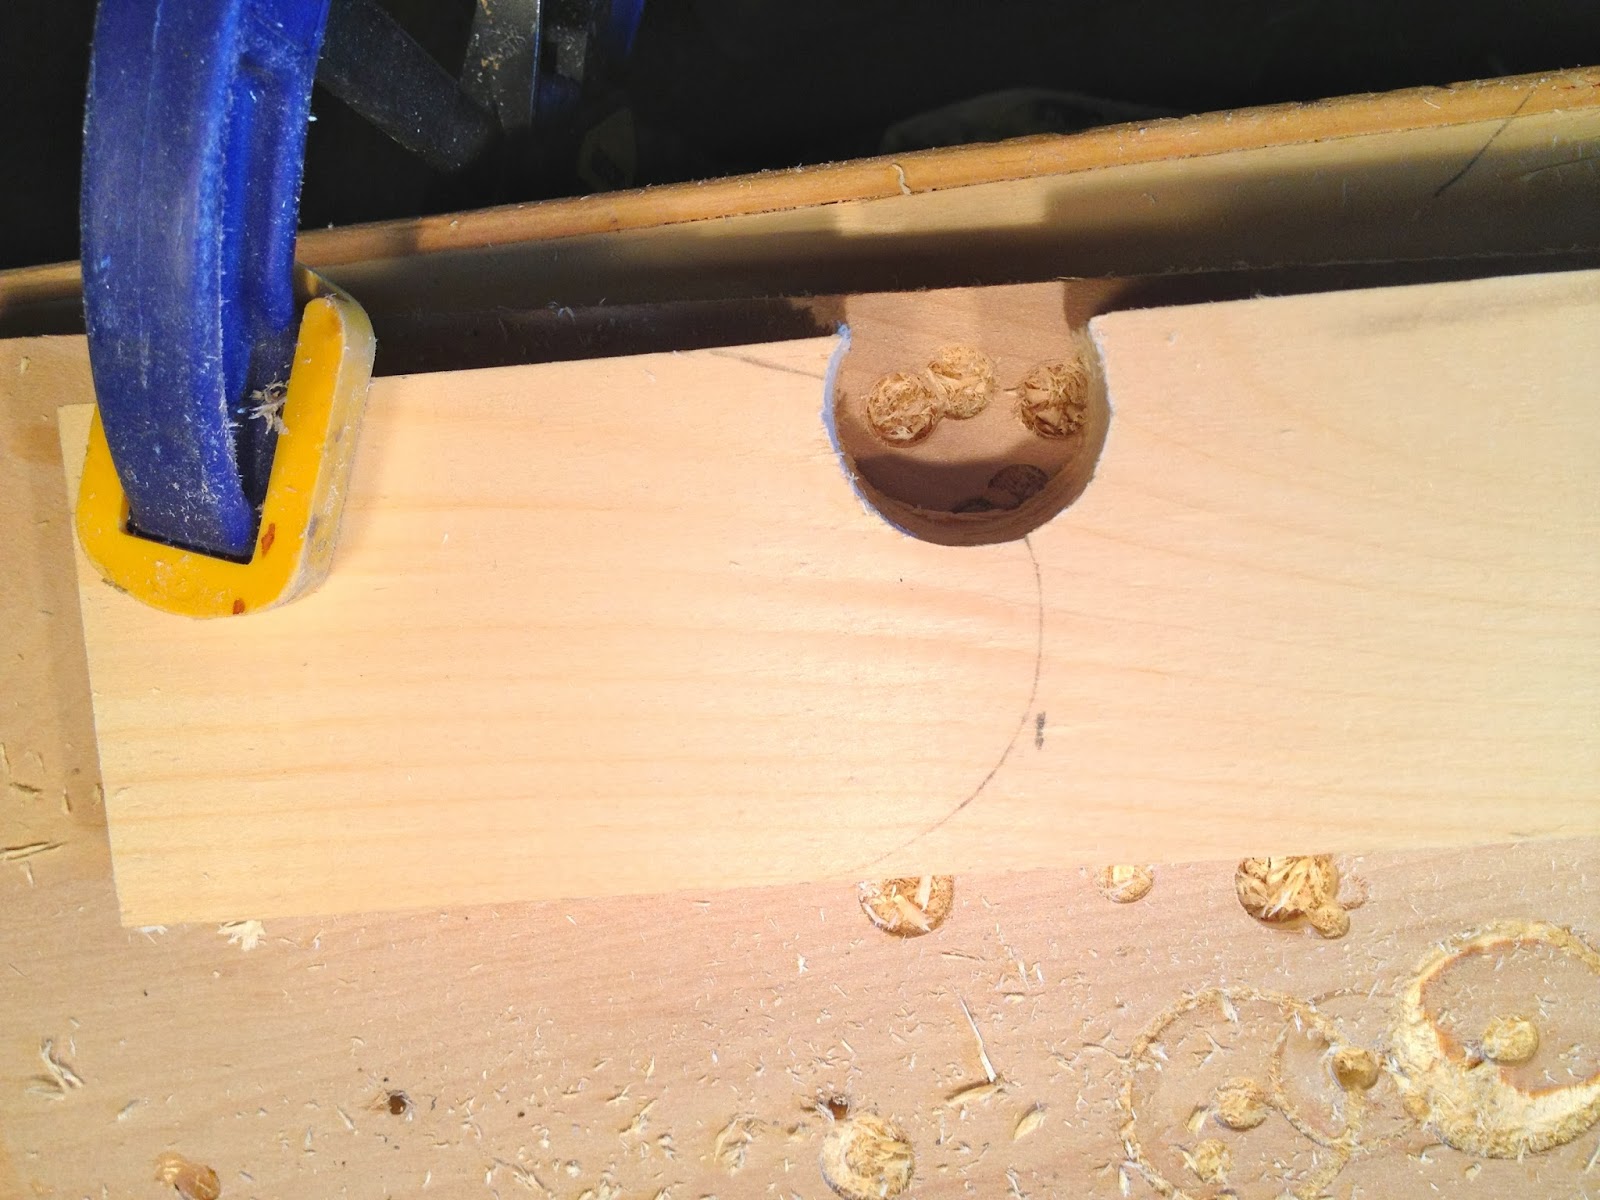
3. Clamp the piece and jig saw the remaining curved portion:

4. Sand edges smooth:

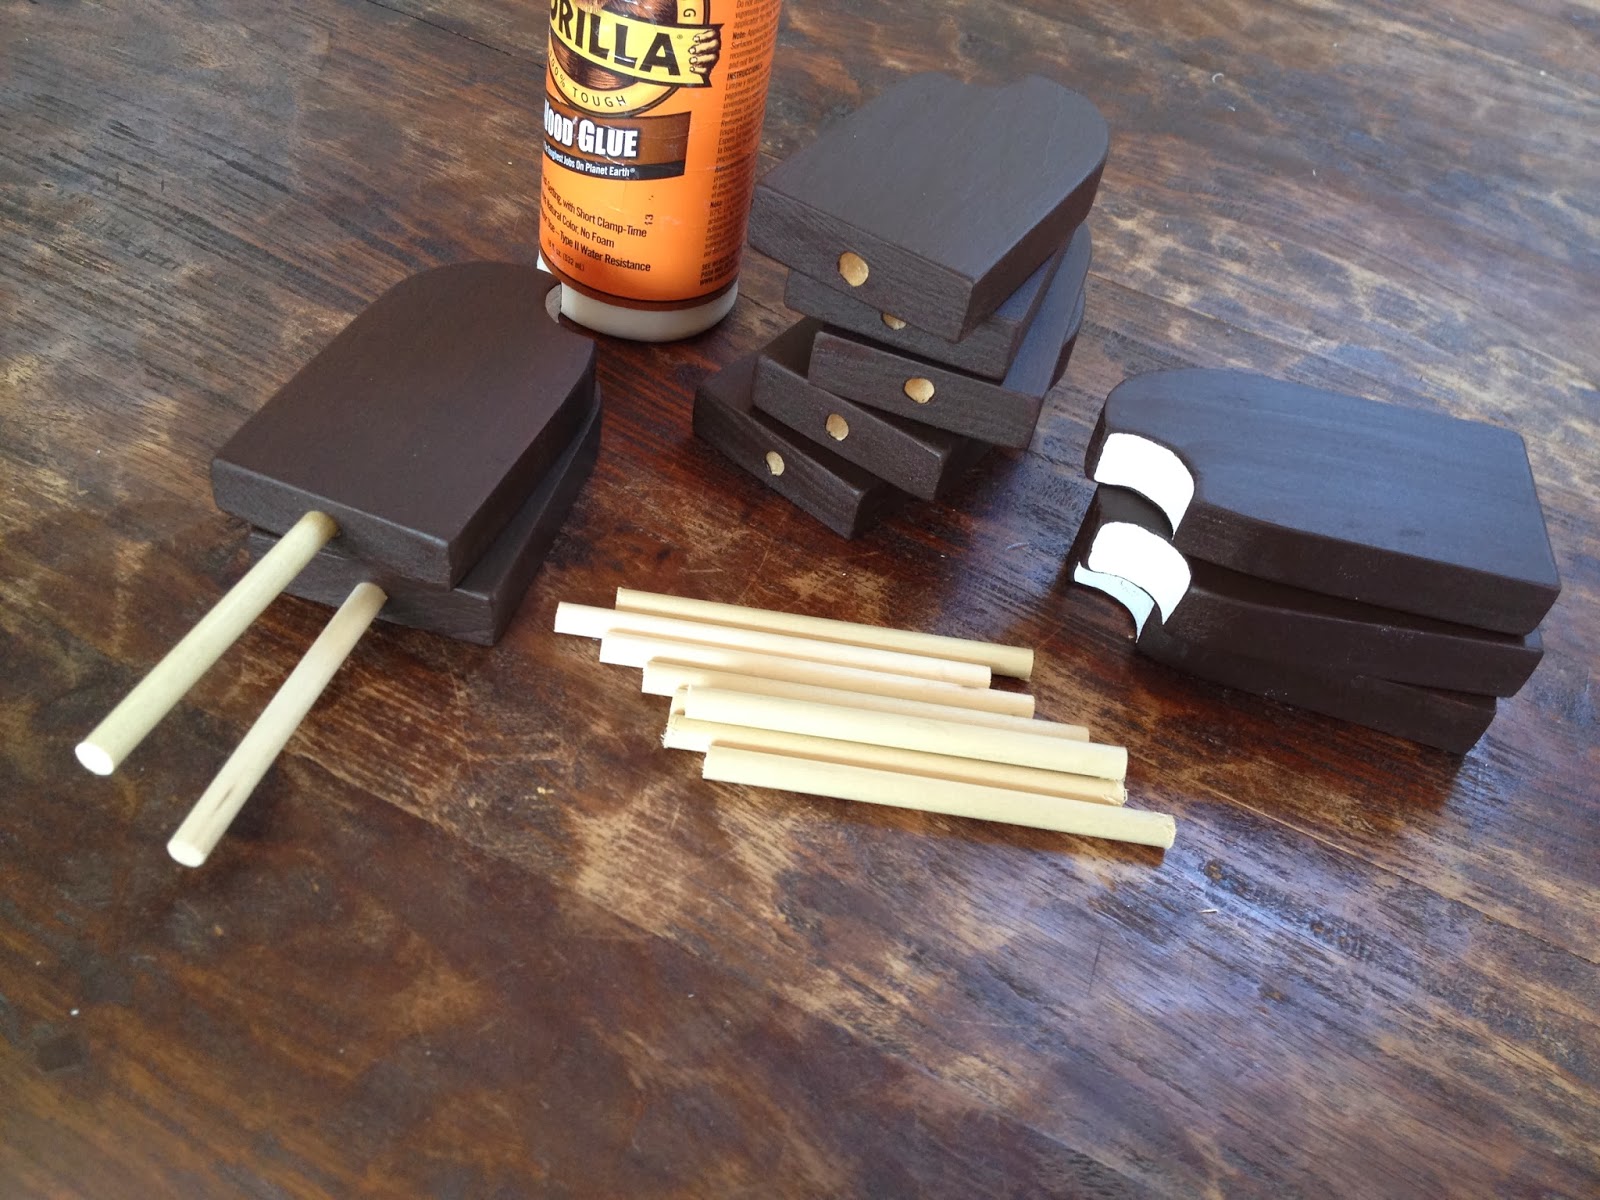
5. Cut 5/16″ dowel at 4 1/2″ long:

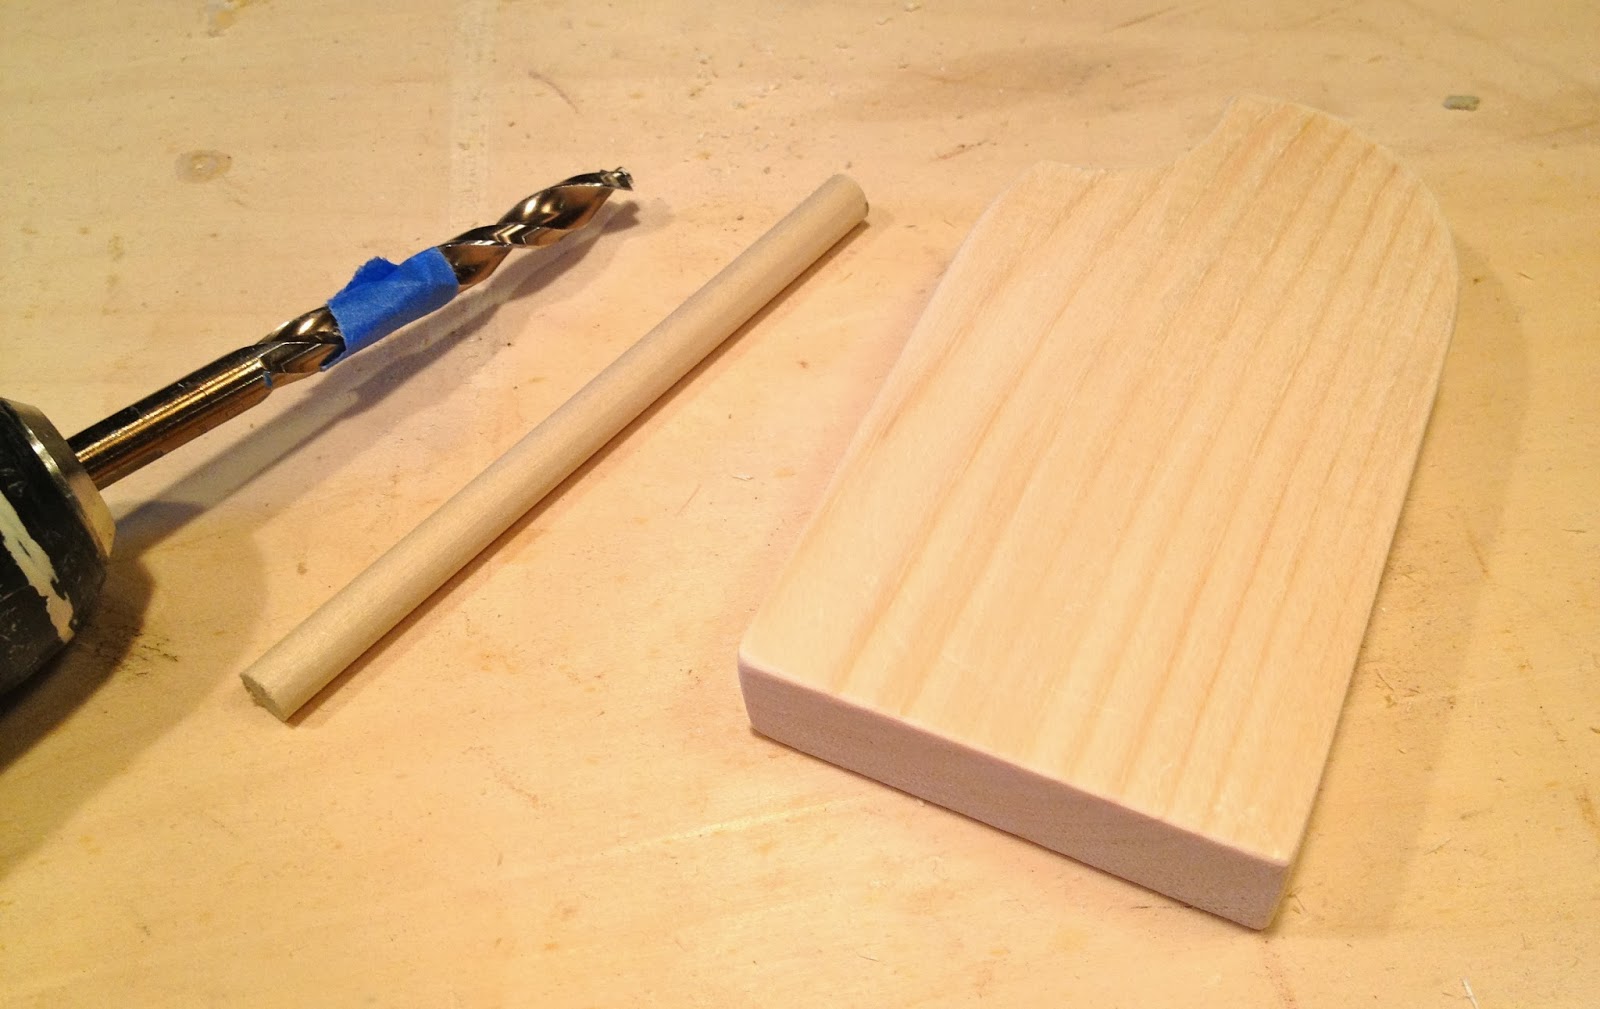
6. Using a 5/16″ bit marked with tape for 1 1/2″ depth drill a hole in center bottom of ice cream bar:

7. Paint two coats brown acrylic paint:

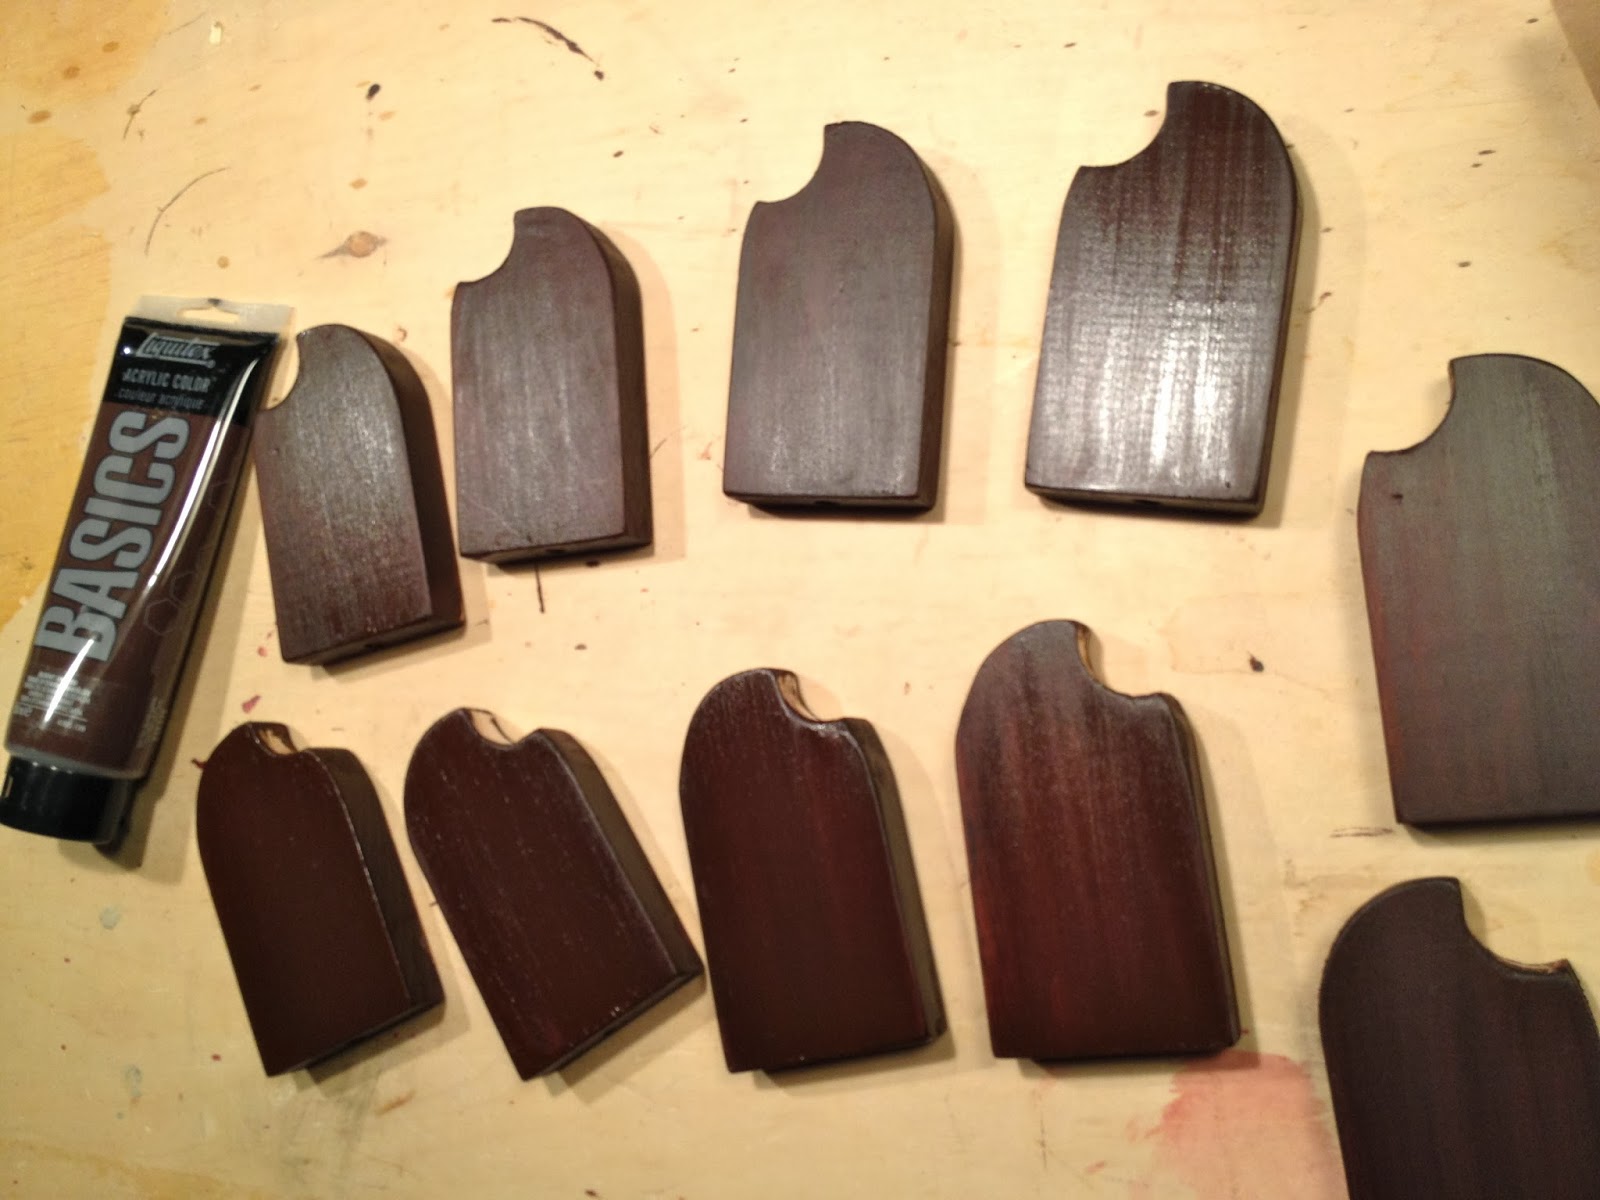
8. Paint curved bite portion (ice cream) white.
9. Glue dowel into hole:

10. Seal with clear gloss polycrylic spray:

11.  Make birthday tag and cut with circular punch:
12. Wrap each ice cream bar in cellophane bag, tie with ribbon and add tag:

You may also like...

  • DIY Popsicle Key FobsDIY Popsicle Key Fobs
  • “C” is for Chocolate Party“C” is for Chocolate Party
  • DIY Mini State PennantsDIY Mini State Pennants
  • DIY Tabletop Ice Cream ParlorDIY Tabletop Ice Cream Parlor
Share this post:

Filed Under: BUILD, CRAFTS, CRAFTS, DIY, GAMES & TOYS, PAINT, SCRAP WOOD6 Comments

Reader Interactions

Comments

  1. Inspire Me Heather says

    January 23, 2014 at 12:52 PM

    Very cute Jaime, very cute!!!

    Reply
  2. Debbie - Painted Therapy says

    January 23, 2014 at 10:20 PM

    OMG. I want to gobble them up. You are the most creative person on the WWW. Just awesome!

    Reply
  3. Jenny Romaine says

    January 27, 2014 at 12:03 AM

    that may be the cutest thing I've seen! They are adorable!

    Reply
  4. Sarah Vanderkooy says

    January 29, 2014 at 12:20 AM

    This is a great idea for a party favor, they look so realistic. Anyone try to take a bite 🙂 Thanks for sharing the tutorial.

    Reply
  5. Lorie says

    January 29, 2014 at 2:58 AM

    That is so stinking cute!!

    Reply

Leave a Reply Cancel reply

Your email address will not be published. Required fields are marked *

Primary Sidebar

Hi! I’m Jaime

Jaime Costiglio

Hello!

Thank you for stopping by.
Join me for lots of DIY.

Read more

Get new posts via email

Handbuilt Holiday: Gift Project Plans

handbuilt holiday gift project plans

Collection of DIY gift project plans to build.

The Home Depot Tool Prospective

THD Prospective

Tools to consider for the DIYer.

Archives

The Home Depot Logo
Copyright © 2026 Jaime Costiglio · Custom site by Moonsteam Design

Privacy Policy