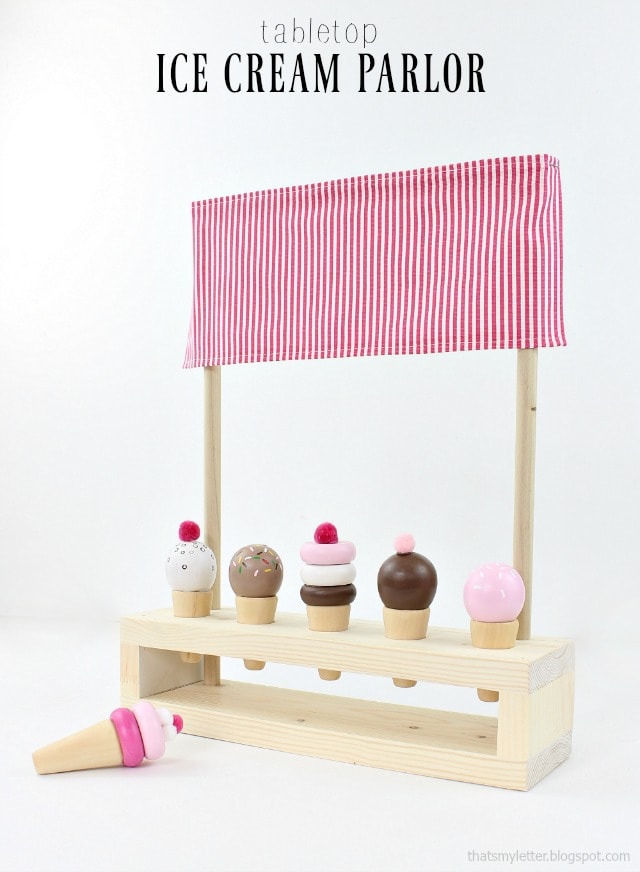
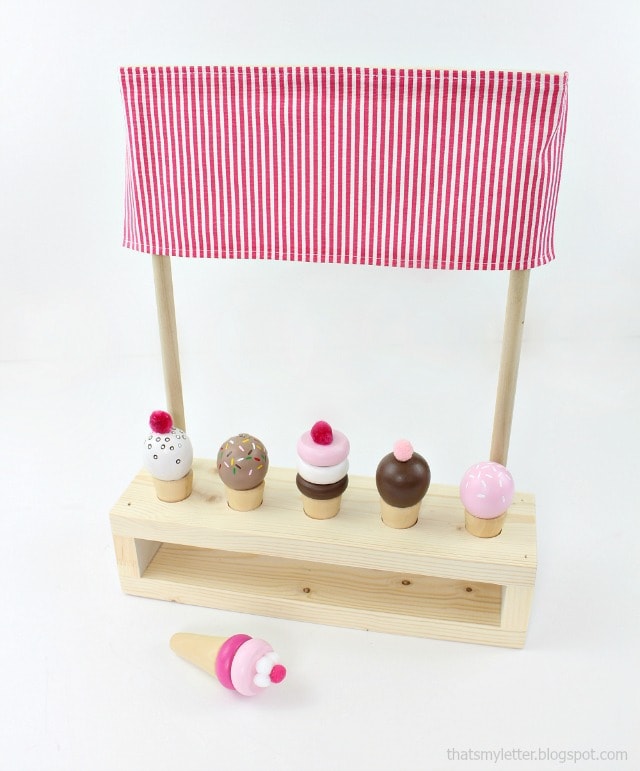
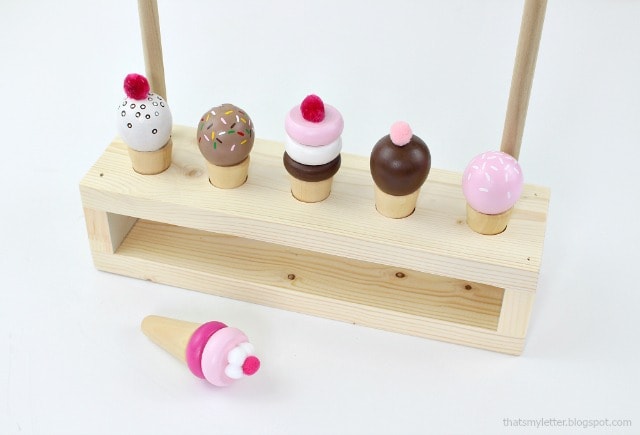
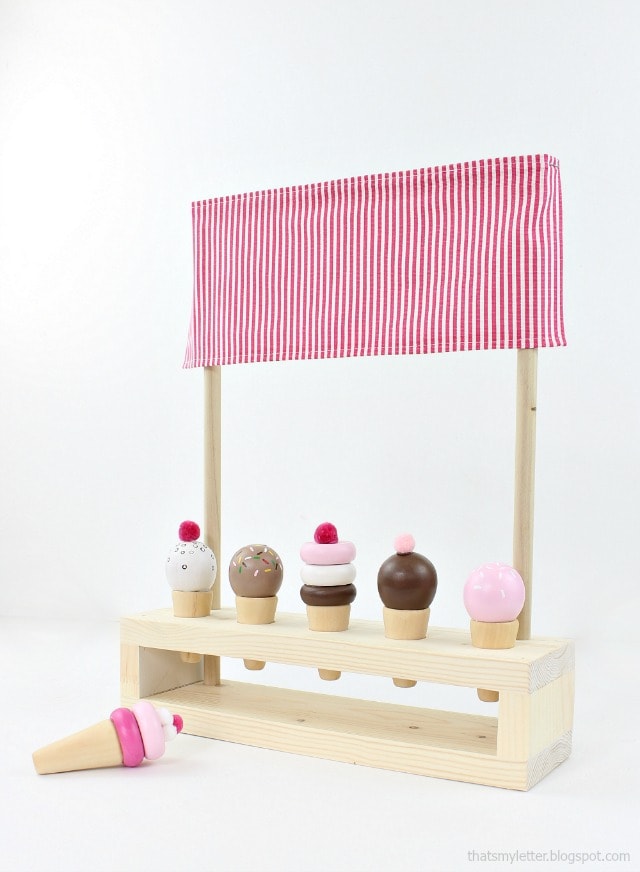
Happy Friday before Christmas and yes there is still time to make gifts! Today Ana White and I are sharing this tabletop ice cream parlor that takes about 30 minutes to build.
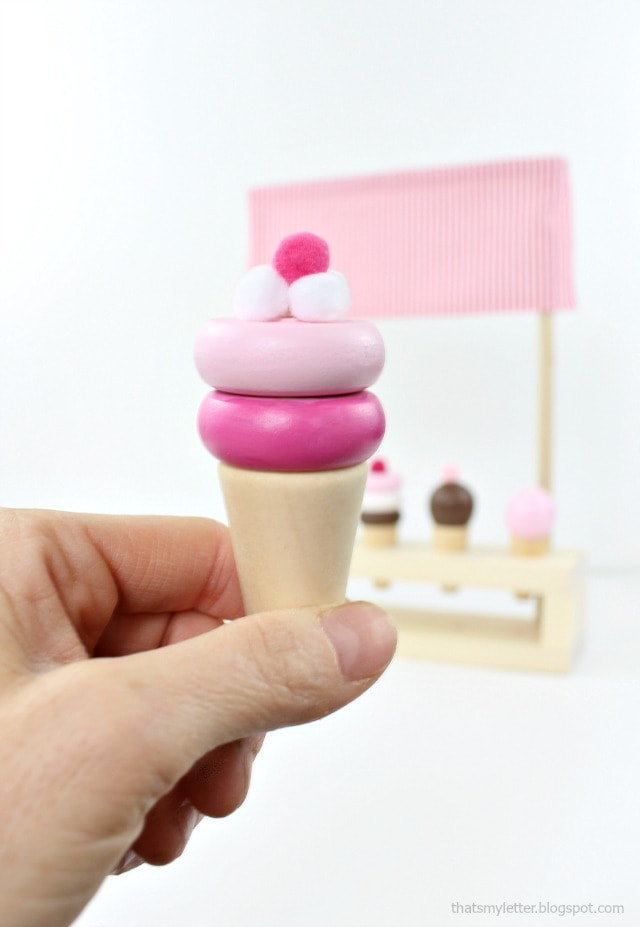
I made the ice cream cones from precut wood shapes from the craft store, easy peasy and you have the cutest gift for that ice cream lover on your list!
It’s been so much fun bringing you all the Handbuilt Holiday gift plans this year. Today is the last post for the 2016 series and I’m always a bit sad because I truly love making and sharing the plans for all these amazing projects.
Ana White and I collaborate on each and every project to make the plans available to all our readers and we are very proud of all the gift ideas we have put out over the past three years.
Today is no exception and it’s also a simple build that can be made using scrap 1×4 wood pieces.
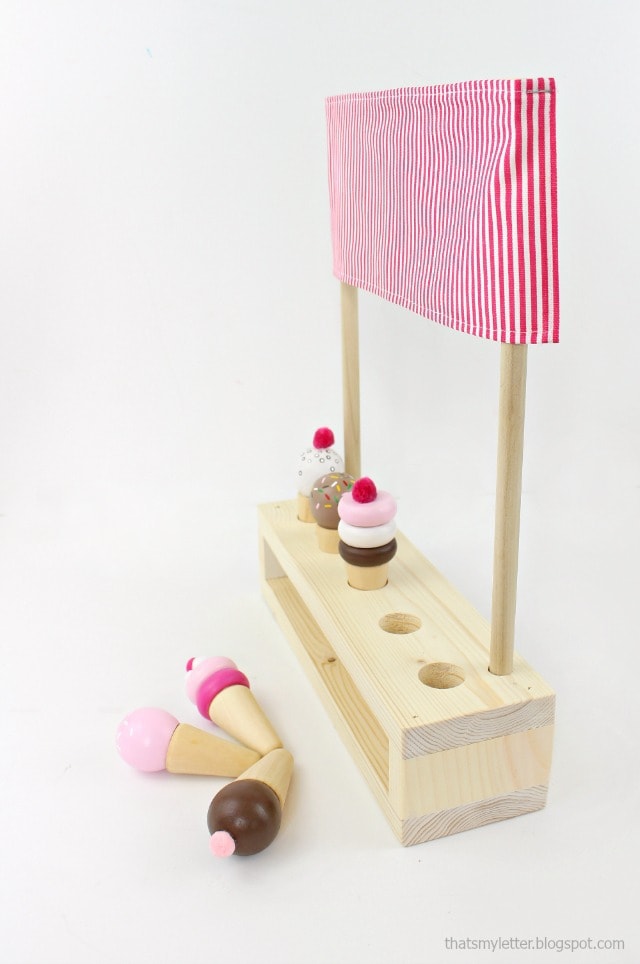
Drill a few holes for the awning posts and ice cream cones and you are good to go.
This tabletop ice cream parlor is perfectly kid sized, not too big and not too small. It would be a great addition to any play kitchen set up.
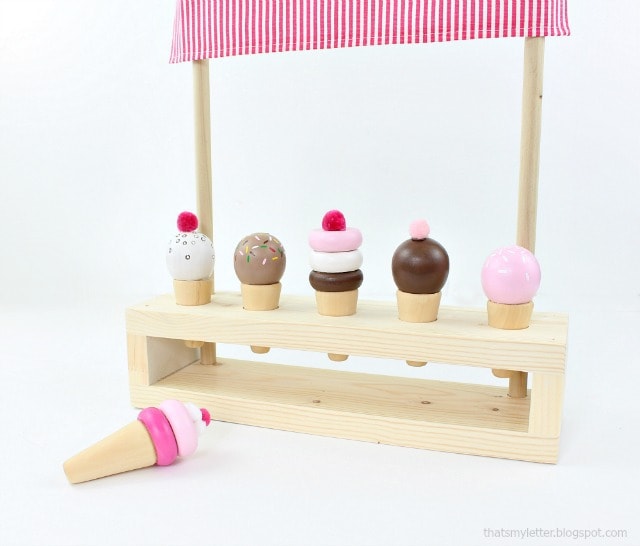
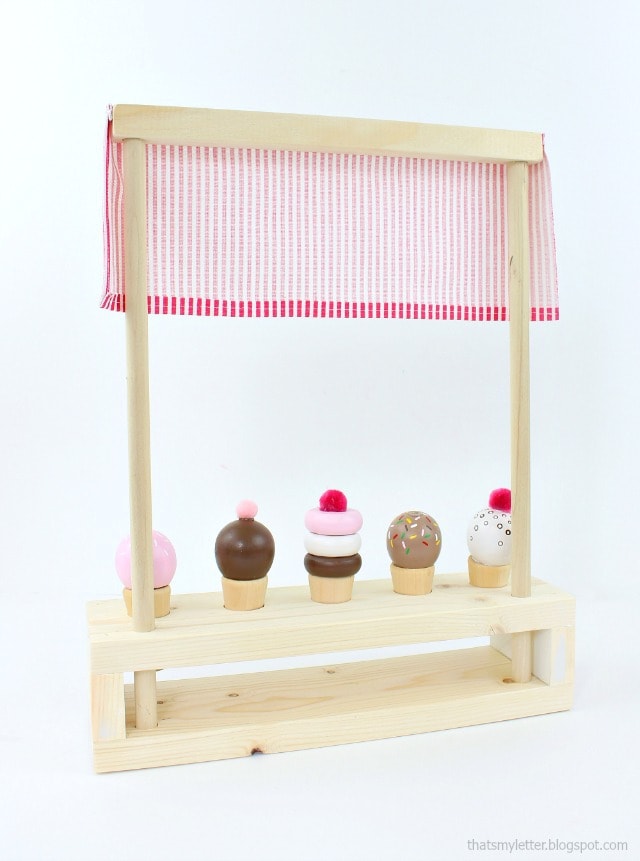
The awning is a rectangular piece of fabric I hemmed to finish then stapled on the ends. I think a little pennant bunting would be even cuter and maybe a sign?
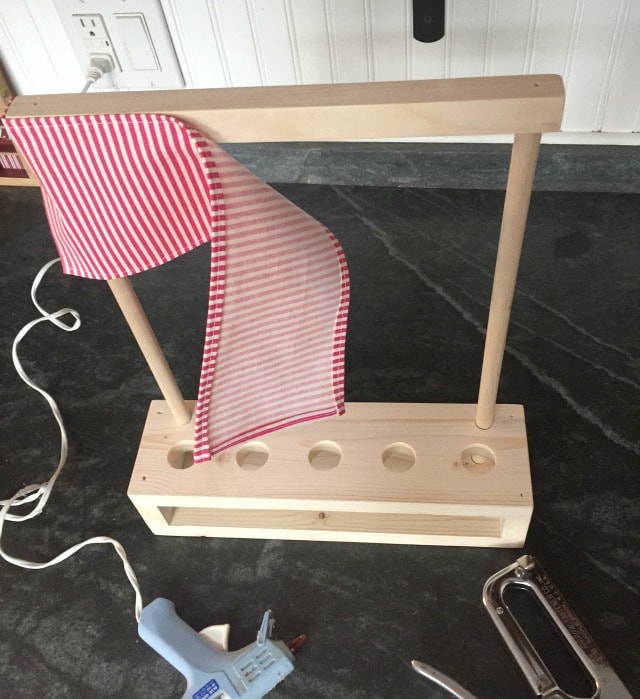
You can see the posts and awning better from the back view above.
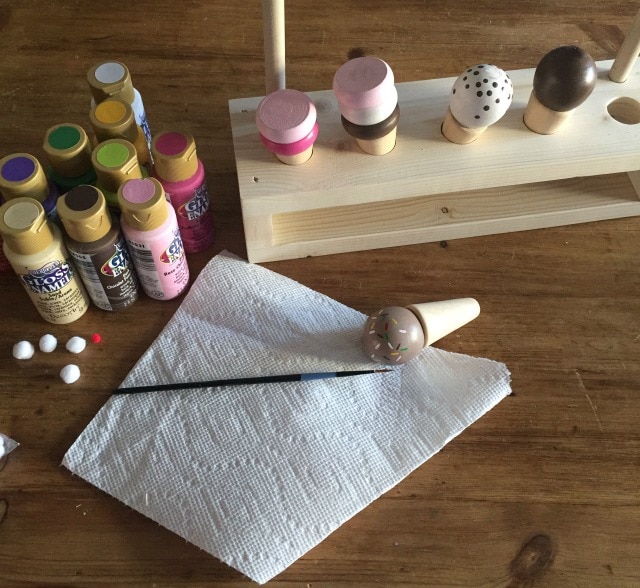
The most fun is actually painting and decorating the ice cream cones!!
To get the free plans for this tabletop ice cream parlor please visit Ana’s site here. She has the cut list and steps to build your own.
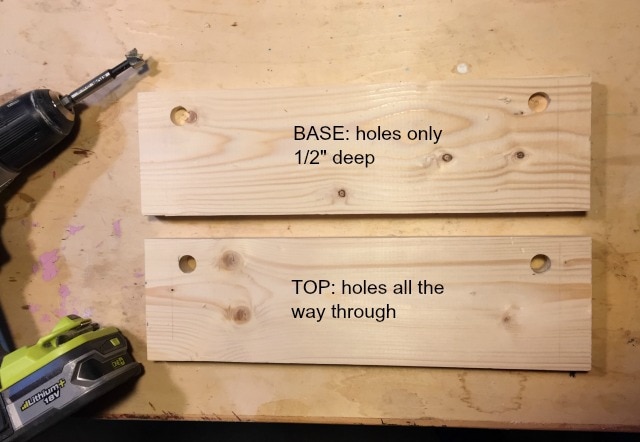
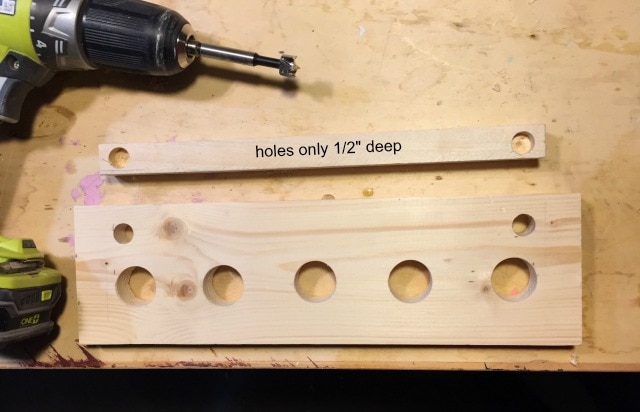
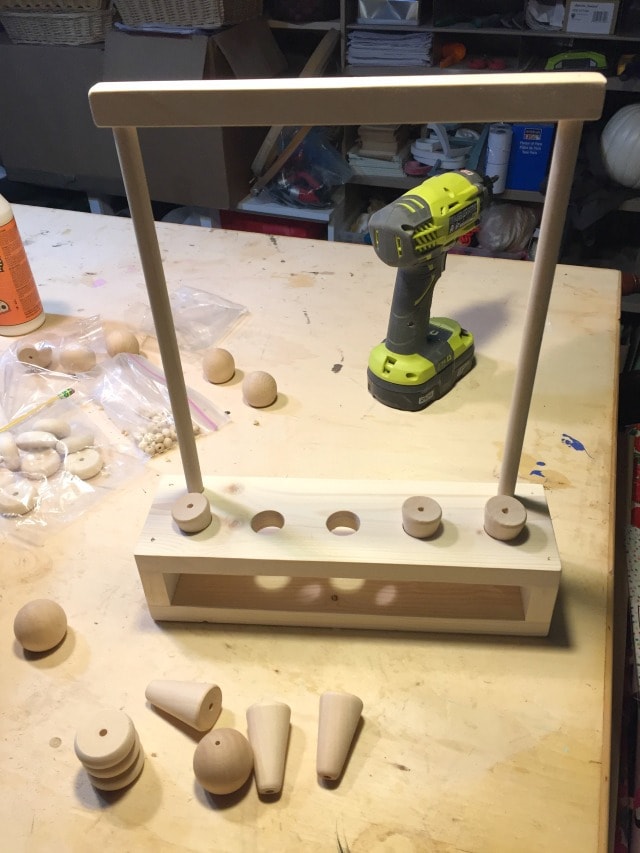
When drilling the holes for the posts be sure to only go 1/2″ deep on the base piece.
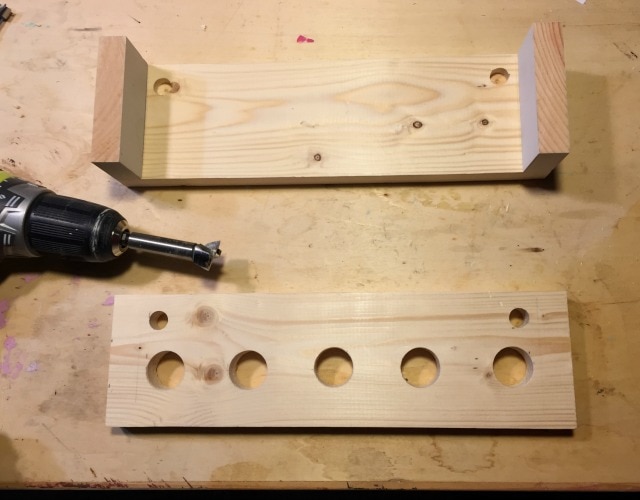
The holes for the ice cream cones are 7/8″ wide.
The holes on the top bar should match up with the holes on the top again only go 1/2″ deep.
Once your parlor is assembled it should look like the above photo. Use wood glue and 1 1/4″ finish nails everywhere when attaching all the pieces.
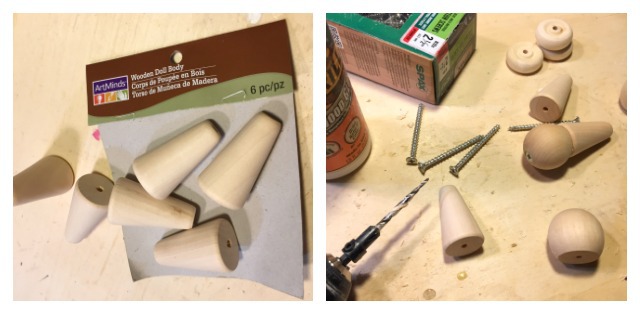
For the cone portion of the ice cream I used wooden doll bodies and the large round balls are 1 1/2″ doll heads. Be sure to glue and screw everything together to ensure stability. The flatter circular pieces are 1 1/2″ wood wheels.
I painted all the ice cream using DecoArt gloss enamels, it dries fast and has wonderful opaque, brilliant colors plus a glossy finish.
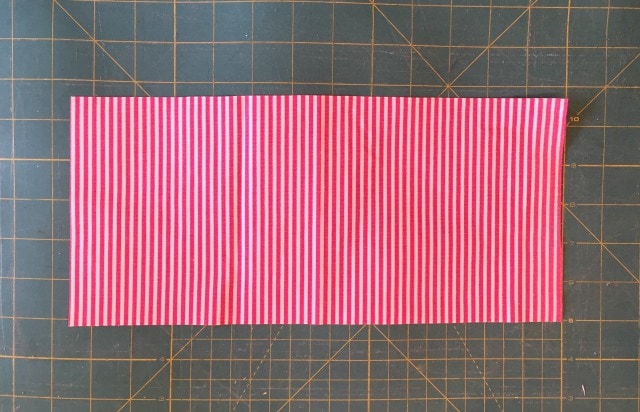
For the awning cut a piece of fabric 5″ x 12 1/2″.
Fold in the raw edges twice, press and top stitch.
Staple the end onto the top bar then use hot glue across the front, staple the other end to secure.
Now insert your ice cream cones!
Thank you for joining Ana and I for this year’s Handbuilt Holiday series. Fingers crossed we can continue this series for more years to come!
Happy Holidays!


OMG, I love this! You have some of the best ideas. I am a builder myself and I love to see what you come up with so I can make it next 🙂 I can't wait to make this. I love the little ice creams. Genius
I love all of these idea..always love to visit your website..
Hi. I have been unable to find the 1 1/2 in. doll bodies. Our Michael’s no longer carriesthem. Do you have any idea where to find something comparable for the cone design?
Hi Tasha, I found a similar style on Amazon here https://amzn.to/312buXR (affiliate link). They look to be a bit pointer at the tip so definitely sand down for kids to a softer point. Good luck!
The flatter pieces did you use any filler after screwing them together? Zooming in I can’t see any screw tops on them.
Hi Sj, No screws – just brad nails. And I didn’t use any filler.