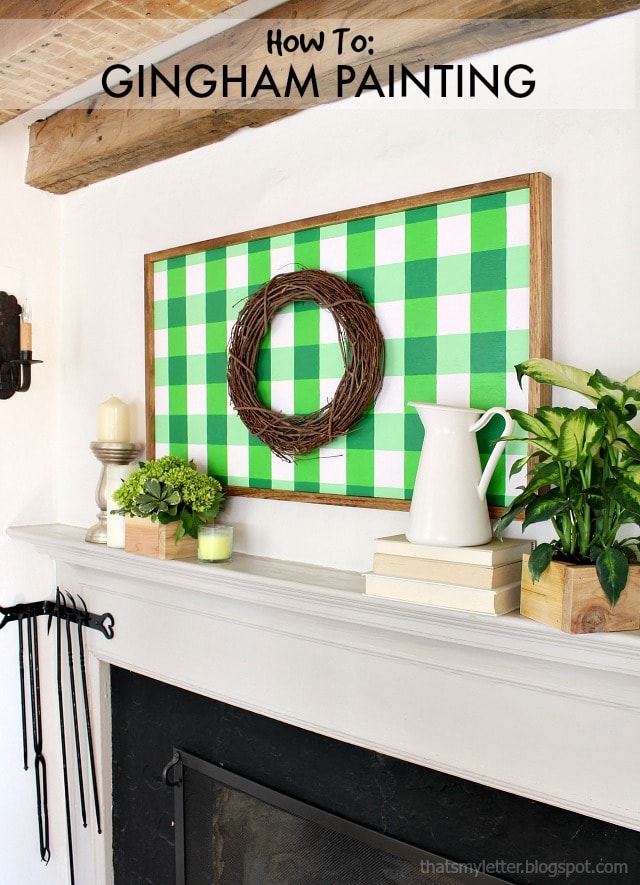
How to make a large gingham painting is as easy as coloring in the lines. If you’re looking to make a large statement piece, backdrop or an entire wall this gingham pattern might just be the answer. Pick the color best for your space and I’ll show you how to down below.
A DIY tutorial on how to paint a large gingham painting. Make a framed backdrop or an entire wall using this simple gingham painting technique.
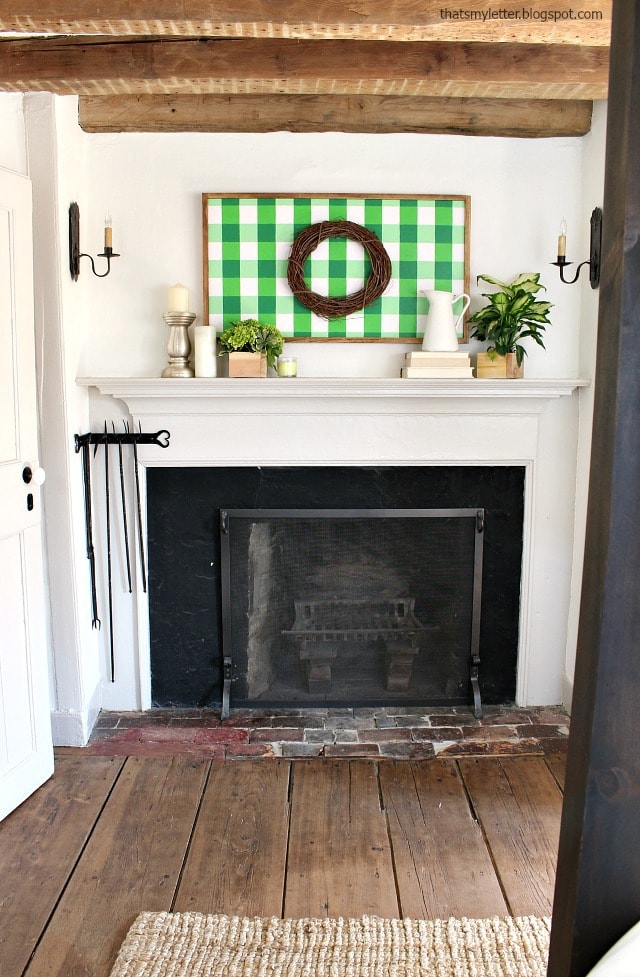
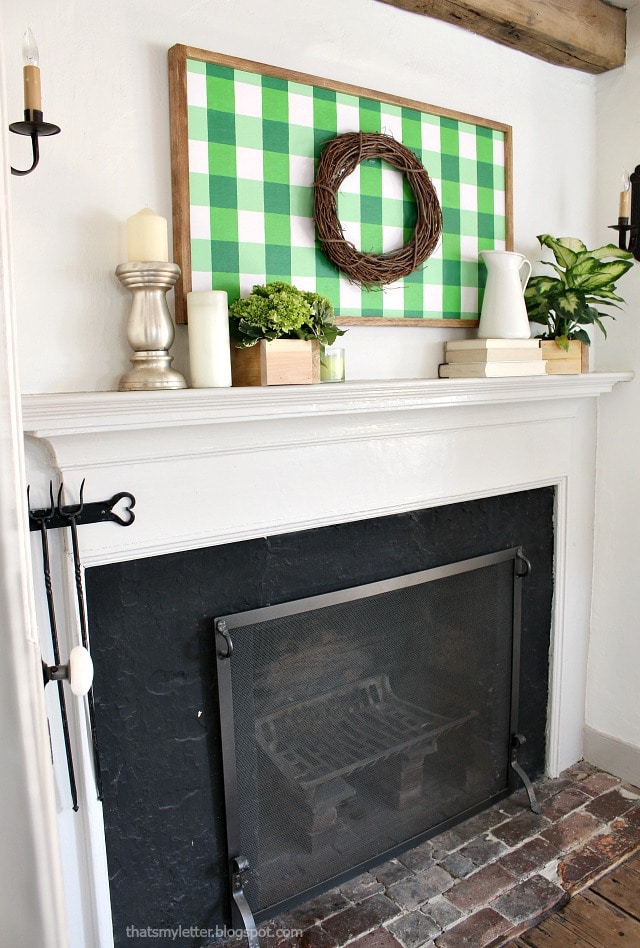
In case you missed it last week I shared my Spring home tour along with 24 other bloggers and I included our Master Bedroom mantel in the tour. Rarely do I dress up this mantel but this Spring seemed the perfect occasion and I’m so happy with the results.
I had envisioned this large gingham painting for awhile and finally made it come to life. It’s a very easy process that results in a visually eye catching piece.
Scroll down below for the step by step instructions to make your own large gingham painting.
Supplies:
(may contain affiliate links below, in order to keep this blog full of free information I make a small commission off of any item purchased)
- 1/2″ plywood board approx. 18″ x 36″
- clear quilting ruler
- pencil
- Deco Art satin enamel white acrylic paint
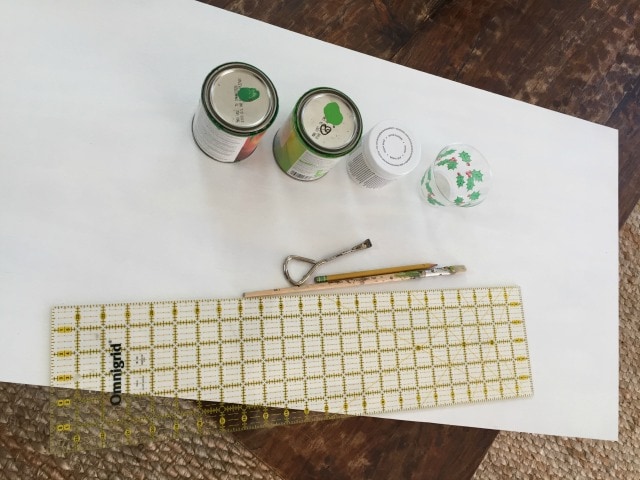
- 2 or 3 shades of green latex paint (dark, medium, light)
- angled paint brush
- 1×2 pine board (frame)
- stain
- wood glue
- nailer and finish nails
The key to the success of painting a gingham pattern is the three shades of paint. In this case I choose green. Regardless of the paint color you choose you need 3 distinct shades – dark, medium and light. You can see I have 2 pictured above (dark and medium) then to make the lightest shade I mixed a bit of those 2 greens with some of the white background color.
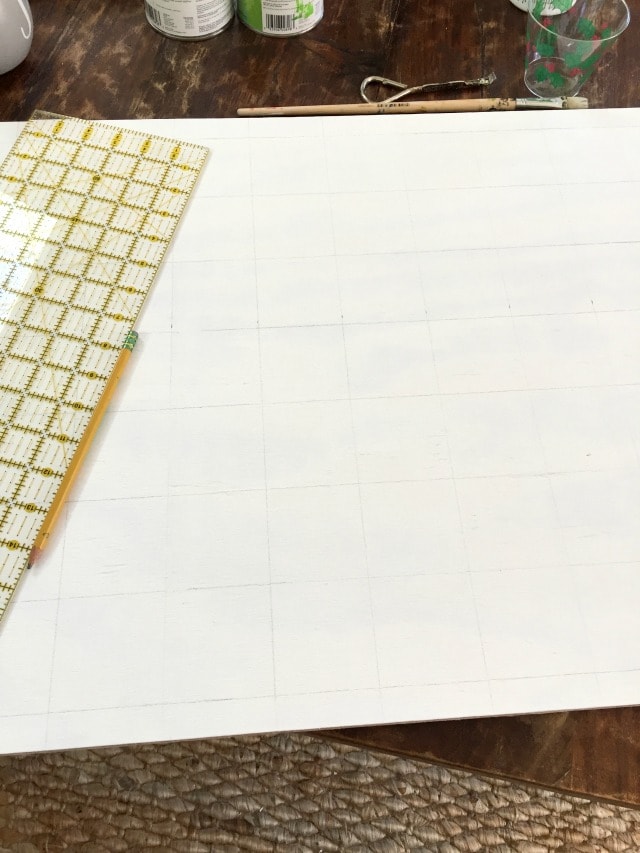
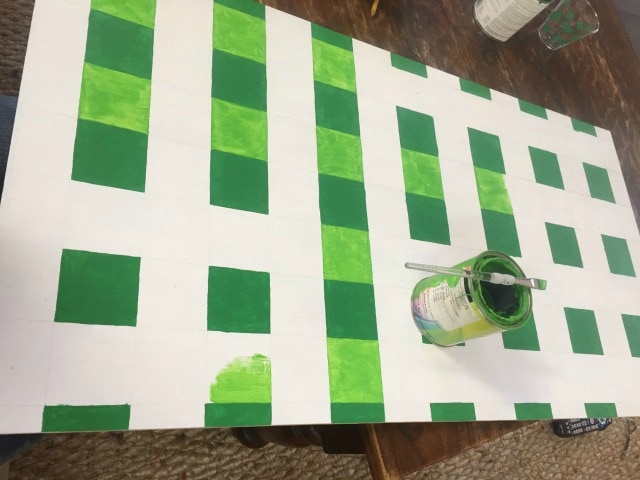
Step 1: Paint the background white. Once dry draw out a square grid using a clear quilting ruler and pencil. I used 2 1/2″ squares here. It’s best to make your squares fall off the edge of your background.
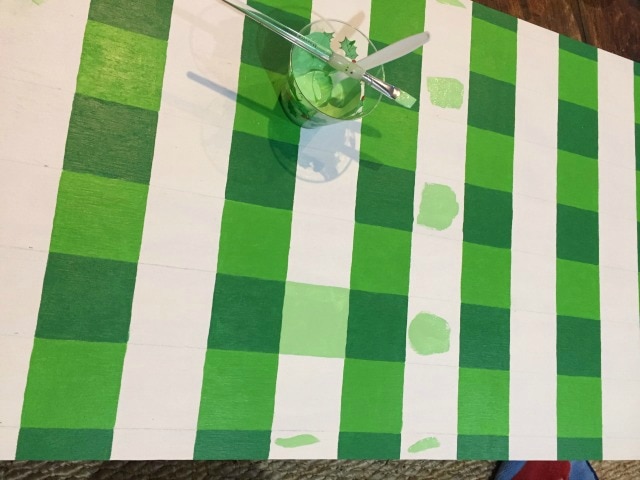
Step 2: Paint the center square in the darkest shade. Then paint the square directly above and below in the medium shade.
Step 3: Finally paint the squares on either side of the darkest square using the lightest shade.
Step 4: Make a frame for your painting. Cut 1×2 boards to fit then stain. Attach to plywood using wood glue and 1 1/4″ finish nails.
Add a wire hanger to back.
SHOP THIS POST:
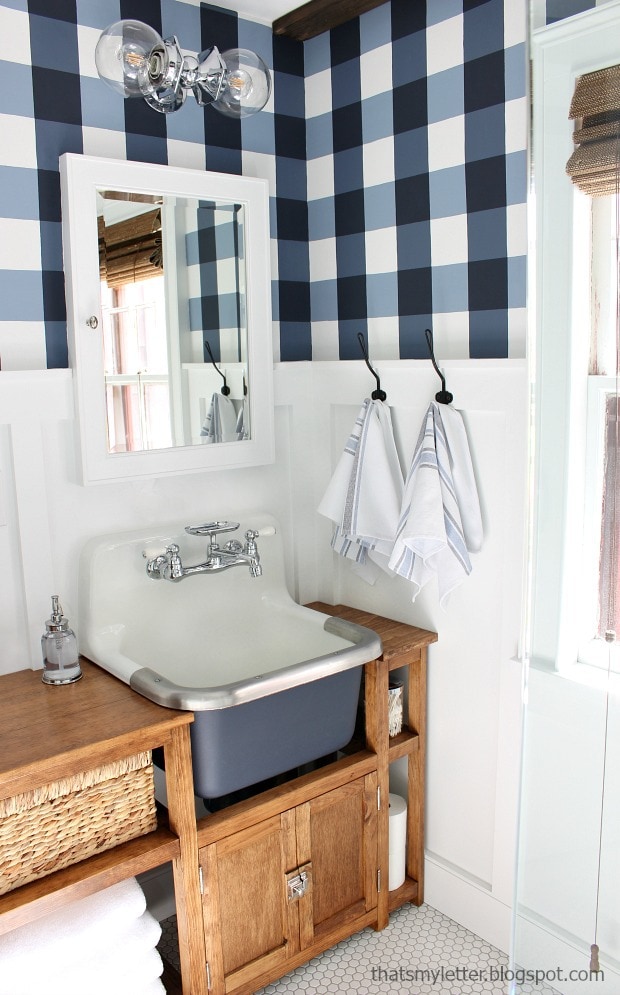
If you haven’t seen our Master Bathroom renovation do check it out, it’s where I first applied the gingham painting technique:
I hope you enjoyed this project as much as me! So much fun personalizing your home and making something to fit exactly your needs.





I love the color of this – fun for St. Patrick's Day and all spring!
Obsessed with the Hale Navy Bathroom makeover and this green gingham painting!!! We can’t get over how beautiful the bathroom looks!! The sink is AMAZING!!! Saw it in a magazine and brought it to my parents house today for ideas for their front bathroom. Can’t wait to read up on more projects you have created…. such amazing, beautiful, one of a kind work!!
Hi Sara, thank you. So nice to hear from appreciative readers. We still love the sink in our bathroom and I have a second one waiting to go in the laundry room – slowly but surely. Best wishes for your parents bathroom renovation!