• Home
  • Blog
  • About
  • Contact
    • Disclosure
    • Privacy Policy
  • SHOP
  • Widget area for main menu

    • Email
    • Facebook
    • Instagram
    • Pinterest
    • Twitter
    • YouTube
  • Skip to primary navigation
  • Skip to main content
  • Skip to primary sidebar

Jaime Costiglio

build - paint - sew

  • BUILD
    • BEDS
    • BENCHES
    • DESKS
    • DRESSERS
    • GAMES & TOYS
    • SCRAP WOOD
    • SHELVES
    • STORAGE
    • TABLES
  • TOOLS
  • PAINT
    • CRAFTS
    • FURNITURE
    • HOME DECOR
  • SEW
    • GIFTS
    • HOME DECOR
    • POUCHES
  • HANDBUILT HOLIDAY
    • 2021
    • 2019
    • 2018
    • 2017
    • 2016
    • 2015
    • 2014
    • 2013
  • GIFTS
    • BABIES
    • KIDS
    • FOR HER
    • FOR HIM
    • TEACHERS
    • WEDDINGS
  • SEASONAL
    • 4TH OF JULY
    • FALL
    • HALLOWEEN
    • CHRISTMAS
    • SUMMER
    • SPRING
    • ST. PATRICK’S DAY
    • THANKSGIVING
    • VALENTINE’S DAY
    • WINTER
  • SALTBOX PROJECT
    • BATHROOMS
    • DINING ROOM
    • EXTERIOR
    • FAMILY ROOM
    • FOYER / MUDROOM
    • KIDS BEDROOMS
    • KITCHEN
    • LIVING ROOM
    • MASTER BEDROOM
    • PLAYROOM
  • SCROLL SAW

“H” is for Handpainted

August 5, 2012

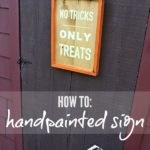
Paint: how to handpaint without stencils

Or how to handpaint using any font, any size.
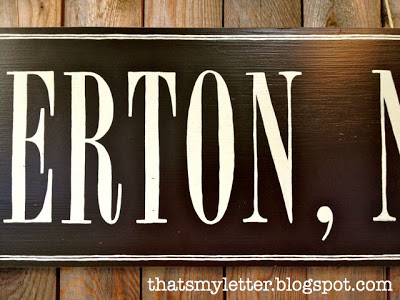
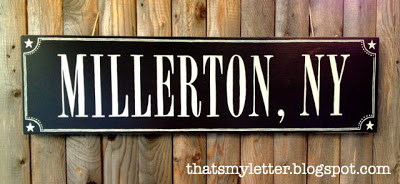
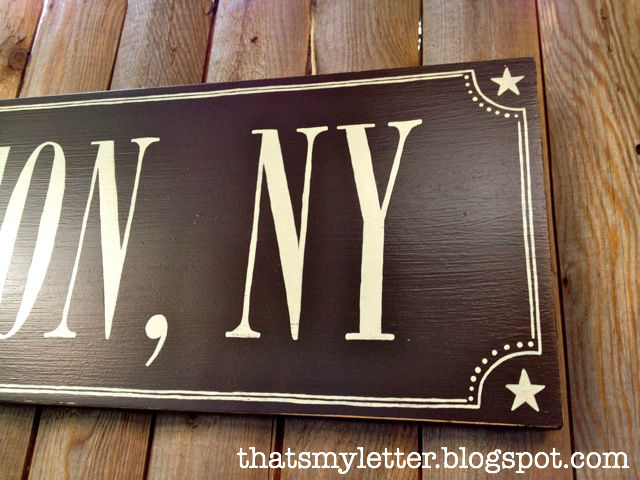
I made this sign for a friend’s country house in Millerton, NY using the same handpainting technique I always use.

Here’s how to handpaint without stencils:

1. Print out letters using your font of choice, here I used Bordeaux Roman Bold at 550 point.
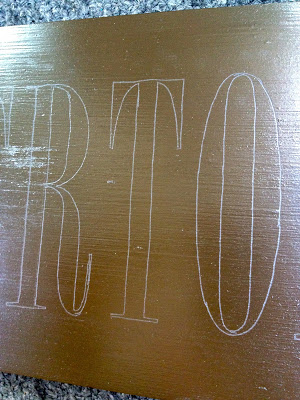
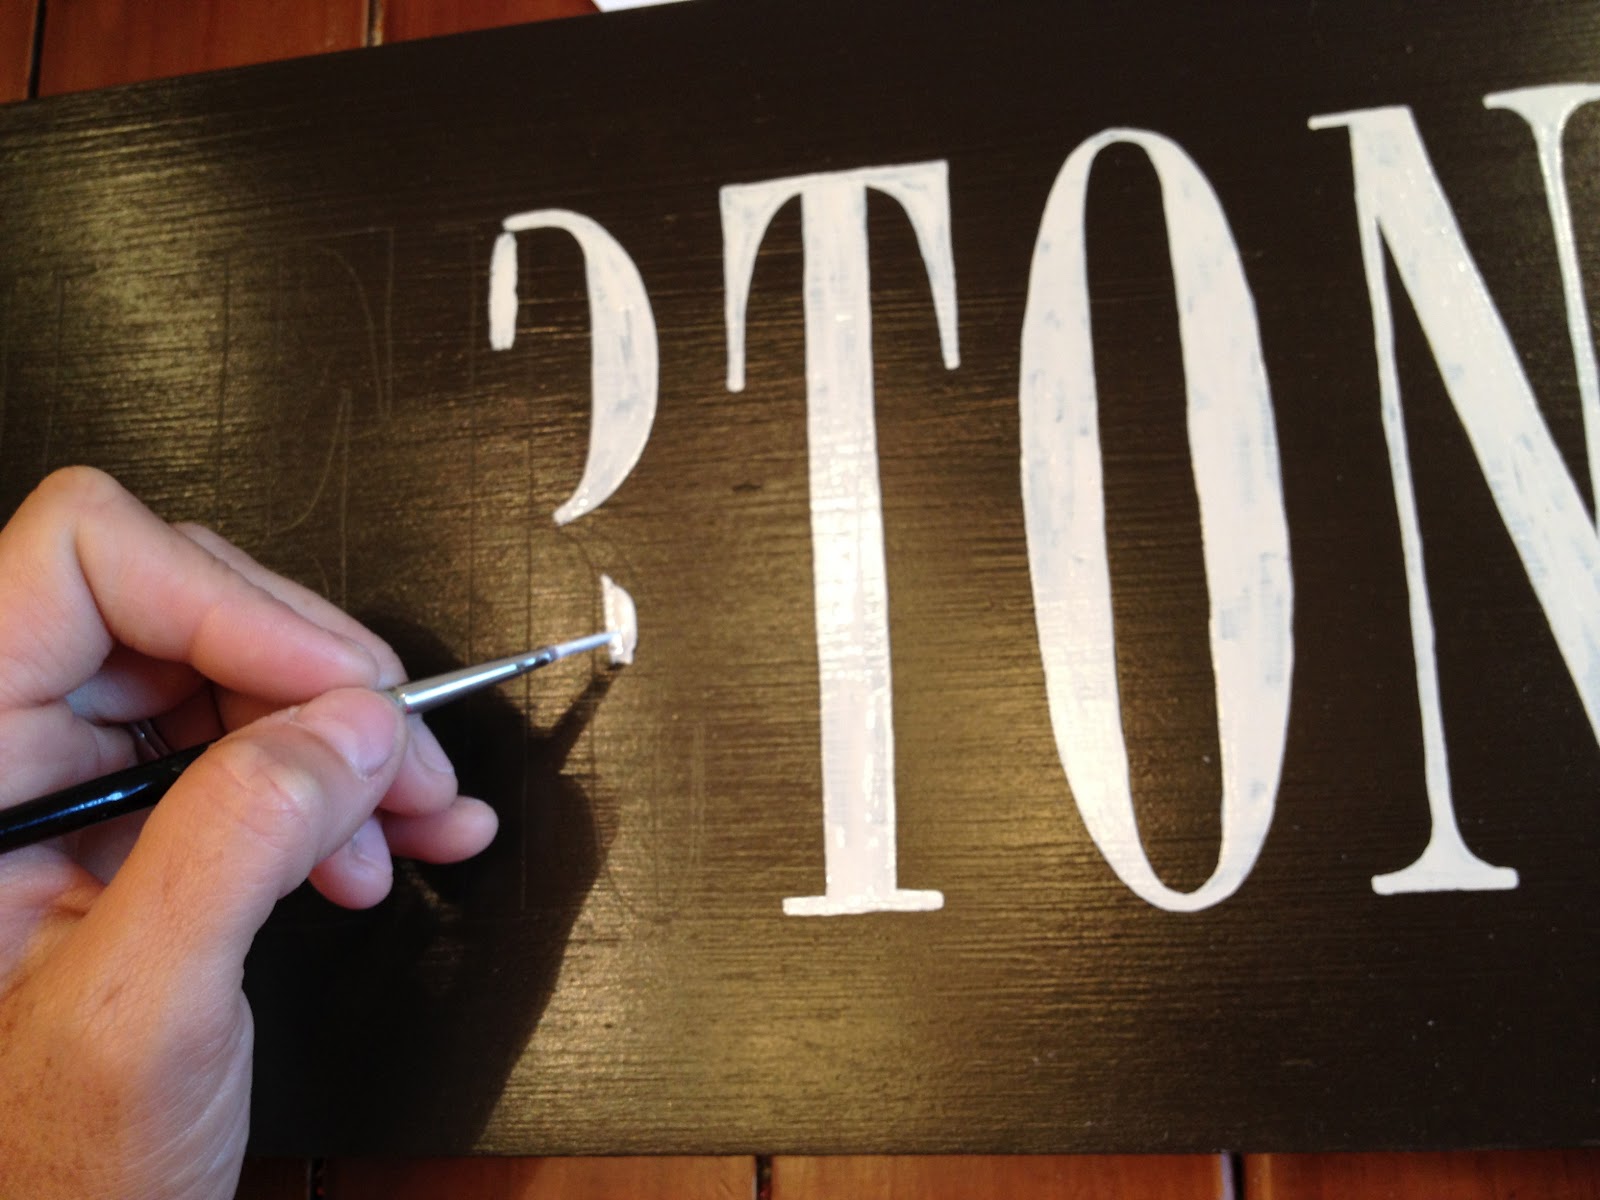
Position printouts on painted wood board and using a ballpoint pen trace the outline of each letter.
The printout has become your ‘stencil’:
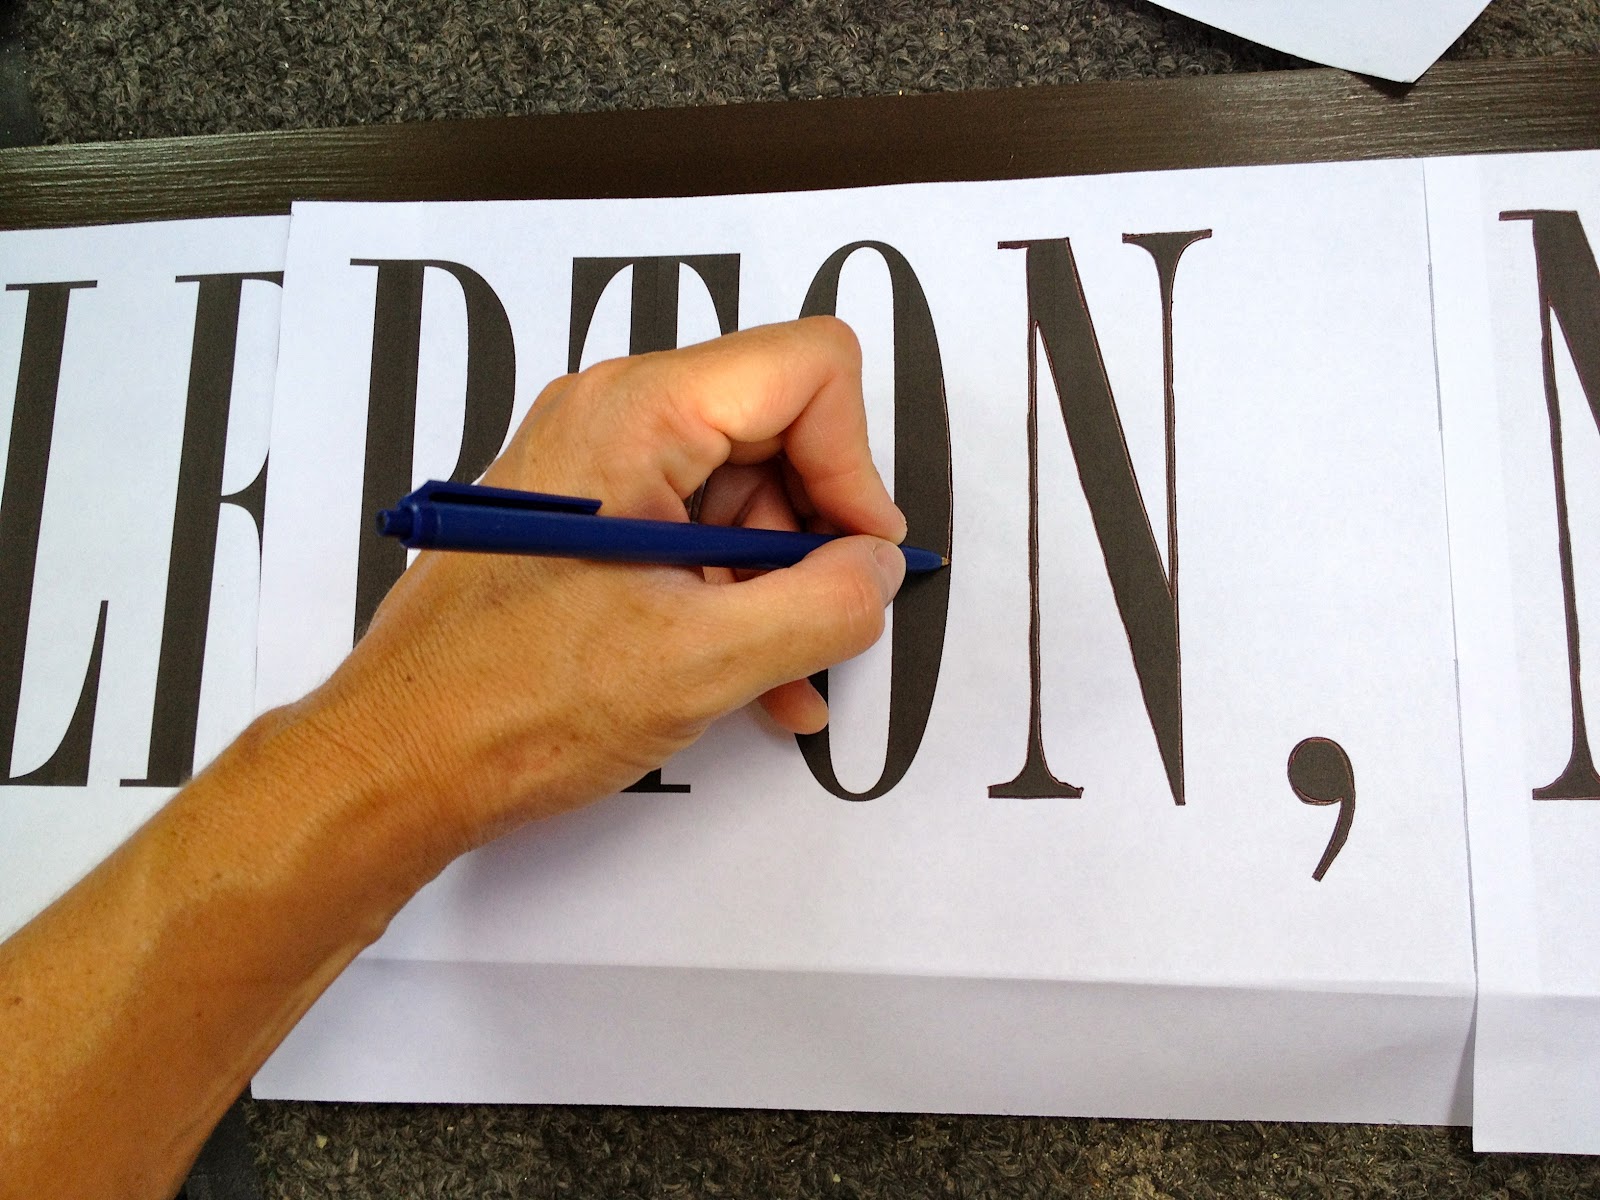
The pressure from the ballpoint pen leaves a slight indent in the wood:
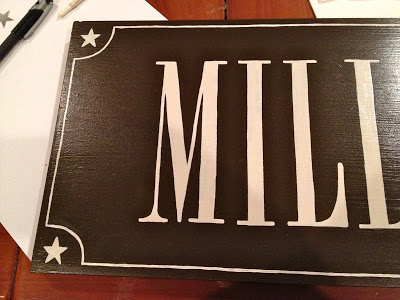
2. Using a small brush (I prefer a #3 round), paint on and inside the indent:

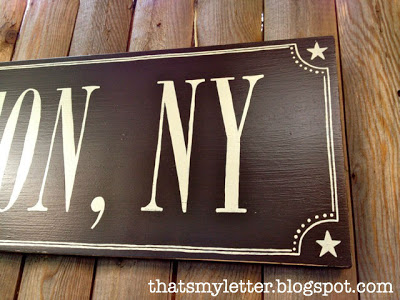
3. Then add border details – stars and lines:

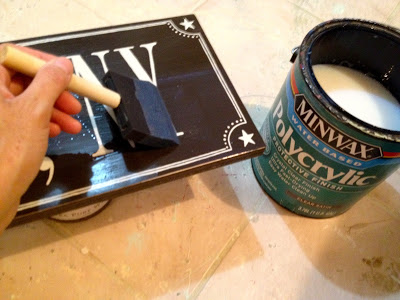
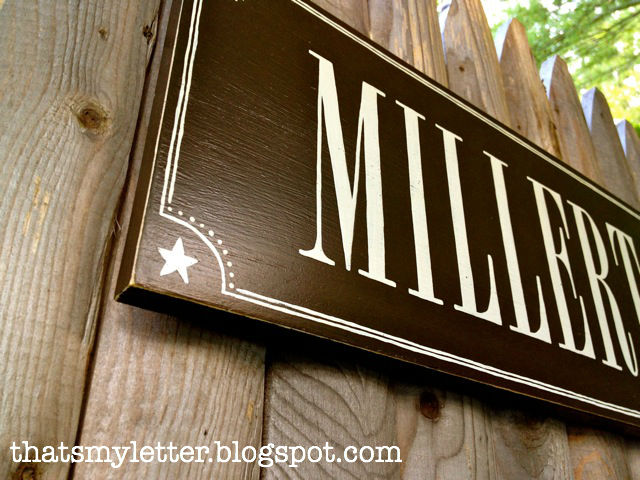
4. Seal the sign with Minwax clear satin poly, I prefer to paint on the poly with a sponge brush but you could use the aerosol version too.
Add sawtooth hangers to the back.

I’m linking up to:
Weekend Wrap Up @ Tatertots and Jello
SAS @ Funky Junk
Tutorials & Tips Tuesday @ Home Stories A to Z
Strut Your Stuff @ Somewhat Simple
Share Awesomeness Thur @ The 36th Avenue
Flaunt it Friday @ Chic on a Shoestring
Frugal Friday @ The Shabby Nest
SAS @ Just a Girl
Feathered Nest @ French Country Cottage
Remodelaholics Anonymous @ Remodelaholic
inspiration board @ Carolyns Homework
Sunday Showcase Party @ Under the Table & Dreaming

You may also like...

  • DIY Handpainted SignDIY Handpainted Sign
  • No Tricks Only Treats Handpainted SignNo Tricks Only Treats Handpainted Sign
  • “C” is for Chore Chart“C” is for Chore Chart
  • “M” is for Mantel Artwork“M” is for Mantel Artwork
Share this post:

Filed Under: DIY, FOR HER, FOR HIM, GIFTS, HOME DECOR, HOME DECOR, PAINT, WEDDINGS7 Comments

Reader Interactions

Comments

  1. Tam says

    August 5, 2012 at 4:56 PM

    I love your signs but I don't understand how to figure out how to size the letters that sounds confusing. Lets try it this way ok I have an 8 ft board by 6 inch wide and I wanted do put welcome on it. How to I go about figuring and laying it out to print out. I know about font size but if I wanted the letters to be 5 inches high I don't understand the font size. Wow this post is confusing I should delete it.

    Reply
    • Sandra Dean says

      May 28, 2018 at 4:18 PM

      Try one letter (or two) at a time on a sheet of paper that are 5″ tall. Then tape them together to form your word. Lay it out on your board to make sure it works the way you had invisioned and if it does, proceed to paint your sign.

      Reply
  2. marty (A Stroll Thru Life) says

    August 5, 2012 at 6:37 PM

    Love your sign. How wonderful. Hugs, Marty

    Reply
  3. Jaye Leon says

    August 10, 2012 at 2:54 PM

    That's gorgeous! I tried this technique on a Home Made Chalk Paint chair. Didn't work! Then I realized that my recipe for the chalk paint had plaster of paris in it! Nothing was going to dent that stuff – I had basically made a big ceramic mold out of my chair! Haha – lesson learned. I'm still going to try this on something else. It's good to know since I also can't stencil worth a darn!

    Jaye @ Just Tryin' to Make Cents of it All

    Reply
  4. Debra says

    August 11, 2012 at 2:32 AM

    Your sign looks great! Thanks for sharing how you did it.

    Reply
  5. [email protected] says

    August 13, 2012 at 5:14 PM

    Great tip! Thanks for sharing!

    Reply
  6. Laura Martino Morison says

    October 4, 2012 at 7:42 PM

    Any chance you would be willing to make and sell one to me?!

    Reply

Leave a Reply Cancel reply

Your email address will not be published. Required fields are marked *

Primary Sidebar

Hi! I’m Jaime

Jaime Costiglio

Hello!

Thank you for stopping by.
Join me for lots of DIY.

Read more

Get new posts via email

Handbuilt Holiday: Gift Project Plans

handbuilt holiday gift project plans

Collection of DIY gift project plans to build.

The Home Depot Tool Prospective

THD Prospective

Tools to consider for the DIYer.

Archives

The Home Depot Logo
Copyright © 2022 Jaime Costiglio · Custom site by Moonsteam Design

Privacy Policy