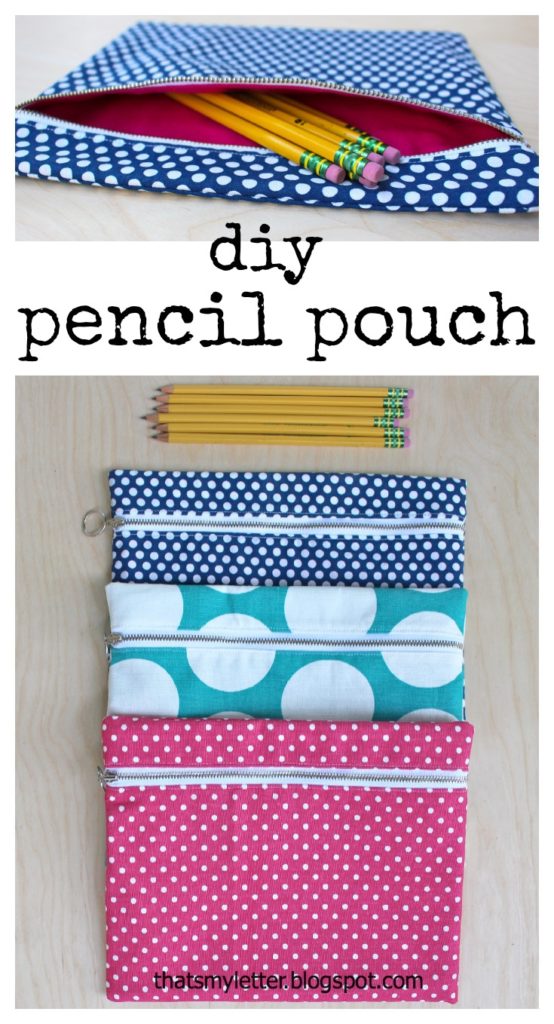
Sew: diy flat zipper pencil pouch
It’s back to school for us next week and every Fall my kids ask for new pencil pouches.
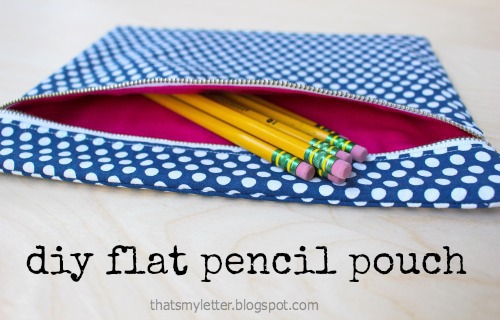
I’m happy to oblige and this year we went with the flat zipper pencil pouch.
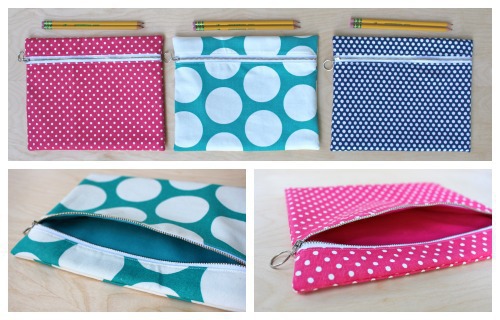
The finished size is 10″w x 8″h and I love the contrasting lining on the interior.
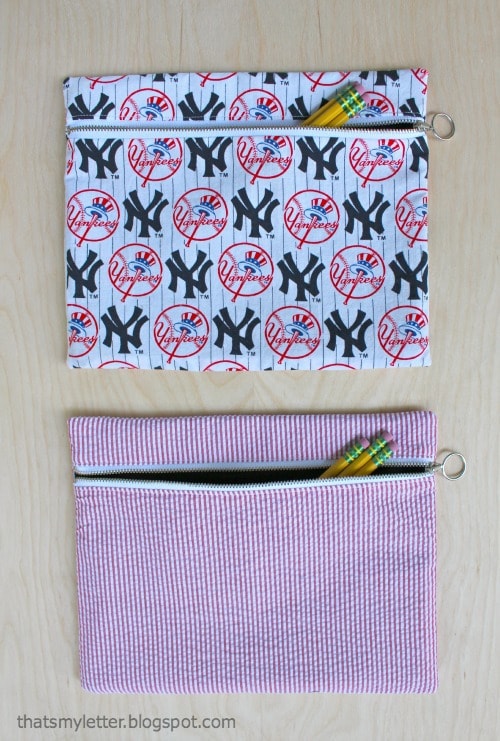
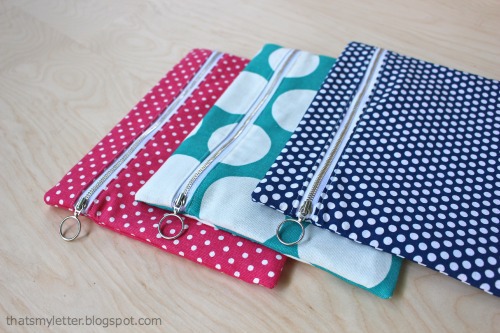
This time around I used metal zippers with ring pulls. The ring pull makes it very user friendly at school.
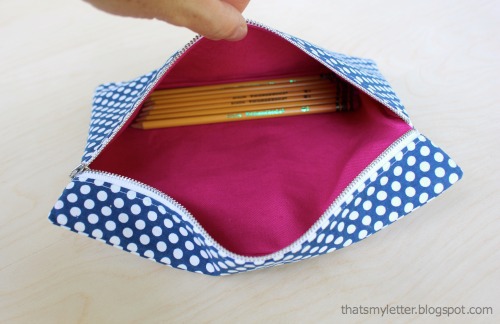
It’s super roomy inside despite being flat so there’s plenty of space for pencils, pens, markers, erasers, scissors – all the school supplies.
How to sew a flat pencil pouch with zipper:
Supplies:
– exterior fabric
– lining fabric
– medium weight fusible interfacing

Step 1: Cut fabric, lining and interfacing. One each for back, top front and bottom front.
Step 2: Place bottom front right side up, place zipper face down flush at one side then place lining right side down. Sew zipper in place using zipper foot.
Press open lining and exterior away from zipper.
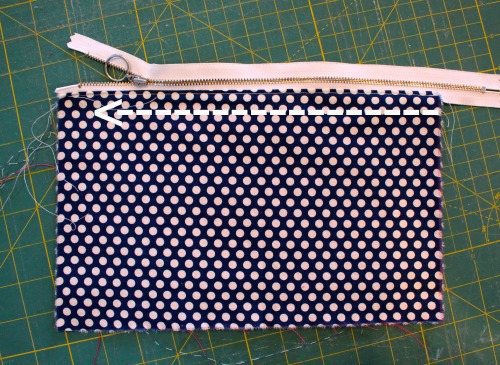
Step 3: Top stitch exterior and lining 1/8″ from zipper.
Step 4: Repeat steps 2 – 4 for top front pieces and other side of zipper.
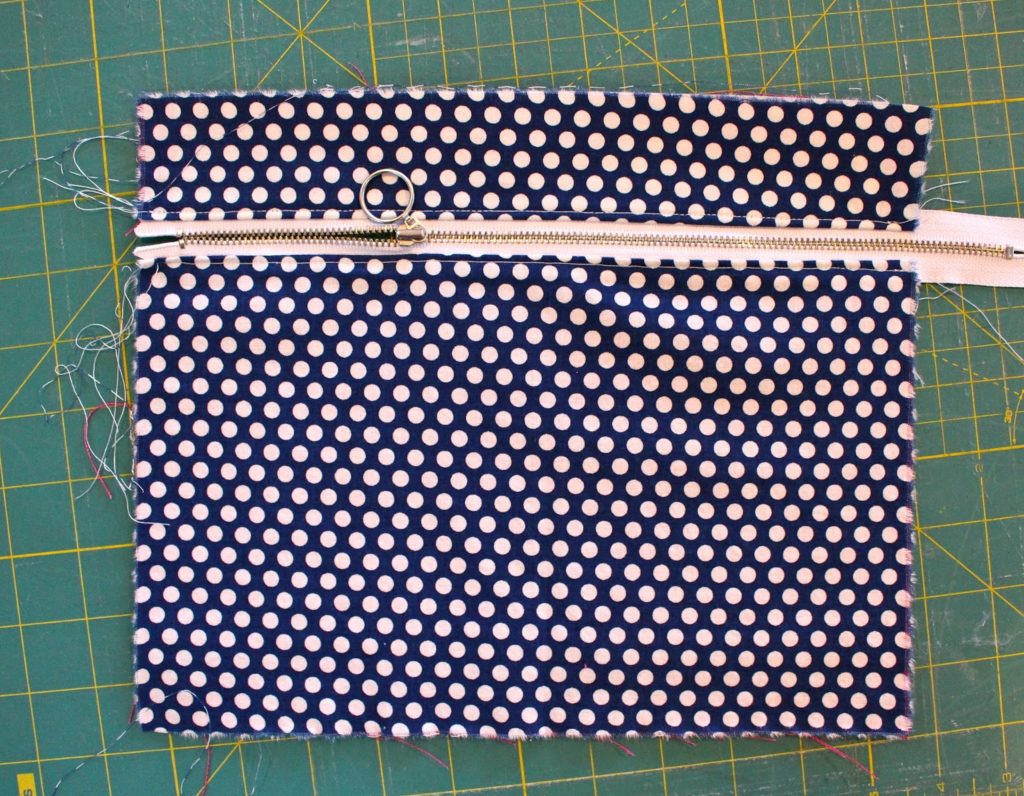
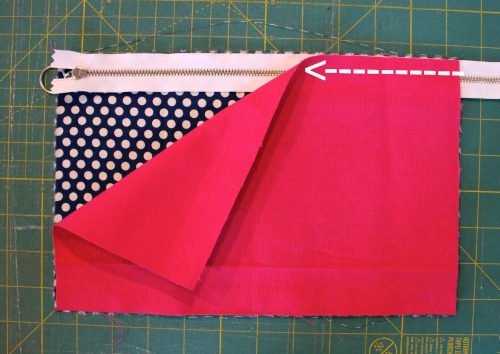
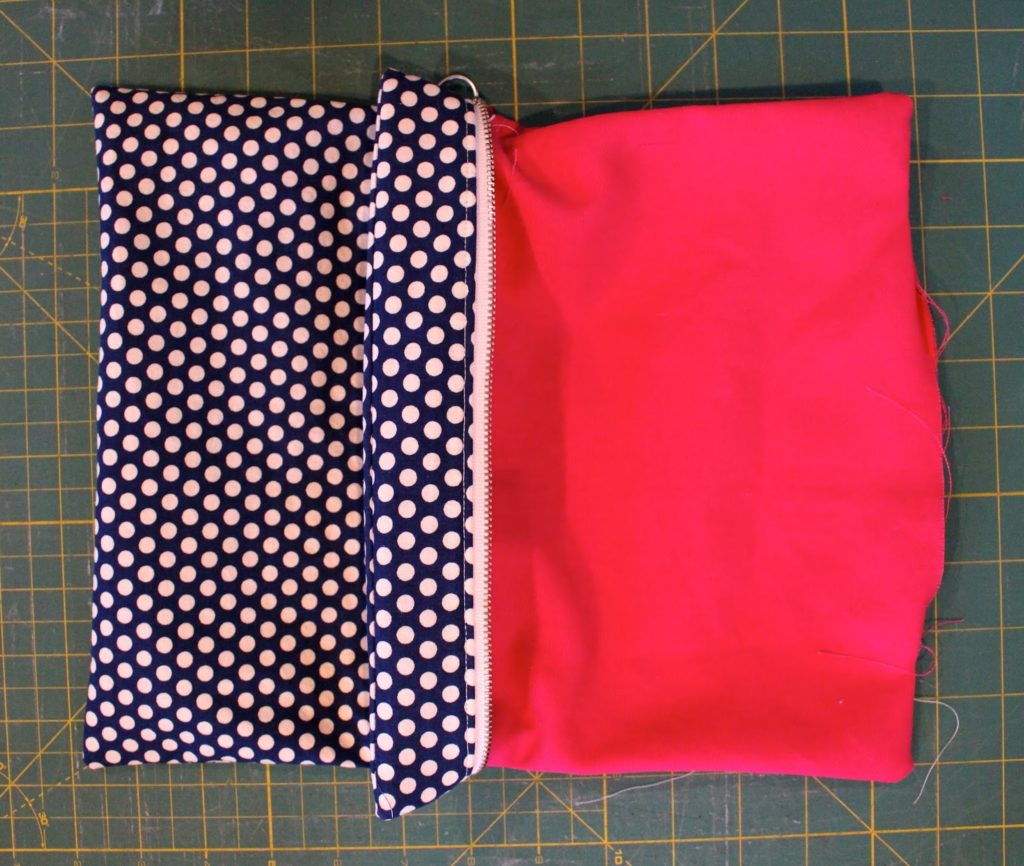
Step 5: Place exterior back right side down on top of finished zipper piece. **Be sure zipper is at least half way open. **
Sew back in place on all 4 sides start at zipper and go around bottom stopping at other end of zipper. Repeat for top portion. DO NOT sew over zipper portions yet.
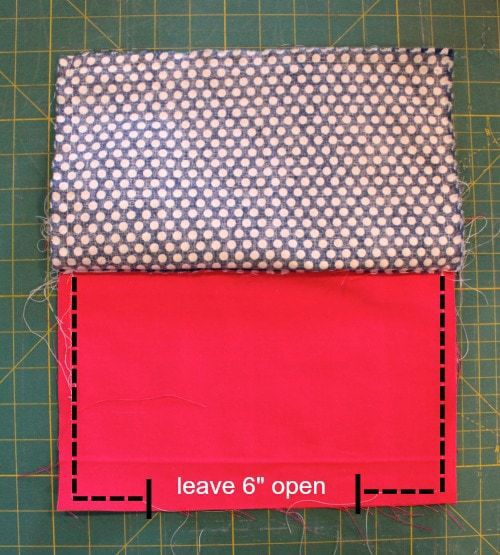
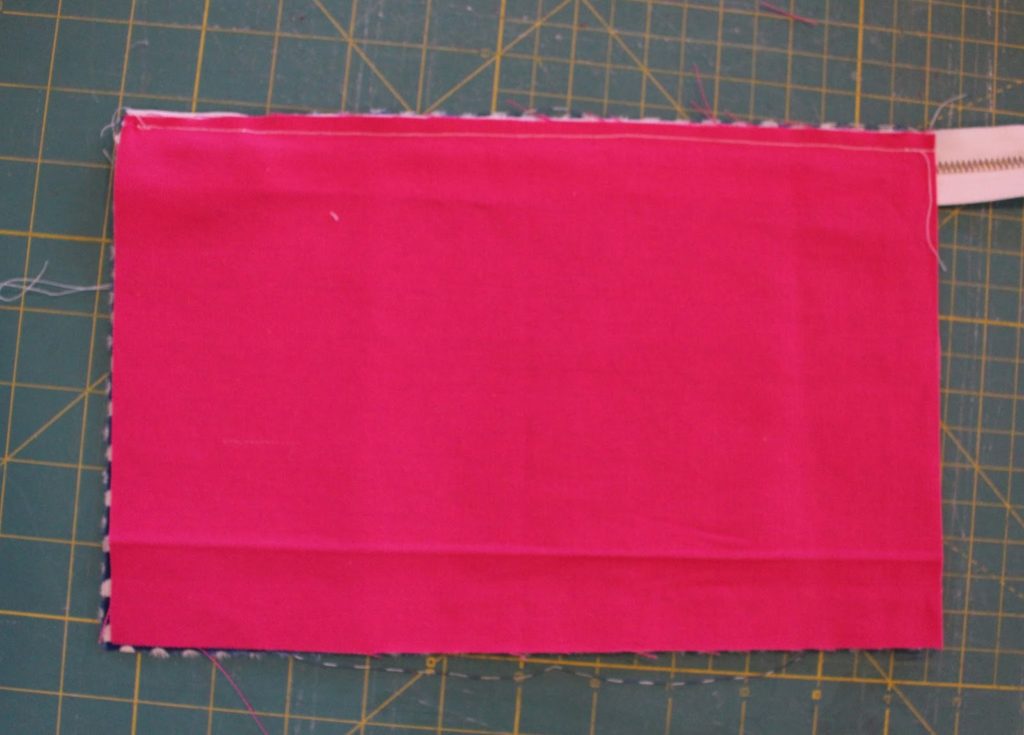
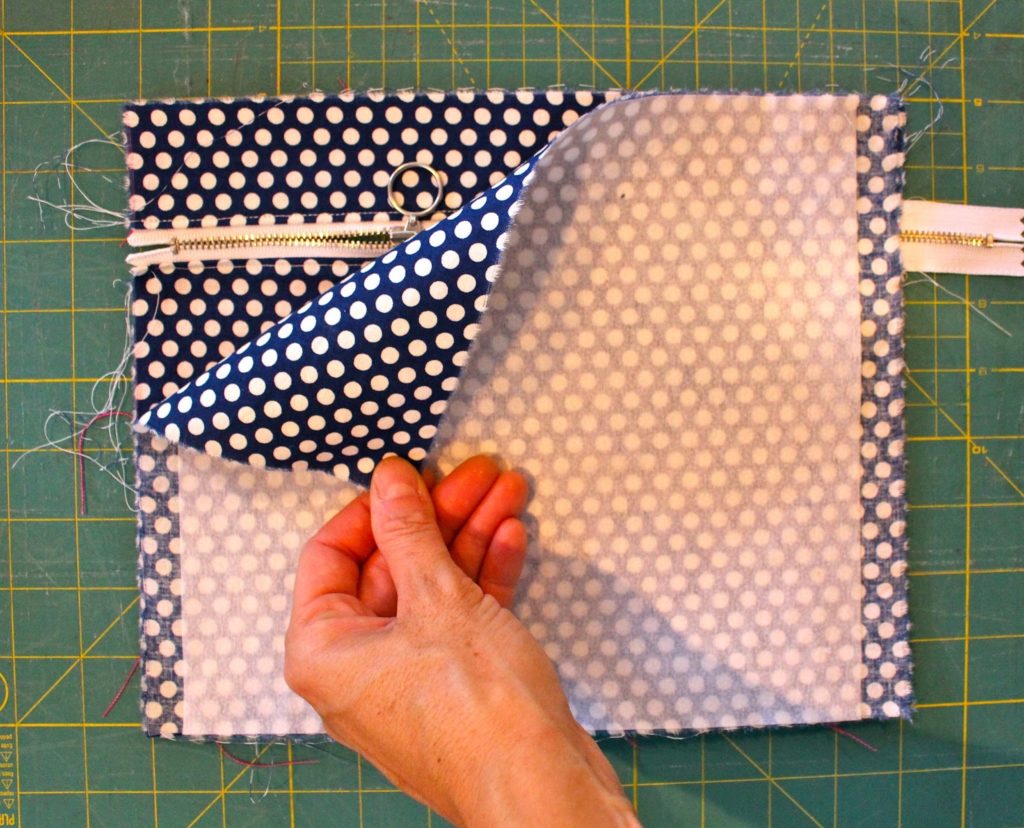
Step 6: Repeat step 5 for lining pieces except leave a 6″ opening in bottom.
Step 7: Now lay flat and sew zipper portions closed, be careful going over the zipper teeth.
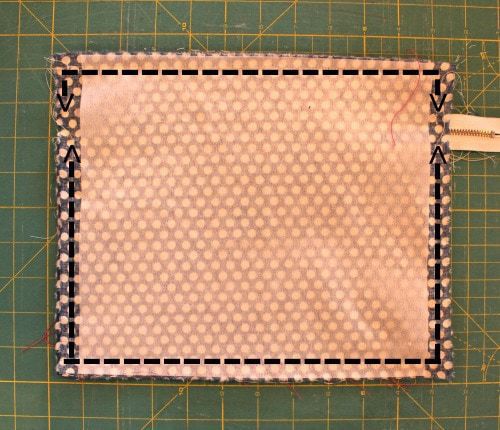
Step 8: Clip corners and turn right side out through opening in lining.
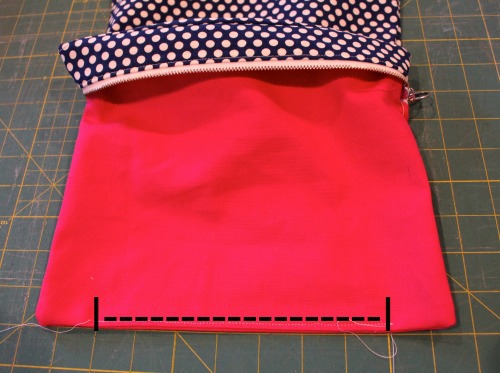
Step 9: Top stitch lining shut.
Push lining down into pouch, press.
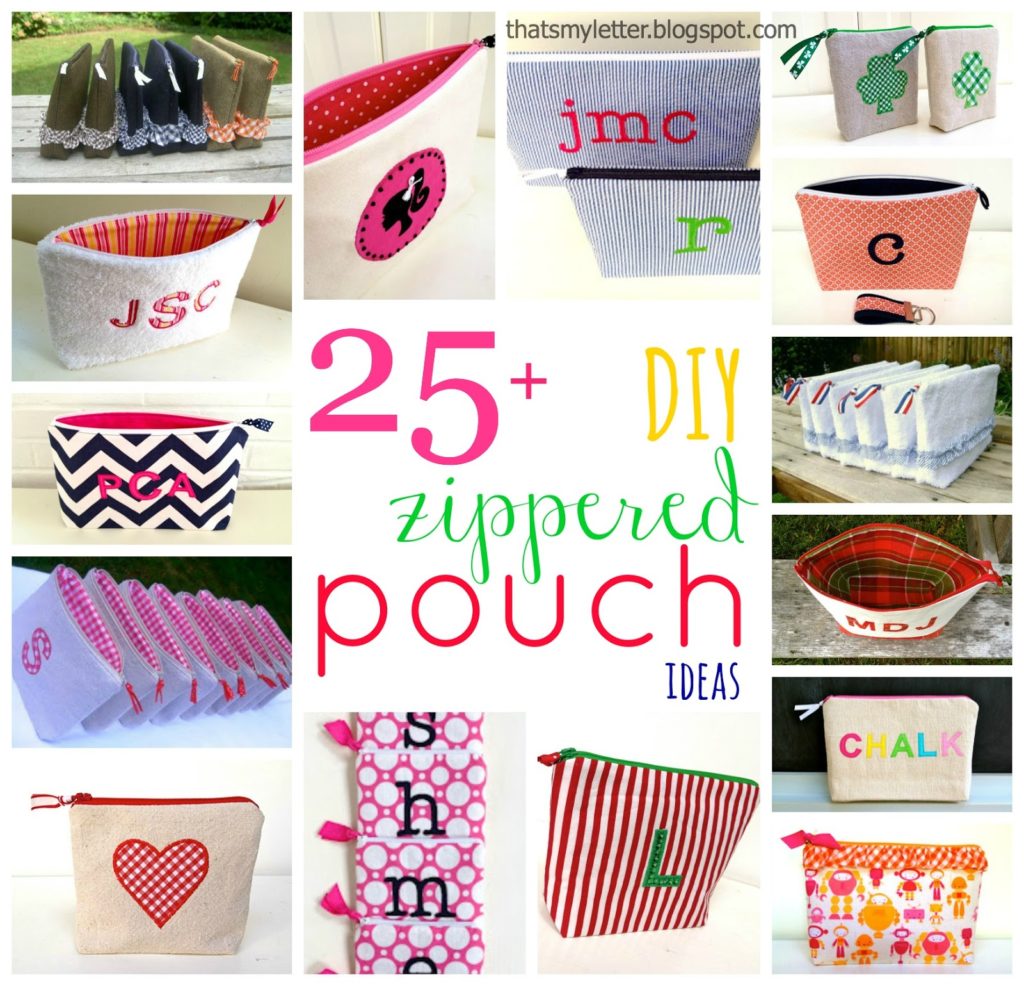
For lots of other diy zipper pouch ideas click here.


It must be so cool to be your kids. They have custom-made supplies, toys, furniture… you're awesome, Mama!
Hi there! Thank you for sharing the pattern but I dont understand how fabrics are sewn in step 6…
The link for those zippers didn’t work, I think there is just a new listing for it. Here is is in white and there is also a black. https://www.etsy.com/listing/100484688/metal-zippers-nickel-teeth-with-special?ref=shop_home_active_35
Thanks for the tutorial!
Thank you Jennifer, so kind of you to provide a new link. I will update shortly. Happy Sewing!
I’m a little confused on step 5 do we sew is the red lining too. All layers wish there was video pictures are hard to follow for me
I think this is great but am not sure about step 7 which I closing the zipper ends. Are you closin the lining as well?
Hi Penny, Yes lay the pouch flat (exterior on top of lining) and sew over the zipper ends to seal. Sorry I don’t have a photo of this step.
Thanks.
I made this! I like the finished product, and had fun with it, but I think the instructions for 5, 6, and 7 are quite confusing as written.
What is happening in 5, is that you are sewing the right sides of the outer pieces together above and below the zipper, and you’ll need to fold the lining away. And then in 6, you are sewing the the right sides of the lining pieces together above and below the zipper. And then in step 7, you are sewing all the layers together at the zipper.
I also think if you’re using only a 10inch zipper, you might want to put zipper tabs at each end to make sure the zipper ends are fully enclosed. If you’re using a longer zipper, you’ll need to trim before turning inside out.
Hopefully this helps future makers. Thank you for this project tutorial!
Thanks Wendy for sending the additional instructions. So kind of you to detail out the steps.