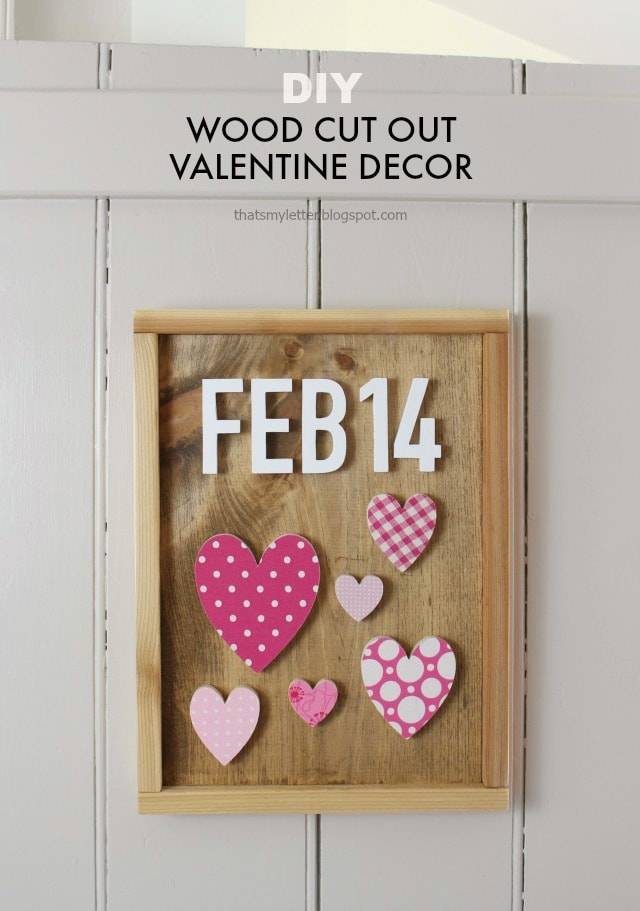
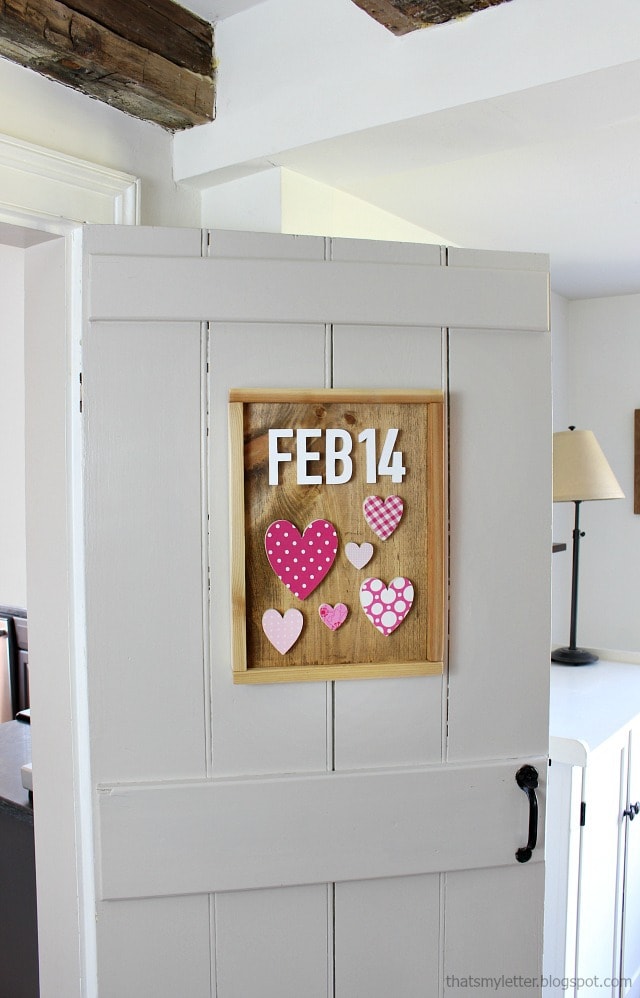
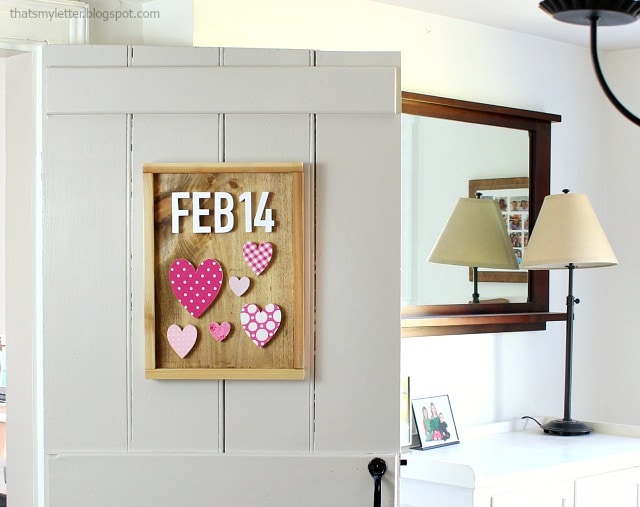
It’s the season of love and since I love working with wood I thought I’d make a wood cut out Valentine decoration. A few hearts and the date complete this wood cut out decor:
I’m joining five other DIY bloggers today in sharing our hearts for the first annual Makers Heart Attack.
Please feel free to join us on social media by tagging your heart projects with #makersheartattack and be sure to stop by my fellow blog friends to check out their creative heart projects:
- Sarah @ The Created Home
- Mindi @ My Love 2 Create
- Cara @ Build Craft Love
- Sheri @ Hazel and Gold Designs
- Matt @ Keddie Woodshop
So much heart goodness and fun ideas! My creative heart is a scrap buster project so if you’re hoarding left over off cuts then this Valentine decor is for you. Below I will share the step by step process to create this wood cut out valentine decor and you can apply this method to any sign.
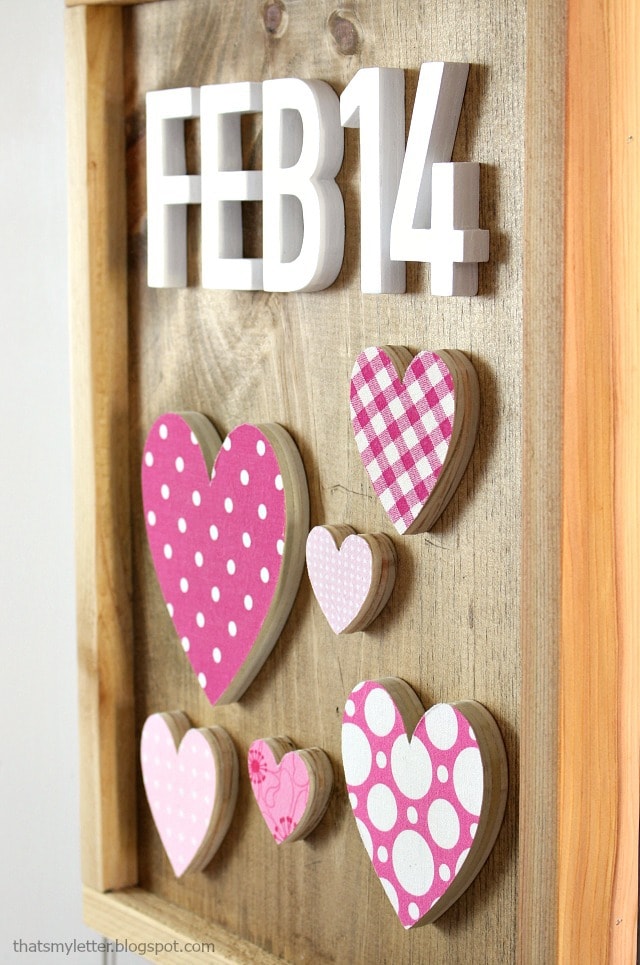
I used a combination of my scroll saw and blade runner, which is similar to a jigsaw but stationary, to cut out the letters, numbers and shapes. I love the way the 1/2″ plywood pops off the board and creates dimension:
Supplies:
- 1/2″ plywood scraps
- desired letters & shapes print out
- spray adhesive
- scroll saw or jig saw
- drill & drill bits
- sandpaper
- acrylic paint & brush
- cotton fabric scraps
- decoupage for fabric & brush
- scissors
- 1×12 scrap wood
- 1×2 cedar wood
- wood glue
- nail gun
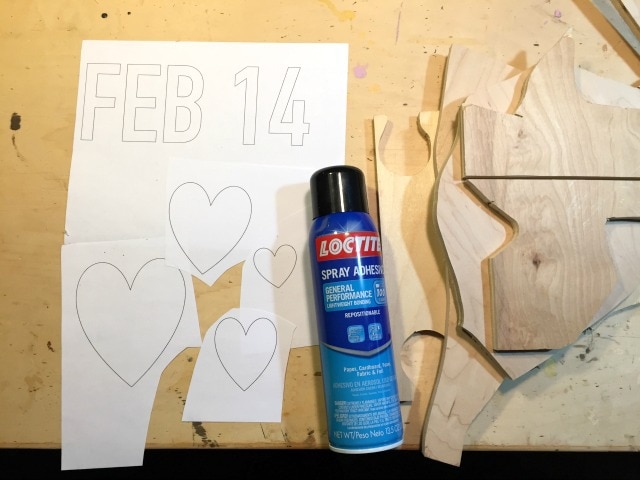
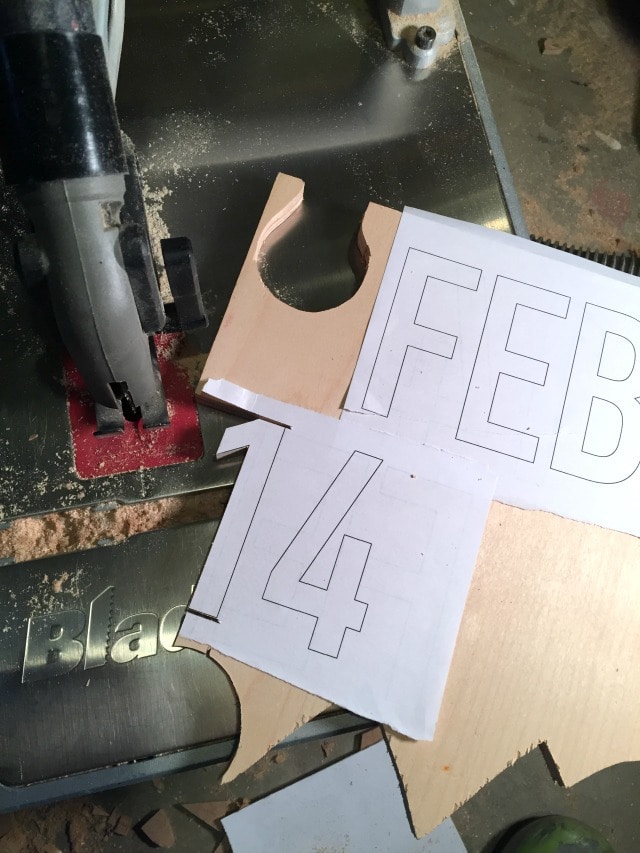
Step 1: Print out desired letters and shapes. Using spray adhesive lightly coat the back of the print out and apply to 1/2″ plywood scraps.
Step 2: Begin cutting out the shapes. I used a Rockwell Bladerunner for the straight cuts but a jig saw would work too.
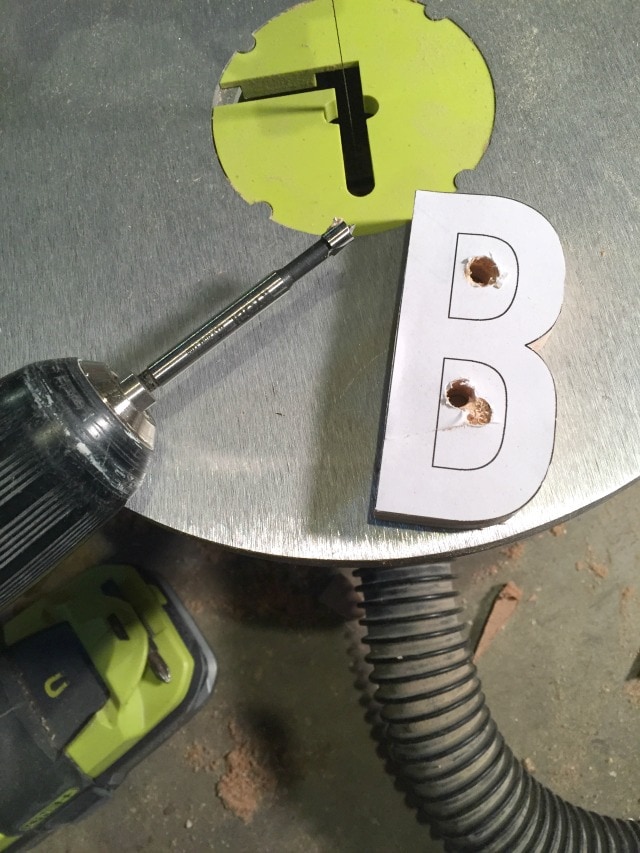
Step 3: To make the interior cuts first drill a hole big enough to fit the scroll saw blade through and then insert the blade and cut. *Note you should probably do these interior cuts first so you have more wood to hold on to and keep those fingers safe.
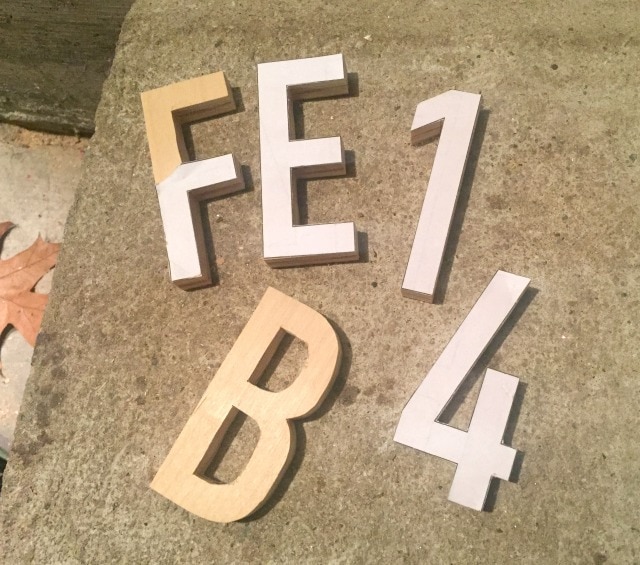
Step 4: Remove the printout from the wood and sand off any excess adhesive.
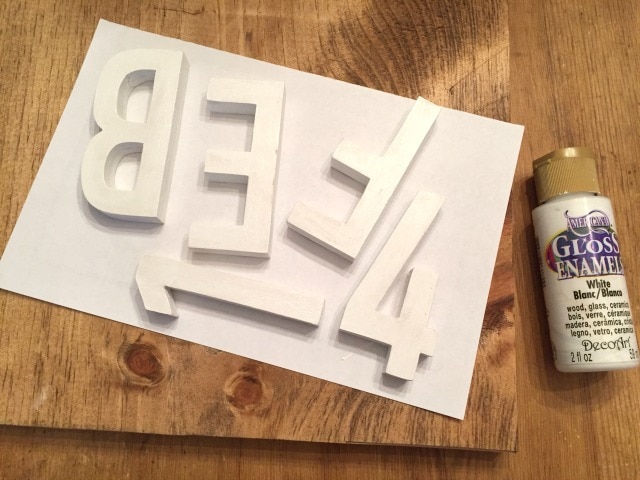
Step 5: Paint as desired.
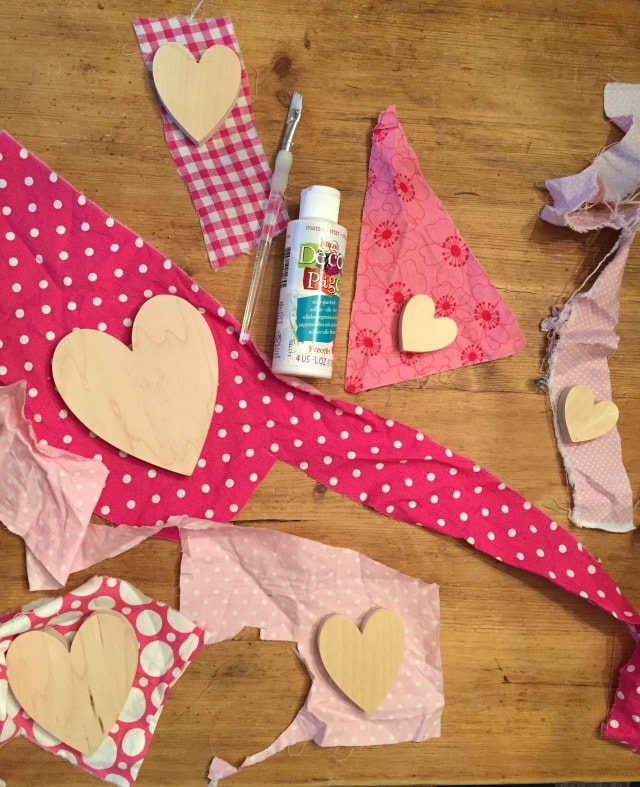
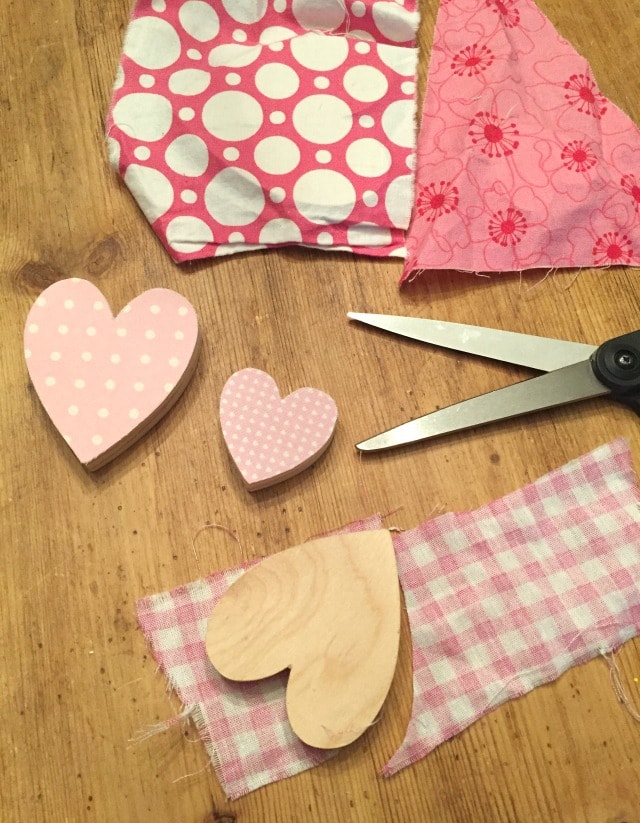
Step 6: To apply the fabric use decopauge and a brush then press the fabric smooth onto the wood shape. This also works for paper.
Step 7: Once the decopauge is dry cut off the excess fabric.
Step 8: Make a frame for the 1×12 board using 1×2 cedar, wood glue and a nail gun. Then spread wood glue onto the back of each letter or shape and place on the board. Let dry throughly before hanging.
I hope you liked this project and can find a way to apply this method towards a project for yourself. Wishing you all a very Happy Valentine’s Day!





So pretty! And what better way to use all those scrap pieces. Happy V-day!