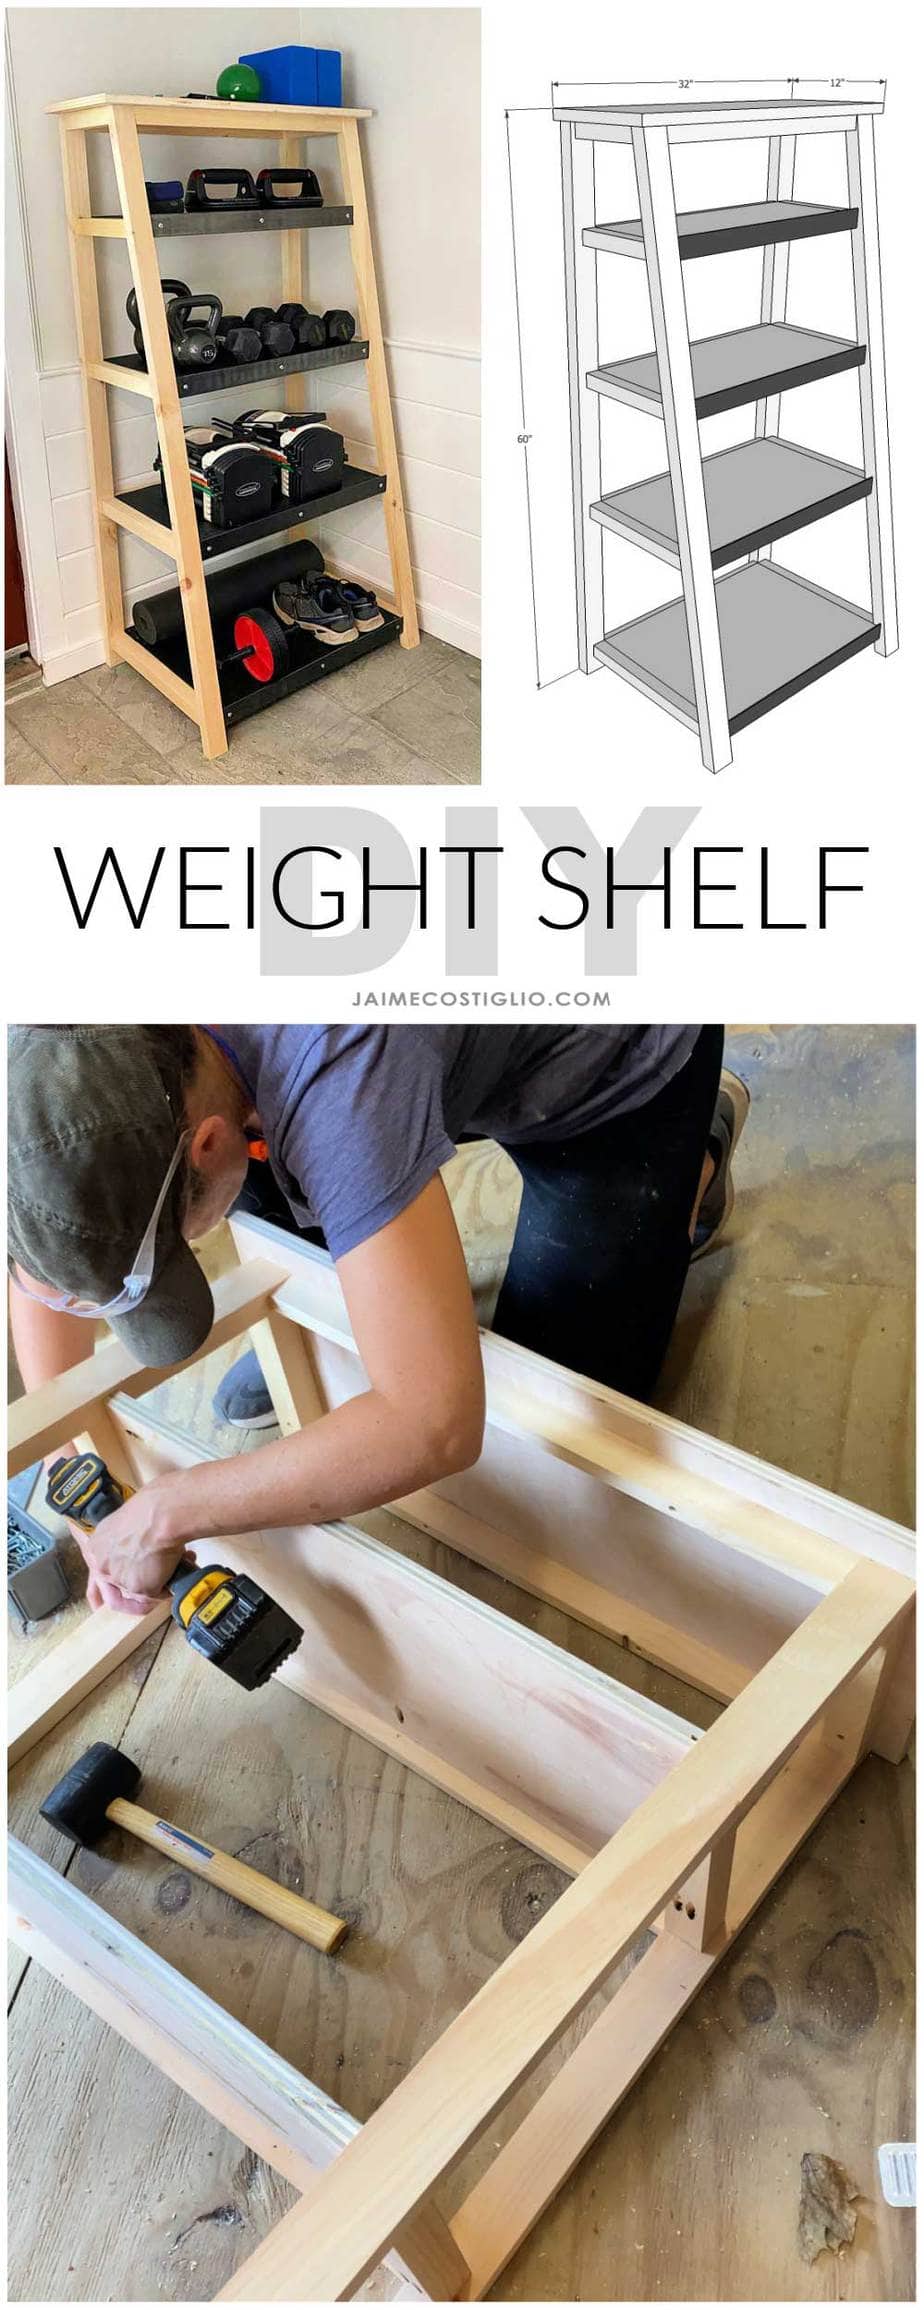
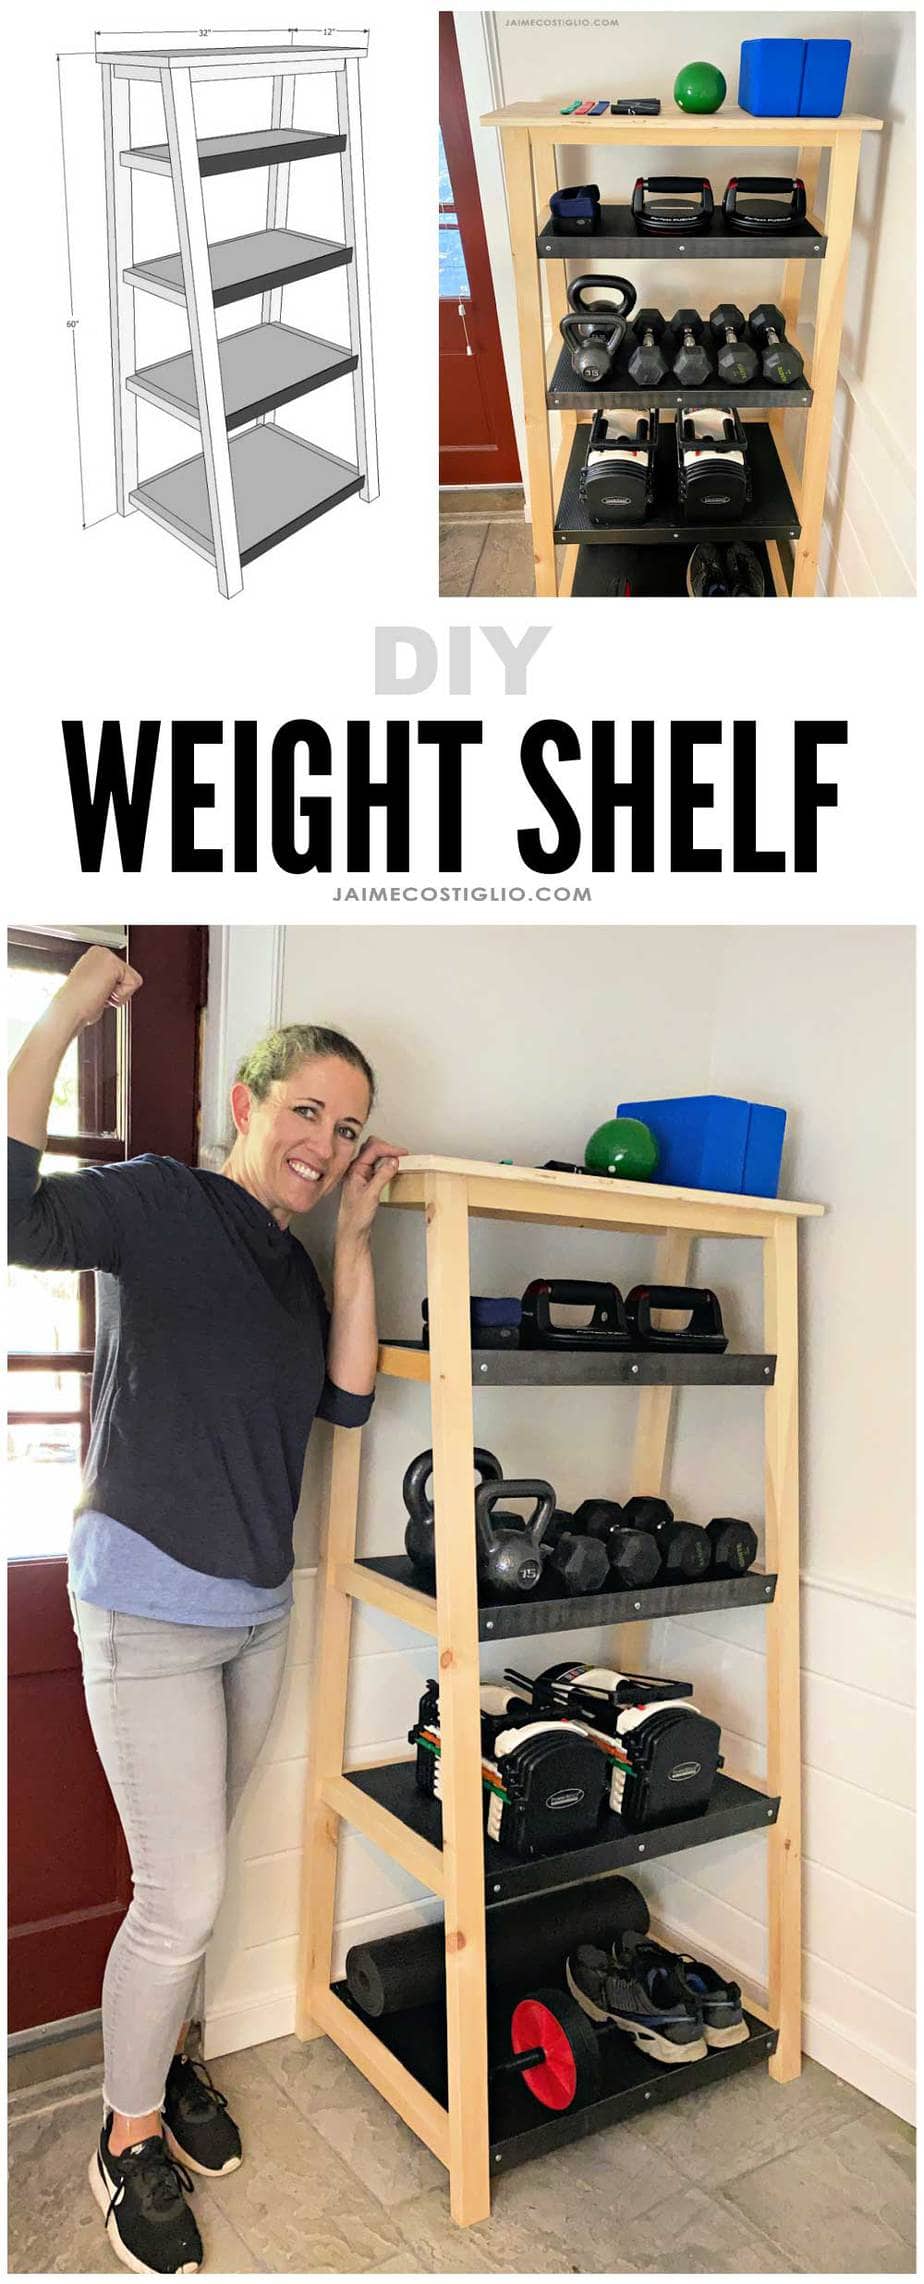
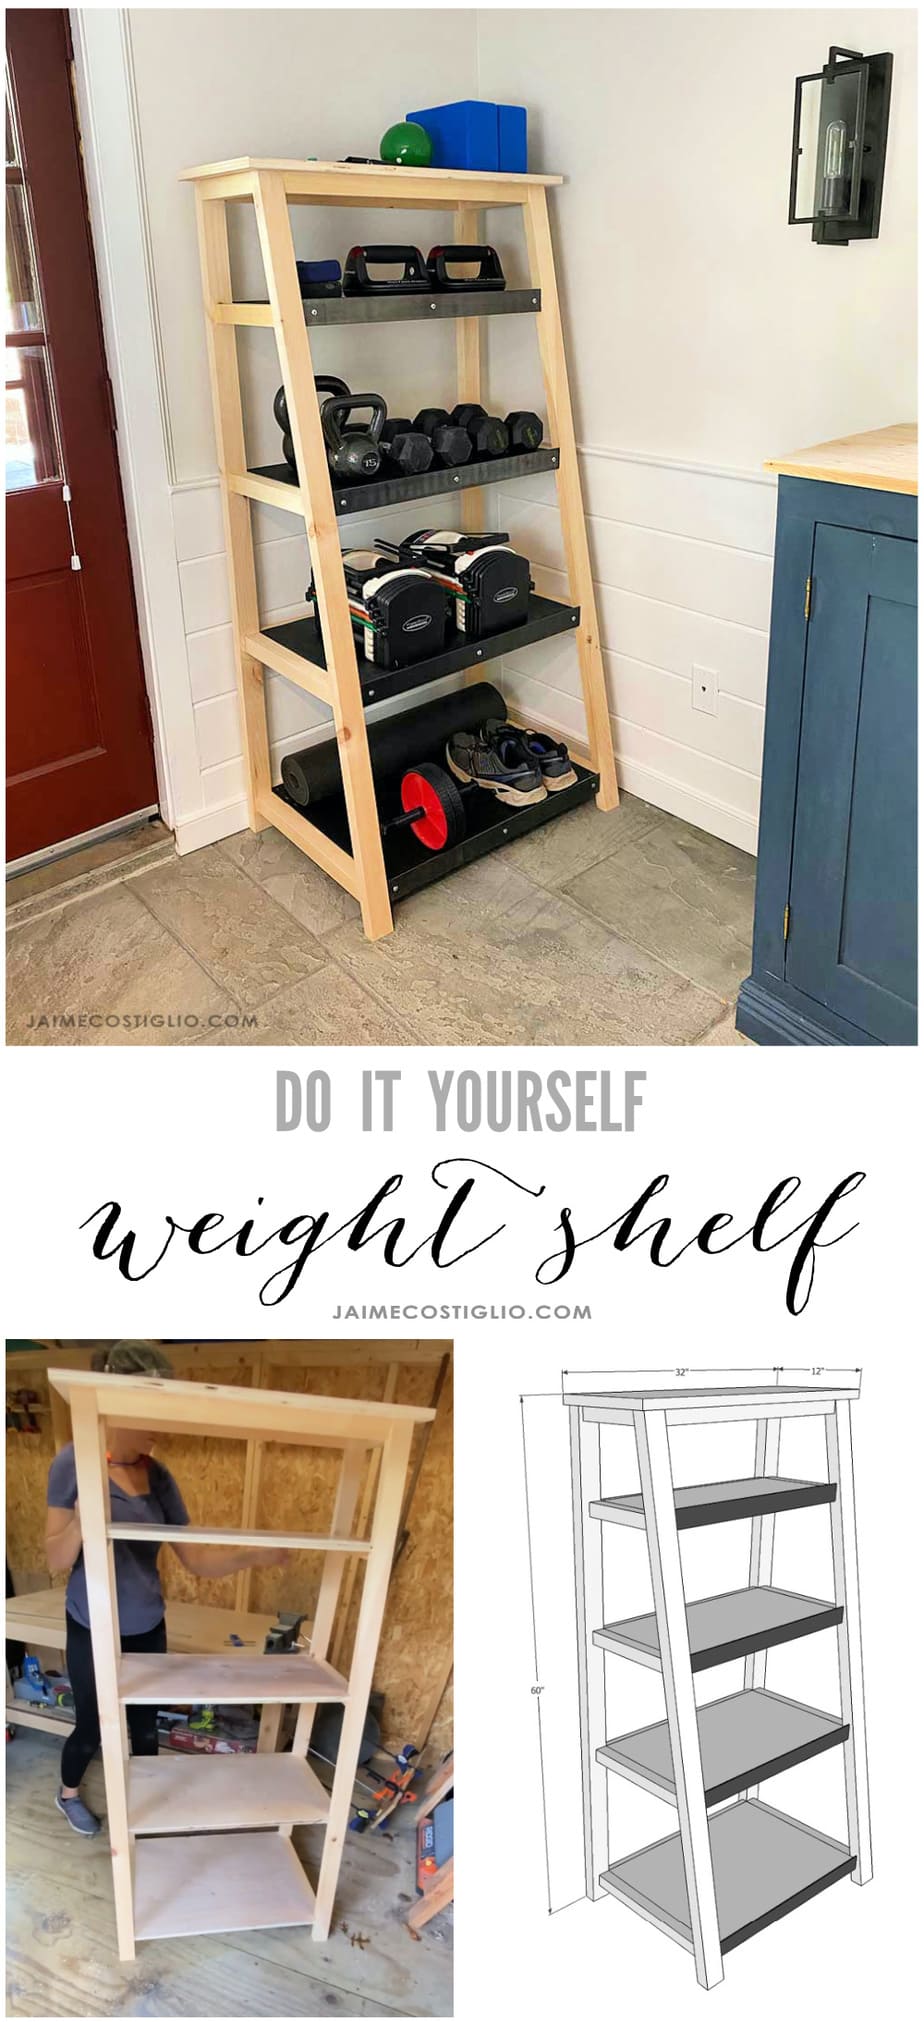
We’re doing everything at home these days – including working out. Naturally that leads to the need for weight storage and a place for all the workout gear. So today I’m sharing this DIY weight storage shelf with plans so you can build one too!
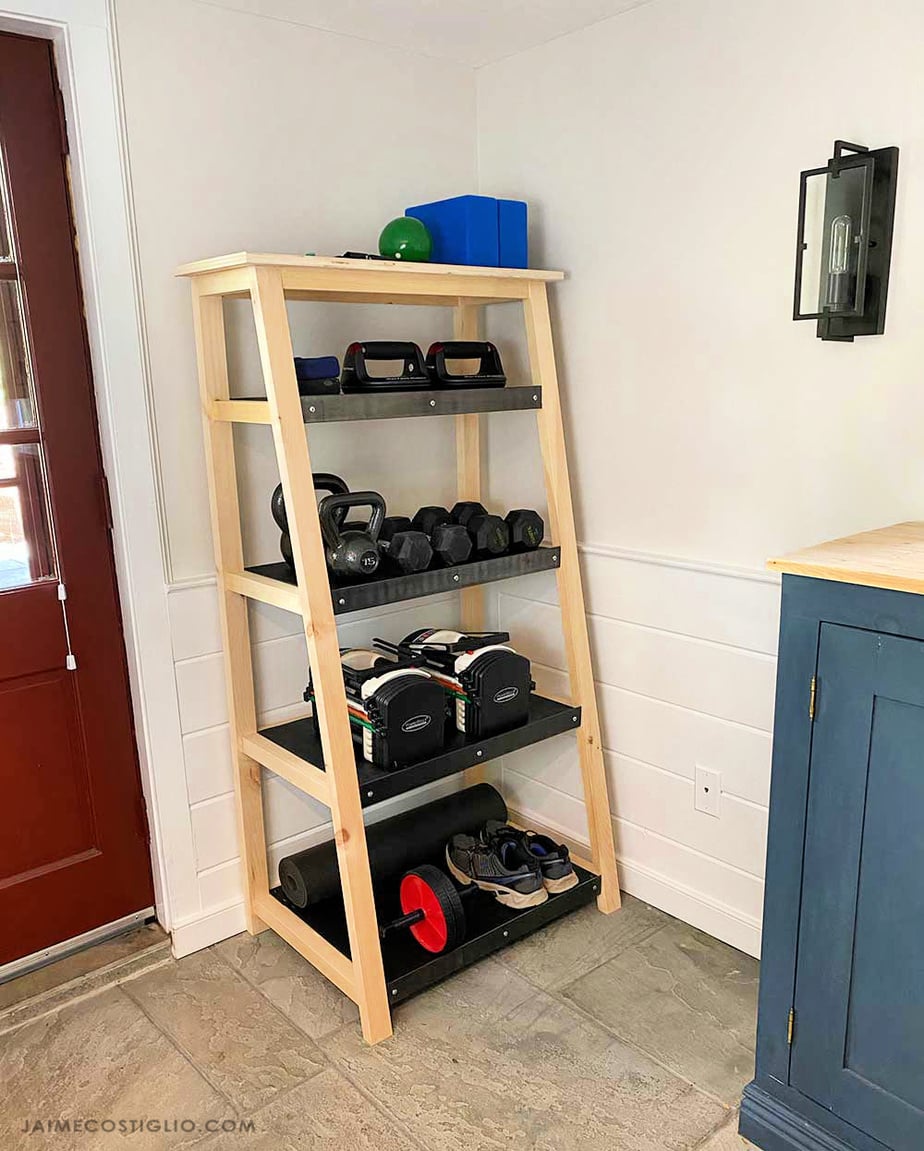
A DIY tutorial to build a weight storage shelf for dumbbells and free weights. Make this tiered shelf for any storage needs with my plans.
This tiered storage shelf would be perfect for lots of things besides weights:
- plants
- clothing
- craft supplies
- family room display shelves
- office or game room
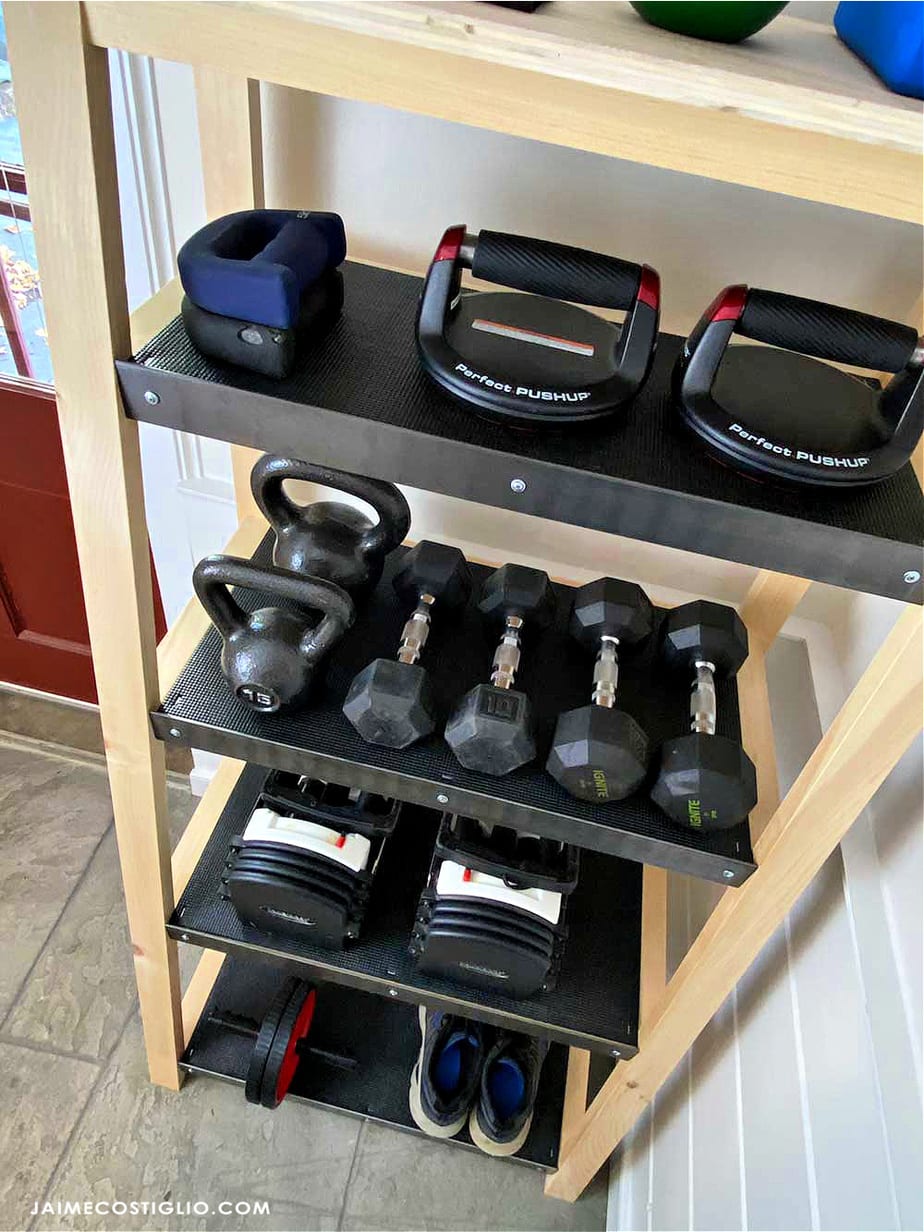
Workout Space
We’ve always used our lower level family room as a bit of a workout space. Hence the reason I built the workout bench awhile back. But we had all these loose free weights and accessories jumbled about and I wanted a simple yet accessible storage solution.

Inspiration:
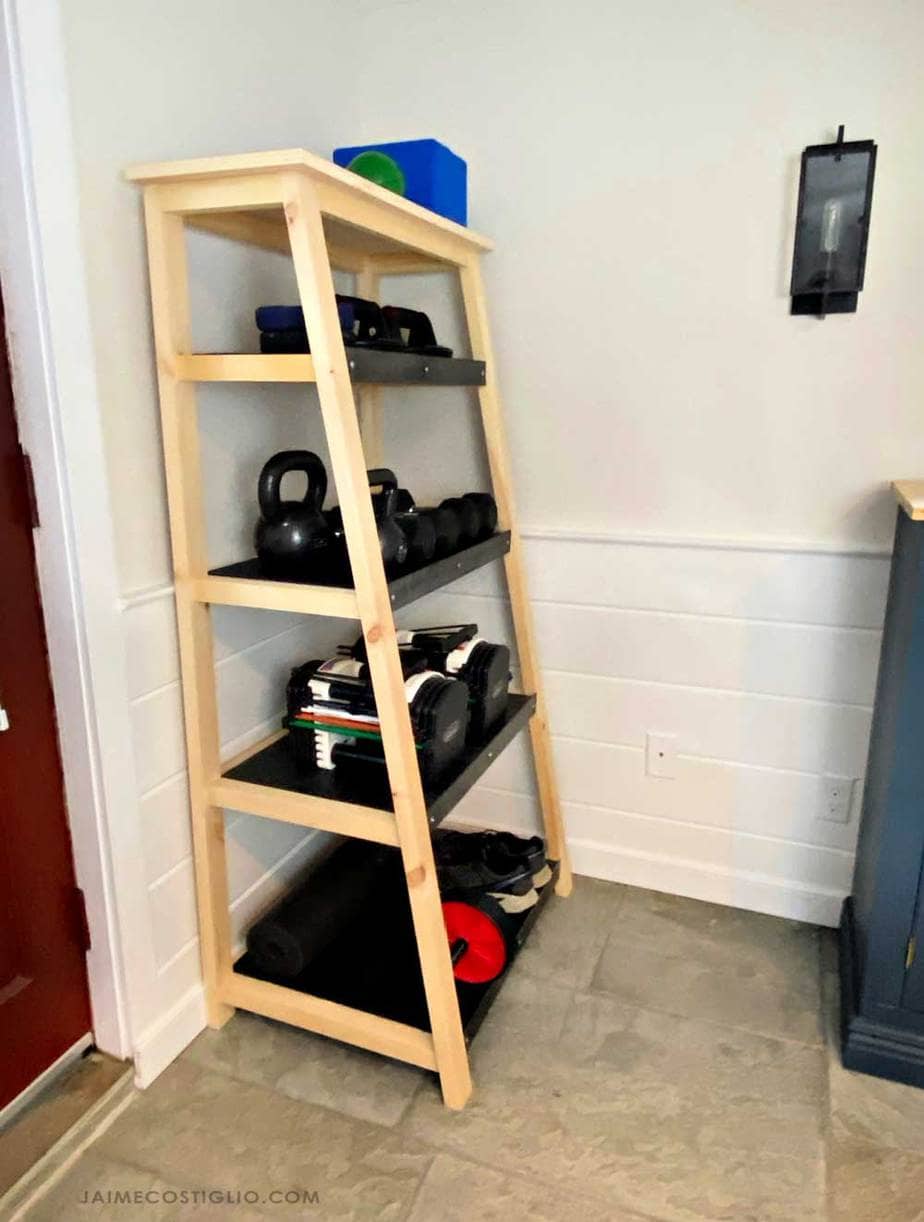
Enter the weight shelf and I could not be happier! I must give a shout out to my inspiration from Dykestrom Doings. He built an amazing dumbbell table that I used as a starting point for my DIY weight shelf. Definitely check it out if you’re considering any kind of free weights or dumbbell storage ideas.

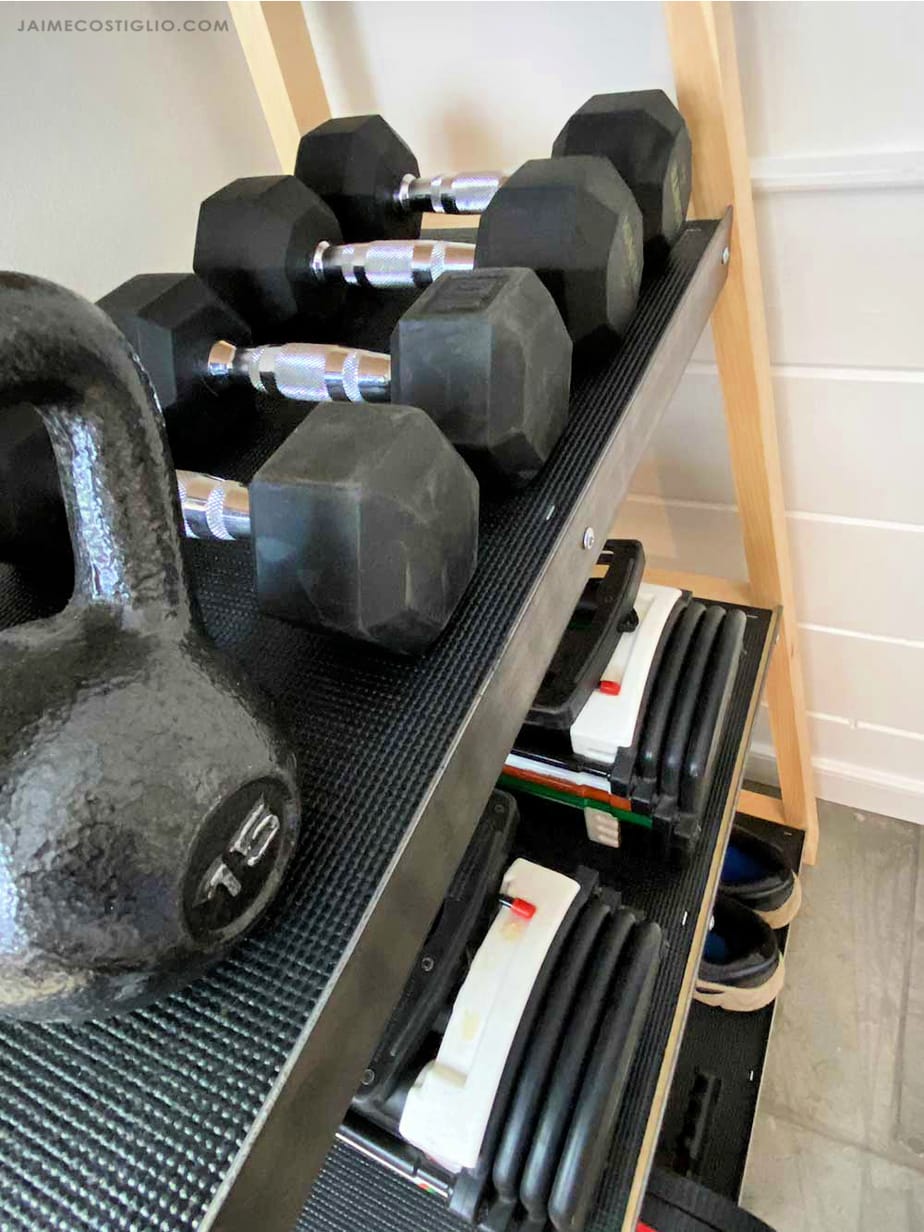
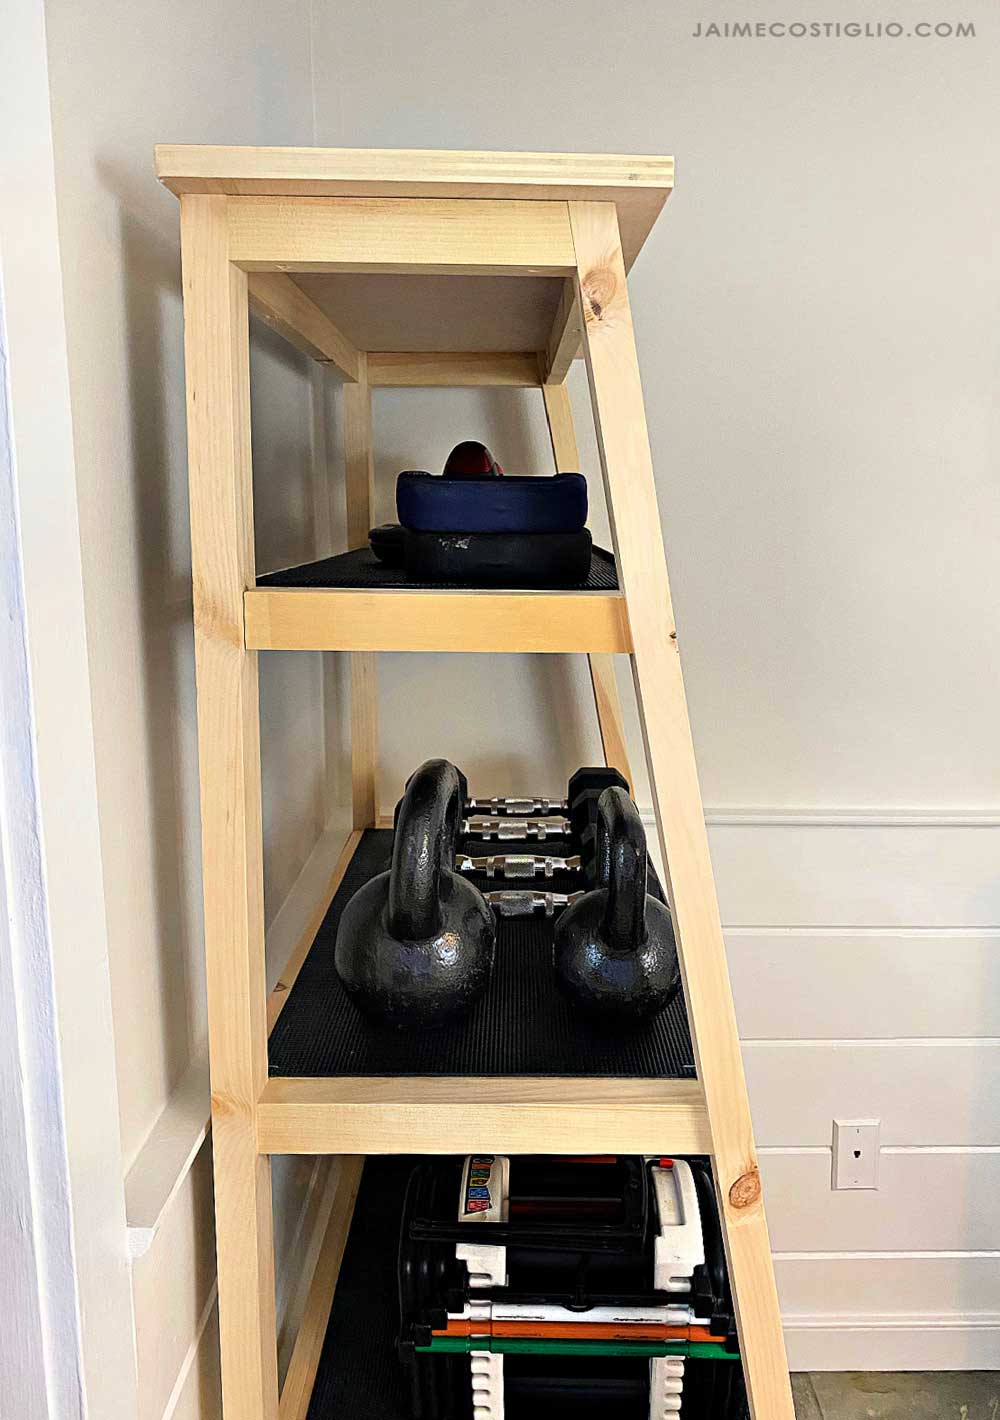
I absolutely love the tiered shelves and metal trim. The only thing that may make this shelf even would be to tilt the shelves forward ever so slightly but I’m happy as it is today. The key to remember when constructing this display shelf is the 10 degree bevel. Because the front legs are beveled that also makes the shelf side supports beveled. And if you wanted to tilt the shelves you could take advantage of that already existing front bevel and also bevel the back cut on the shelf side support. Somehow I completely forgot that minor design element when I was building but it turned out just fine.

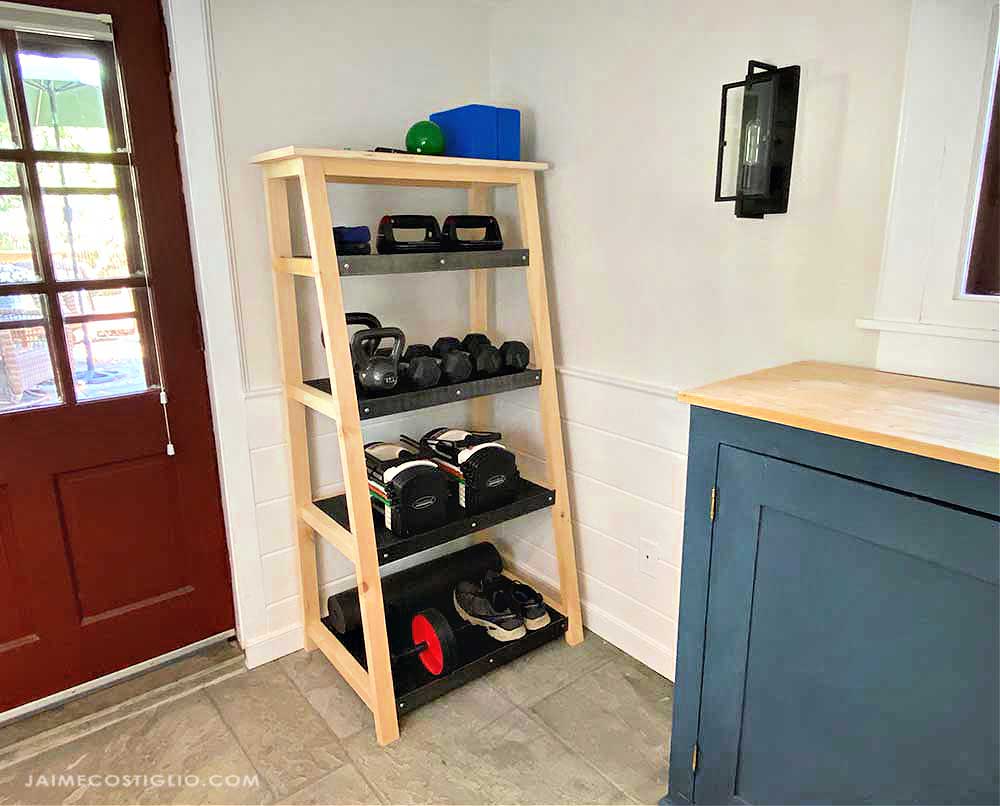
So down below I’m sharing the plans as well as some tips for the building process. Please be sure to read through the plans and post entirely before beginning.
Click here for a printable PDF version of the plans.
Supplies:
- miter saw
- drill
- pocket hole jig
- circular saw and straight edge or table saw
- measuring tape
- pencil
- wood glue
- 2 1/2″ pocket hole screws
- 1 1/4″ pocket hole screws
- 2″ wood screws
- 2 – 2″ x 1/8″ thick flat bar x 6′
- reciprocating saw & metal cutting blade
- multipurpose drill bits (for metal)
- 3/4″ lath screws
- toolbox drawer liner
- rotart cutter / self healing mat / quilting ruler or scissors and straight edge
- stapler and staples
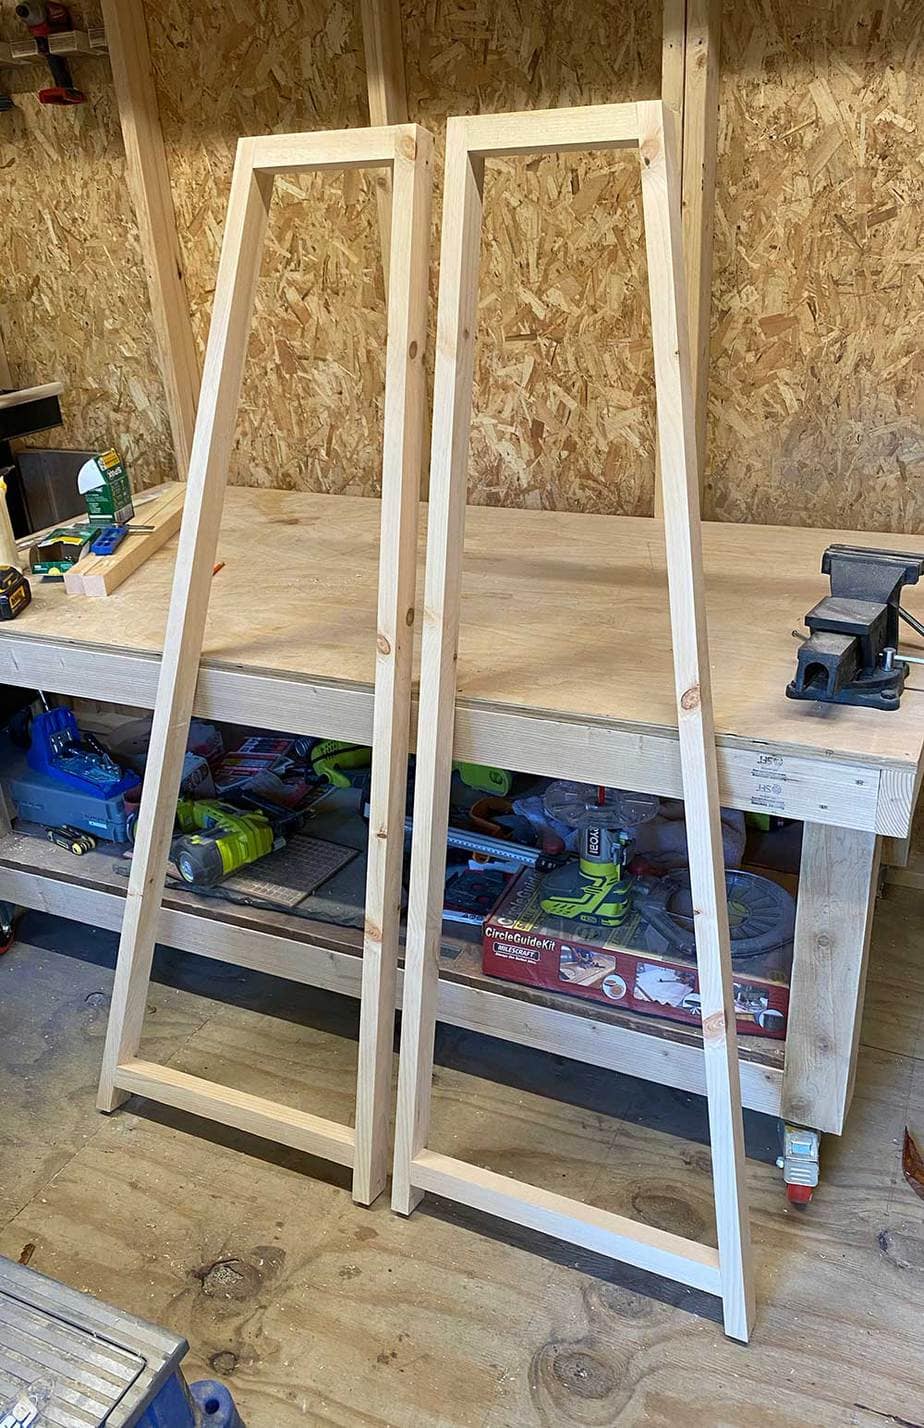
In Step 1 of the plans you will construct the side panels. Be sure to attach the horizontal supports flush to the interior. Also be sure you make two mirrored side pieces, one for the left and one for the right.
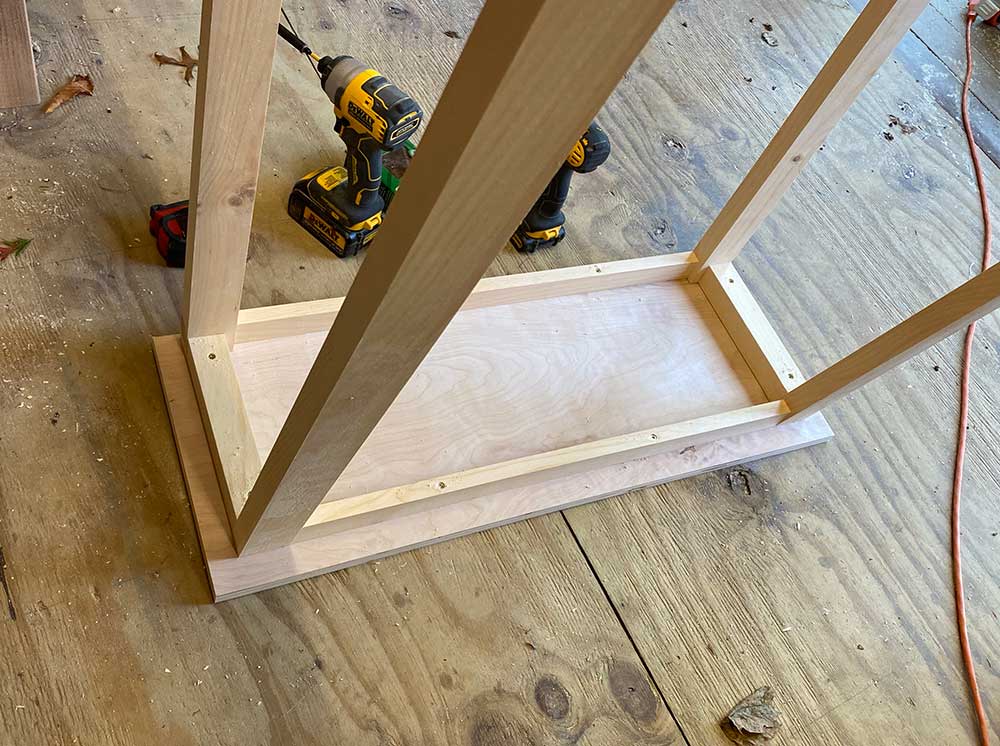
When attaching the top to the frame I opted to predrill before countersinking the 2″ wood screws. Predrilling will ensure the narrow 1×2 cross supports don’t split and gives a nice spot for the screw head to rest inconspicuously.
Shelves:
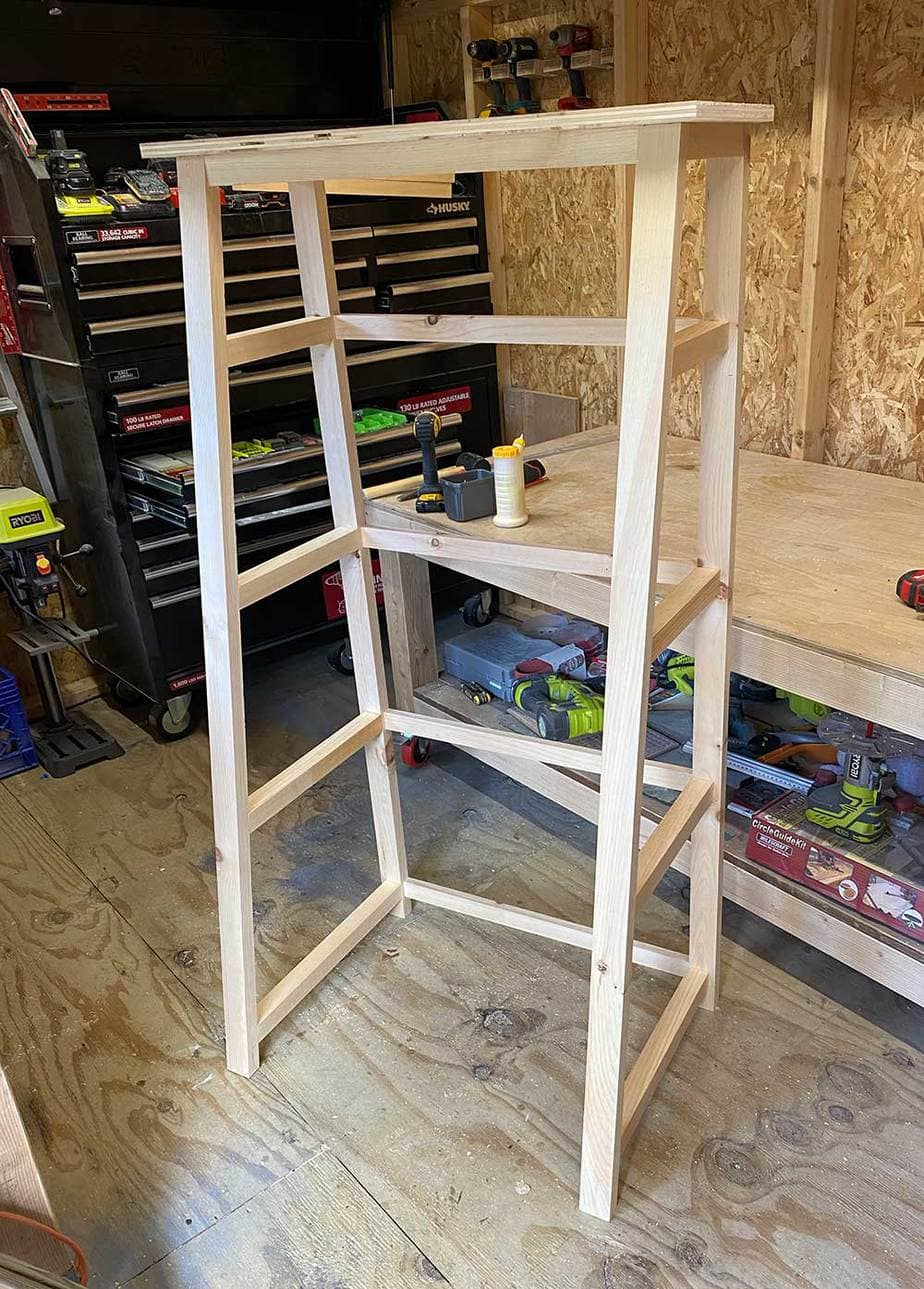
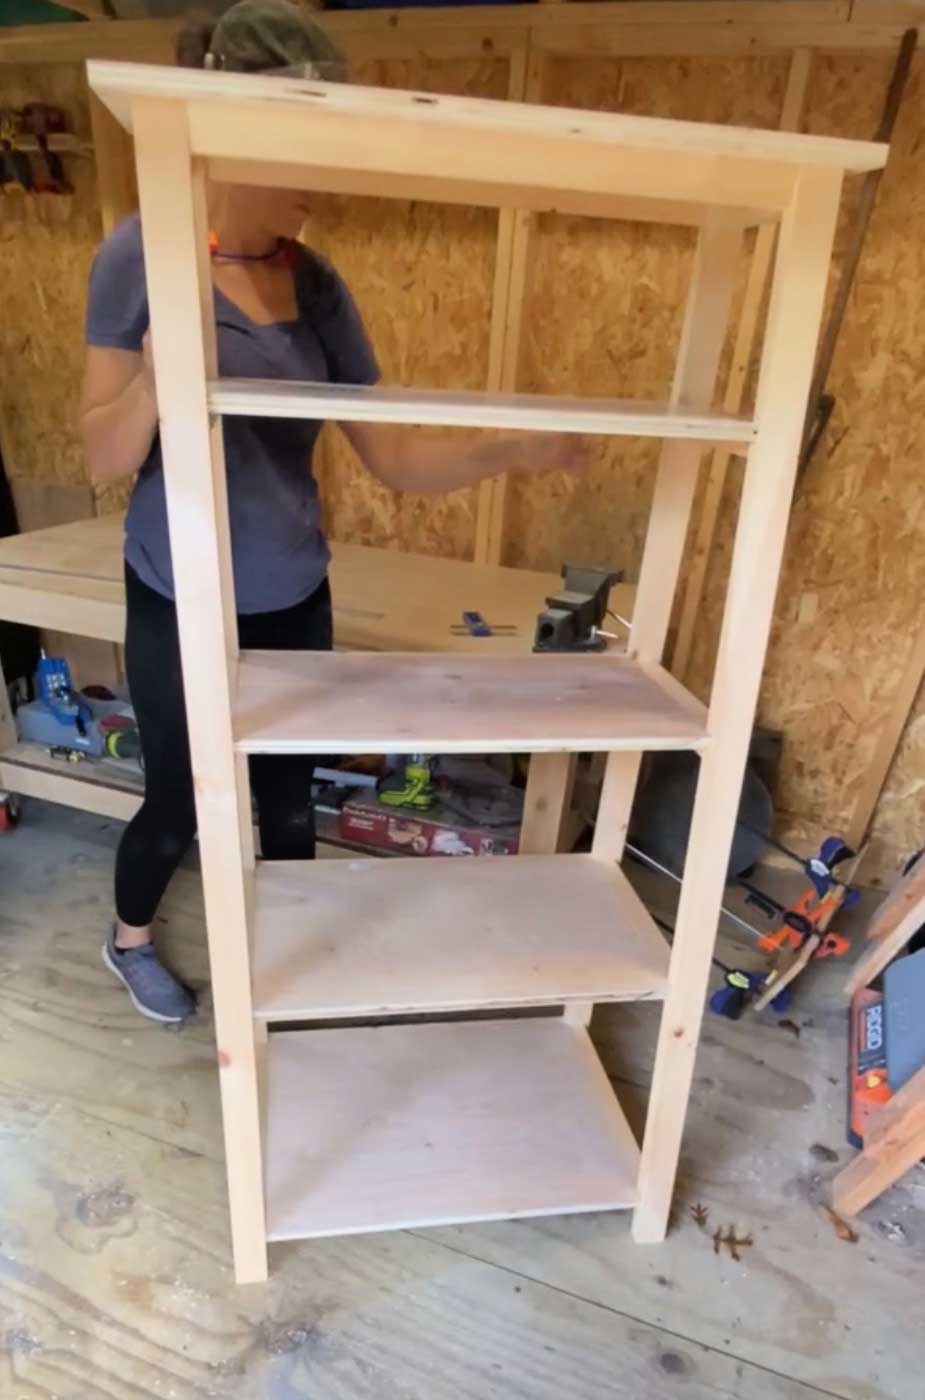
Now that the frame is complete it’s time to move onto the shelves. I highly suggest measuring for each shelf given that the depths change with each shelf.
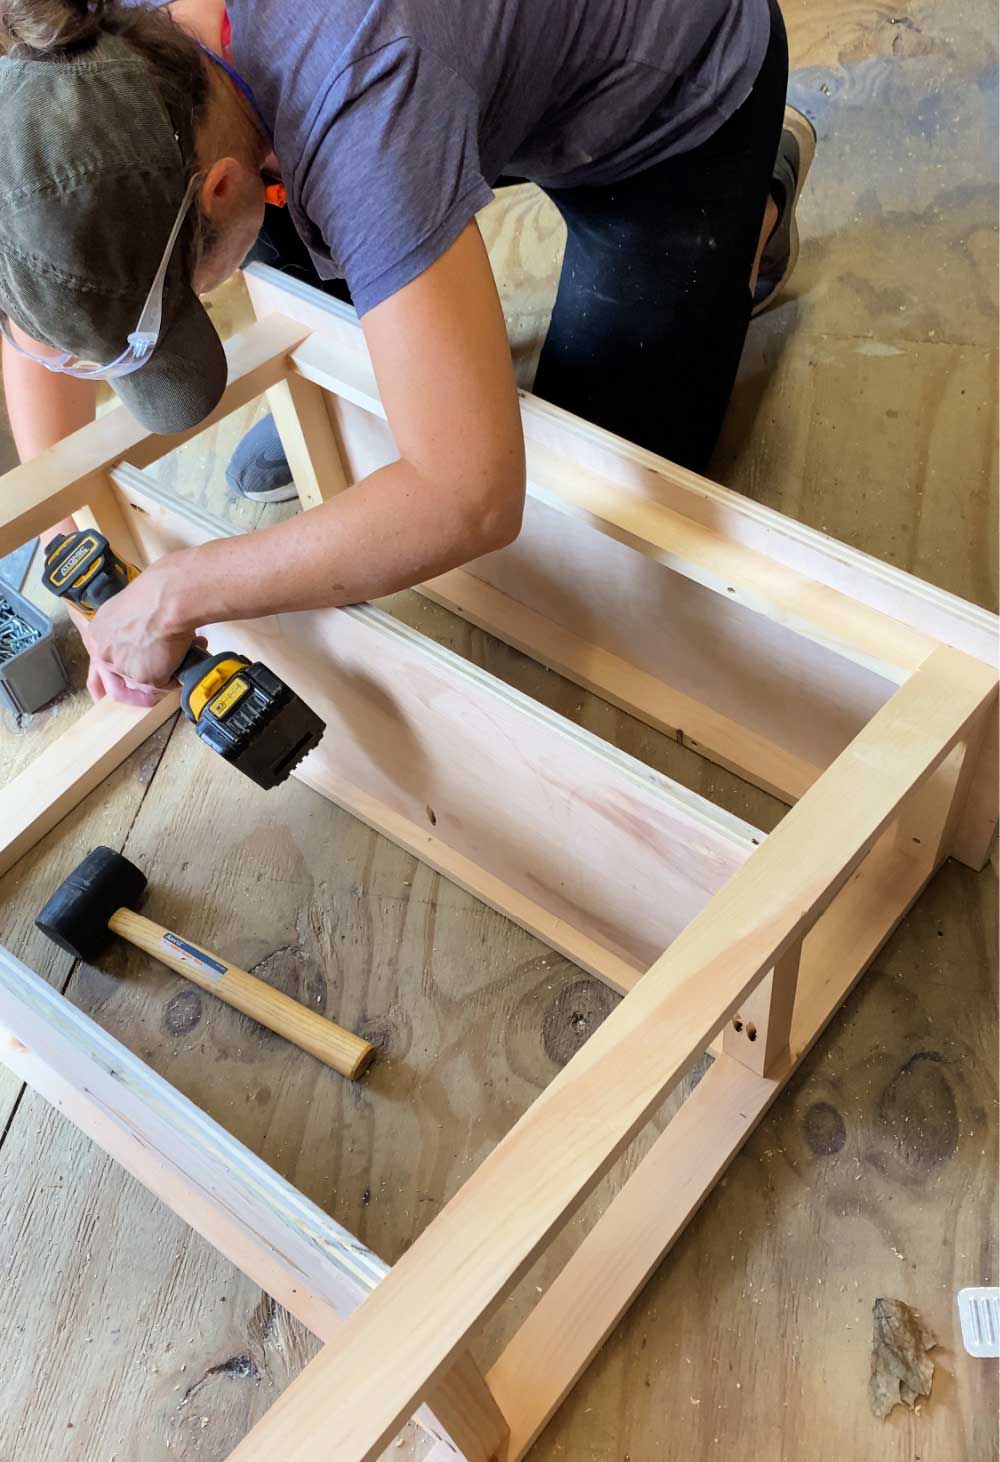
Attach the shelves to the frame using pocket holes on the underside. Be sure to keep the shelf flush to the trim on the top side for a super smooth shelf surface.
Metal Trim:
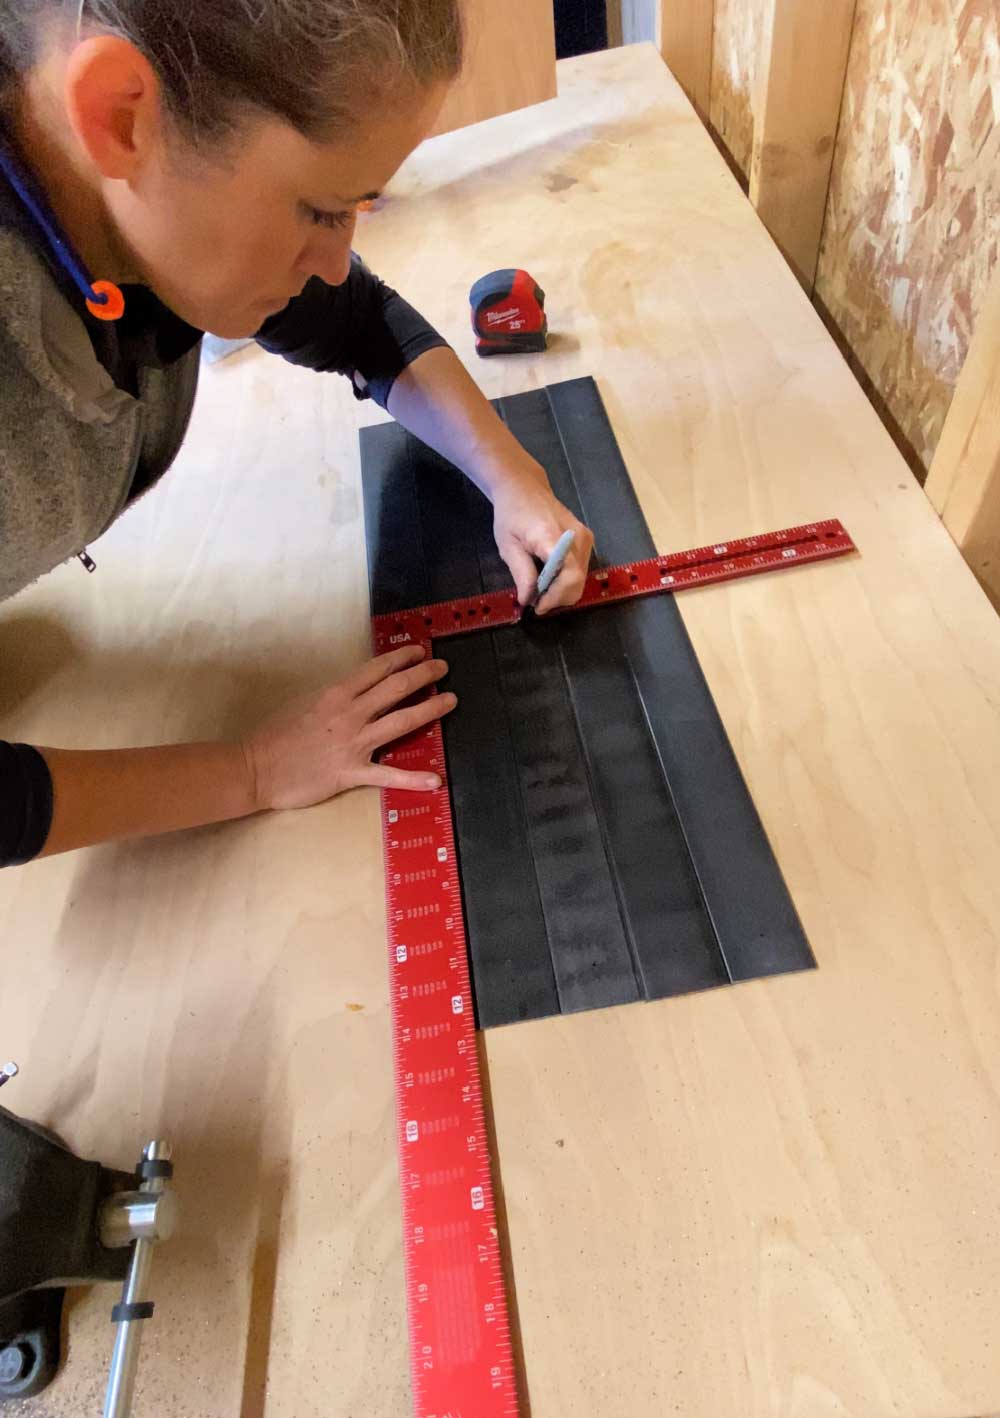
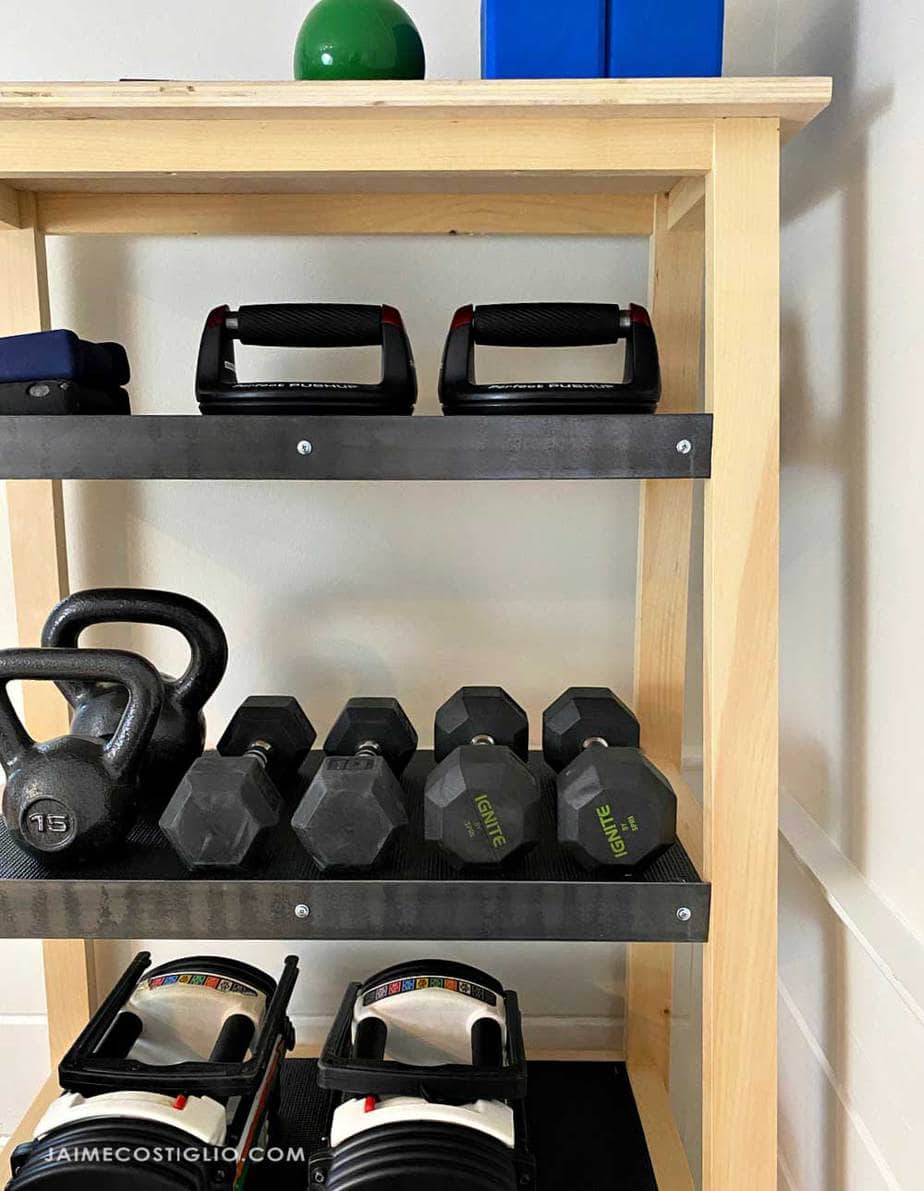
Lastly we need to add the metal flat bar front trim. To cut the flat bar I used a reciprocating saw with a metal cutting blade. Then line up the bars and mark them for 3 holes each for the lath screws.
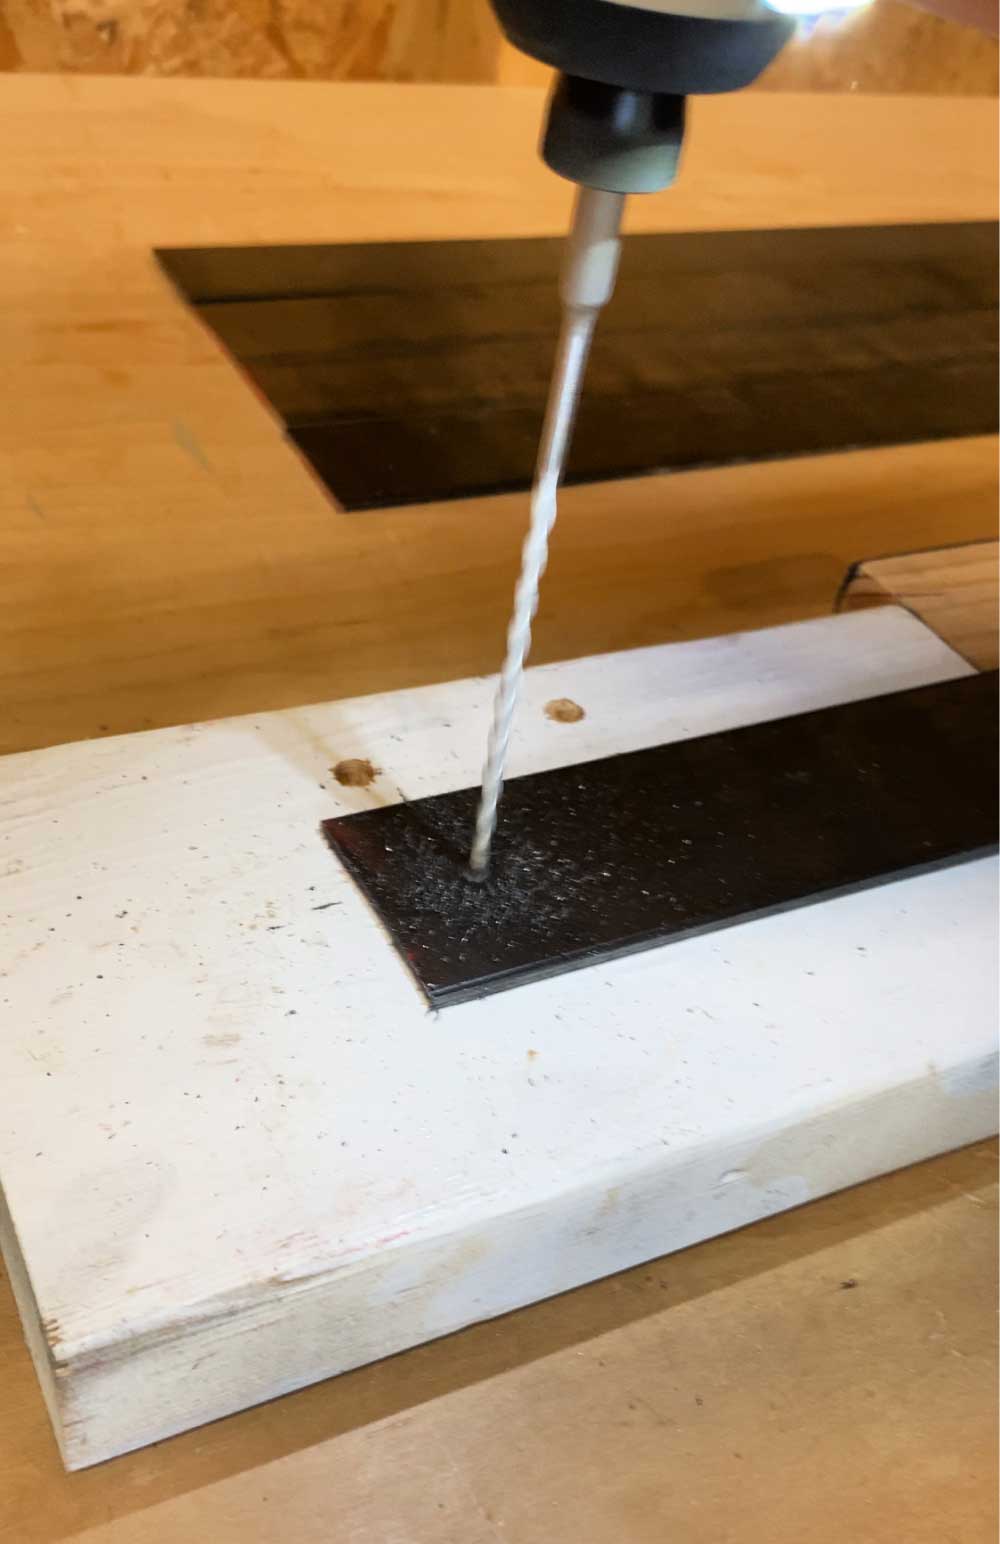
Using a multi-purpose or metal bit predrill the holes in the flat bar. Make sure to drill on top of a piece of scrap wood to save your workbench.
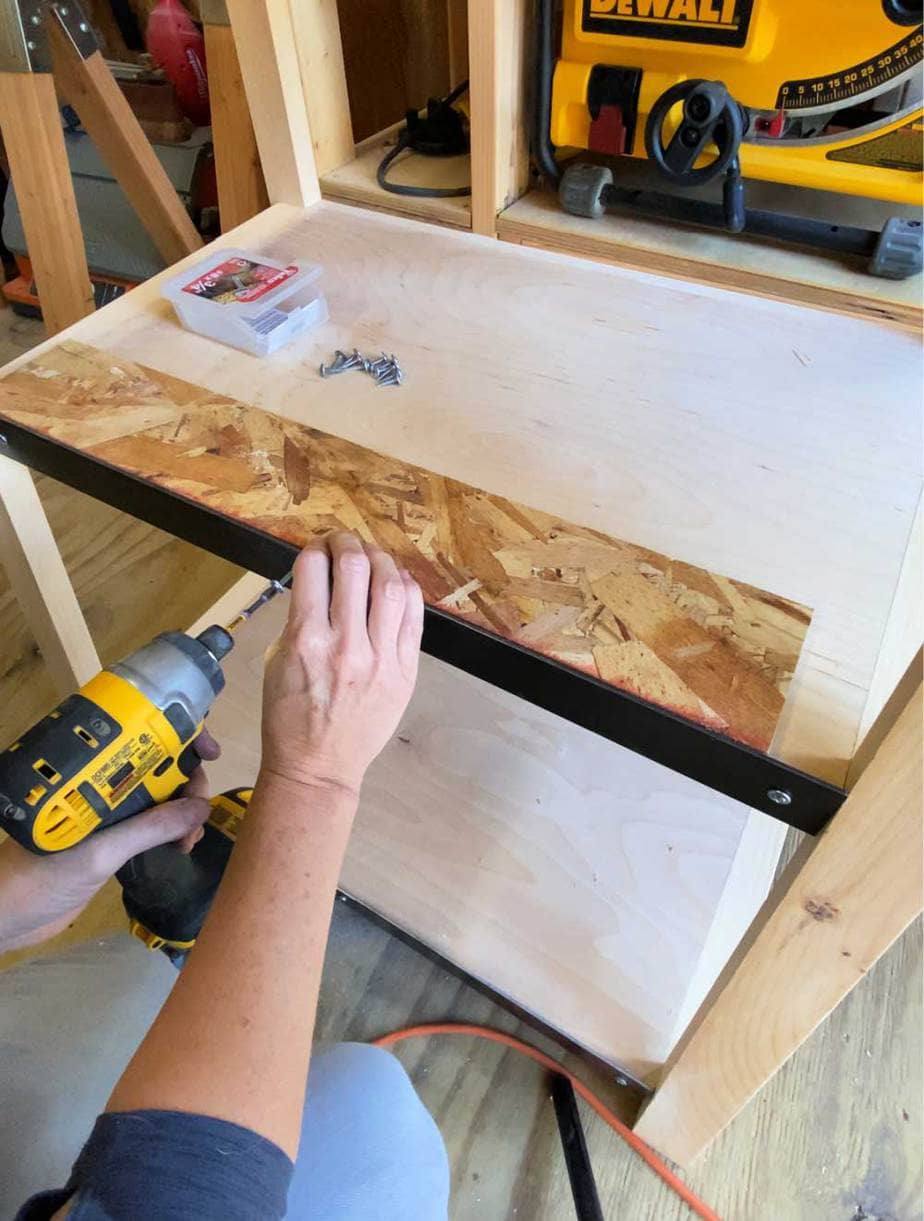
Now using a piece of 1/2″ plywood scrap for a spacer place the flat bar in position. Keep the top of the bar flush with the plywood to ensure a 1/2″ lip. Then attach the bar using 3/4″ lath screws into the front edge of your shelf. This gives you a nice metal lip edge on your weight shelf.

Shelf Liner:
To protect the plywood shelves from dings and dents from the heavy weights I lined each shelf using tool box liner. The easiest method to cut the liner to fit is to use a self-healing mat, rotary cutter and clear quilting ruler.
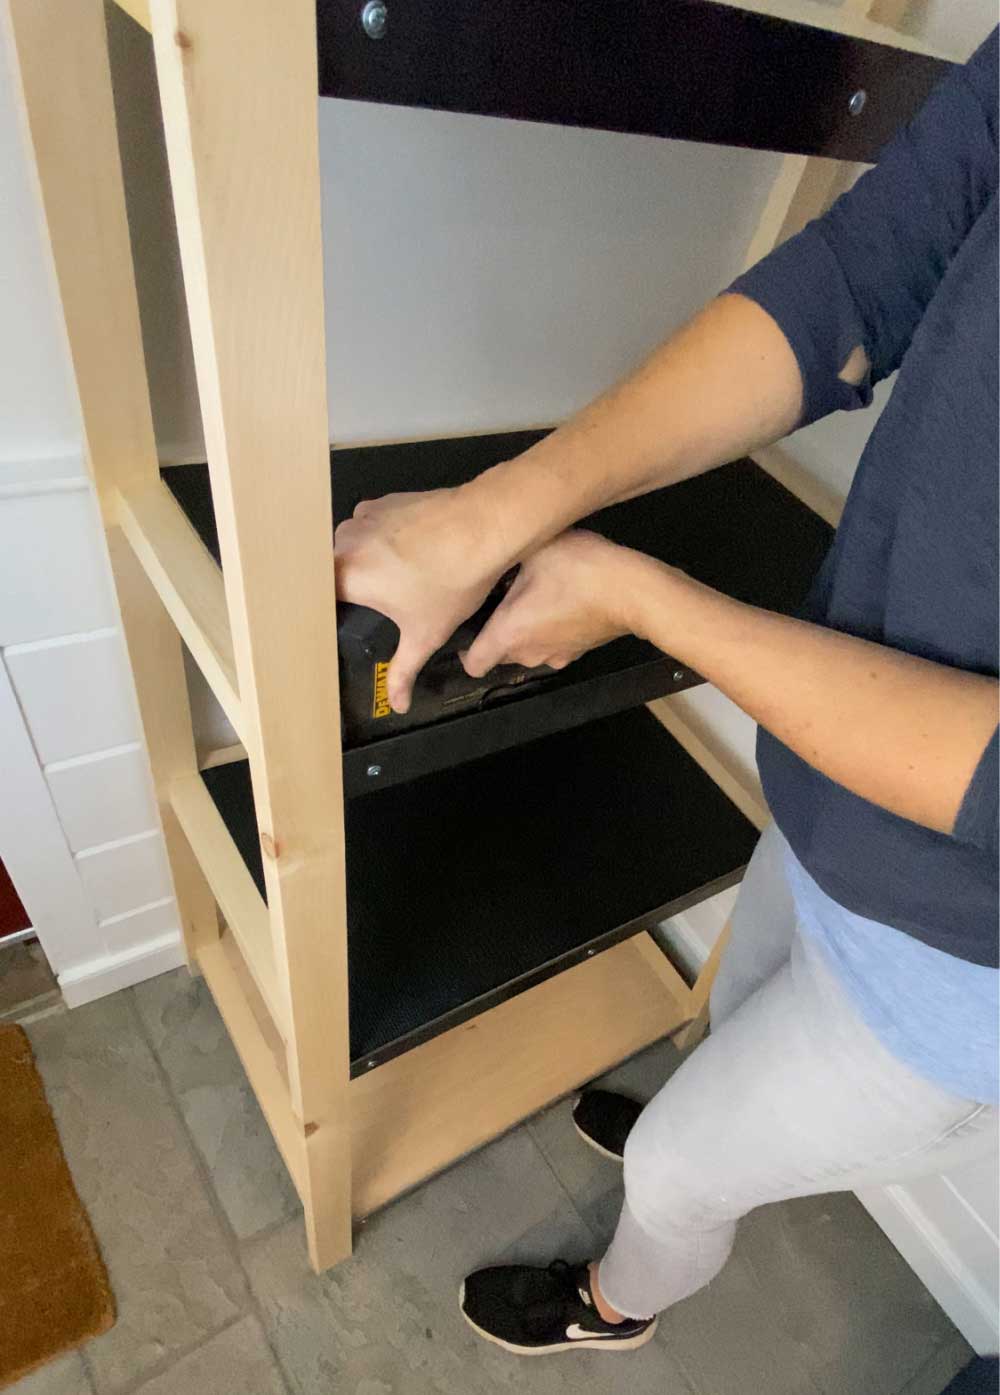
Once the liner is cut to size then secure it to the shelf using a stapler. This prevents the liner from shifting and keeps your shelves safe and tidy.
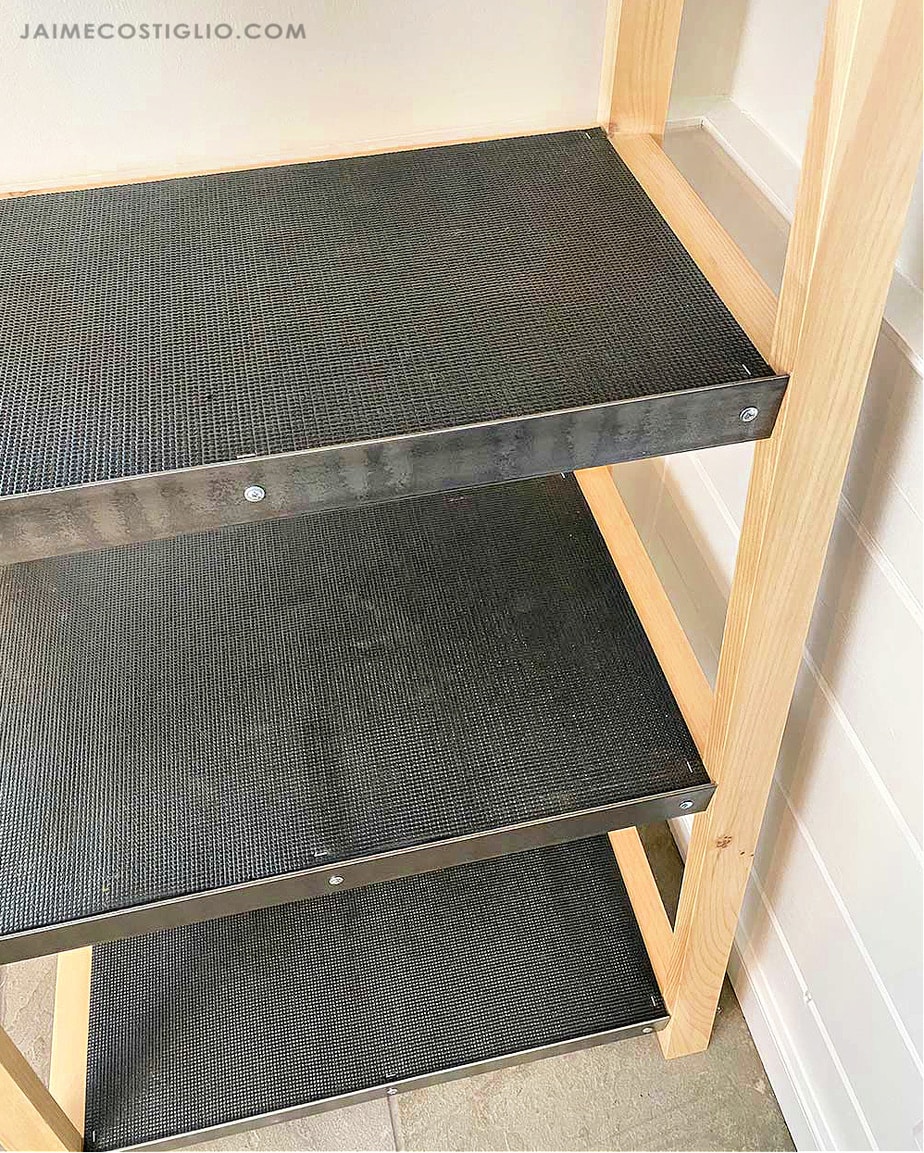
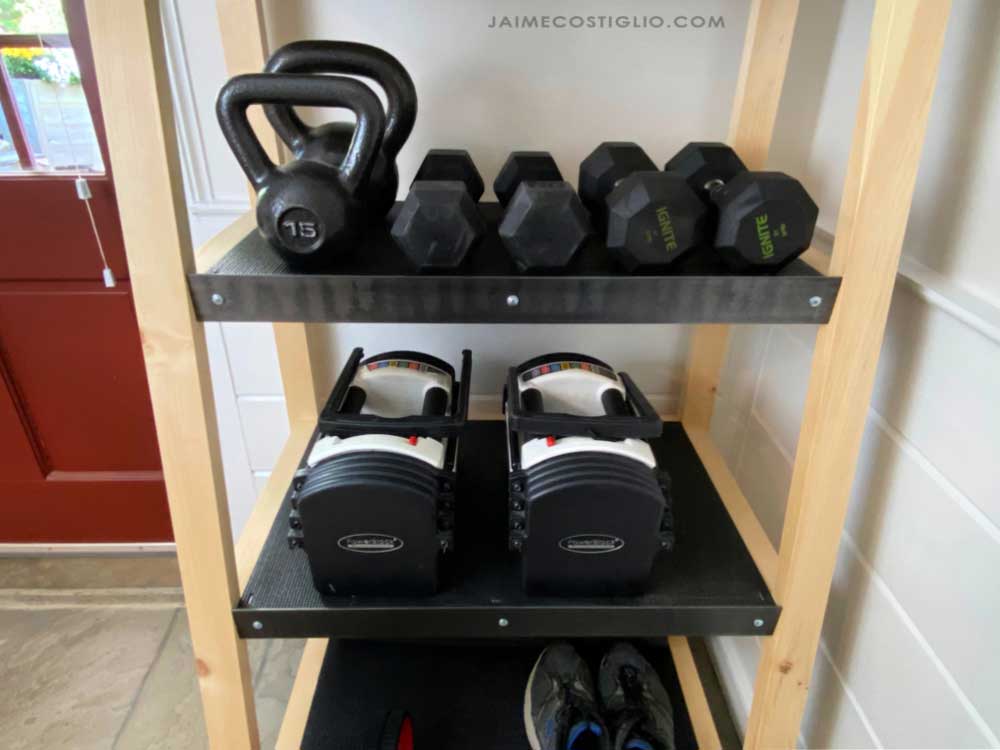
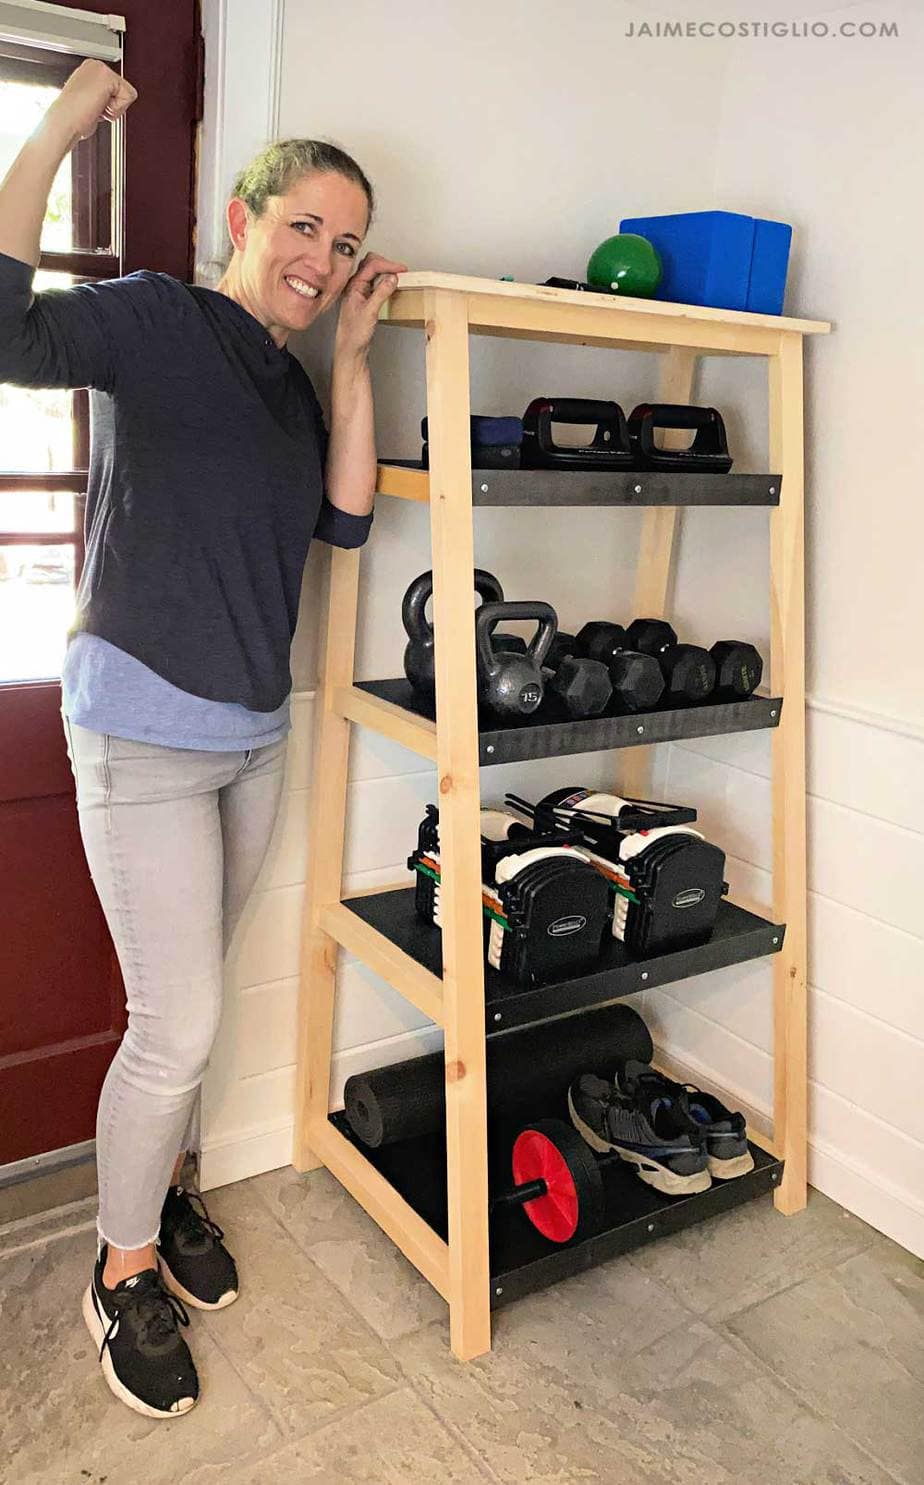
Now you can fill up the weight shelf with all the workout gear and have everything visible and easily accessible!
Thanks for joining me for this weight shelf project. Please leave any questions in the comments below and be sure to follow me on social media for sneak peeks, tools and project inspiration:
SHOP THIS PROJECT:


Leave a Reply