Give that little one a special place to play all things beauty with a DIY kids play vanity set. It’s another Handbuilt Holiday gift project from Ana White and me just in time for the holidays. We’re sharing how to build a kids vanity with plans so you can make one too!
A DIY tutorial to build a kids play vanity set. Make this kid sized play vanity set with a drawer, mirror and cute little stool. Free plans for you.
Every Friday leading up to Christmas Ana White and I share a new gift plan so you can build the perfect gift. We’ve got years worth of gift project ideas cataloged right here if you’re looking for a great gift idea.
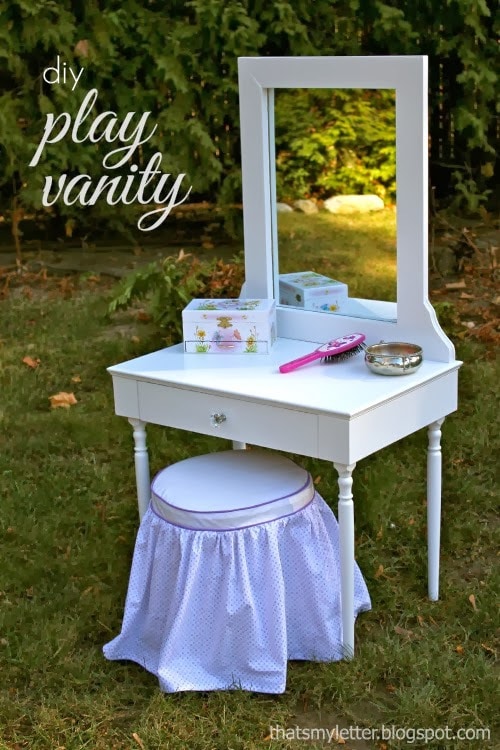
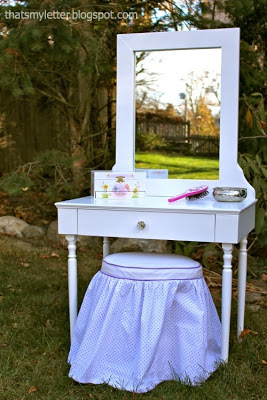
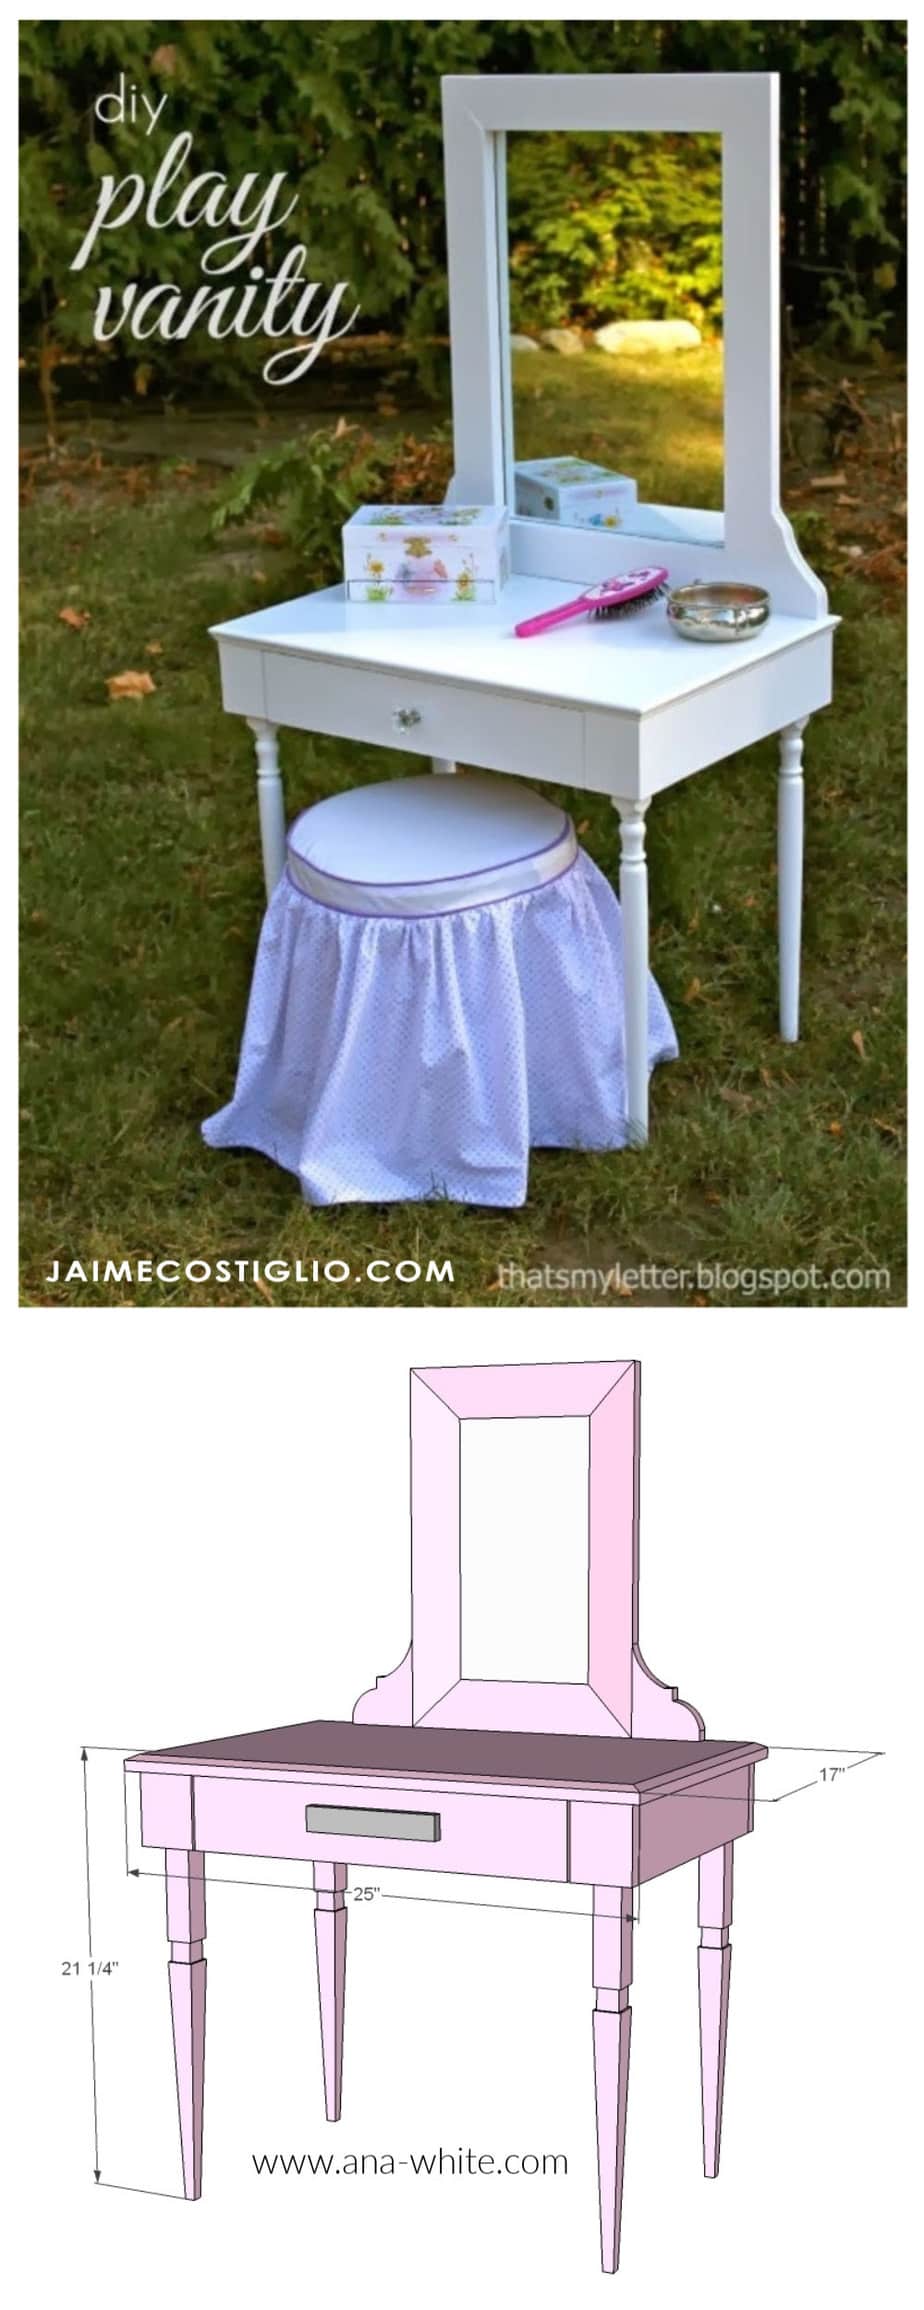
Today is the cutest little kids play vanity with a drawer and mirror built just the right height for pint sized people. And you can diy the vanity stool with slipcover to complete the build.
We utilized stair balusters for legs to build this kids vanity. Overall it costs about $50 in supplies not including the mirror. The mirror was an additional $25 and I built the stool and slipcover using scrap wood, fabric I had on hand and a store bought stool cushion for $12.
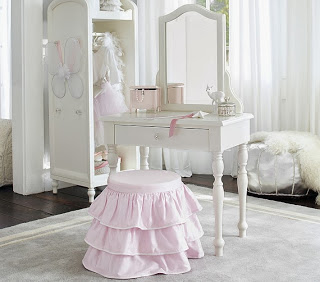
This kids vanity was inspired by Pottery Barn Kids Whitney play vanity (no longer available).
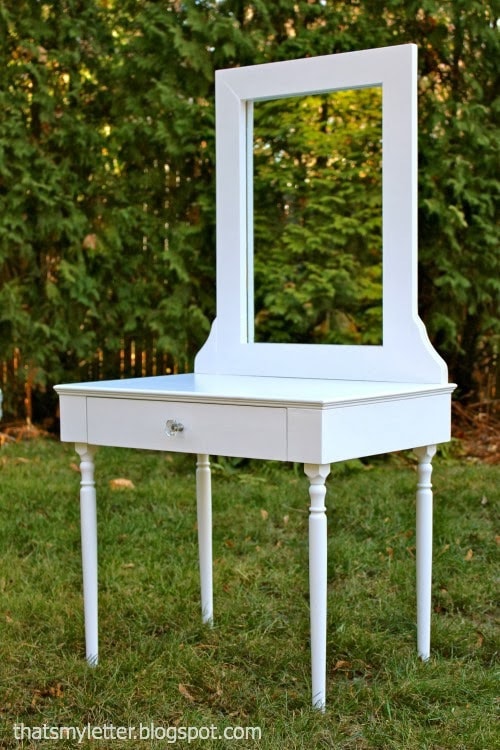
Kids Play Vanity Features:
- four turned legs
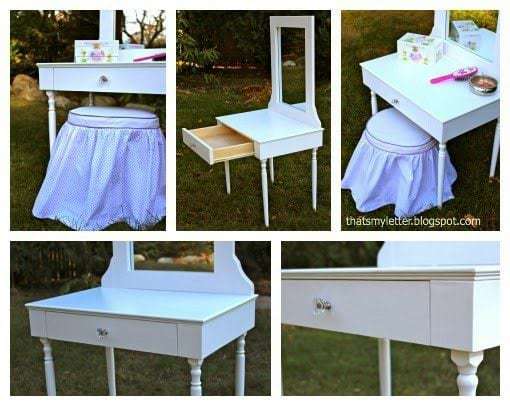
- generous drawer
- ample counter space
- large mirror
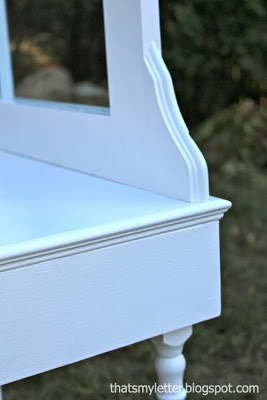
- trimmed edge detail
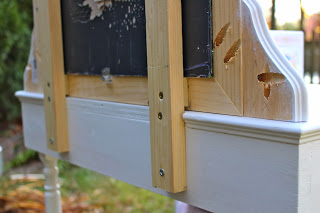
The play vanity is extremely sturdy even with the weight of the mirror. The side corbels provide additional support for the mirror and I added 1×2 vertical brackets on the back side (see down below) to keep the mirror in place.
To fancy up the edge I choose a simple 3/4″ moulding which mimics the routing on the corbels.
Ana has the complete plans for this kids play vanity here. But before you go be sure to check out my build details below.
Building a Kids Vanity
Follow Ana’s plans in the link above. For the legs I cut the balusters as shown in the photo above. A few inches off the top and bottom to give me the proper length. Then I assembled the frame using pocket holes.
To ensure proper spacing for the legs use the top cut portion of the baluster as your spacer when attaching the drawer mount part of the frame. This way you know for certain your legs will fit into the space provided.
And then attach the top to the frame using pocket holes and wood glue.
Lastly attach the legs and trim then install the drawer glides and drawer box. Now the basic kids vanity counter is done and we will move on to the mirror.
Making the Vanity Mirror
Construct a wood frame to fit over your mirror. The size will depend on the mirror size. You want at least 1/2″ of the frame on each side to be covering the mirror.
Use mirror clips to attach the mirror to the back side of the frame. Definitely consider painting the frame and corbels before attaching the mirror.
For the corbels you will need to cut them down to size in order to fit the space. Then attach the corbel to the side of the mirror using pocket holes.
Attaching Mirror to Play Vanity
In order to secure the mirror to the vanity I used 1×2 vertical boards attached to the top of the frame and back of the vanity. The thickness of the mirror means you need a little 1/4″ spacer on the frame in order to attach it flush (see photo below).
Kids Vanity Stool
For the stool I built a stool using Ana’s plans here. In order to fit the play vanity dimensions I modified the leg height to 12 1/2″ and the seat is a 12″ diameter circle. This allows the stool to fit better under the vanity.
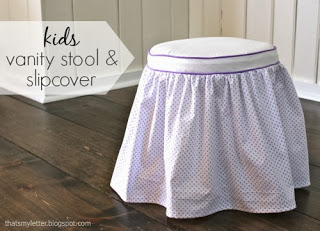
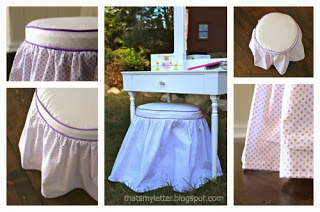
Then for the vanity stool slipcover I purchased a pre-made foam cushion and made the polka dot slipcover. For details on how to make the vanity stool slipcover following my post here.




Job well done! I love it! Soo cute! Thanks for sharing this!