Let the fun and games begin! Today I’m sharing how to make this mini putt course platform. It’s super sturdy, portable and makes for great competition at your next gathering.
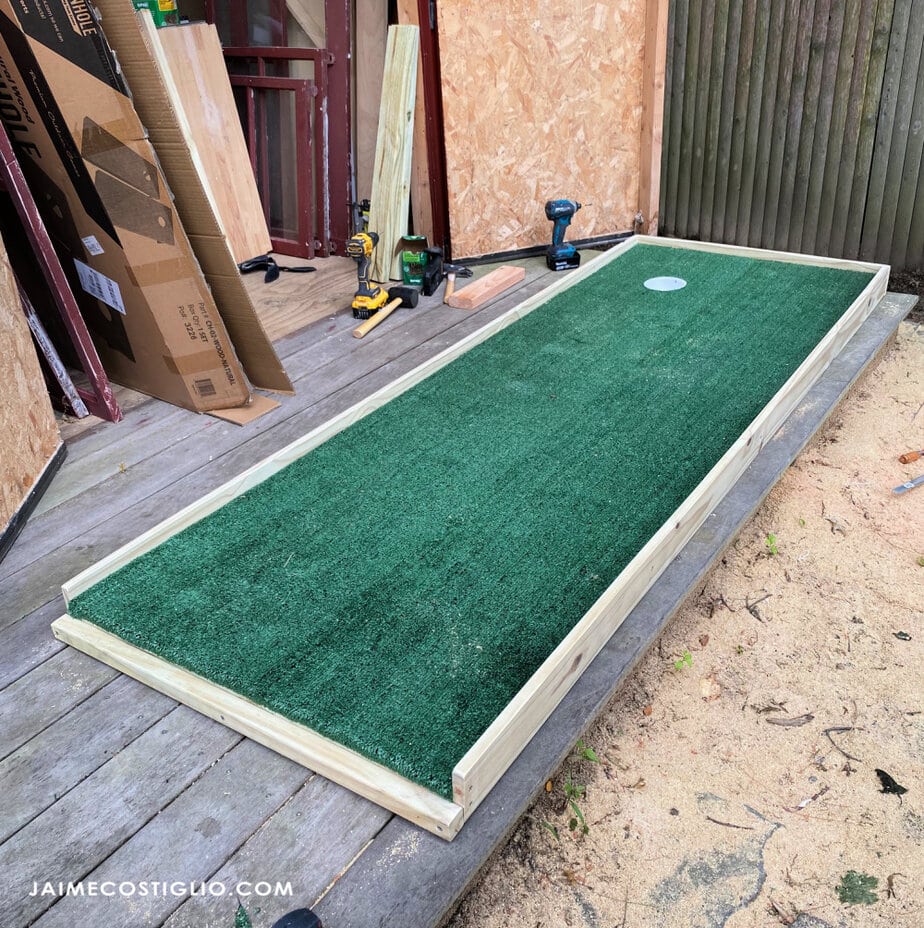
A DIY tutorial to build a portable mini putt course platform. Fun for all ages and portable so you can play mini putt anywhere you desire.
Truth be told I made this project before however I had to chance to make it again so this version 2.0 is bigger and better than the first. And I highly suggest making two platforms so you can create a competition of sorts.
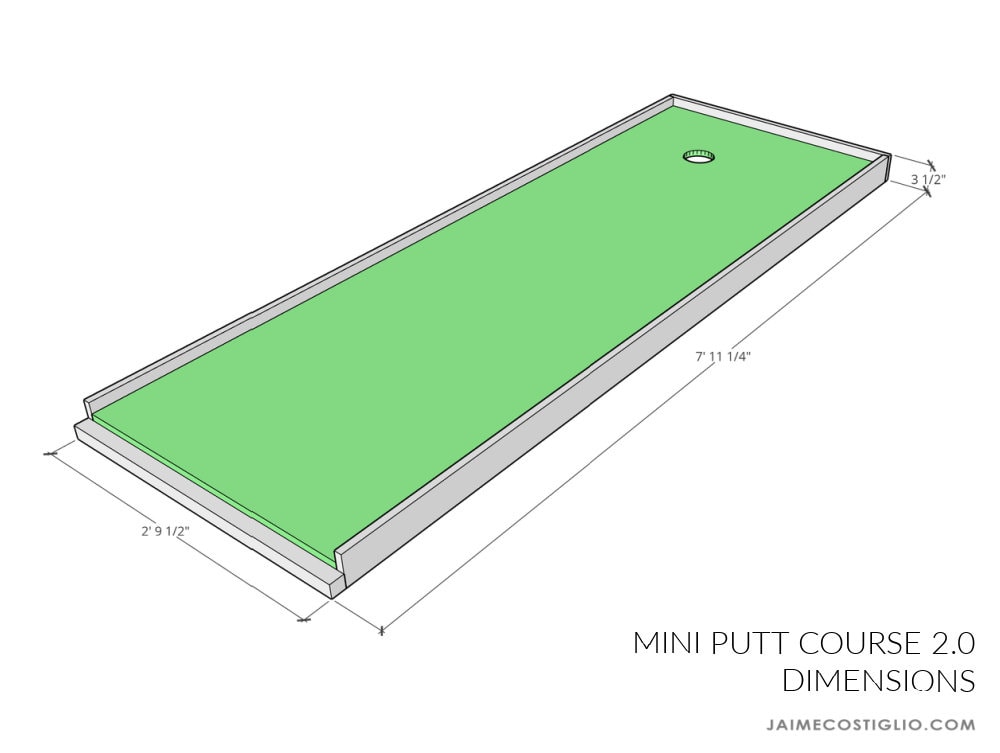
The plans for this mini putt course 2.0 are available here but before you go be sure to see my construction tips below for details:
- artificial turf
- PVC cap for hole
- stapling the turf
- pressure treated lumber
- exterior rated hardware
Artificial Turf
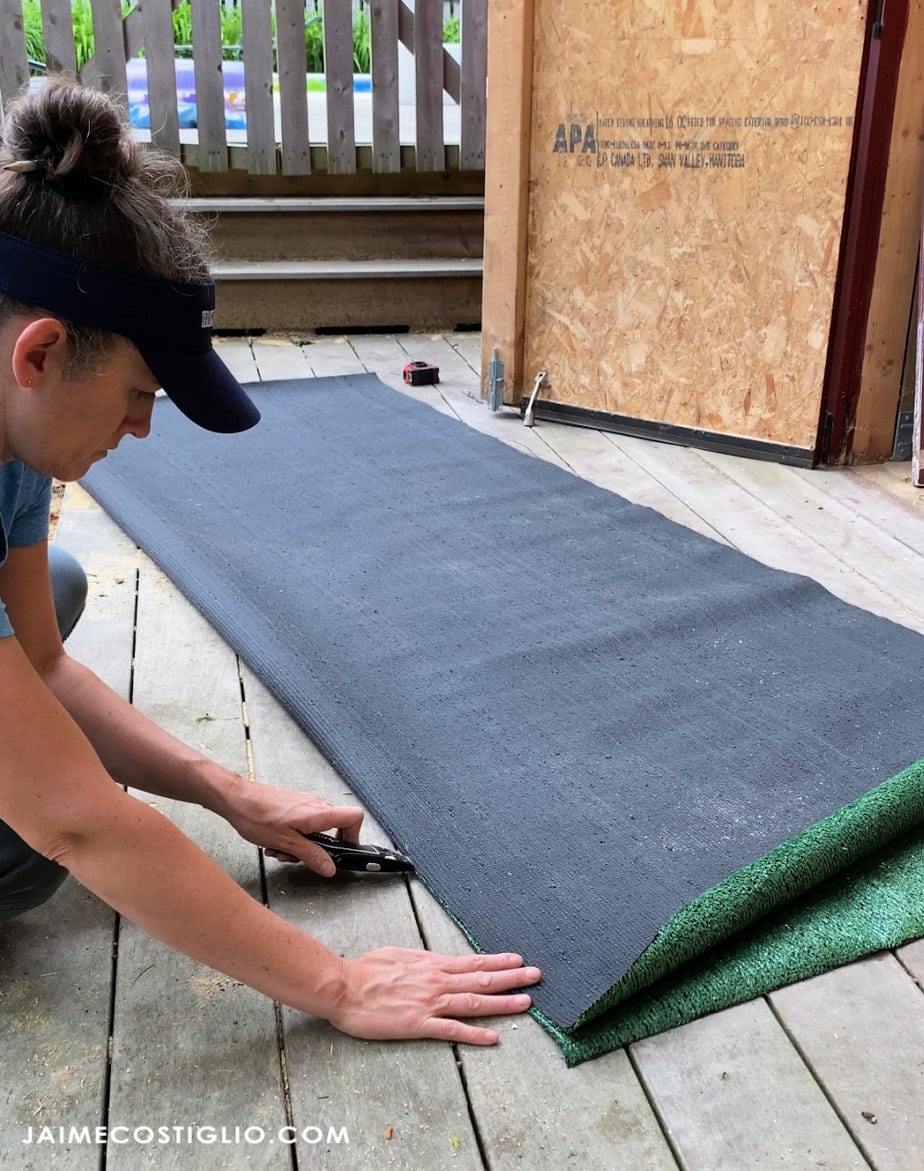
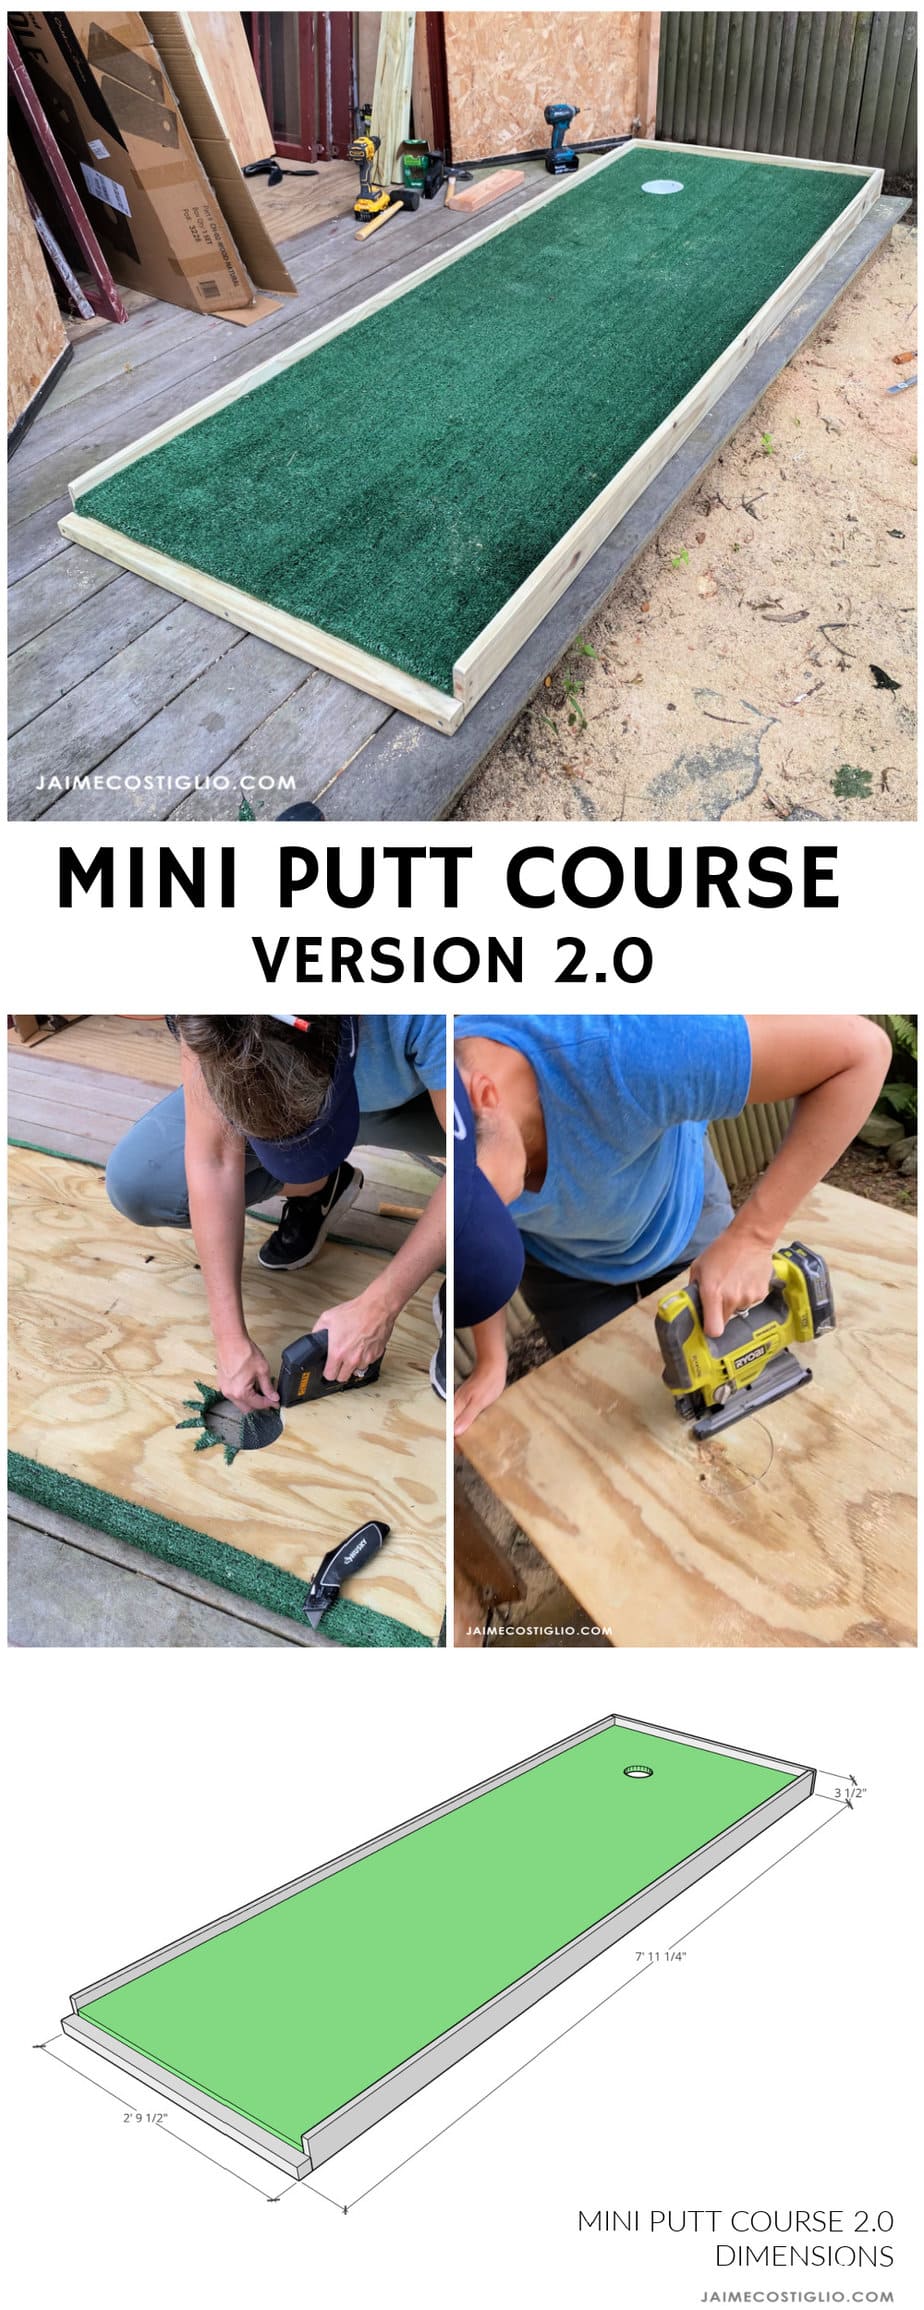
Naturally this mini putt course uses artificial turf on the surface. You can purchase a 6′ x 8′ artificial turf rug and that will be the perfect size for two platforms. Simply fold the rug in half the long way and slice down the middle with a utility knife.
PVC Cap for Hole
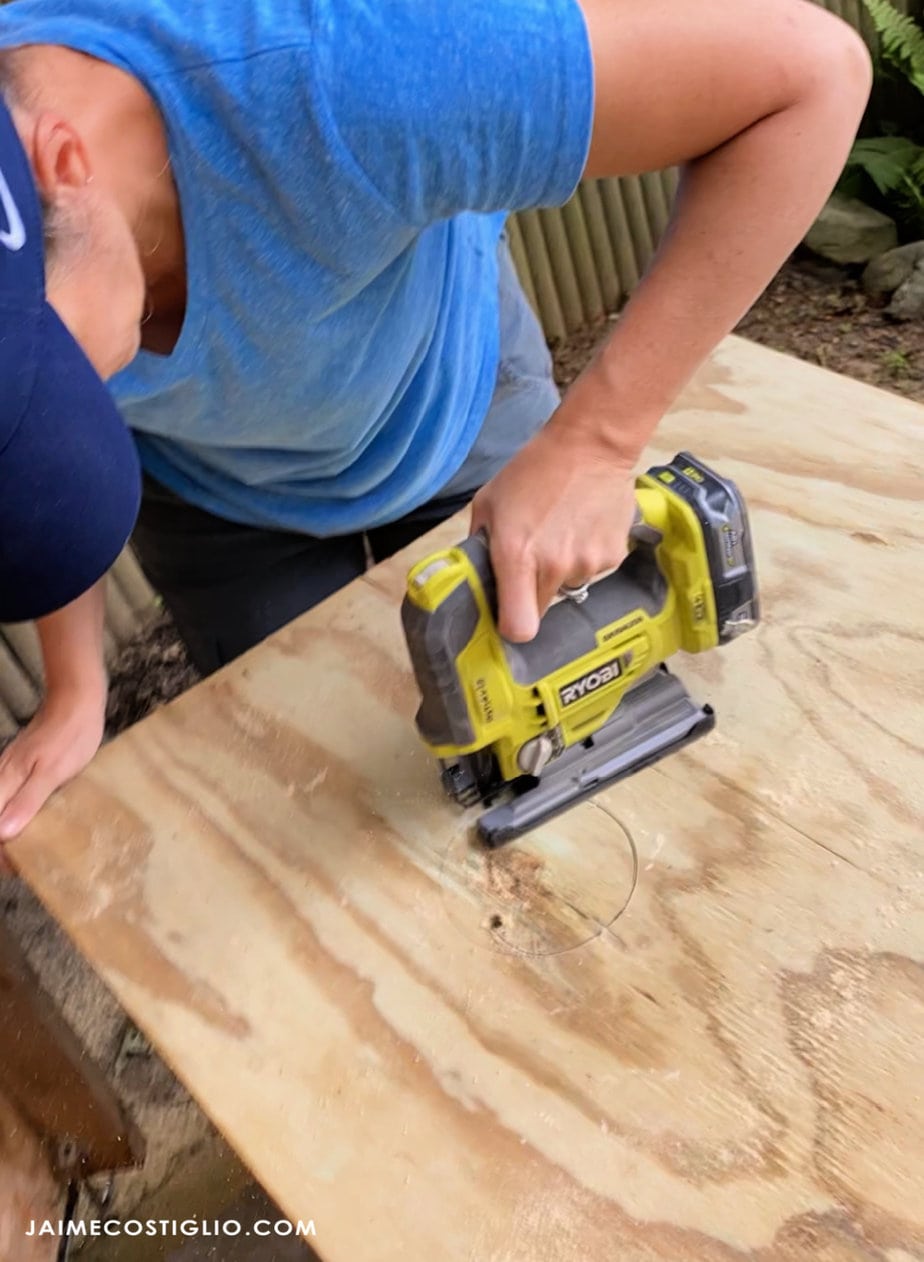
To contain the golf ball I’m using a 4″ PVC cap. Simply trace the cap where you want the hole, drill a hole large enough for your jig saw blade and then use the jig saw to cut out the hole. It can be slightly larger than the PVC cap to allow for the thickness of the turf.
Stapling the Turf
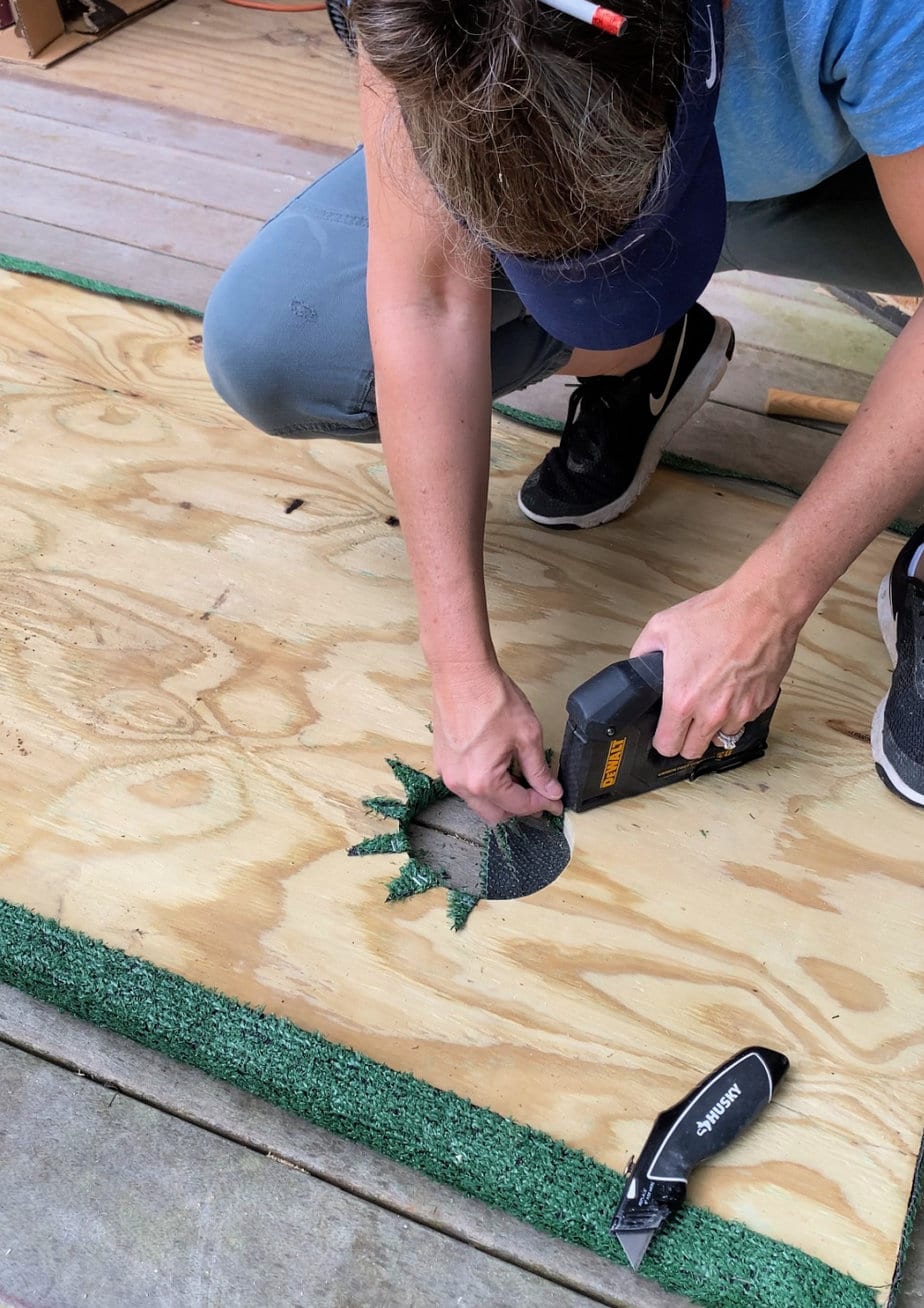
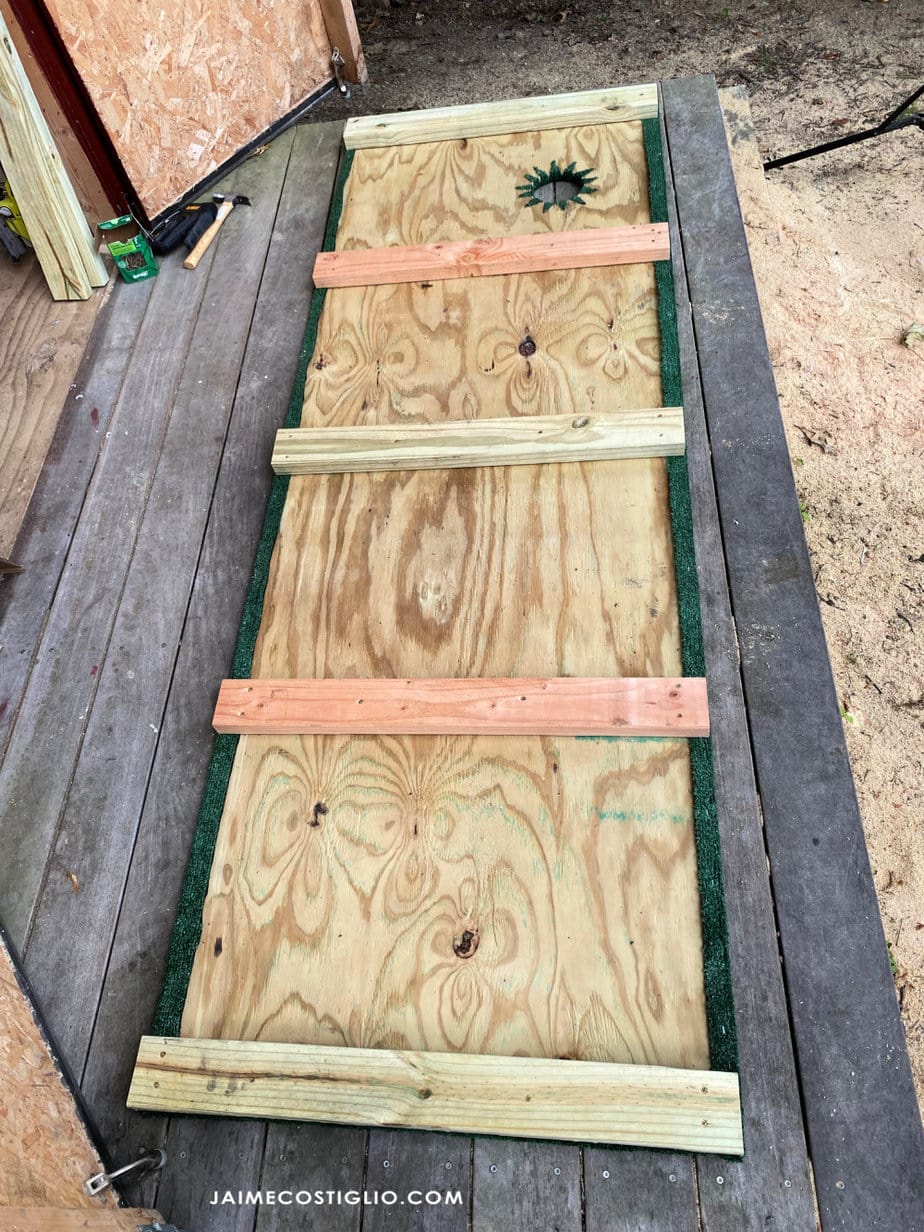
Place the artificial turf face down and the the plywood on top of that. You should have about 1.5″ excess turf on all 4 sides to pull up and wrap the plywood then staple into position. Be sure to start in the middle on the long sides to keep everything taut.
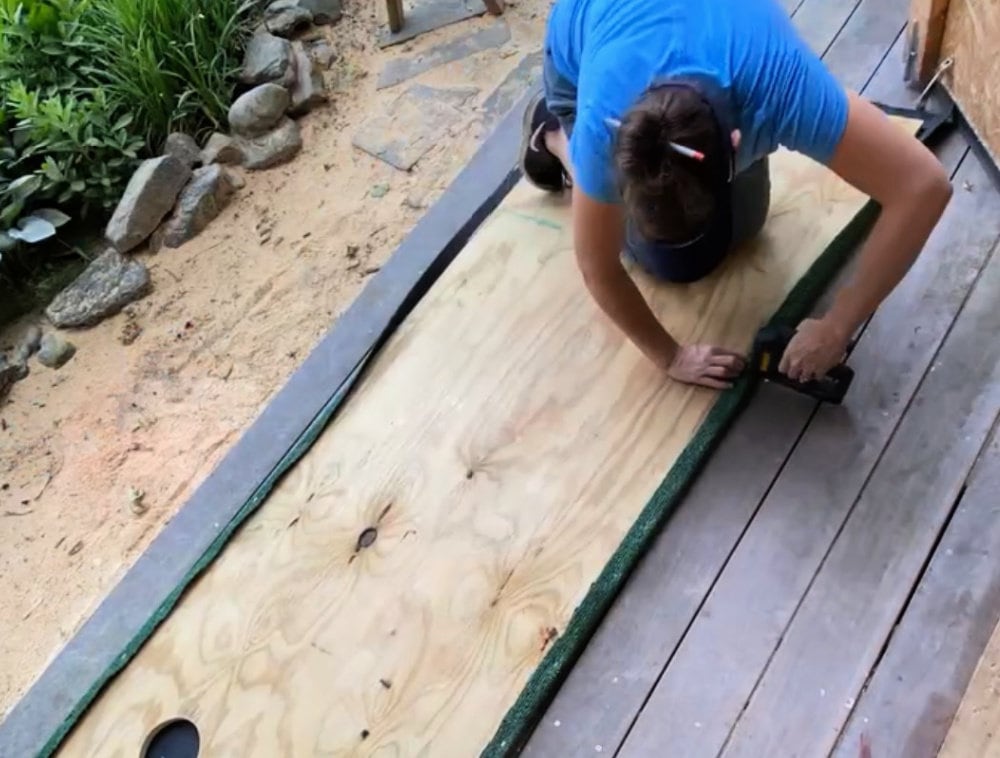
For the turf that covers the hole make a bunch of slits with the utility knife as pictured below. Then pull up the little slices and staple onto the plywood.
Pressure Treated Lumber
If possible I highly suggest using pressure treated lumber if you plan to use this mini putt course outdoors often. It will help prolong the life of the platform if it gets left out in the elements for any amount of time.
Exterior Rated Screws
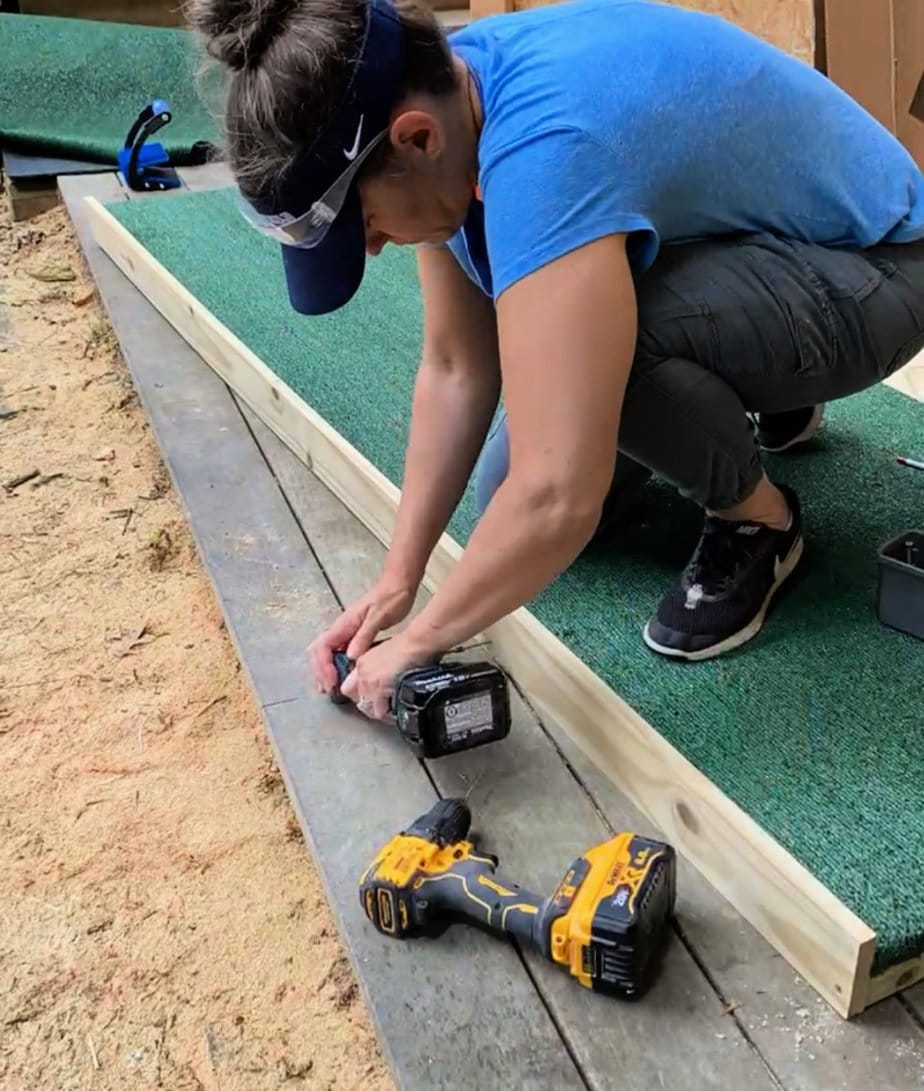
I used exterior coated screws throughout for this project and predrilled everywhere to avoid and wood splitting.
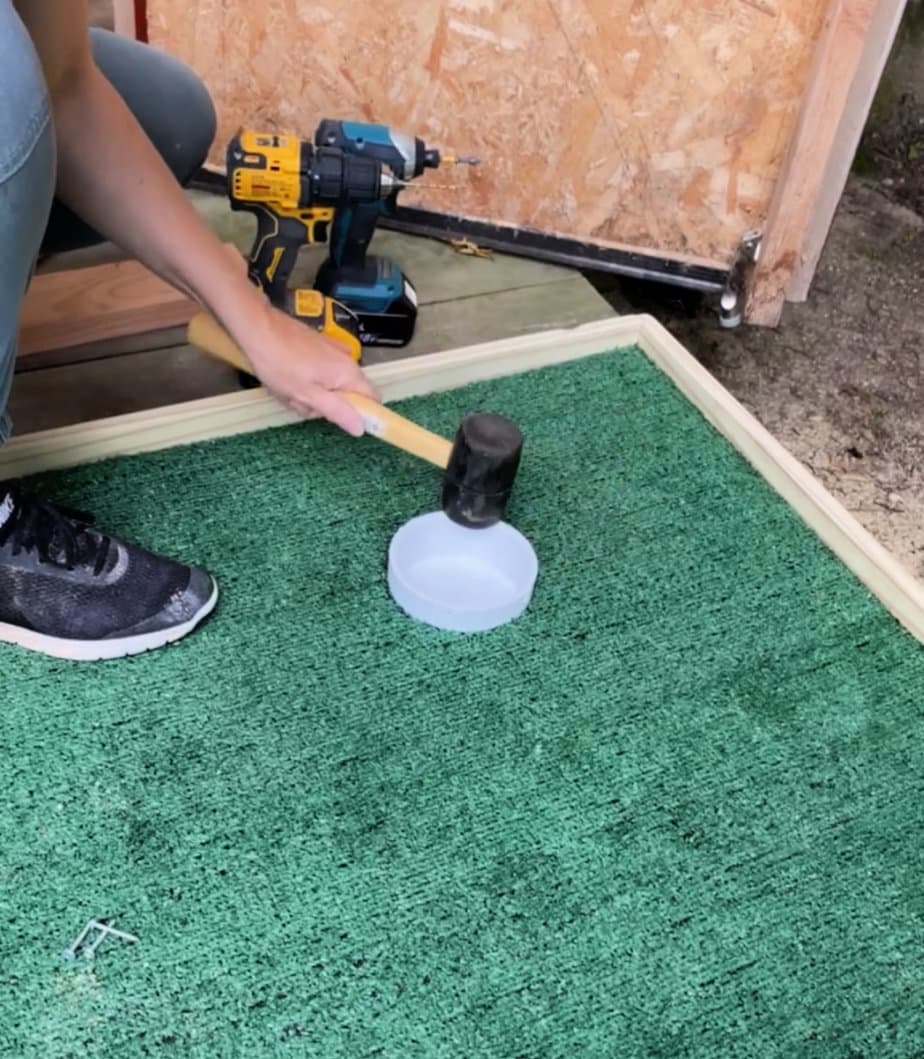
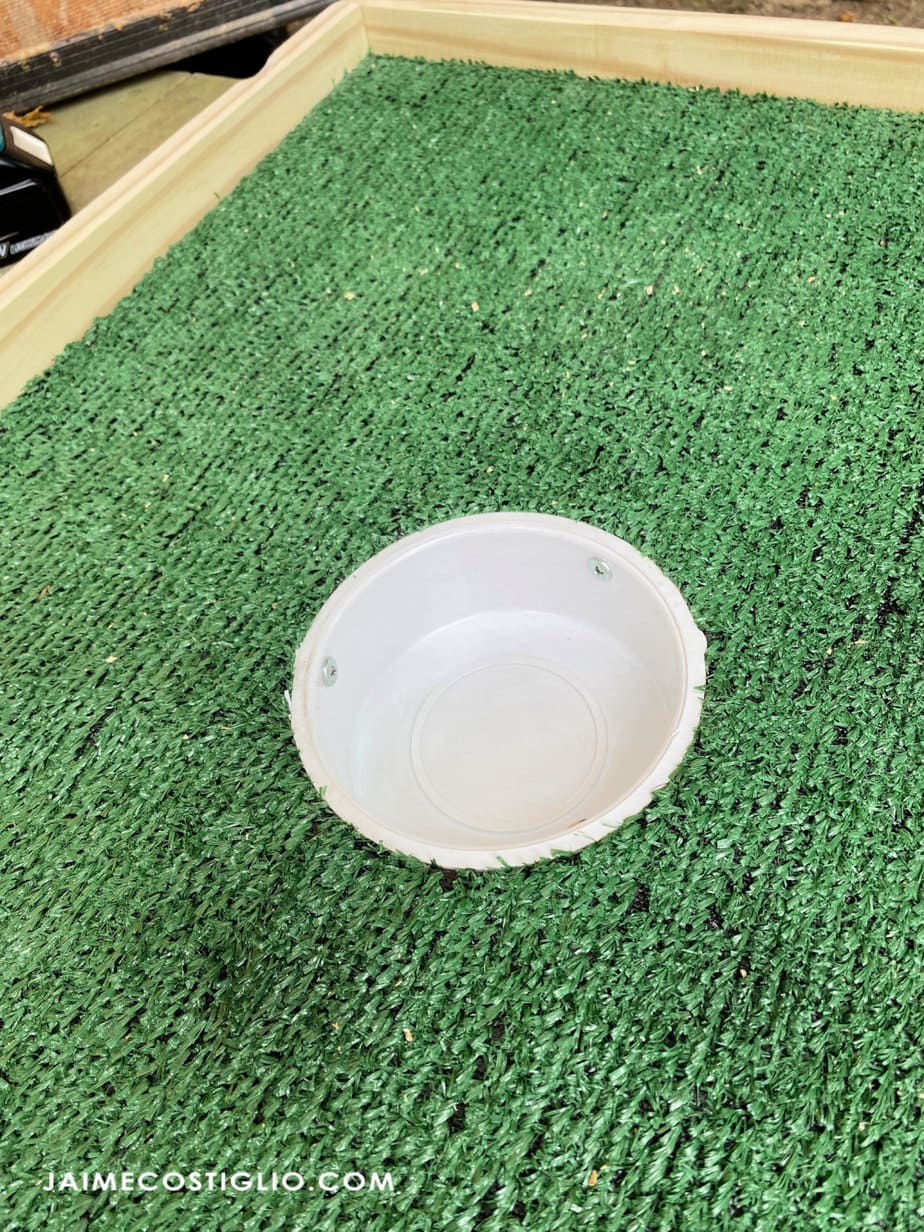
The last detail is to install the PVC cap into the hole. Be sure to predrill the cap with 3 holes and then use a mallet to gently tap it into position. Once it’s ever so slightly below the surface of the turf then secure it to the plywood using wafer head screws. It’s very snug so you probably don’t need screws but over time it may loosen so better to be secure.
Thanks for joining me for this mini putt course project. Please leave any questions in the comments below and be sure to follow me on social media for sneak peeks, tools and project inspiration:


cute idea, I did not see this before
Hi Jamie,
I just wanted to say how much I enjoy your posts. You are so talented and make things so easy to understand.
Thank you!
Sherin
Thanks
You made it easy to follow. I will be trying this.
Hi there. I am sponsoring an existing mini golf hole. If I give you a design, could you produce it or give me advice?