This post about DIY craft paint storage shelves is sponsored by Kreg / Build Something. Absolutely nothing makes me happier than an organized workshop space and that includes everything from tools to paints. My craft paints were stored on the floor in a cardboard box which is less than ideal and this craft paint storage project has changed everything.
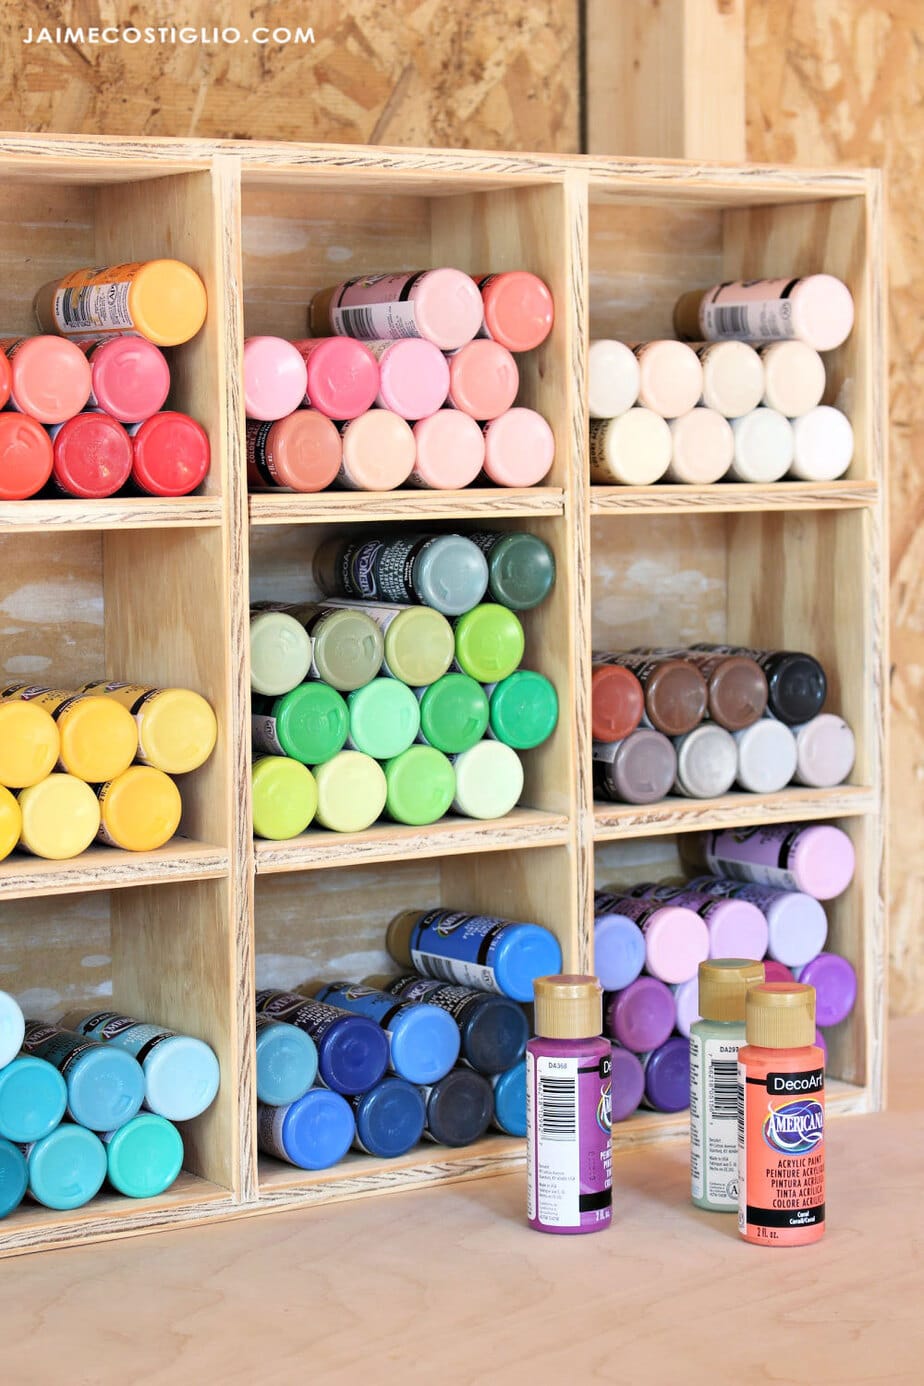
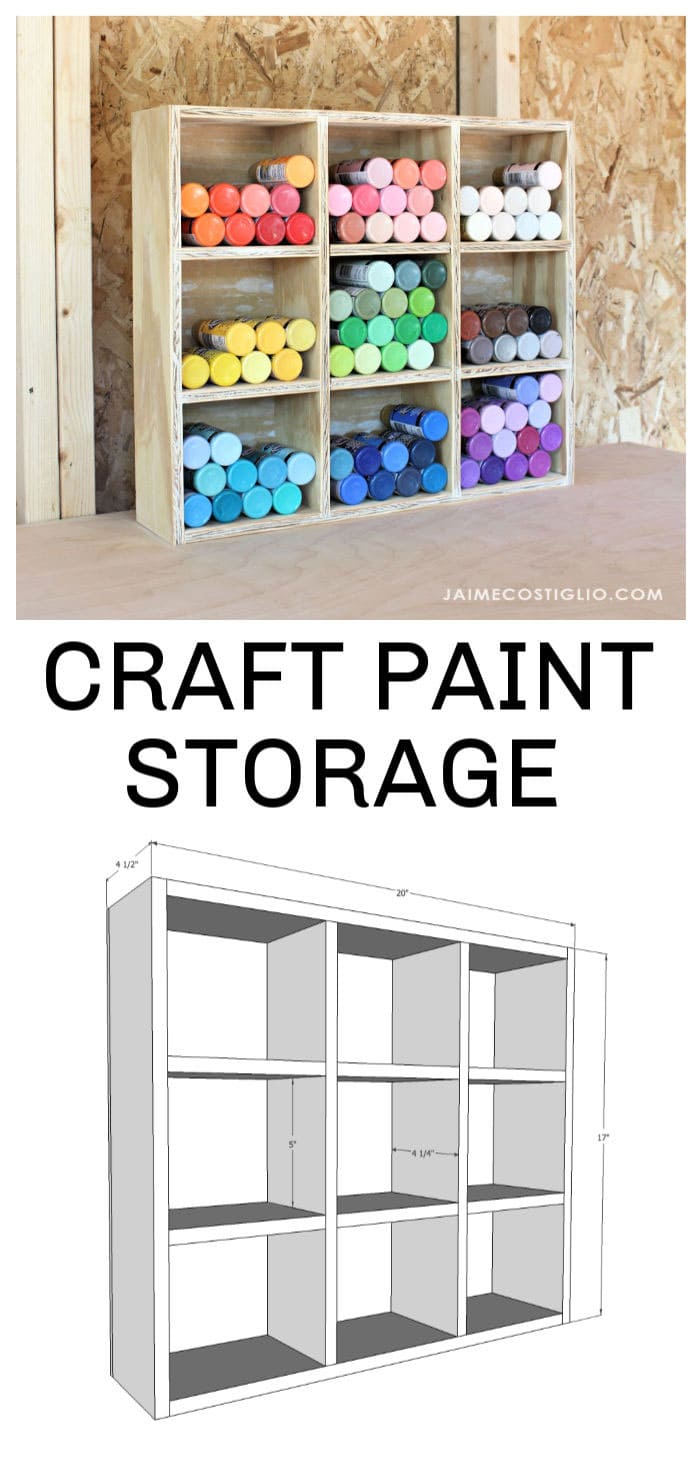
A DIY tutorial to build a craft paint storage container using scrap plywood. Organize your craft paints in a tidy and user friendly display shelf.
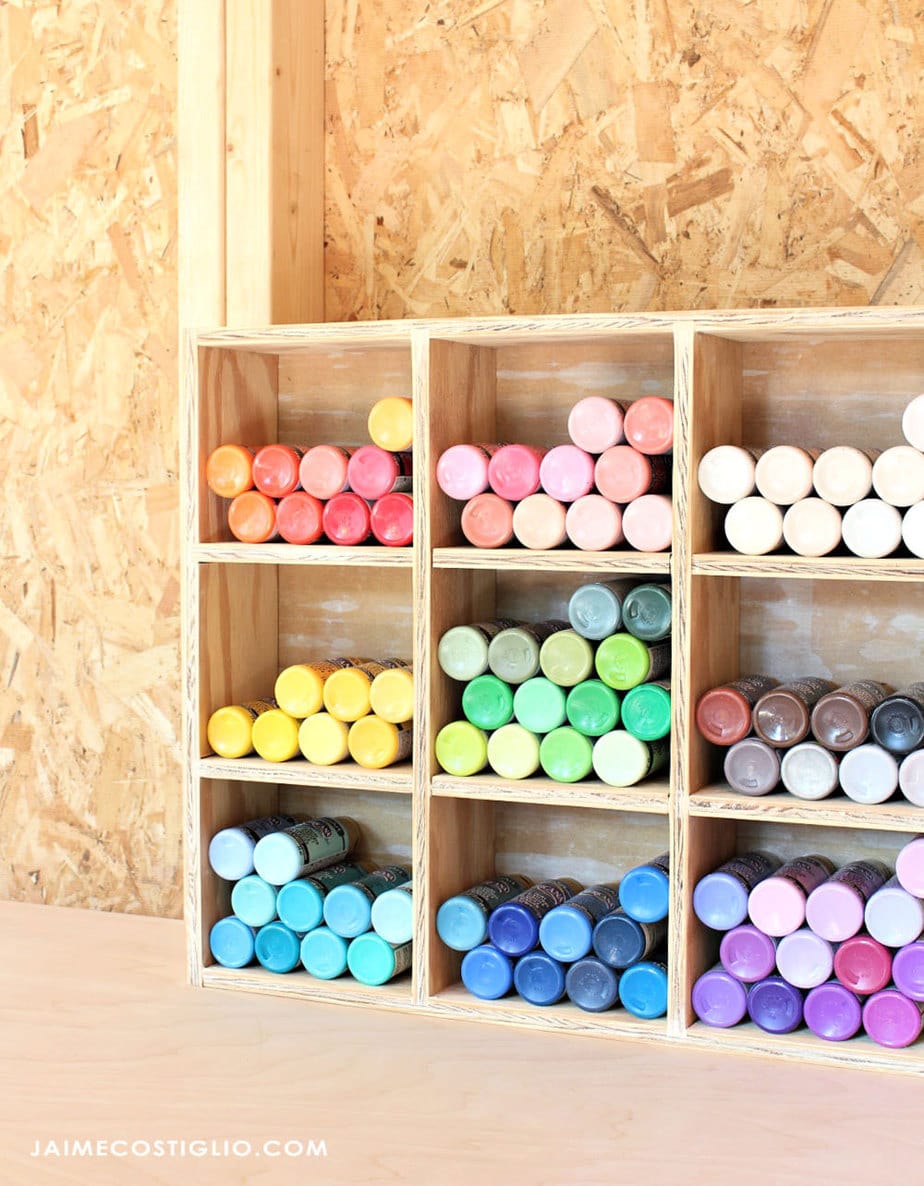
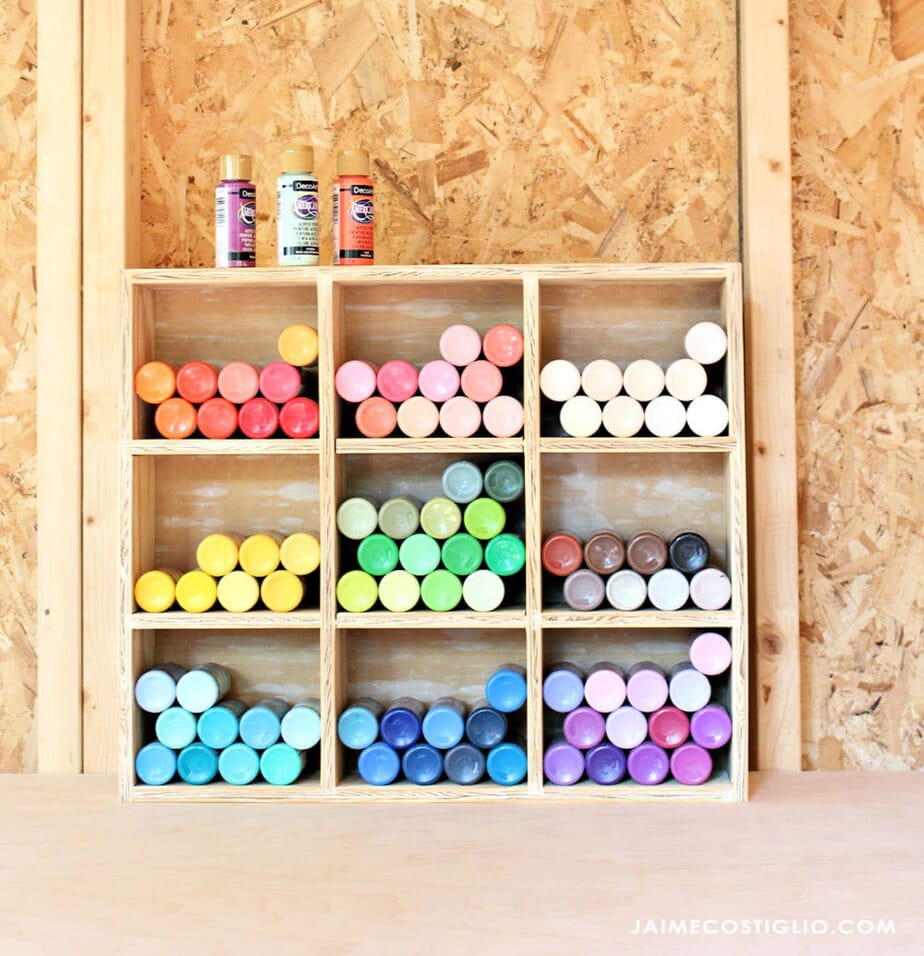
Scrap wood projects have a special place in my heart. I hate to see useful pieces of lumber and plywood go to waste so this craft paint storage bin not only made a dent in my scrap wood pile but it also made my life a bazillion times better. See how perfectly visible the craft paint bottles are lying on their sides?
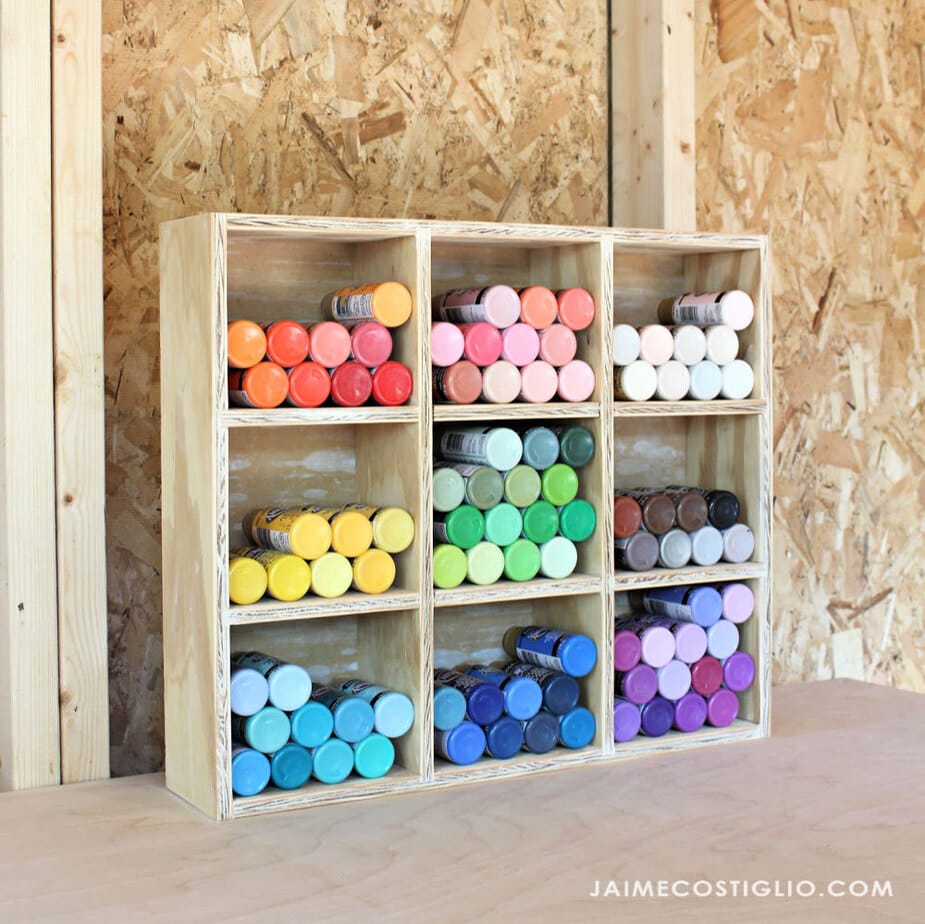
Benefits:
- use scrap plywood
- store craft paint by color family
- easily see the actual paint color
- paint comes out of bottle easier since its resting on its side
- hang on wall to free up workspace
How do you store your craft paint? In a cardboard box? In a drawer all scattered about? On the closet shelf all in a jumble? This is how I used to store my craft paints:
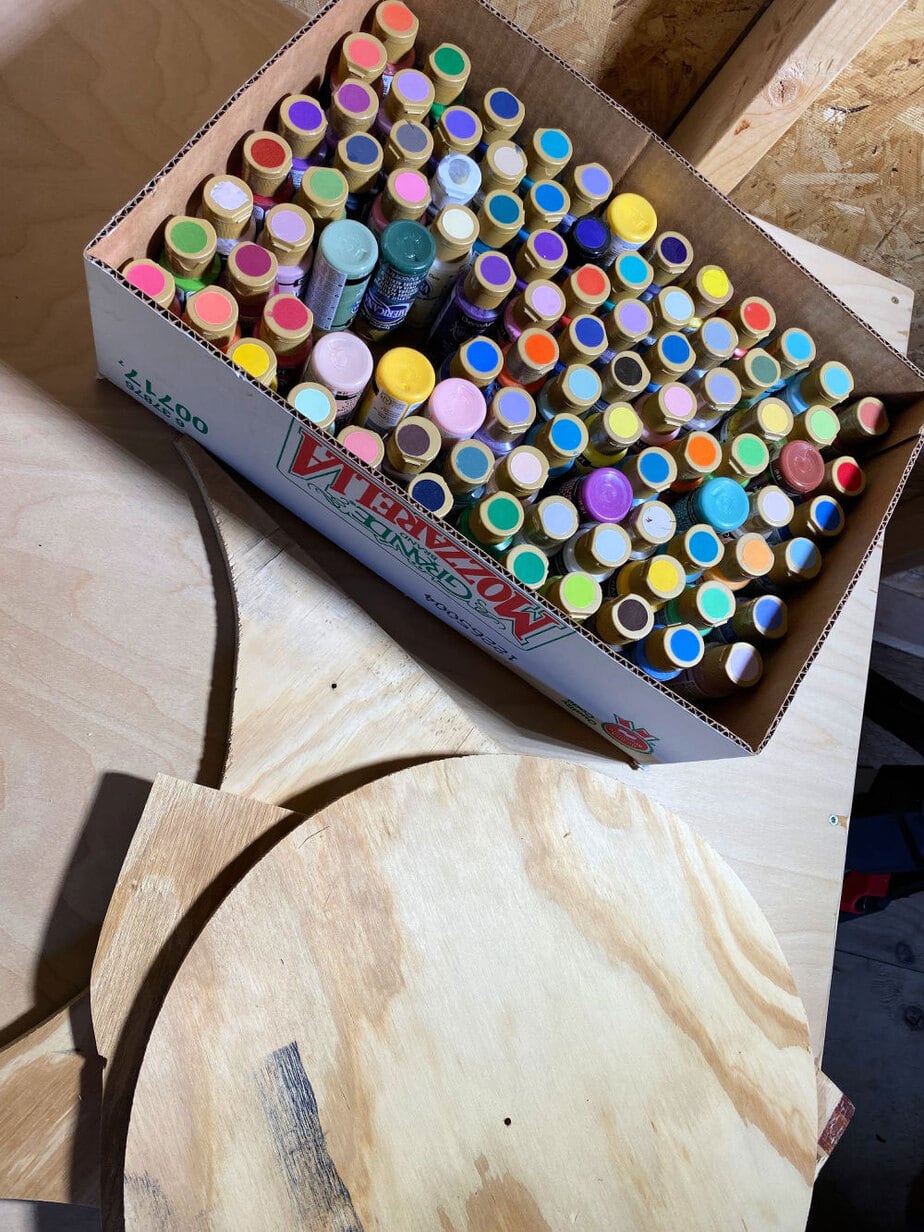
All my craft paints were in a cardboard box which was okay but not ideal. If you’re searching for a blue it’s hard to see all the blue colors you have when they are scattered about the box. Also this box used to sit shoved under my desk and I had to slide it out every time I wanted a craft paint. So let’s make a craft paint storage container for the wall that works using scrap plywood.
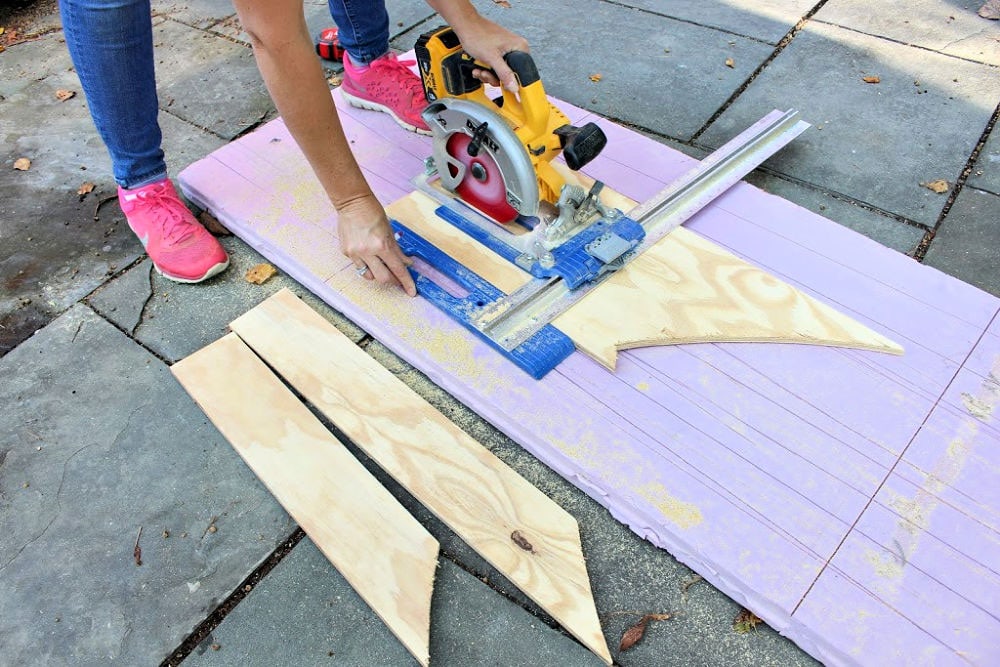
For this project I used my Kreg rip cut to rip down the 1/2″ scrap plywood into 4 1/4″ wide strips. The Kreg rip cut is great for making straight, repeatable cuts with just one set up. I set the sled at 4 1/4″ and then made multiple rips to use up my scrap plywood.
Plans:
To build this craft paint storage container you can get the complete plans over at Build Something here. Build Something is a great source for free step-by-step project plans with tons of DIY building projects. Check out their large library of certified plans and plans submitted by woodworkers and hobbyists. Definitely worth a visit if you’re looking for free plans in a wide variety of categories. And as always please read through the plans completely before beginning and follow all safety guidelines.
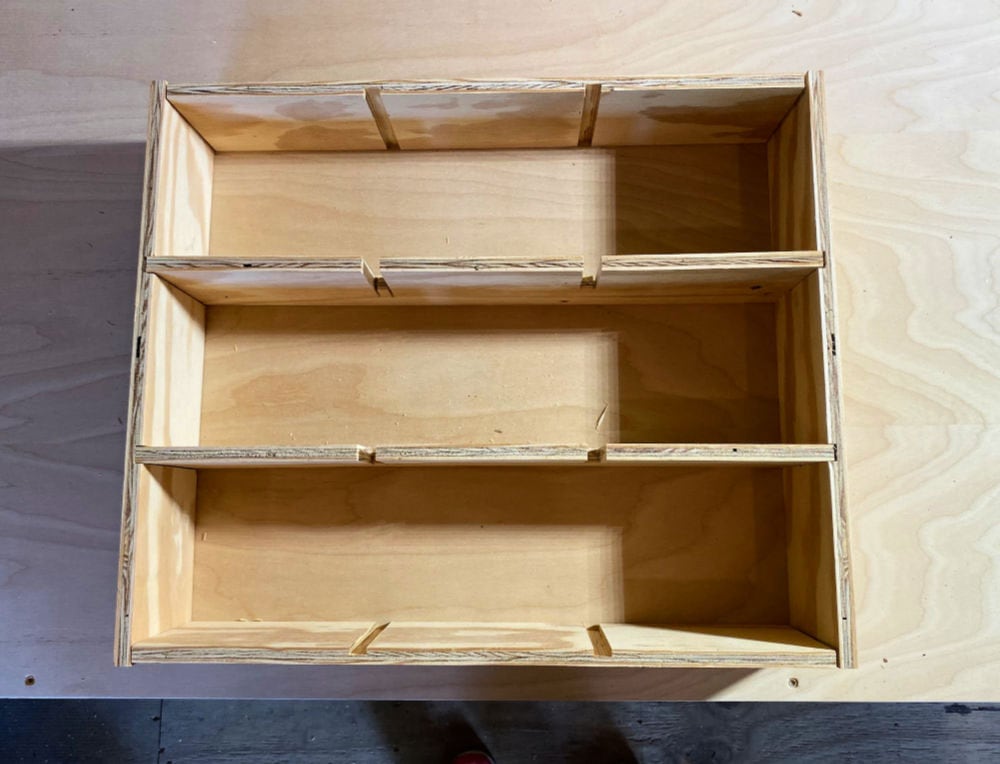
Check to be sure everything fits before gluing and attaching with nails. I opted to add a routed channel in the top, bottom and sides for the divider pieces to fit snug. This is definitely optional and not written in the plans but easy to do with a router, circular saw or table saw. You can also see the horizontal dividers are notched to accept the vertical dividers.
Once all the pieces are in place add a little bit of wood putty in the voids, sand smooth and you’re ready to fill with craft paints!
Please follow me on social media for sneak peeks and more project inspiration:
Instagram / Pinterest / Facebook / Youtube / Twitter
SHOP THIS PROJECT:

I love the simplicity of this concept for craft paint storage. I am building this but I plan to put a slight back angle to the shelves to keep the paints from falling out if someone bumps into it. For the bottom shelf, I am going to bevel it so the front edge is wider than the back, thus creating the angle while keeping the bottom flat. I am also adding a brush holder to the side.
Hi Gary, So clever to add the beveled shelves and brush holder. Please share a pic once you are finished. I may have to build another one after seeing yours!