A tall five drawer dresser overhaul.
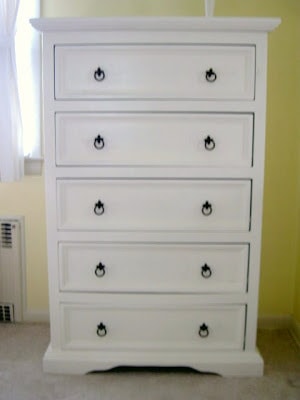


Here’s the before:

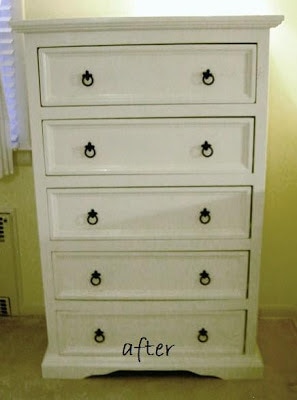
And for $6 here’s the after:

I acquired this dresser via Freecycle (thanks Barbara!) but I knew it needed some fixing.
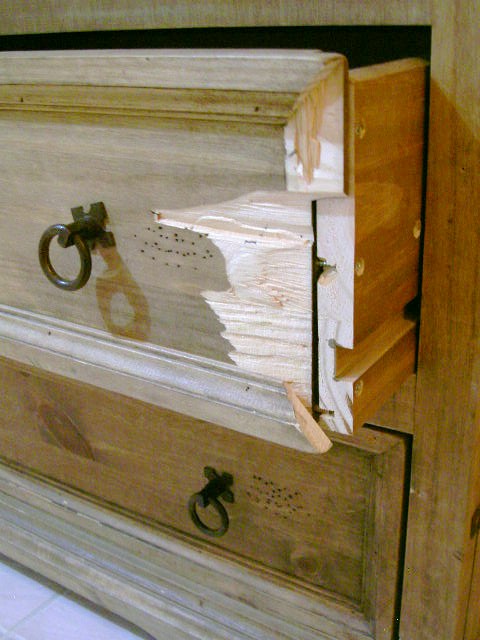
One drawer front was missing the side but thankfully Barbara saved the broken piece.
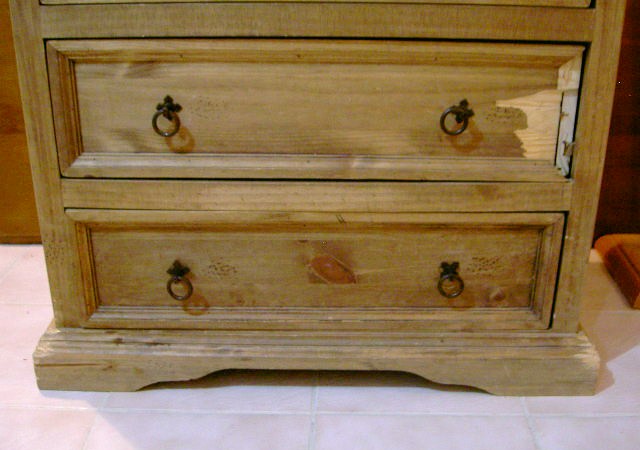
And I think Fido had his way with the base moulding on both front corners.

I removed the front moulding piece and made a completely new piece.
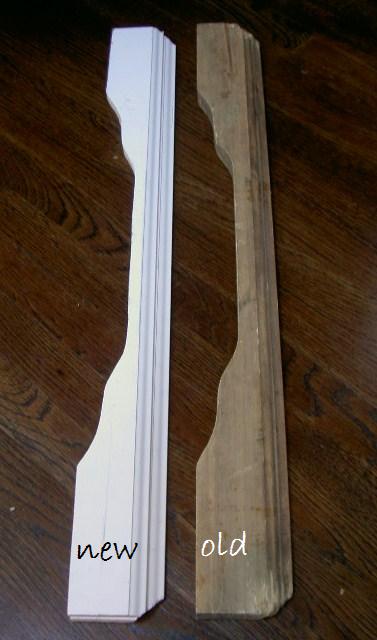
I bought six feet of primed MDF baseboard moulding, total cost $6.
I layered two pieces in a staggered step formation to try to get the same top edge profile. Applied some wood glue and screwed them together from the back.

Once dry I traced the bottom curve using the original piece and cut out with my jig saw.

Attached it back onto the dresser using the same hardware and screw holes on the existing crossbar.
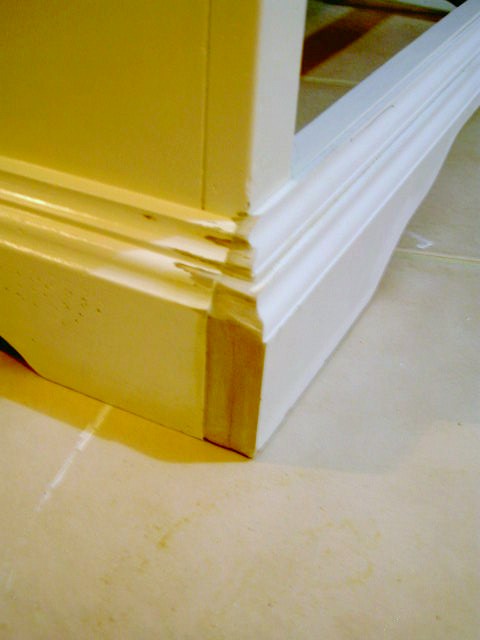
Filled in the gaps with wood putty and used a coping saw and sandpaper to try to get the side profile to match up. It’s not perfect by any means but who’s looking this close?
Left front corner:
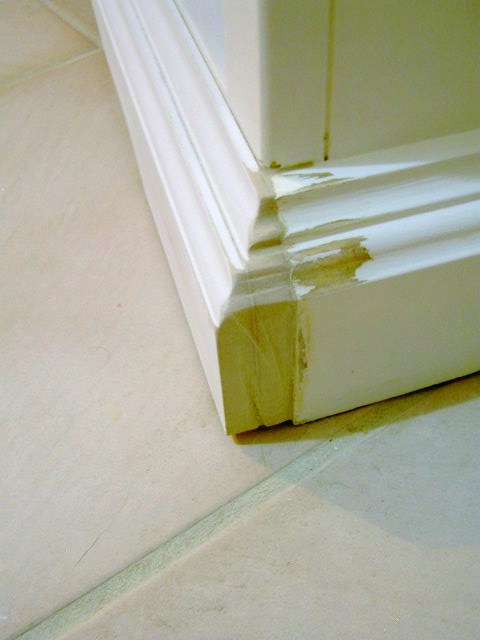
Right front corner:
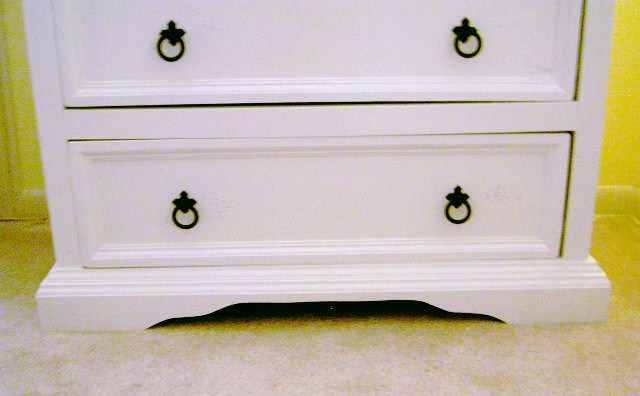
Primed and painted (Behr Elegant White satin finish) and one coat clear satin poly to seal it up.

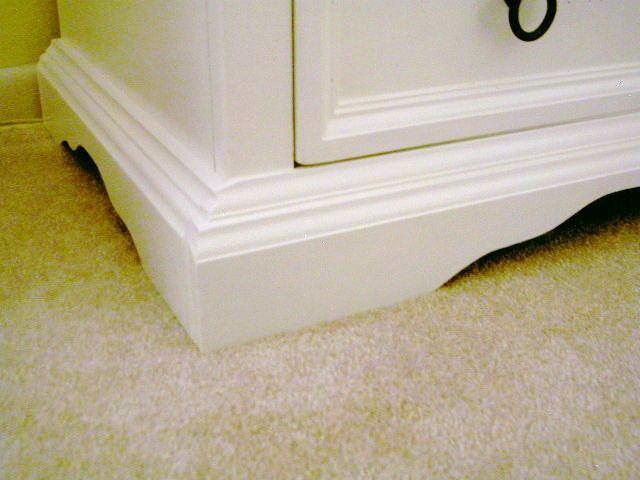
Close up of new base moulding:

Can you spot which one was the broken drawer front?


This dresser is much more functional for my kids, the shallow drawers are light weight and make for less lost clothing.
Here’s the top detail:

And I know the style doesn’t scream ‘kid’s dresser’ but the ORB hardware does match the bolts on the beds which by the way were already painted solid white therefore I went with the same solid white paint job on the dresser.

One last side by side:

Worth the work:
I’m linking to:


Wow you are talented. I was impressed when I thought you just painted it. When I saw the repair you performed to the drawer and the base…I was just amazed. Gorgeous.
I love the clean lines and sophistication of the piece….Great job with the repairs….
Take care,
Lisa
You were really clever to change the molding. I have two adult dachshunds who still chew anything they can put into their mouths, so I've had molding on the wall and furniture chewed like that. However, I'm lazy. Either I try to fix it with wood putty or sand it into a new shape. Your way would look better, but I'm too lazy.
I'm sure your kids will use and enjoy their new furniture for years to come.
turned out beautiful. love the door ring pulls
It was definitely worth the work! Your very talented to be able to repair all the molding. Well done!
~Mary
http://www.thecraftygals.blogspot.com
Wow!!! Way to go on repairing it…sometimes I shy away from a piece when there are those kinds of repairs….not any more, thanks for the inspiration!
I am impressed with the repairs you have done. I need to tackle a repair project too but was shying away again and again. You gave me the confidence to just try. Thank you for your inspiration.
This is fabulous! You did an amazing job!
THanks for your visit!
XO
Kristin
I'm very impressed with your skills! I would have had to walk away from that one, but you did an amazing resue on it! 🙂
It turned out beautifully! Looks very expensive!
Looks so fresh and pretty now, great paint job!
whoa, looks great! can't believe you were able to make it look so great with that piece missing!
Wow, great job! I too thought you had just painted it, but seeing how you actually built a new base for it…that's impressive! Awesome 🙂