A new desk for Granpa built to fit a funky little space plus a bonus hutch on top:
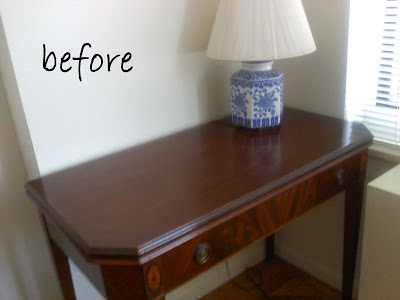
Here’s what we started with, a little corner nook with a wall that jogged back and a window and radiator on one side:
In order to make the best use of the space I designed the desk to fit exactly the length of the wall and snug in between the wall and radiator.
The plan is based off of Ana White’s cubby desk although I modified the size and added the hutch shelf piece.
If you’re ever looking to build a furniture piece Ana’s site is your best starting point. The plans are detailed with graphic drawings and lots of measurements on the drawings which makes it easy to modify for your space and size requirements.
Here I am putting together the drawer:
All together in the buff, sanded and ready for stain and paint:
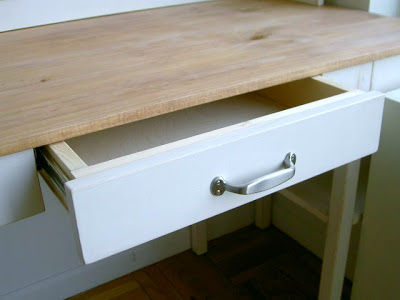
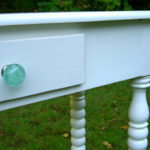
Good view of the drawer:
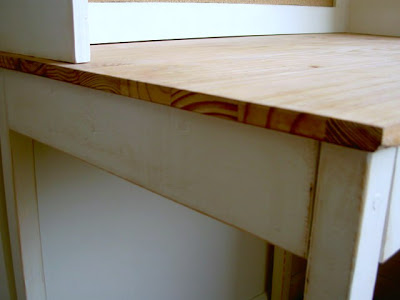
The desk surface got two coats of Minwax cherry stain plus finishing paste:
All remaining parts got:
1. one coat Kilz primer
2. two coats Behr off white satin
3. distressed with 220 grit sandpaper
4. Minwax cherry stain
5. one coat Minwax satin poly
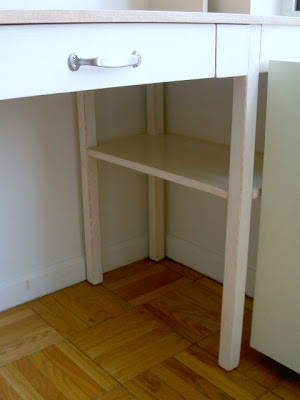
Added an open shelf under the right side, which would’ve been unused space due to the radiator:
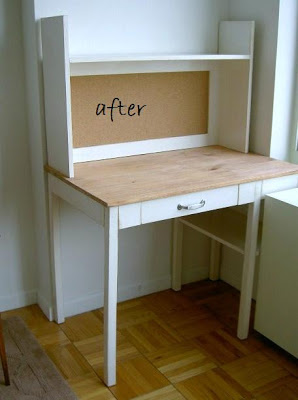
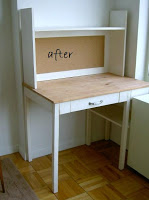
Added a hutch shelf on top for books and an undermount light and some cork space for pictures and notes:
Everybody needs a desk drawer for all the random small bits:
Good view of window and radiator sticking out:
from the side:
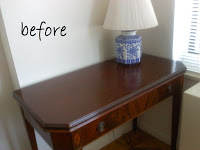
before and after:
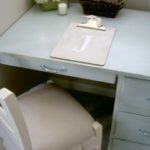
Now Grandpa (and Grandma) have a designated workspace made to fit:








What a great job! It fits perfect in that space!
Very Clever! Made-to-Fit are so much more satisfying than shopping-to-fit.
Wow great work!! The desk looks beautiful! Would love to see you on my weekend linky party 🙂
Wow you do GREAT work!
You are a sweet granddaughter!
The hutch is exactly what I’m looking to build! What type of joint did you use? I read on Ana White’s website that she recommends pocket holes + glue, curious about what method you used.
Thanks Laure, yes I used pocket holes and glue. Good luck with your project!