• Home
  • Blog
  • About
  • Contact
    • Disclosure
    • Privacy Policy
  • SHOP
  • Widget area for main menu

    • Email
    • Facebook
    • Instagram
    • Pinterest
    • Twitter
    • YouTube
  • Skip to primary navigation
  • Skip to main content
  • Skip to primary sidebar

Jaime Costiglio

build - paint - sew

  • BUILD
    • BEDS
    • BENCHES
    • DESKS
    • DRESSERS
    • GAMES & TOYS
    • SCRAP WOOD
    • SHELVES
    • STORAGE
    • TABLES
  • TOOLS
  • PAINT
    • CRAFTS
    • FURNITURE
    • HOME DECOR
  • SEW
    • GIFTS
    • HOME DECOR
    • POUCHES
  • HANDBUILT HOLIDAY
    • 2021
    • 2019
    • 2018
    • 2017
    • 2016
    • 2015
    • 2014
    • 2013
  • GIFTS
    • BABIES
    • KIDS
    • FOR HER
    • FOR HIM
    • TEACHERS
    • WEDDINGS
  • SEASONAL
    • 4TH OF JULY
    • FALL
    • HALLOWEEN
    • CHRISTMAS
    • SUMMER
    • SPRING
    • ST. PATRICK’S DAY
    • THANKSGIVING
    • VALENTINE’S DAY
    • WINTER
  • SALTBOX PROJECT
    • BATHROOMS
    • DINING ROOM
    • EXTERIOR
    • FAMILY ROOM
    • FOYER / MUDROOM
    • KIDS BEDROOMS
    • KITCHEN
    • LIVING ROOM
    • MASTER BEDROOM
    • PLAYROOM
  • SCROLL SAW

DIY Craftsman Chalkboard

January 20, 2013

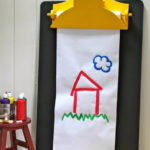
Build: craftsman chalkboard

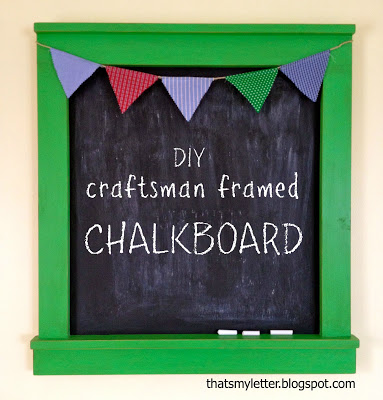
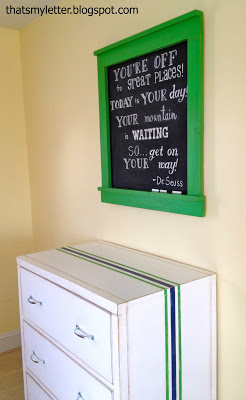
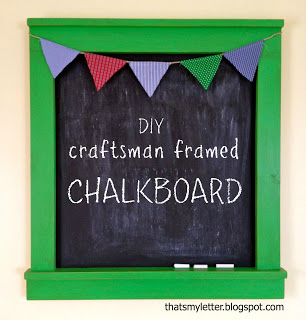
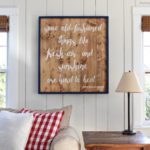
I used Ana White’s Craftsman Frame plans, resized to use up some wood scraps and ended up with a fun chalkboard for my kids room:

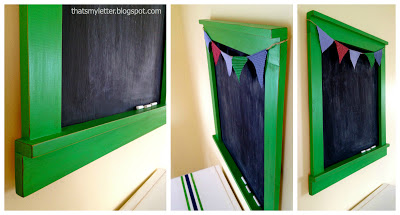
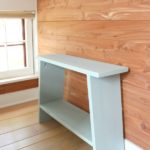
Ana’s plans are so wonderful, surprisingly they make a perfect spot for chalk to rest:

The craftsman frame took about 15 minutes to build, honestly it’s so fast and easy:
Here’s how to make the craftsman framed chalkboard:

1. Using Ana’s plans as a guide cut your wood:
My cuts are:
2 – 1×3 @ 23.5″
1 – 1×3 @27″
1 – 1×2 @ 27″
1 – 1×3 @ 28″
1 – 1×2 @28″
3/8″ plywood @ 24″ x 27″
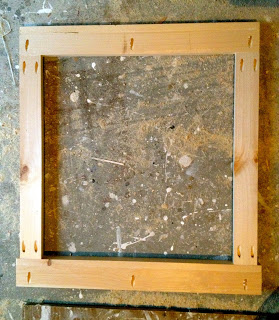
2. Assemble with pocket hole screws and glue:
(picture below is the back view)
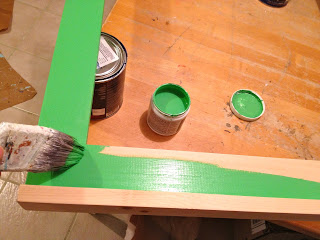
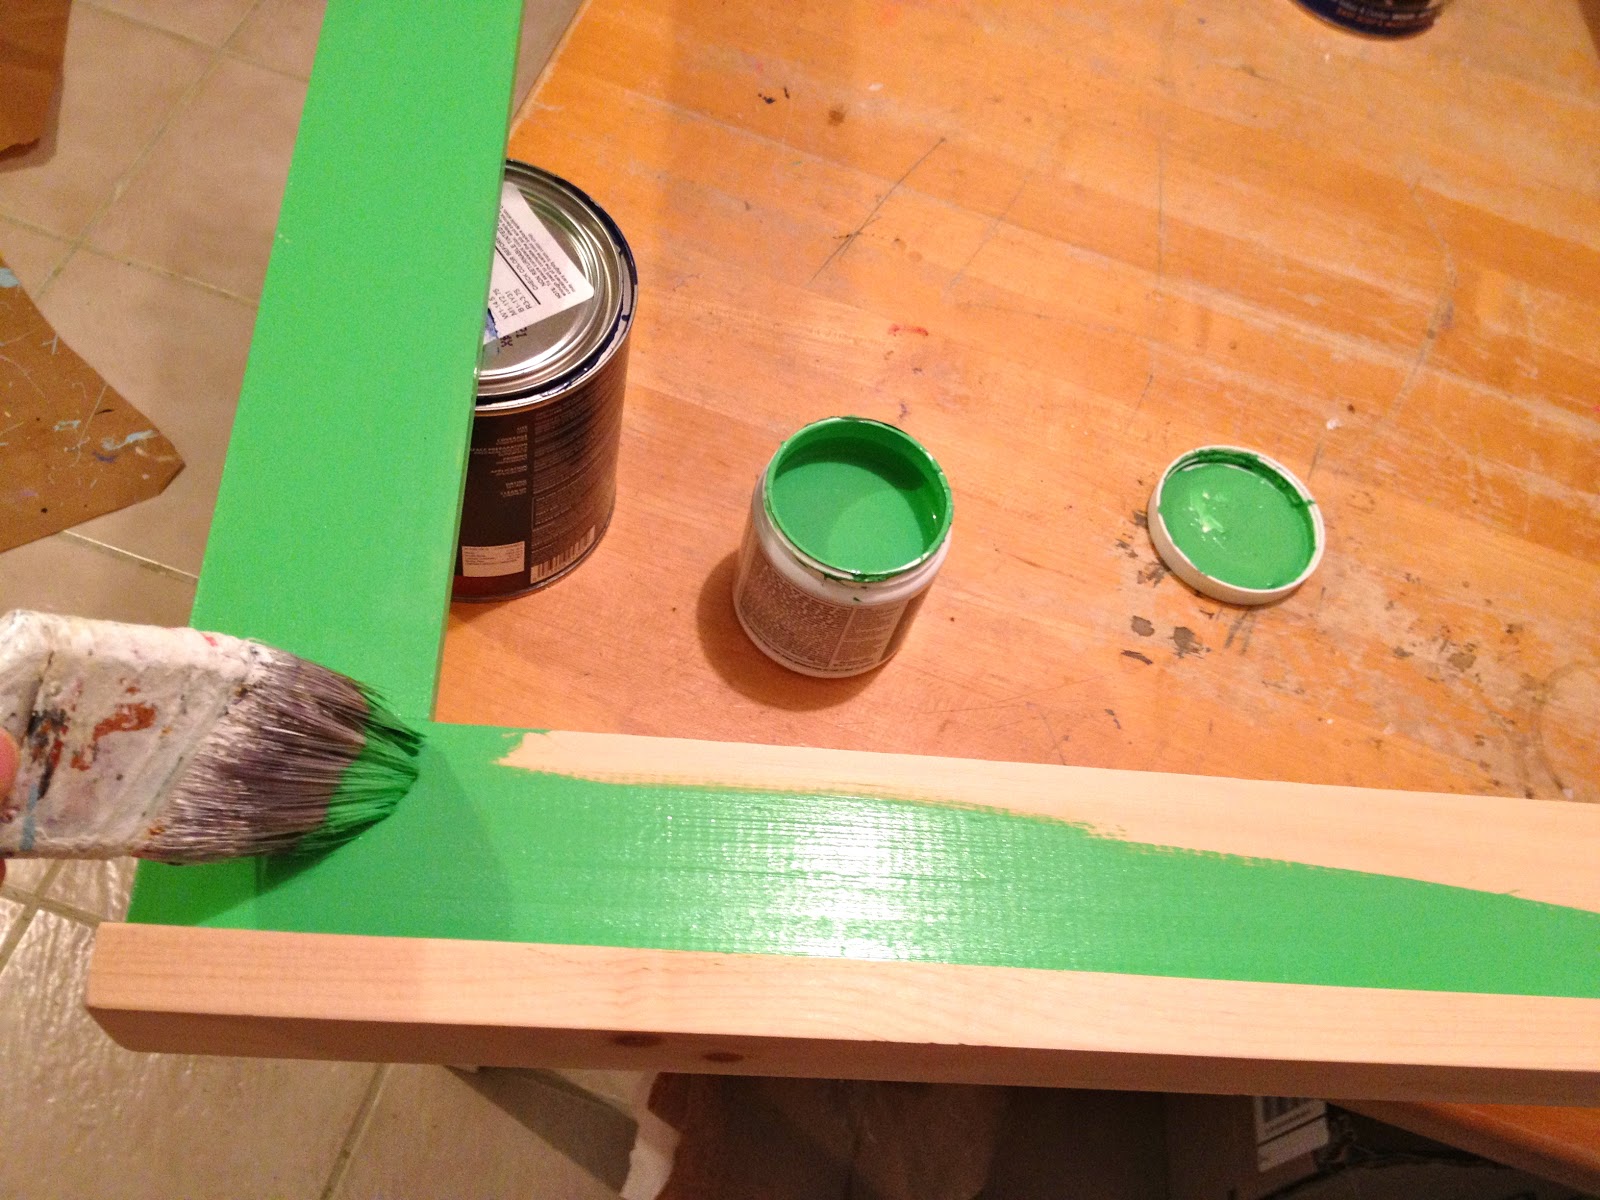
3. Sand and paint.
I used two coats Glidden lucky shamrock:

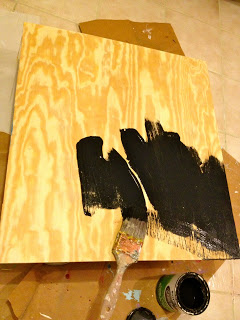
4. Paint plywood piece two coats black chalkboard paint:

5. Distress frame edges and apply Minwax Early American stain:
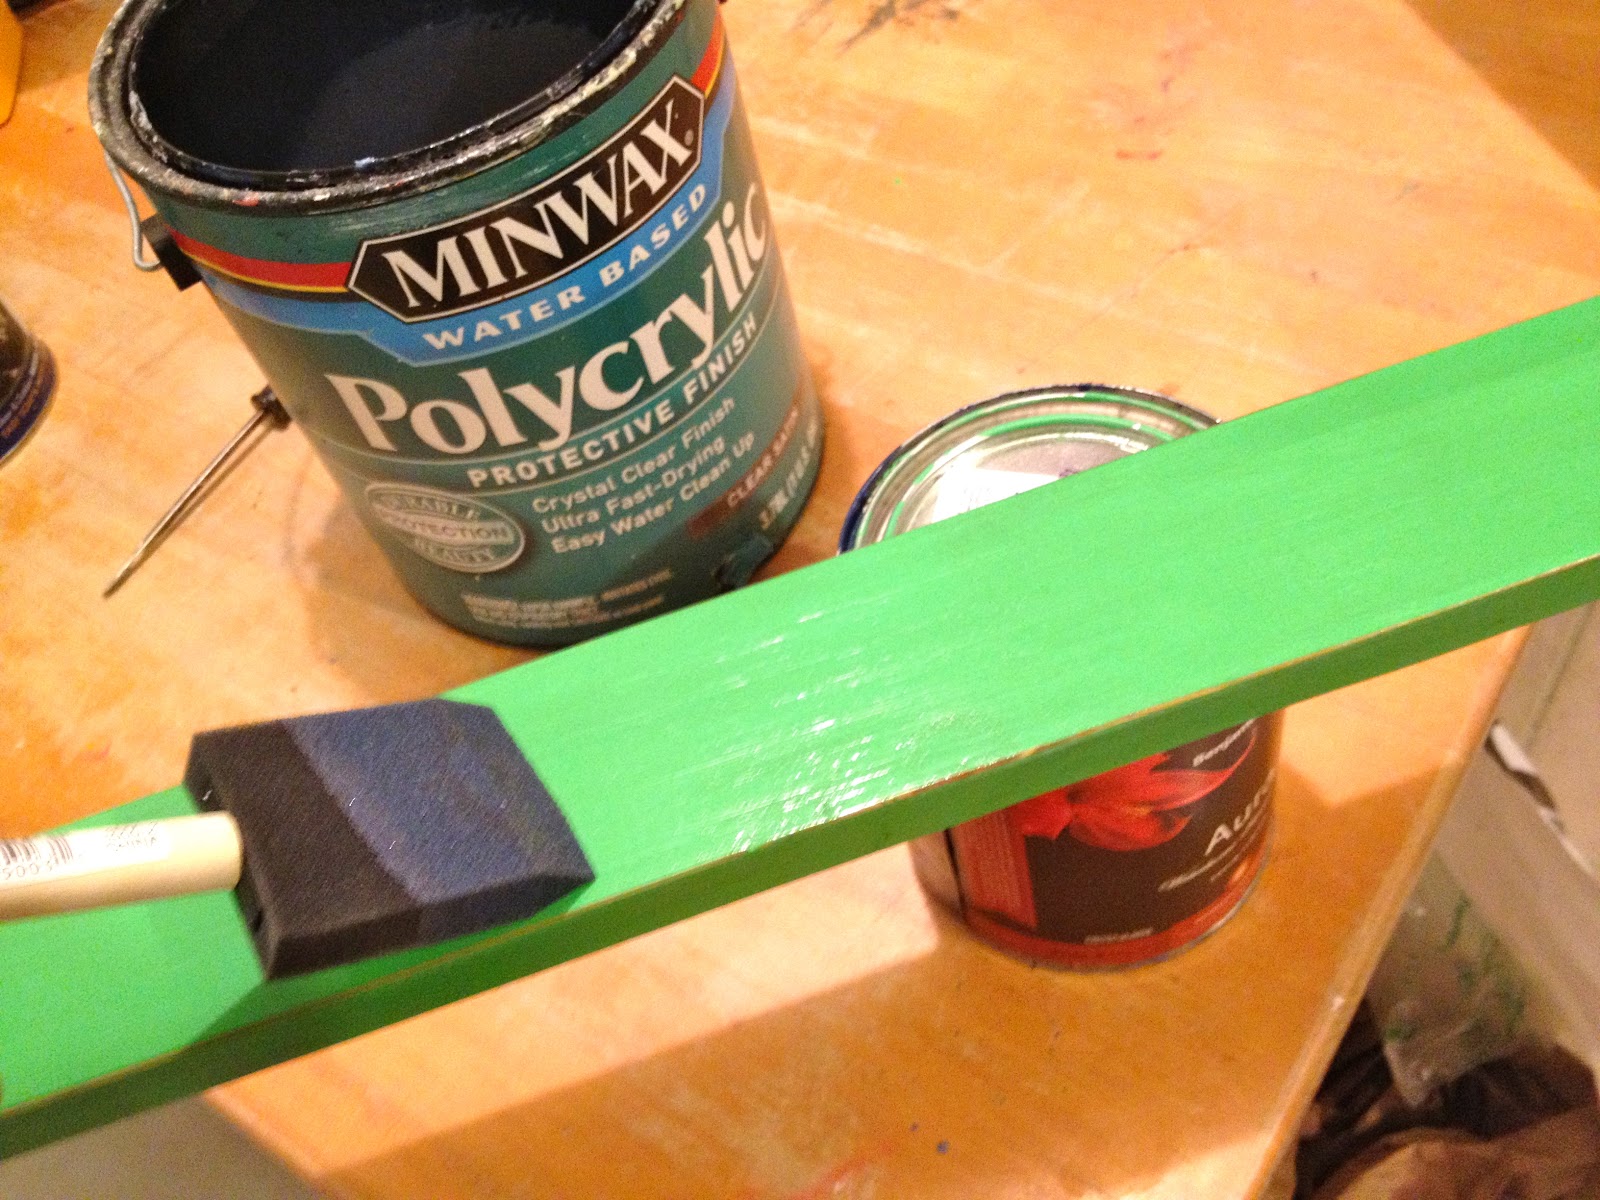
6. Seal with Minwax clear satin poly:

7. Screw chalkboard painted plywood piece onto frame from back.
Add hangers.


You may also like...

  • DIY Giant ClipboardDIY Giant Clipboard
  • One Board Challenge: BenchOne Board Challenge: Bench
  • DIY Tabletop Rustic WheelbarrowDIY Tabletop Rustic Wheelbarrow
  • DIY Handpainted SignDIY Handpainted Sign
Share this post:

Filed Under: BUILD, DIY, GAMES & TOYS, HOME DECOR, HOME DECOR, PAINT5 Comments

Reader Interactions

Comments

  1. Cassie @ Primitive & Proper says

    January 21, 2013 at 1:55 AM

    i love it- the color is awesome, jaime!

    Reply
  2. Maureen says

    January 21, 2013 at 6:34 AM

    Really cute and I'm always impressed that you made it yourself!

    Reply
  3. Diana - FreeStyleMama says

    January 24, 2013 at 4:03 PM

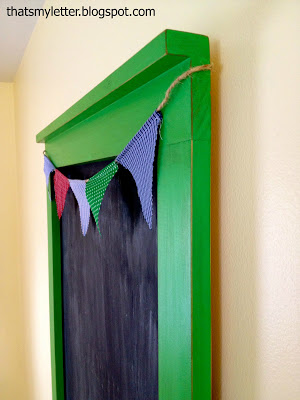
    I love it. Especially the pennant!!

    Reply
  4. ~The Bargain Babe from *Zucchini Summer Blog* says

    January 25, 2013 at 1:43 PM

    Saw you at Serenity Now. This is cute and I just love the GREEN color you painted it!

    Reply
  5. Debbie Cadene says

    August 24, 2014 at 12:15 PM

    Hi Jamie…I realize this is an older post, but I was wondering about the board on the back of this. Since we are attaching the plywood chalkboard to the back of this, I am guessing the whole frame won't be flat to the wall. Would it be too much trouble to post a picture of how it looks from the backside with the chalkboard screwed down?? I can visualize it, but most times when I do this, I'm wrong.
    thanks bunches,
    Debora Cadene

    Reply

Leave a Reply Cancel reply

Your email address will not be published. Required fields are marked *

Primary Sidebar

Hi! I’m Jaime

Jaime Costiglio

Hello!

Thank you for stopping by.
Join me for lots of DIY.

Read more

Get new posts via email

Handbuilt Holiday: Gift Project Plans

handbuilt holiday gift project plans

Collection of DIY gift project plans to build.

The Home Depot Tool Prospective

THD Prospective

Tools to consider for the DIYer.

Archives

The Home Depot Logo
Copyright © 2023 Jaime Costiglio · Custom site by Moonsteam Design

Privacy Policy