Build: giant clipboard
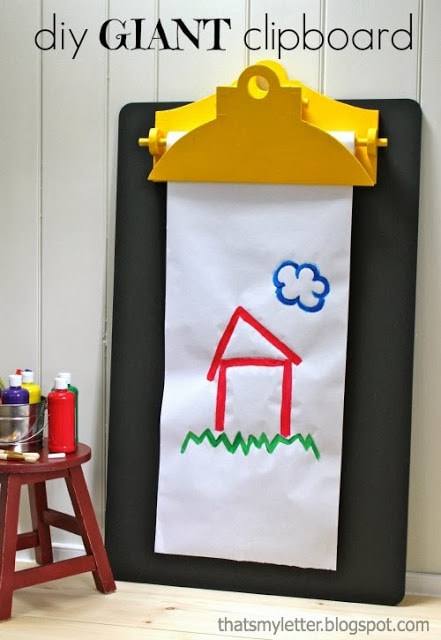
Handmade Holiday continues this week with Ana White’s plans for a giant clipboard.
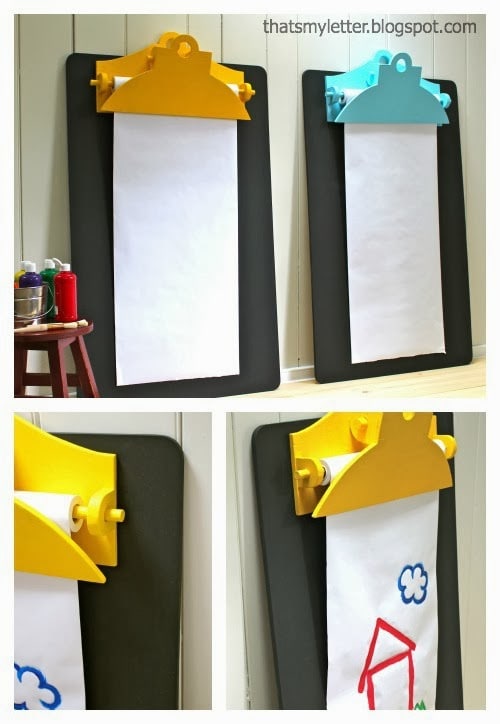
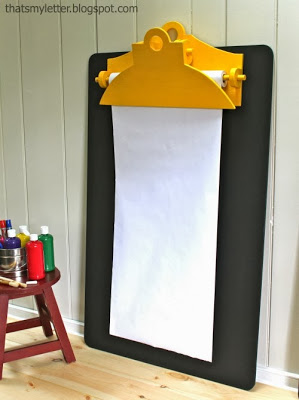
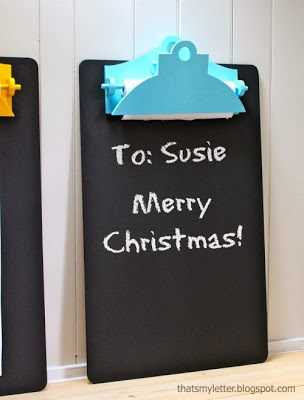
A great space for kids to paint, draw and color AND the clipboard has a chalkboard finish to let them chalk too!
If you missed any of the Handmade Holiday posts thus far Ana and I shared the folding desk and wood trug:
This week is a bigger build and so worth it!
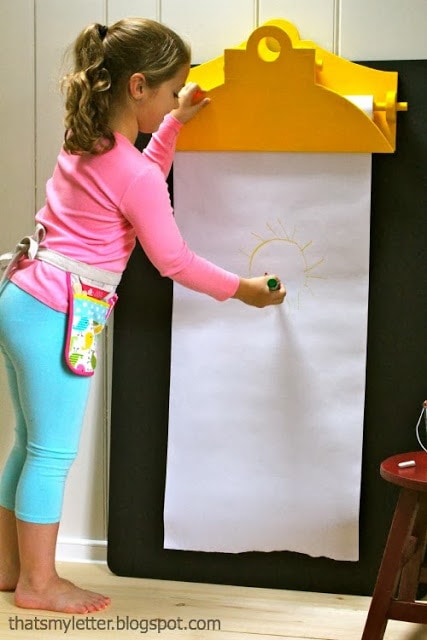
My kids came home from school and right away wanted to use the clipboards:
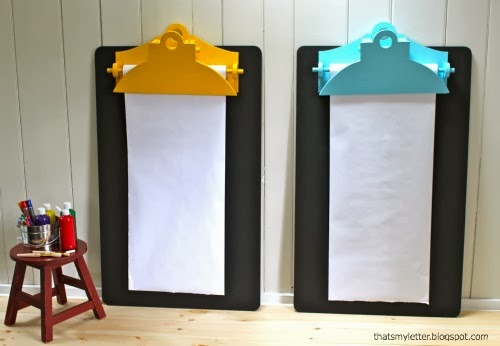
The giant clipboard is meant to be mounted to the wall but seeing as these are Christmas gifts for other kids I simply rested them on the floor.
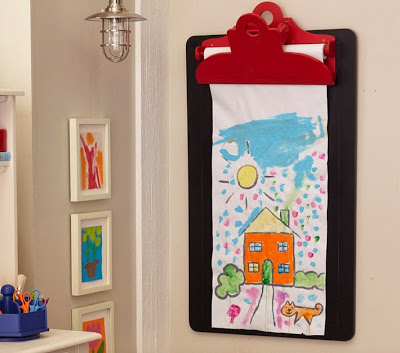
This giant clipboard is inspired by the Pottery Barn Kids jumbo clipboard (no longer available):
Ana sketched up wonderful plans for us to make our own giant clipboard, I think her dimensions are pretty similar!
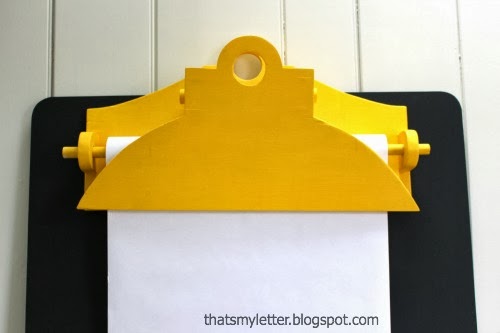
The wood clip at the top is actually functional.
The front piece holds the paper down flat to the chalkboard.
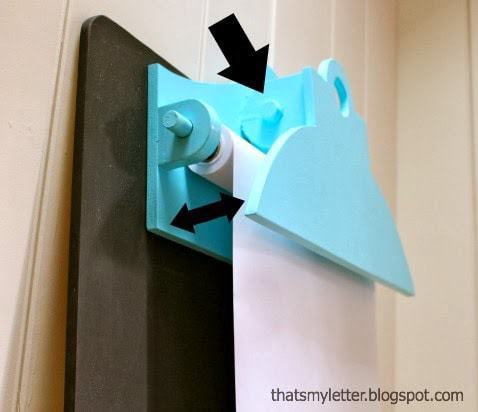
Below you can see the clip open and it swivels on the shorter dowel:
How to build a giant clipboard:
1. Follow Ana’s plans and cut your lumber.
To make curved corners on clipboard trace a round object then jigsaw:
2. Sketch out clip front and back according to Ana’s dimensions:
I used a circle maker to mark the top hole:
Then use a jig saw to cut out the front and back clip pieces:
3. For the dowel holder pieces I choose to use 3/4″ pine boards (1×3 and 1×4).
For the smaller 1×3 pieces make a 2 1/2″ circle and trace to get the rounded corners:
4. Drill out the center dowel holes:
5. Jig saw the curved edges:
6. Then cut to length:
(It’s much easier to work on the curves as a bigger piece before you cut to size.)
7. Attach the smaller dowel holders to the back clip about 2″ down from the upper edge:
8. Use pocket holes on the interior to attach the dowel holders to the clip front:
9. Place the clip front on the clip back in position and mark (see red pen marks) the dowel holders position:
10. Attach the last two dowel holders, test dowels for fit.
I did hammer the shorter dowel into place, it’s functional but definitely won’t slide out.
11. Prime and paint:
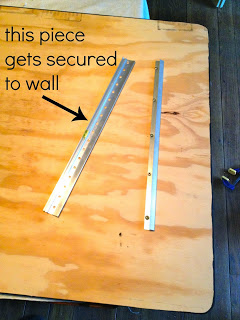
12. Secure french cleat to back of clipboard:
13. Glue and center the clip on the board, clamp in place.
Predrill and secure with 1″ screws.
See you next Friday for another fun handmade holiday gift build.
I guarantee you don’t want to miss it!



This project is SO clever…and fun! But don't I say that about ALL of them?? Great work!
I love this idea! 🙂 What a fun project for the kiddos. I'm going to have to put this on the Hubby's to do list for the spring. 🙂
Love it!! Where did you find the roll of paper? Are they sold anywhere else beside Pottery Barn?
@ Jen, IKEA sells rolls of paper as does AMAZON.
First time I've ever seen anything like this, so clever!!!
I love this site, thank you to all who are created, I learned many things, very positive, a thousand thank you.
voyance gratuite par mail
WOW! I love this. I think I will try to build one of these!
Marie @ Fortledbetter
I love this SO MUCH! Sharing on my Facebook page today. Wonderful blog you have here!
Hey! How much did this project cost to make? [email protected]
If I recall the 2 bigger sheets were $20 each and then scraps for the remaining small bits so about $40.