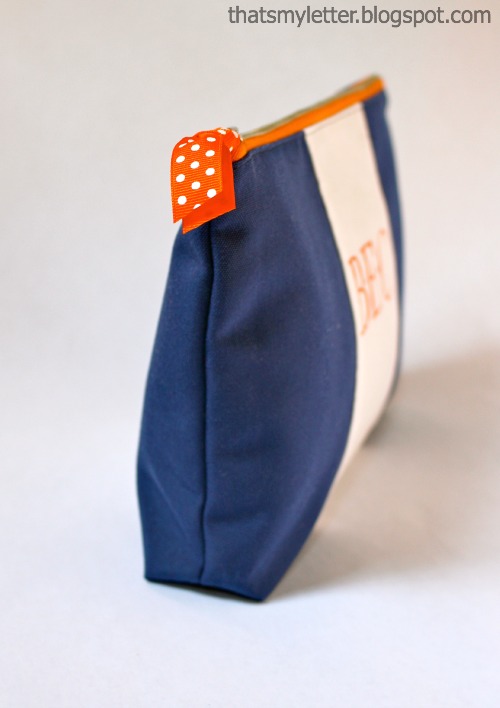
Sew: colorfield zipper pouch
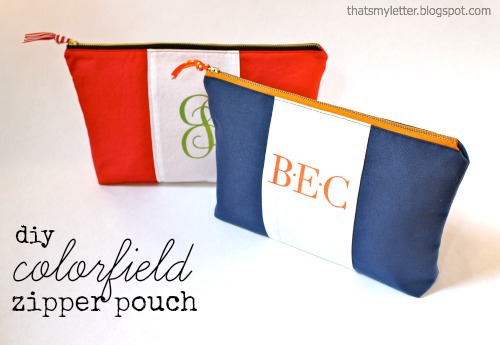
Make your own personalized zippered pouch with handpainted monogram, no fancy tools required, only a small light box (or even a window will do!).
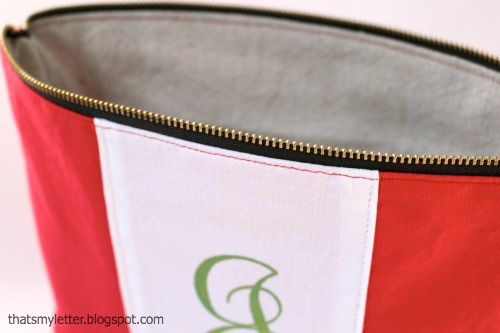
Sewing in a zipper is easier than you think and these metal zippers are my favorite mostly because I love their heavy duty feel and smooth operation:

Inspired by Mark & Graham’s colorfield clutch:

Their clutch is made from vinyl and does have an interior zippered pocket but at $45 each you might consider making your own for much less.

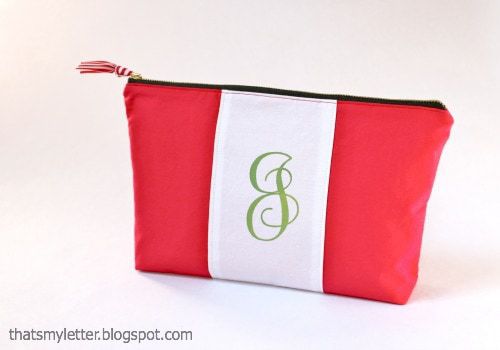
Add any style monogram or personalization, simply print a word document in the desired size, use a light box, a steady hand and some acrylic craft paint to get this:
Here’s how to make a personalized zippered pouch:
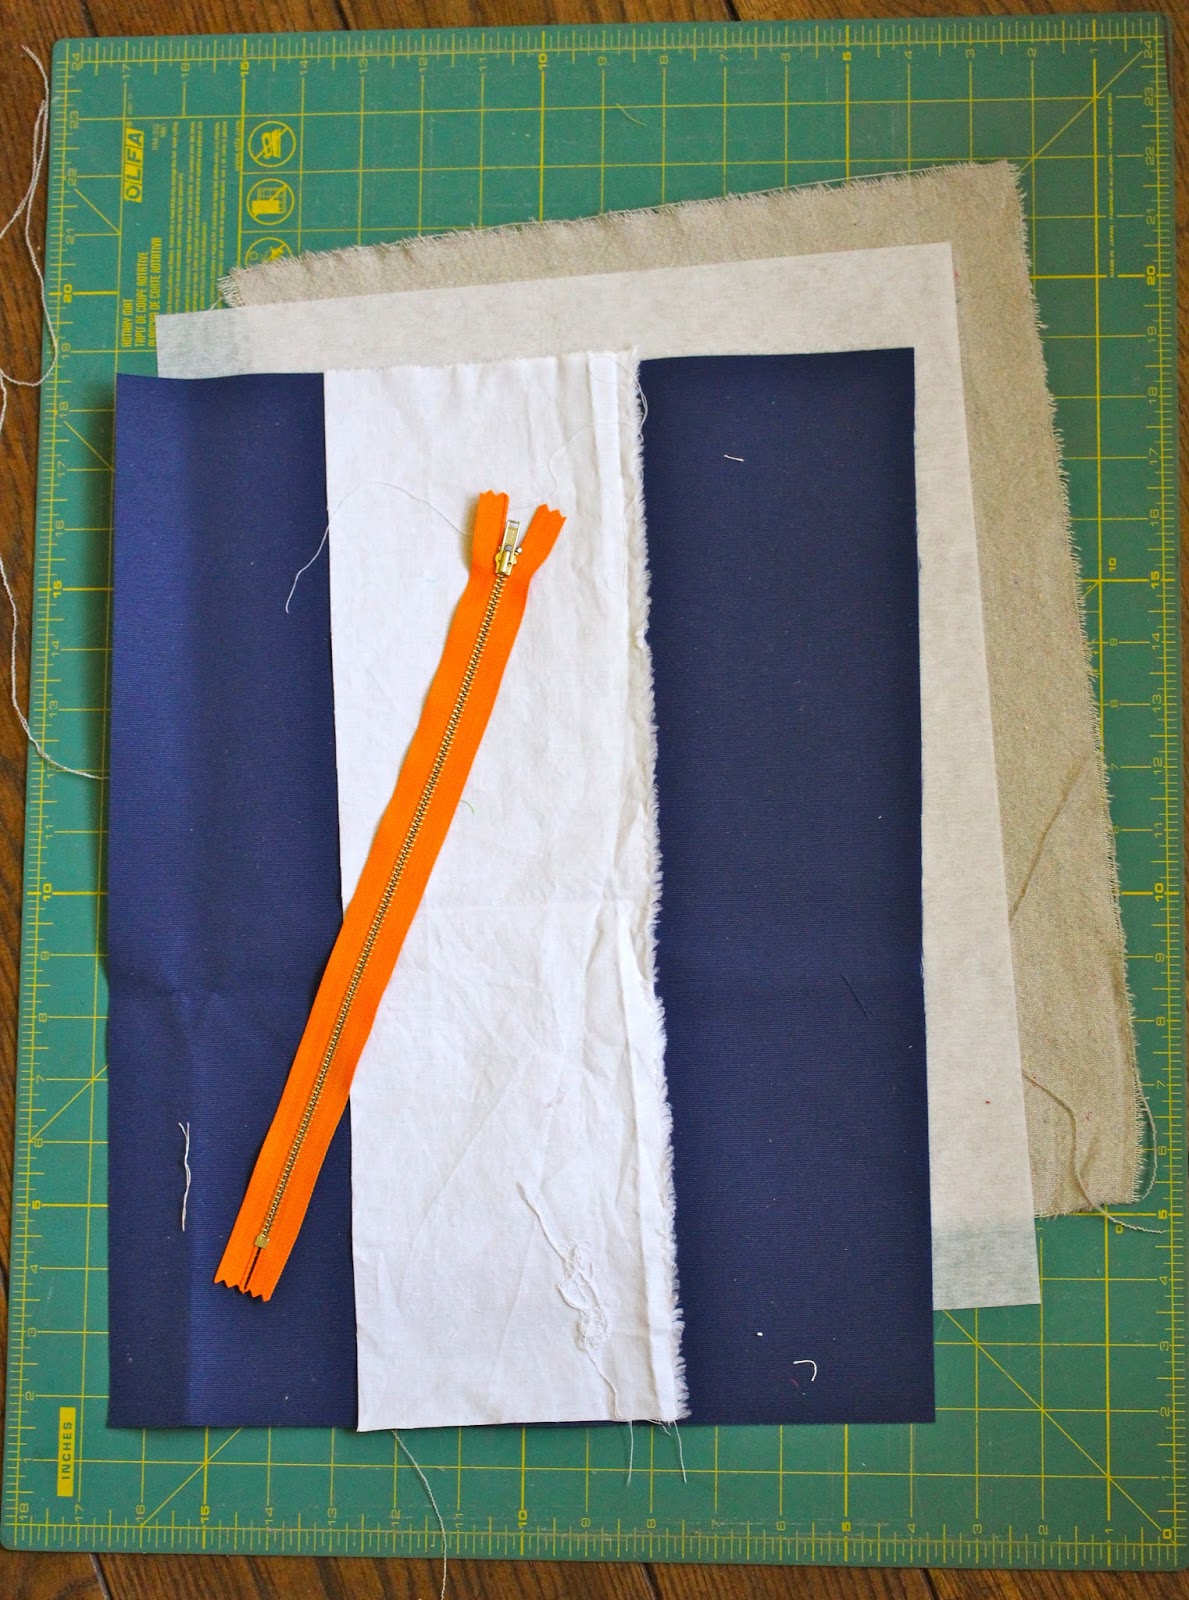
1. Supplies: makes 1 – 12″l x 7.5″h x 1″thick at base pouch
– exterior blue canvas 13″ x 17″
– med. weight fusible interfacing 13″ x 17″
– interior drop cloth canvas 13″ x 17″
– white cotton center panel 5″ x 17″
– 12″ metal zipper
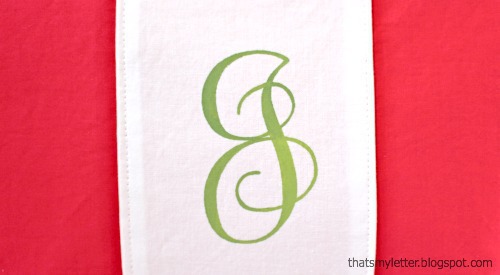
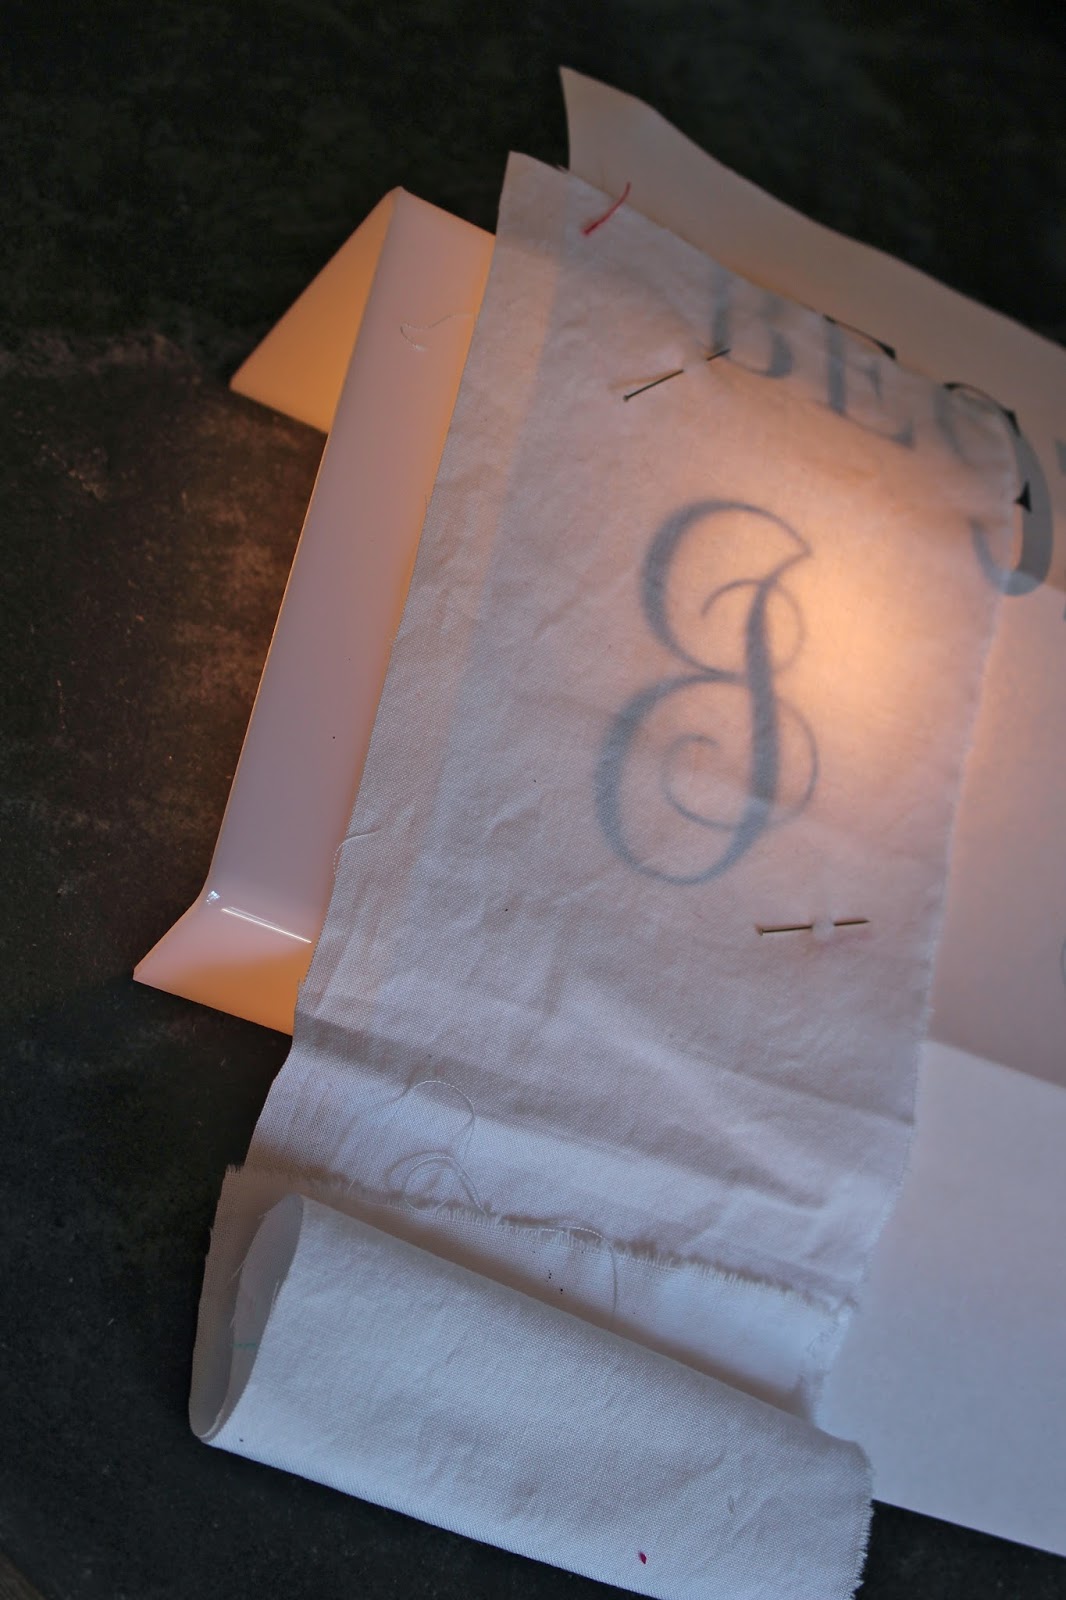
2. Determine your monogram or personalization, print out word document.
Find center of white panel and pin on top of monogram print out:
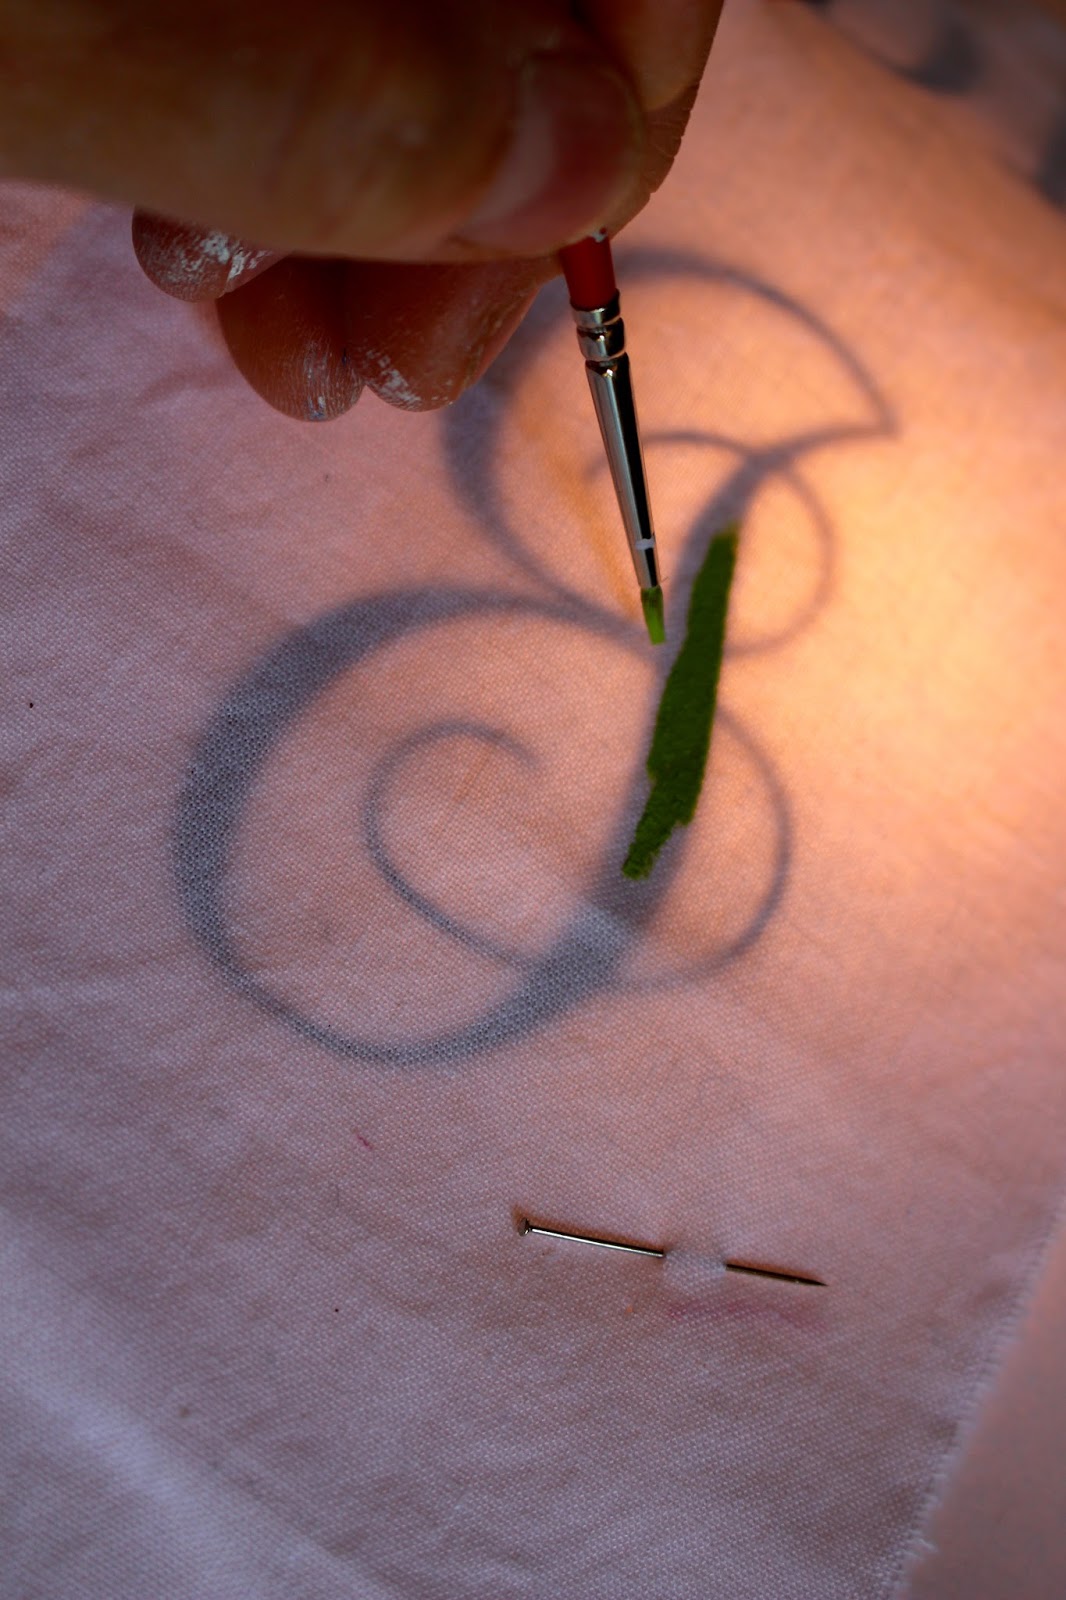
3. Working on a light box paint letter with acrylic craft paint using print out as guide:
4. Once dry press raw edges under 1/2″ on both long sides:

5. Pin white cotton panel in center of exterior fabric:
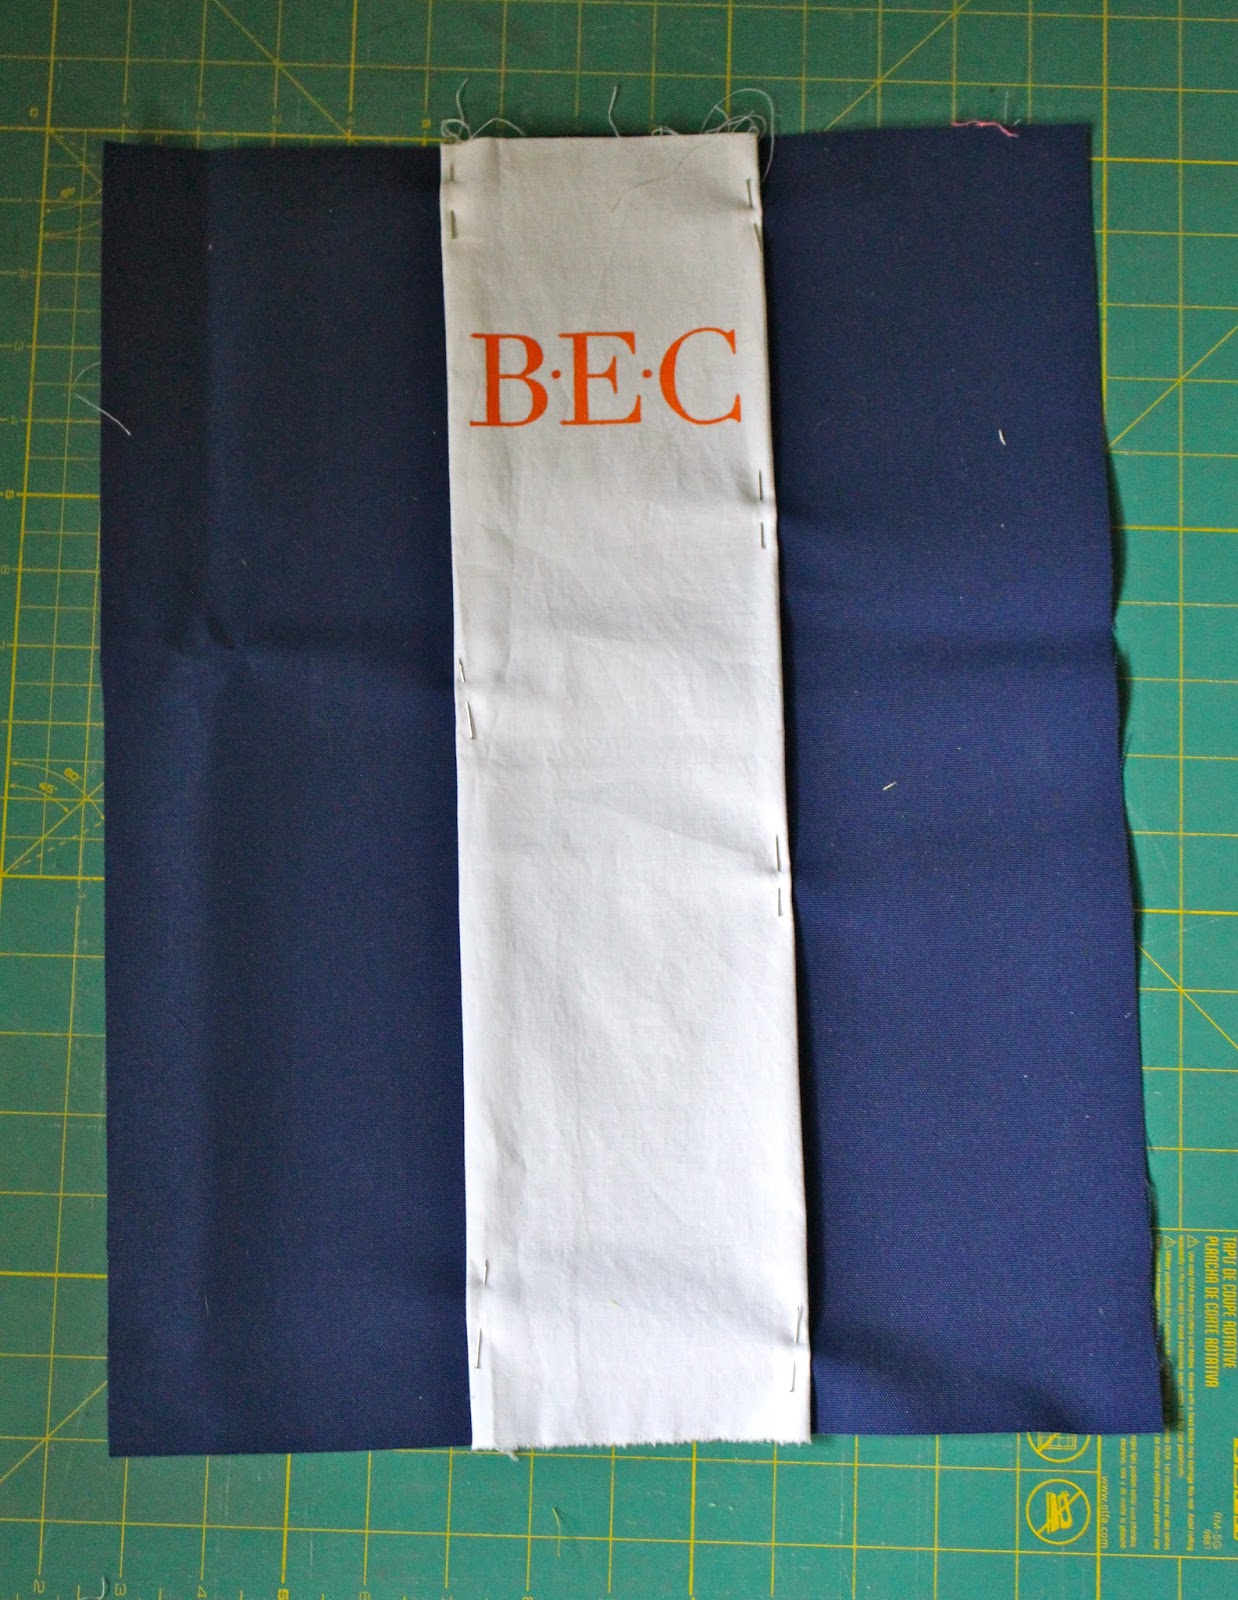
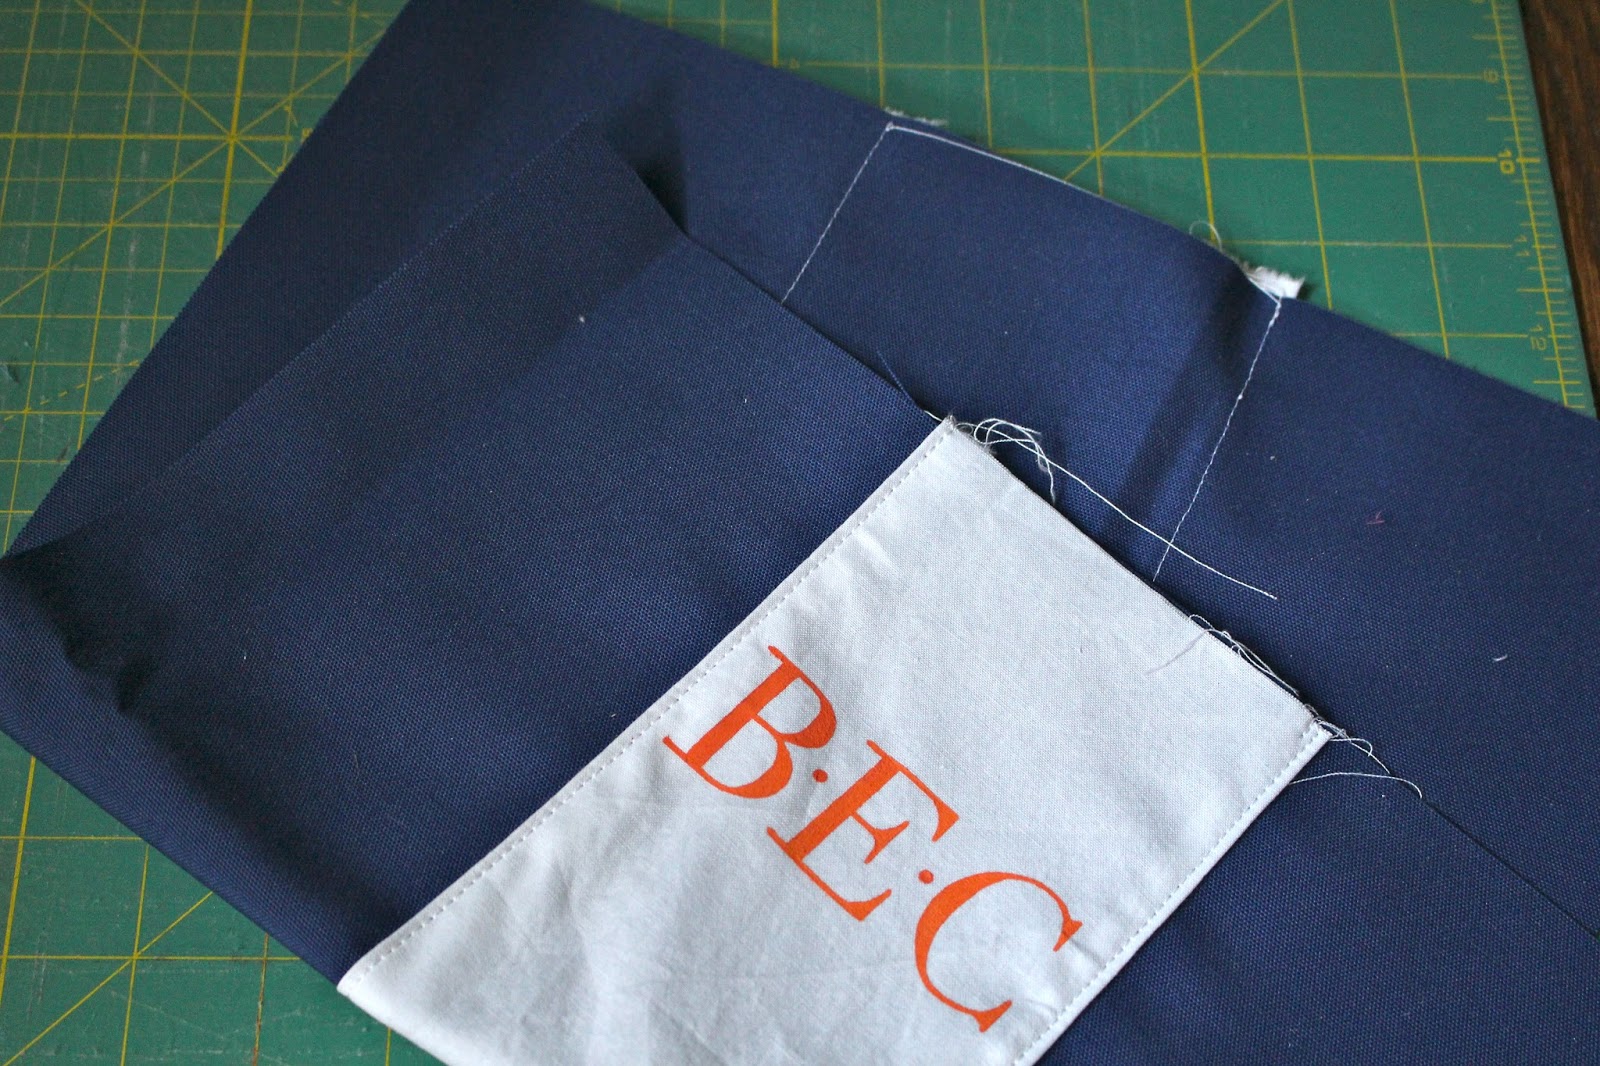
6. Top stitch panel in position on both long sides:
7. Iron fusible interfacing to wrong side of exterior fabric.
8. Place zipper face down at top edge then layer interior drop cloth and sew in place using zipper foot:

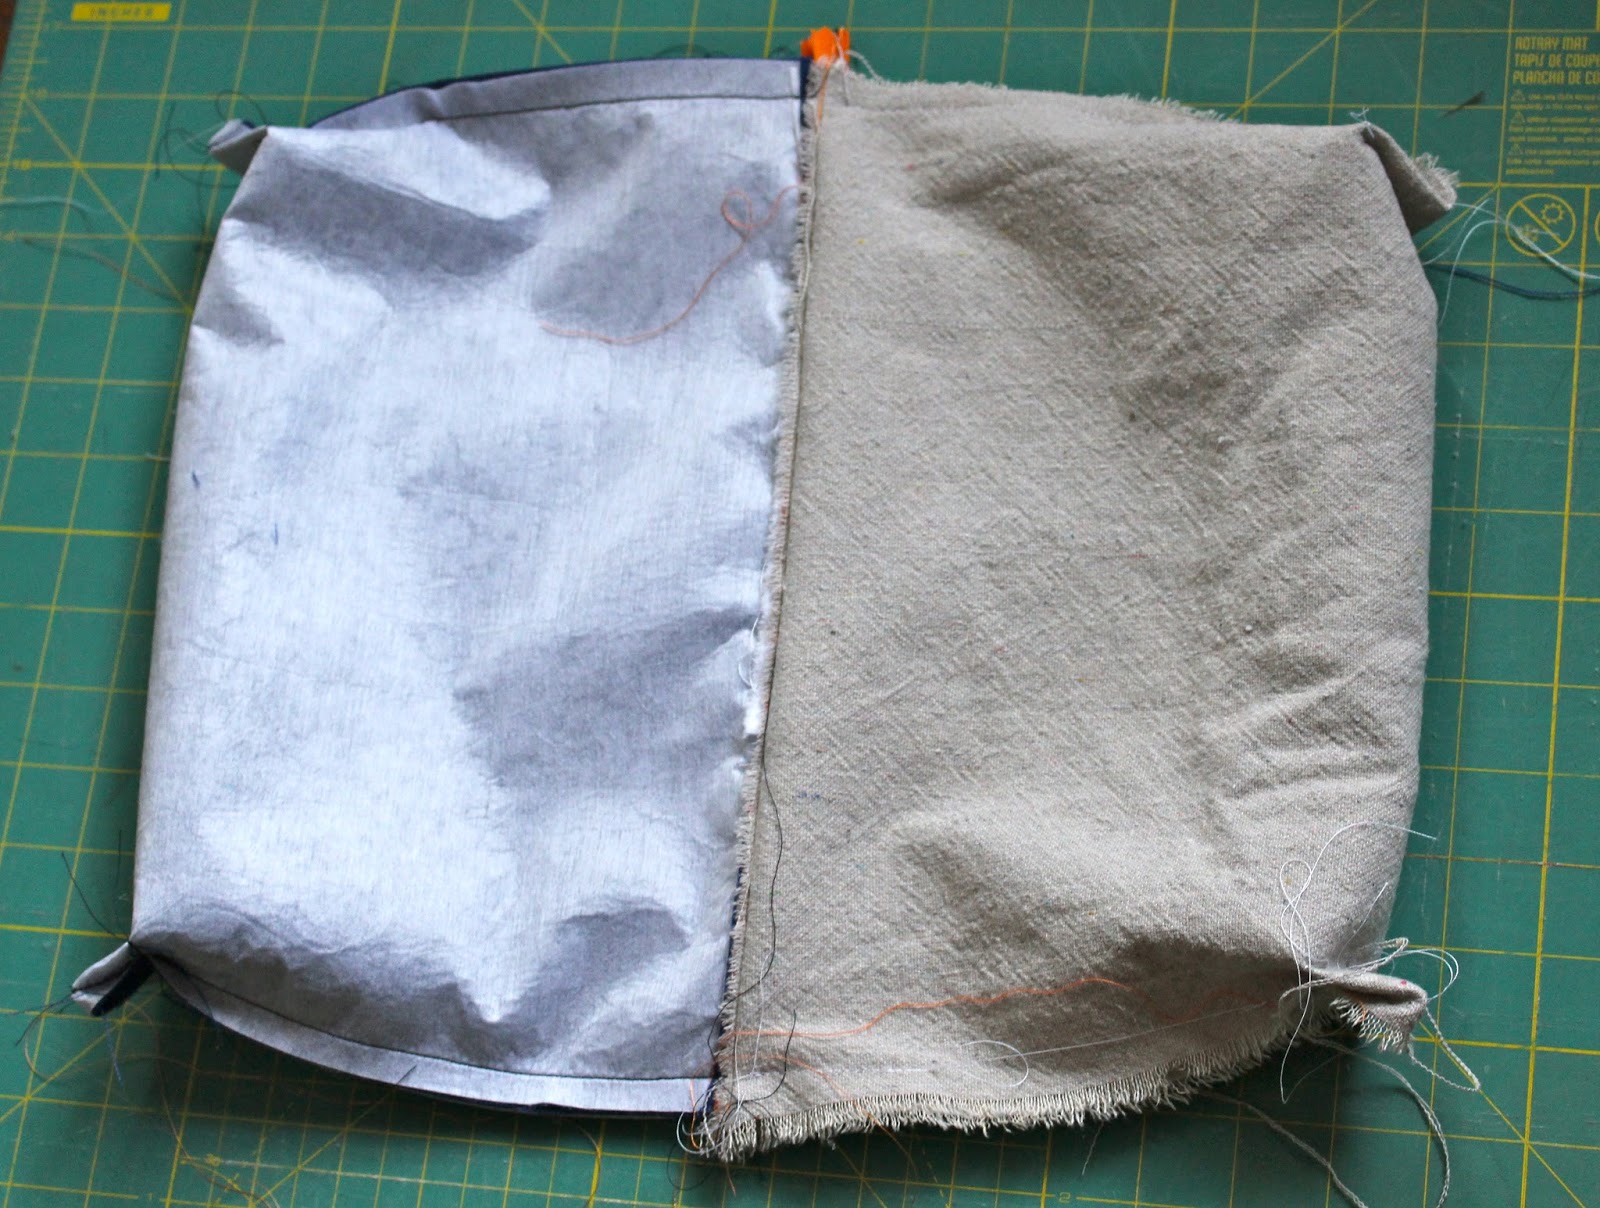
9. Flop drop cloth into position and top stitch:
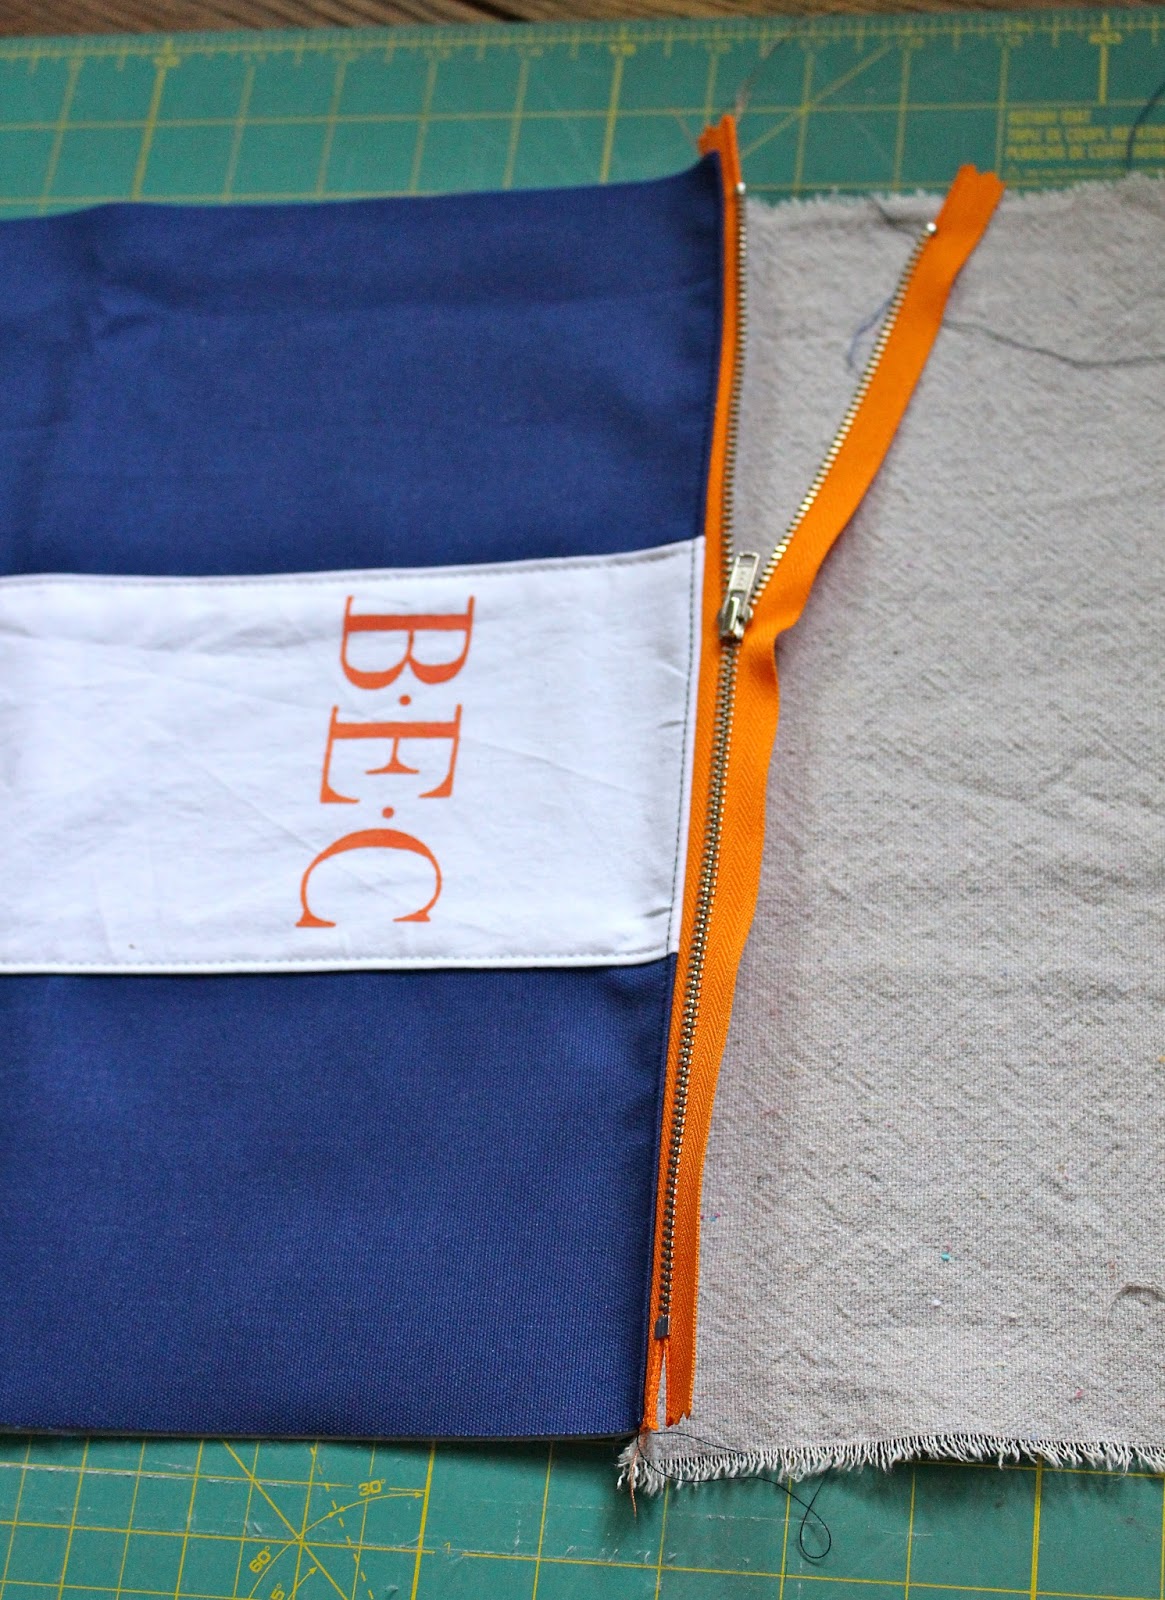
10. Repeat process for other end using other side of zipper.
Once done top stitching it should look like this:

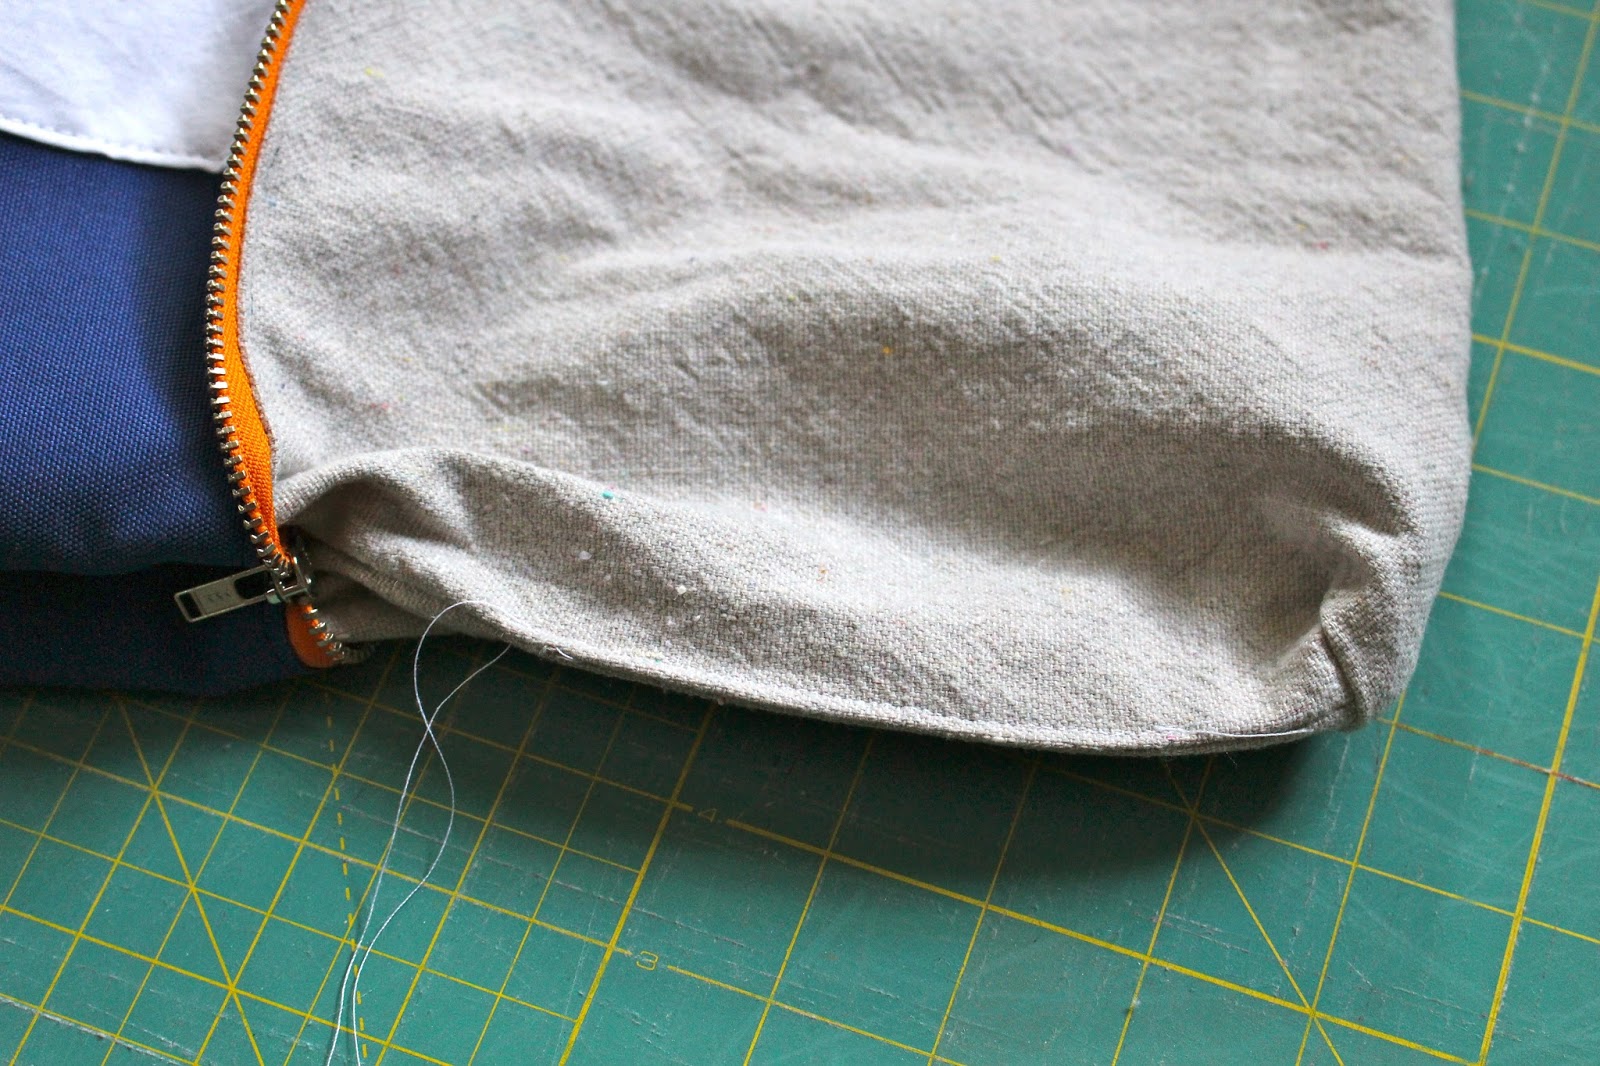
11. Turn inside out, right sides together and sew side seams, be sure to leave at least 4″ open on one side of lining portion.
12. Miter all 4 corners:

13. Clip miters and turn right side out through lining opening.
Then top stitch that opening shut:


I love the monogram on this. I'm a bit of a prepster so this is just my style. =)
You did an amazing job on these!! Come Link Up with us tomorrow at Craft Frenzy Friday at http://www.craftdictator.com!
Jaime, I thank you so much for your beautiful tutorials and sharing your tips. I finally got the courage up to try a pouch and got a little confused when it came to sewing down the side seams – picture 11 here. Are you supposed to sew right over the zipper or are you supposed to stop right at it and then start again on the other size. I went very slowly but my needle still was not happy and I wasn't sure if I was doing it wrong. Thanks for any input.
Michelle
Ooh! I love anything monogrammed. Time to break out the sewing machine!