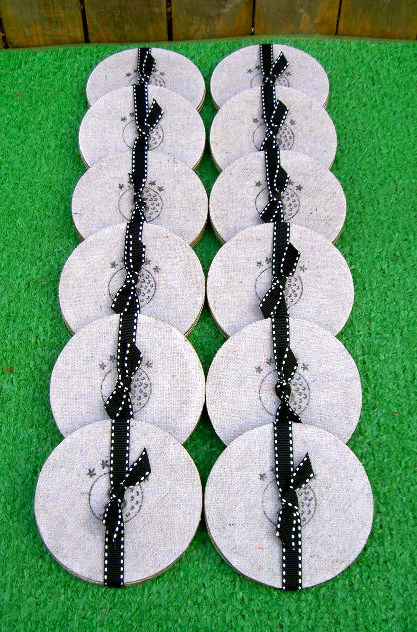
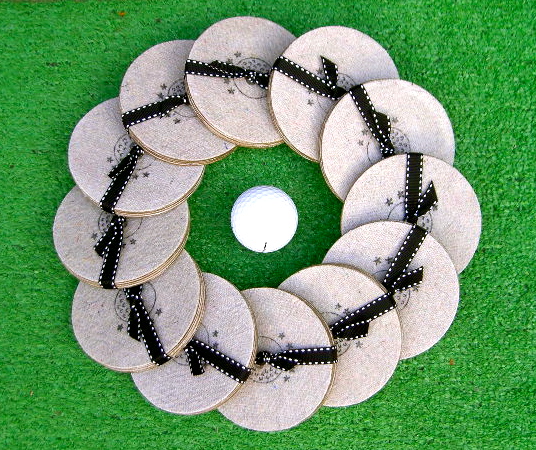
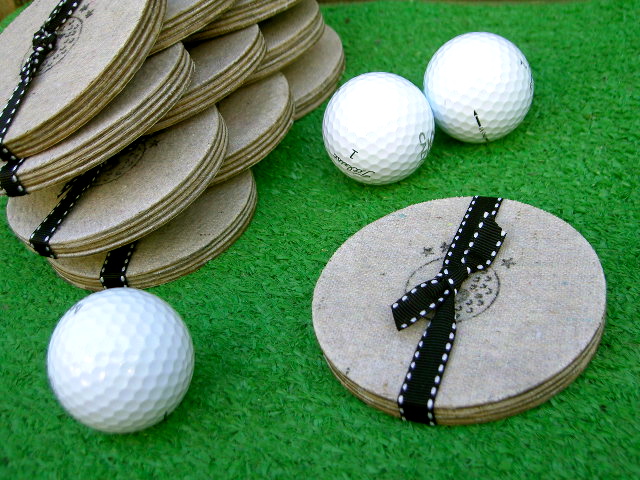
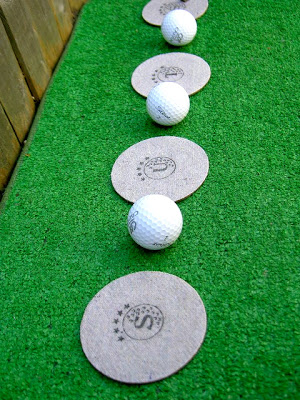
Custom coasters as favors for a golf outing.

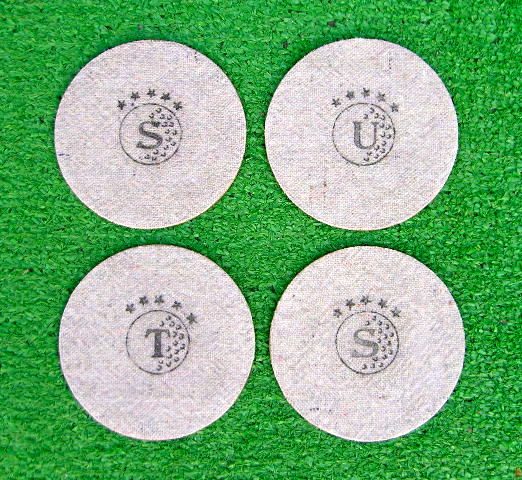
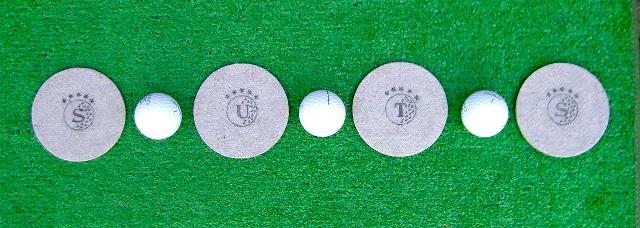
The theme for the golf outing is ‘Swinging Under The Stars’ which is why the letters S, U, T, S are printed on the coasters.
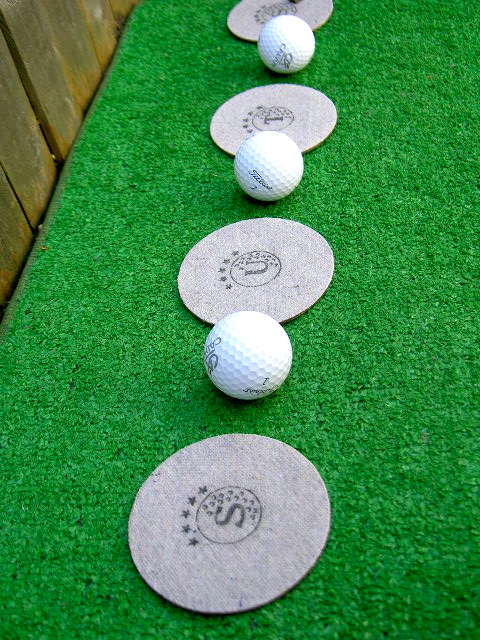
A fun, useful favor to remember the event.
Here’s how I made the coasters:
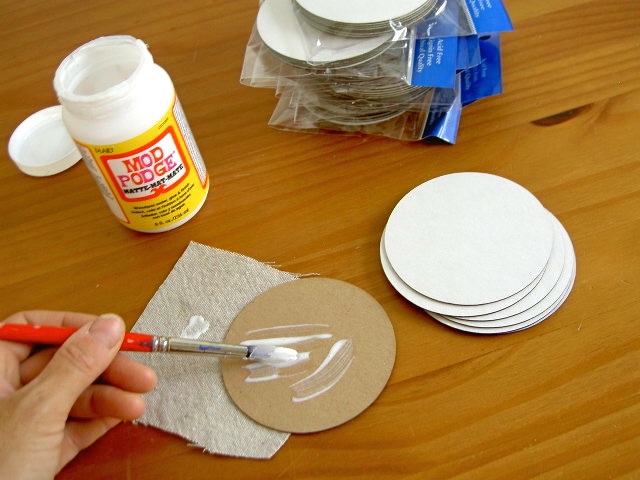
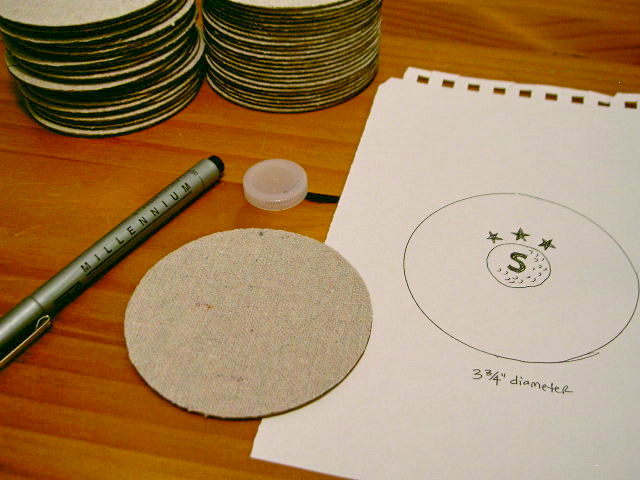
1. Using 3 3/4″diameter chipboard circles (found here), cover each circle with canvas using Mod Podge.
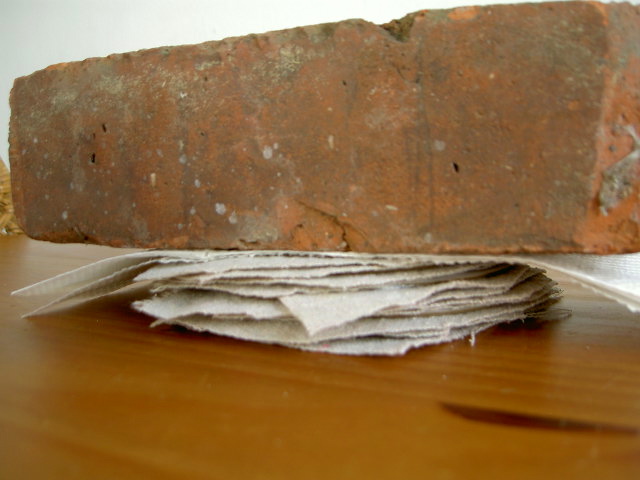
Use a heavy object to weigh down the fabric covered circles while they’re drying.
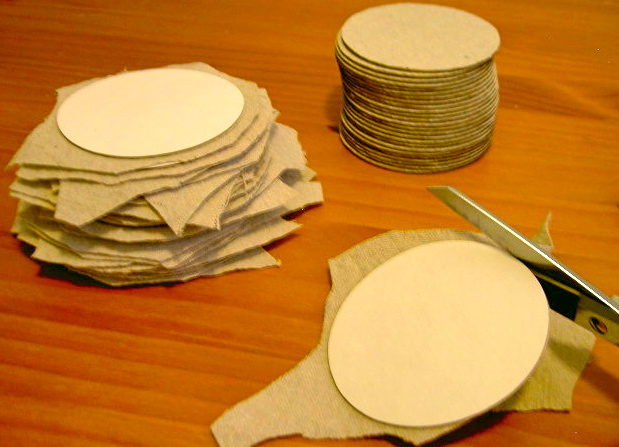
2. Once dry trim the excess fabric from around the edge:
3. Draw, stamp or paint your design.
I designed this logo for the outing, a golf ball with the letters inside and stars above.
For the golf ball I traced around a water bottle cap:
4. Then I stamped the letter inside the ball:
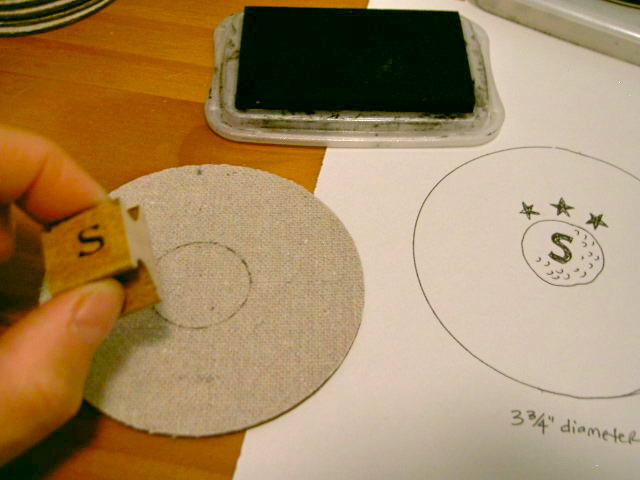

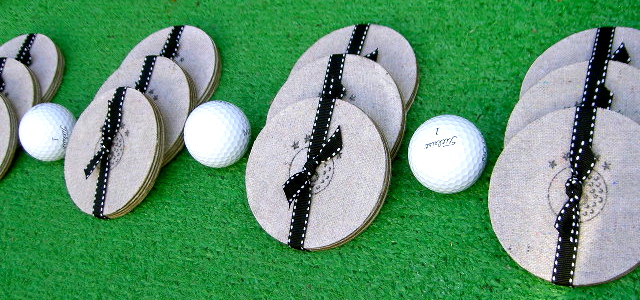
All 48 golf balls and letters are on:

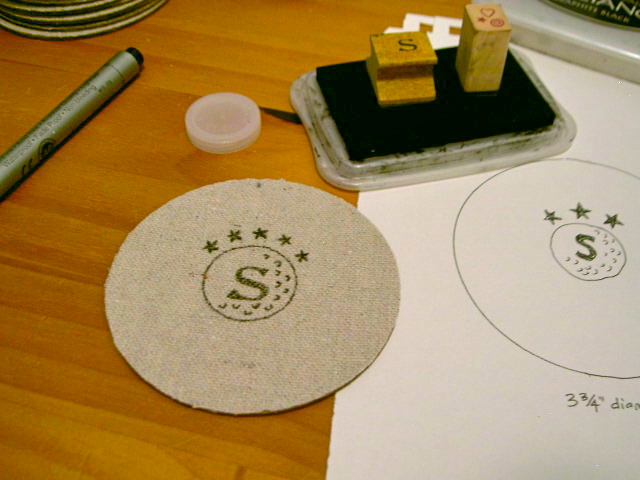
5. Next stamp the stars and draw on some dimples with permanent black pen:

6. Seal with one coat Mod Podge:
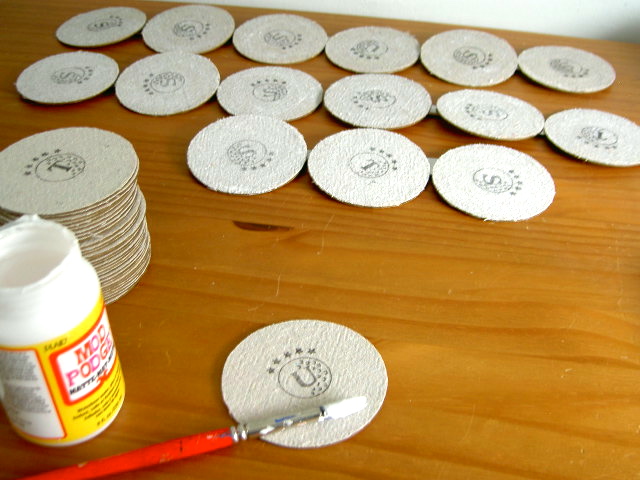
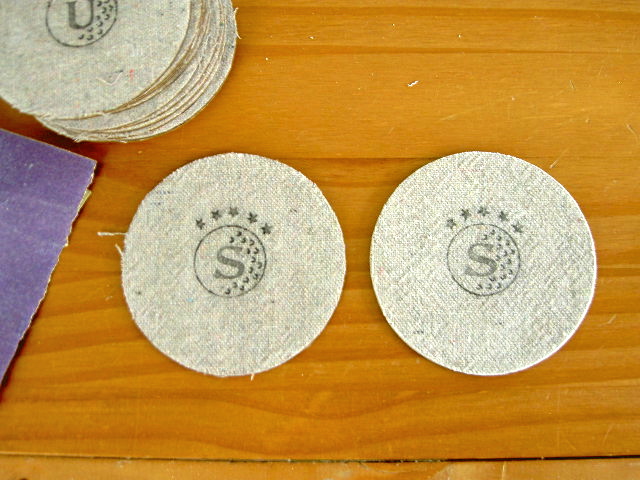
7. Once dry clean off all loose canvas threads around edges and sand top surface smooth using 120 grit:
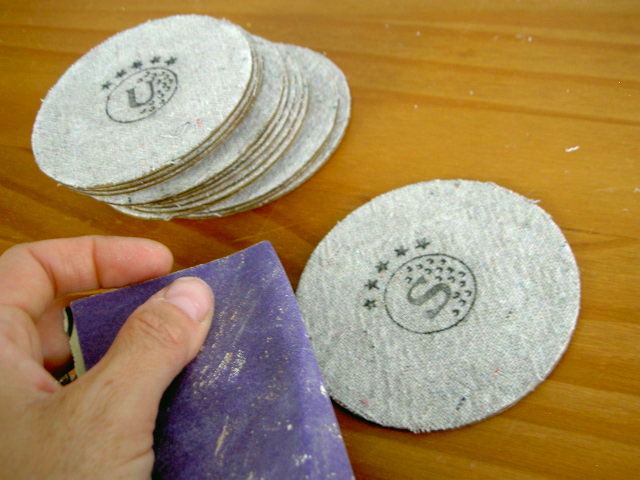
This is an absolutely necessary step, see the difference below, the coaster on the left has NOT be sanded and the one on the right has been sanded.
8. Apply one more coat of Mod Podge and let dry.
9. Seal with spray Poly clear satin, two coats.


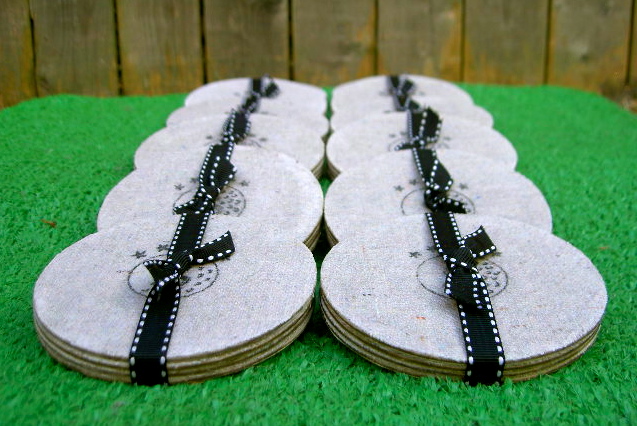
All packaged up and ready to hand out as favors:
Thanks Julie for a fun project, hope your golfing friends enjoy their coasters.

I’m linking up to:
http://www.abeachcottage.com/
http://www.homestoriesatoz.com/
http://delightfulorder.blogspot.com/, http://www.theshabbychiccottage.net/
http://delightfulorder.blogspot.com/, http://www.theshabbychiccottage.net/
http://www.somewhatsimple.com/
http://www.504main.com/
http://shabbynest.blogspot.com/
http://chiconashoestringdecorating.blogspot.com/
http://frenchcountrycottage.blogspot.com/, http://www.lovelycraftyhome.com/
http://www.504main.com/
http://shabbynest.blogspot.com/
http://chiconashoestringdecorating.blogspot.com/
http://frenchcountrycottage.blogspot.com/, http://www.lovelycraftyhome.com/
http://lollyjaneboutique.blogspot.com/
http://funkyjunkinteriors.blogspot.com/
http://thediyshowoff.blogspot.com/
http://www.iheartnaptime.net/
http://funkyjunkinteriors.blogspot.com/
http://thediyshowoff.blogspot.com/
http://www.iheartnaptime.net/
http://sistersofthewildwest.blogspot.com/
http://www.bystephanielynn.com/
http://www.thegirlcreative.com/
http://www.skiptomylou.org/
http://makingtheworldcuter.blogspot.com/, http://linda-coastalcharm.blogspot.com/
http://www.myuncommonsliceofsuburbia.com/
http://theletteredcottage.net/
http://www.myuncommonsliceofsuburbia.com/
http://theletteredcottage.net/

Eeek! Those are awesome! Are you selling them? Cause I'd buy a set of 4 for sure! My husband would love them….
Jaime–love these!! I really, really need to get some of my bigger woodworking projects done so I can do some crafty stuff. This is going on my list for sure. I've needed coasters for a long time–the corky ones that my cat thinks he can chew on have got to go!
Brilliant, I'm going to have ago at these,Well done xx Ava
Jaime luv these…
Don't forget to add it to our weekly party for our readers to discover.
http://www.passionatelyartistic.com/2011/07/weekly-talent-search-with-linking-party.html
Thanks
Maggie
I just found your blog and along with it so much inspiration….I can't wait to sing my abc's along with you….thank you, xo
Lucy
how cute! and easy! im sure they will be well loved. 🙂
the style projects
these are awesome!!! thanks for sharing:)
jaysonandashley.blogspot.com
These are great! I'm not into golf, but the idea could be done in any theme.