Now that Christmas is over let’s get back to work.
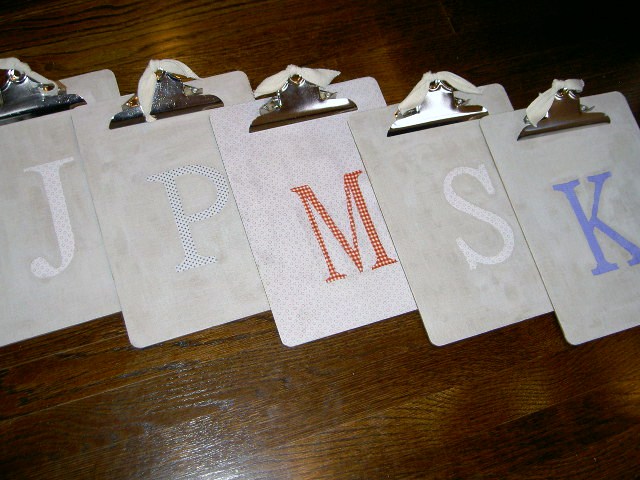
Monogrammed fabric clipboards.
This has to be my most frugal project ever.
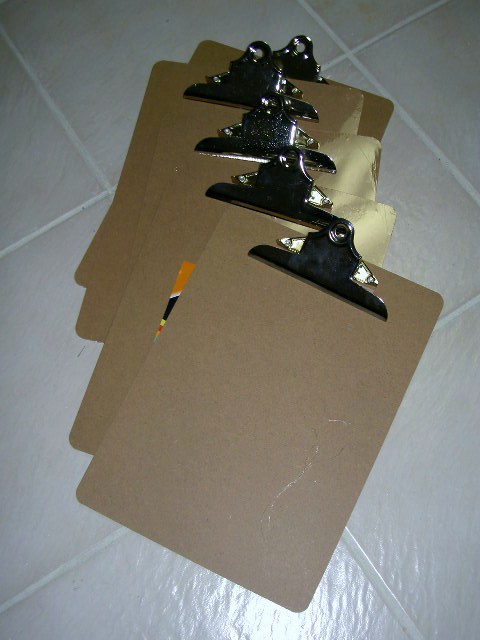
I found these clipboards at the dollar store, I know sometimes I do go there just to check it out, you never know what you might find.
Surprisingly not 10 minutes before I found these at the dollar store I bought some at Staples for twice the price. Go figure.
I brought them both home and did lots of comparing: board sturdiness, clip strength, spring action, etc. and decided they were virtually the same and as a bonus the dollar store clip hardware did not have any brand name embossed on the front.
Here’s how I made them:
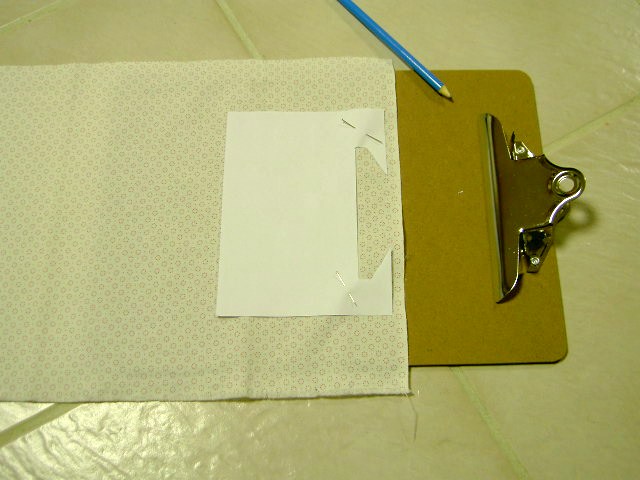
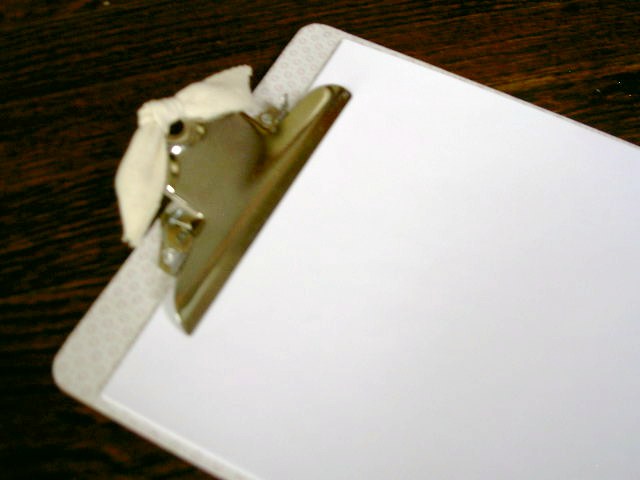
I had to make a template for the fabric to shape around the clip hardware here:
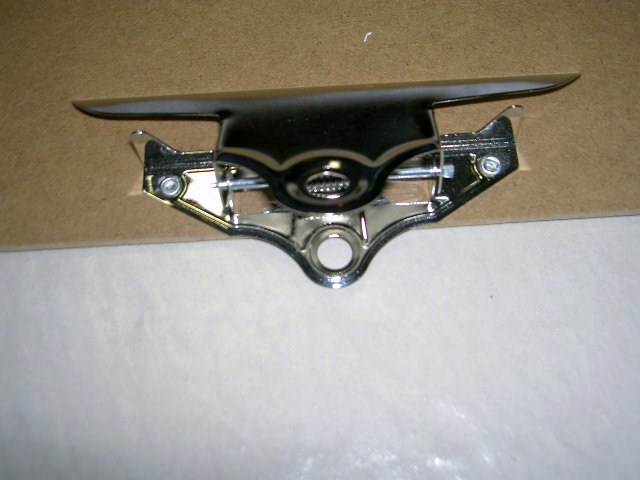
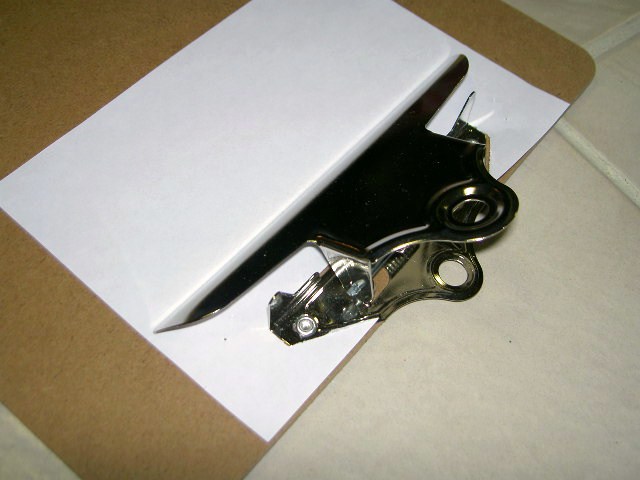
I shoved some paper in, traced the outline and cut it out:

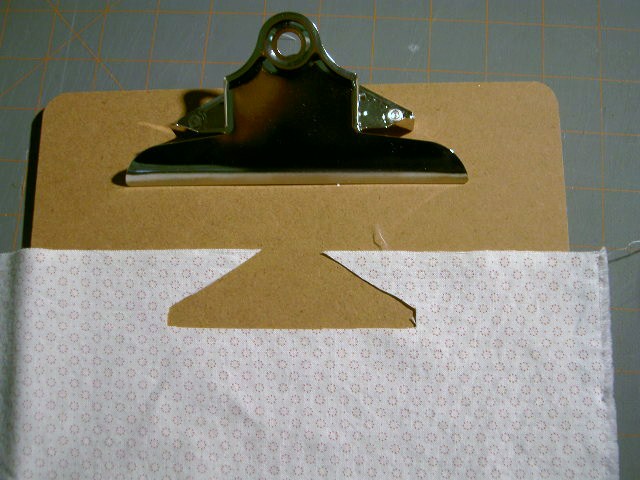
Checked for fit – looks good:
Then I pinned my template onto my fabric piece:
I traced the template with pencil onto the fabric and cut just inside the pencil line:
Then I used mod podge matte finish and a brush and applied the fabric to the board. No picture here but super easy and I let the edges hang off for now.
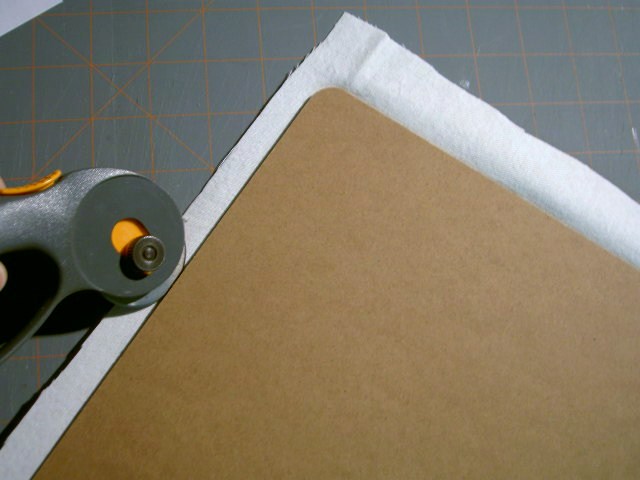
Once dry trim up the edges, I flipped the board over and used a rotary cutter:
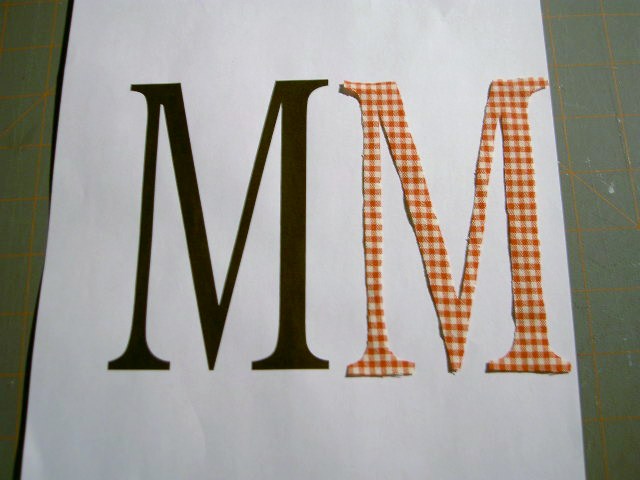
Now the monogram:
Print your letter out and using a light box (or a window) flip your letter over and trace it onto the wrong side of the fabric:
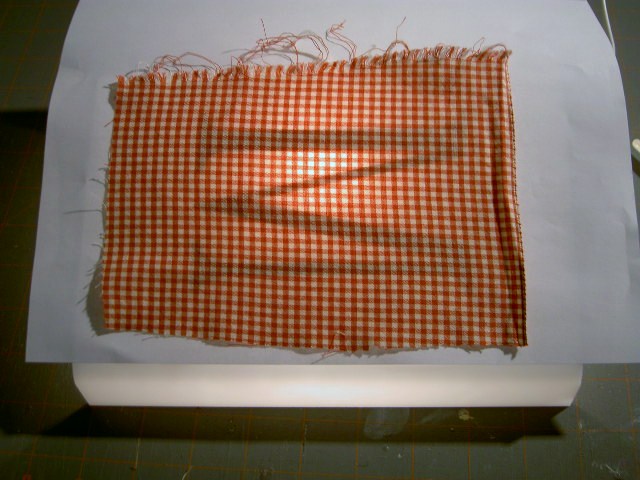
Cut out your letter:
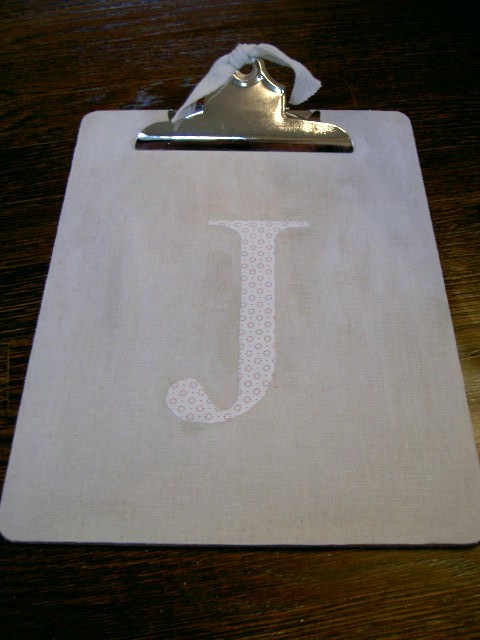
Again using mod podge and a brush apply the letter to the clipboard and seal up top of fabric at same time. I also went around the edges for a first seal there as well. I stuck a stick under the clip hardware to keep the clip from sticking to the board while it was drying.

Once dry clean up the edges using sandpaper to get off any excess fabric and chunky mod podge. I also ran the sandpaper over the entire clipboard to soften up the surface and make it smooth.
Then do a final quick coat of mod podge just around the edge to prevent it from fraying.
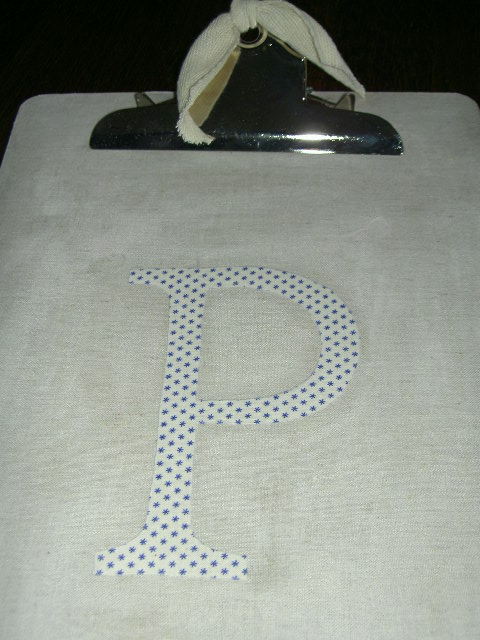
Add some ribbon to the loop (I used a wide seam binding).

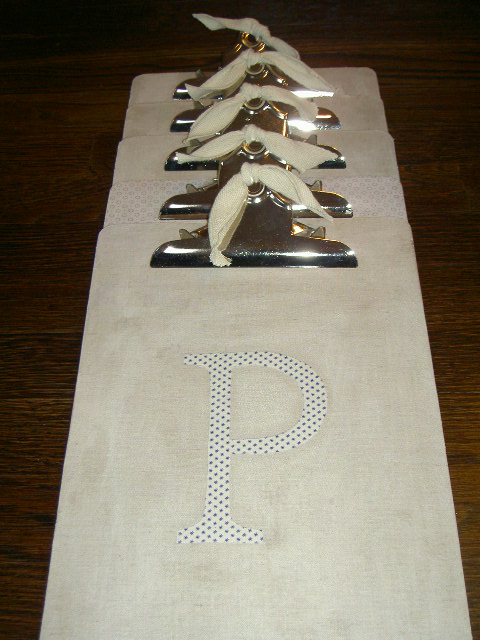
I only bought five clipboards that day but I will definitely be getting more.
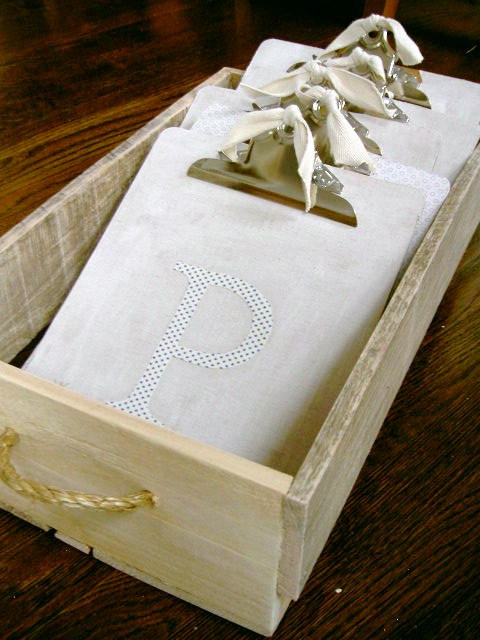
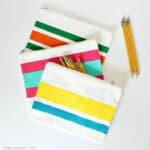
Here they are all stacked up:
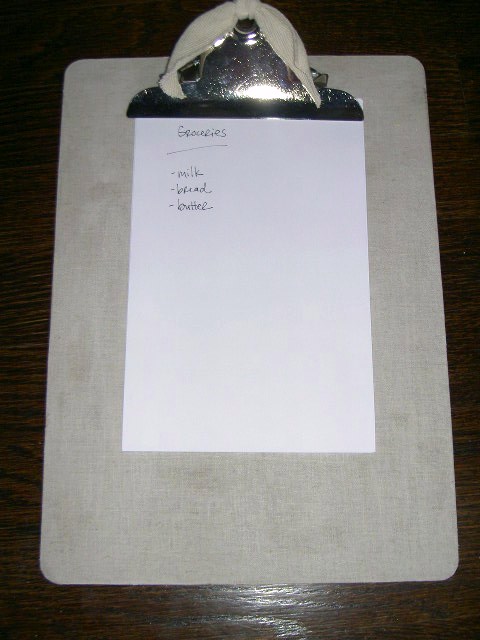
Use it for notes, lists, for the babysitter, chores:

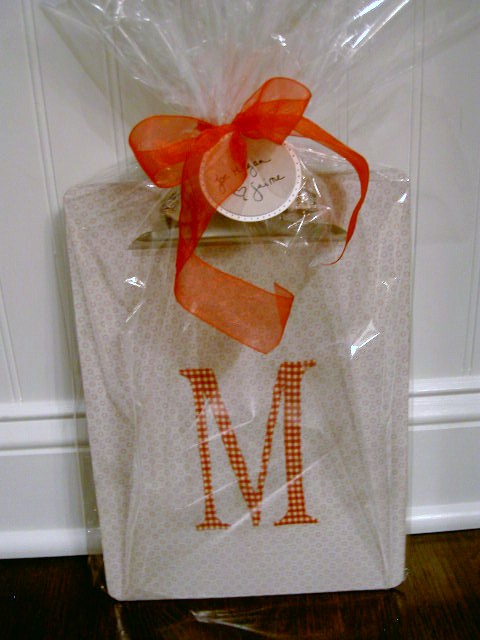
Great for easy gifts:
They’re slightly industrial with a soft feel from the fabric but hard enough to use as a writing surface. Watch out friends, you might all be getting one sooner or later!


Clipboards – one of my favorite Mod Podge projects ever! And you are so detailed with yours. I love it. They look so nice!
Thank you for being so precise in your directions. I think I can do this. In my craft file you go and onto my google reader. Such a great place to visit.
Those are just flat-out pretty to decorate with – like you've shown them in the last photo. I also like that you softened the clip by tying scrap fabric around it, nice job.