Sew: monogrammed chevron beach tote bag
Easy to make and personalize your own beach tote:
Inspired by this beach tote from Pottery Barn teen:

image from pbteen.com
I made my own version with navy chevron fabric and added a fuschia monogram:
This version is lined with drop cloth canvas:
It’s deep and big, measuring 20″w x 16″h x 7.5″deep:
Here’s how I made the monogrammed chevron beach tote:
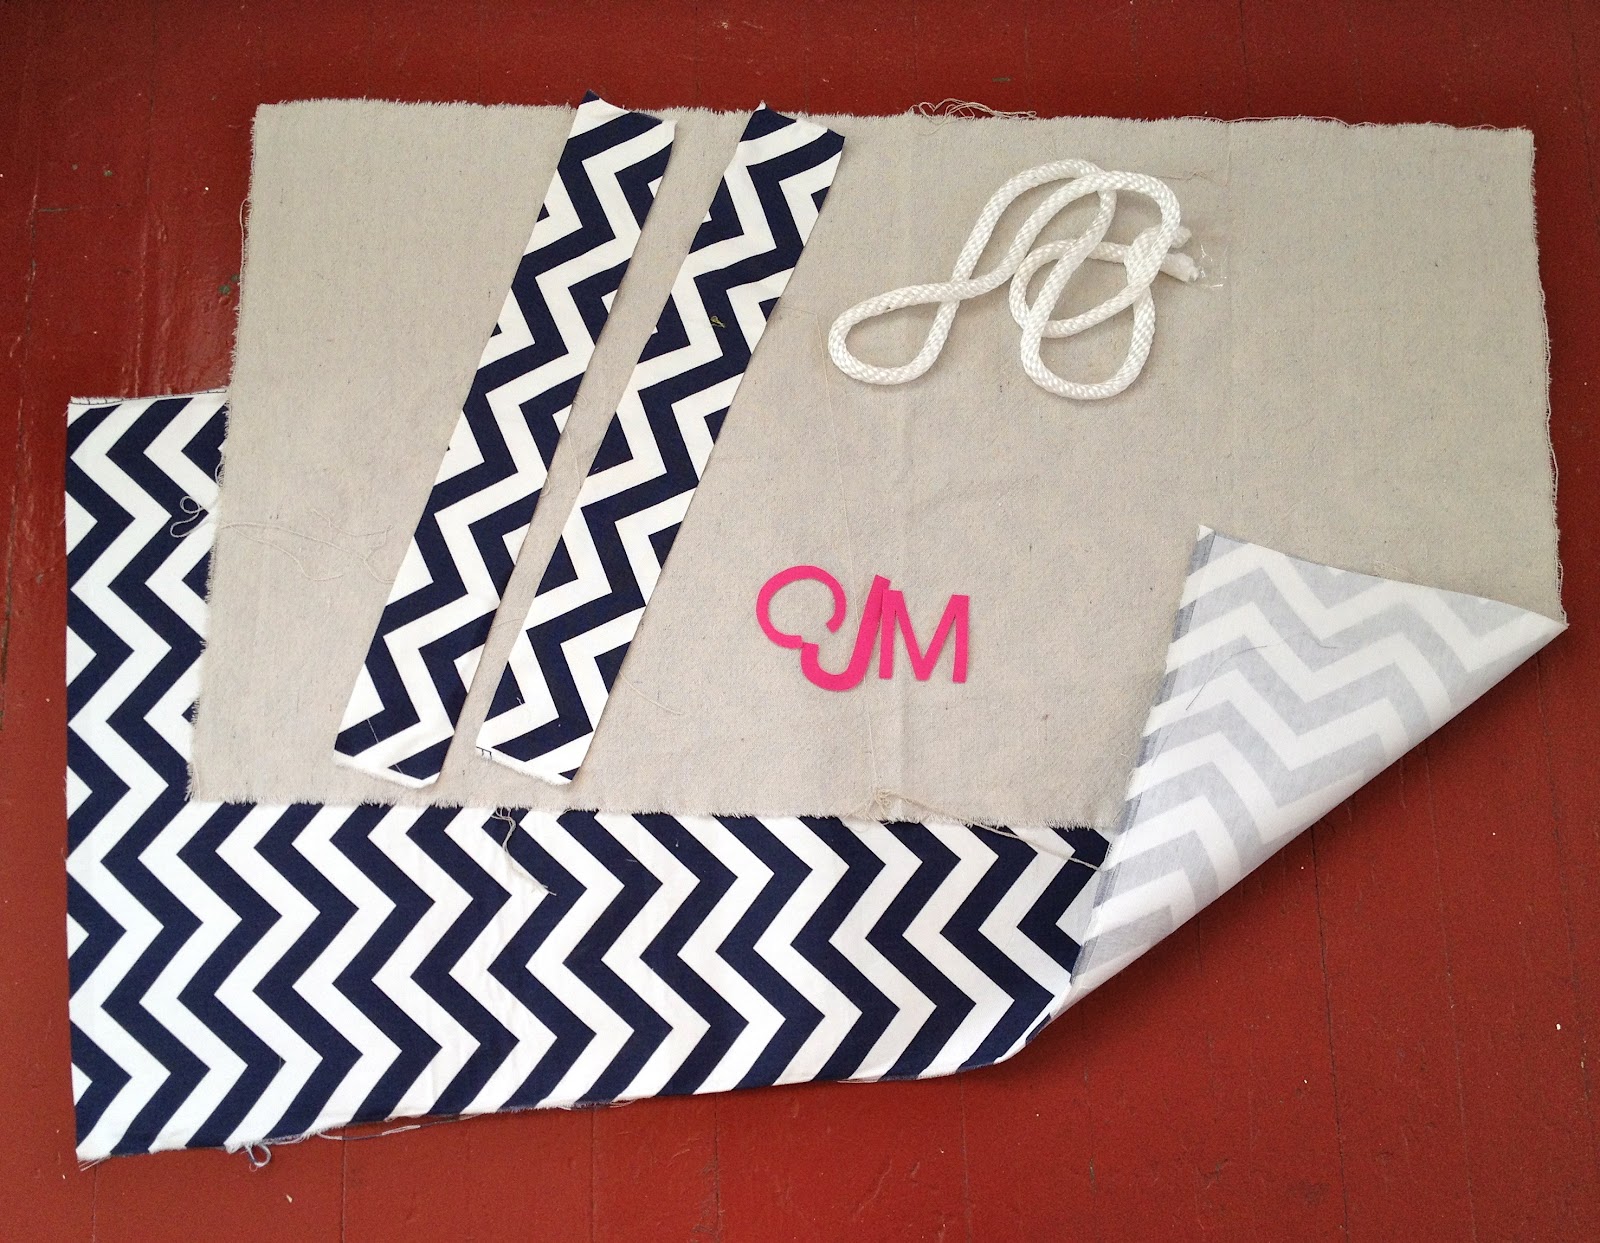
1. Supplies:
1 – chevron exterior fabric @ 41″ x 21″
1 – fusible interfacing @ 41″ x 21″ (iron to wrong side of chevron)
1 – drop cloth lining fabric @ 38″ x 21″
2 – chevron fabric strips @ 3″ x 21″
5/8″ thick poly rope @ 40″
fabric letters (click here to see how I make the fabric letters)
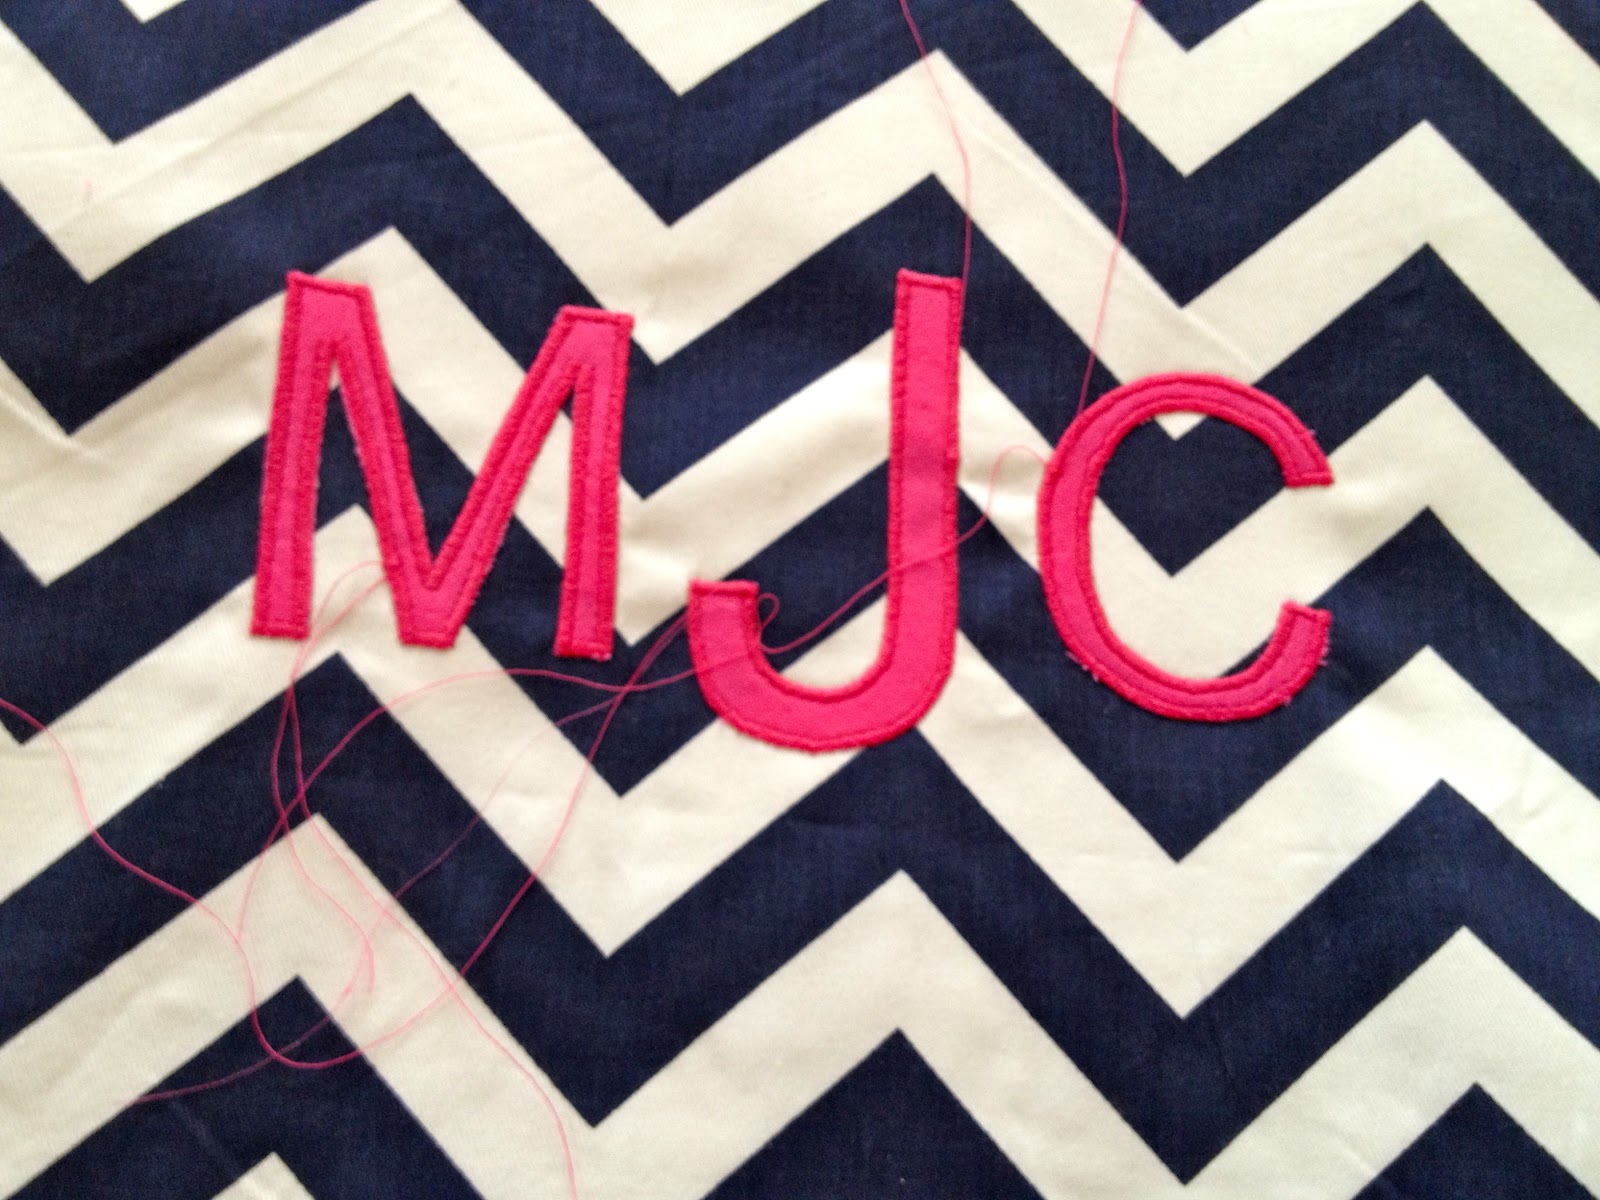
2. Pin letters in place about 4″ down from top edge:

3. Zig zag stitch in place:
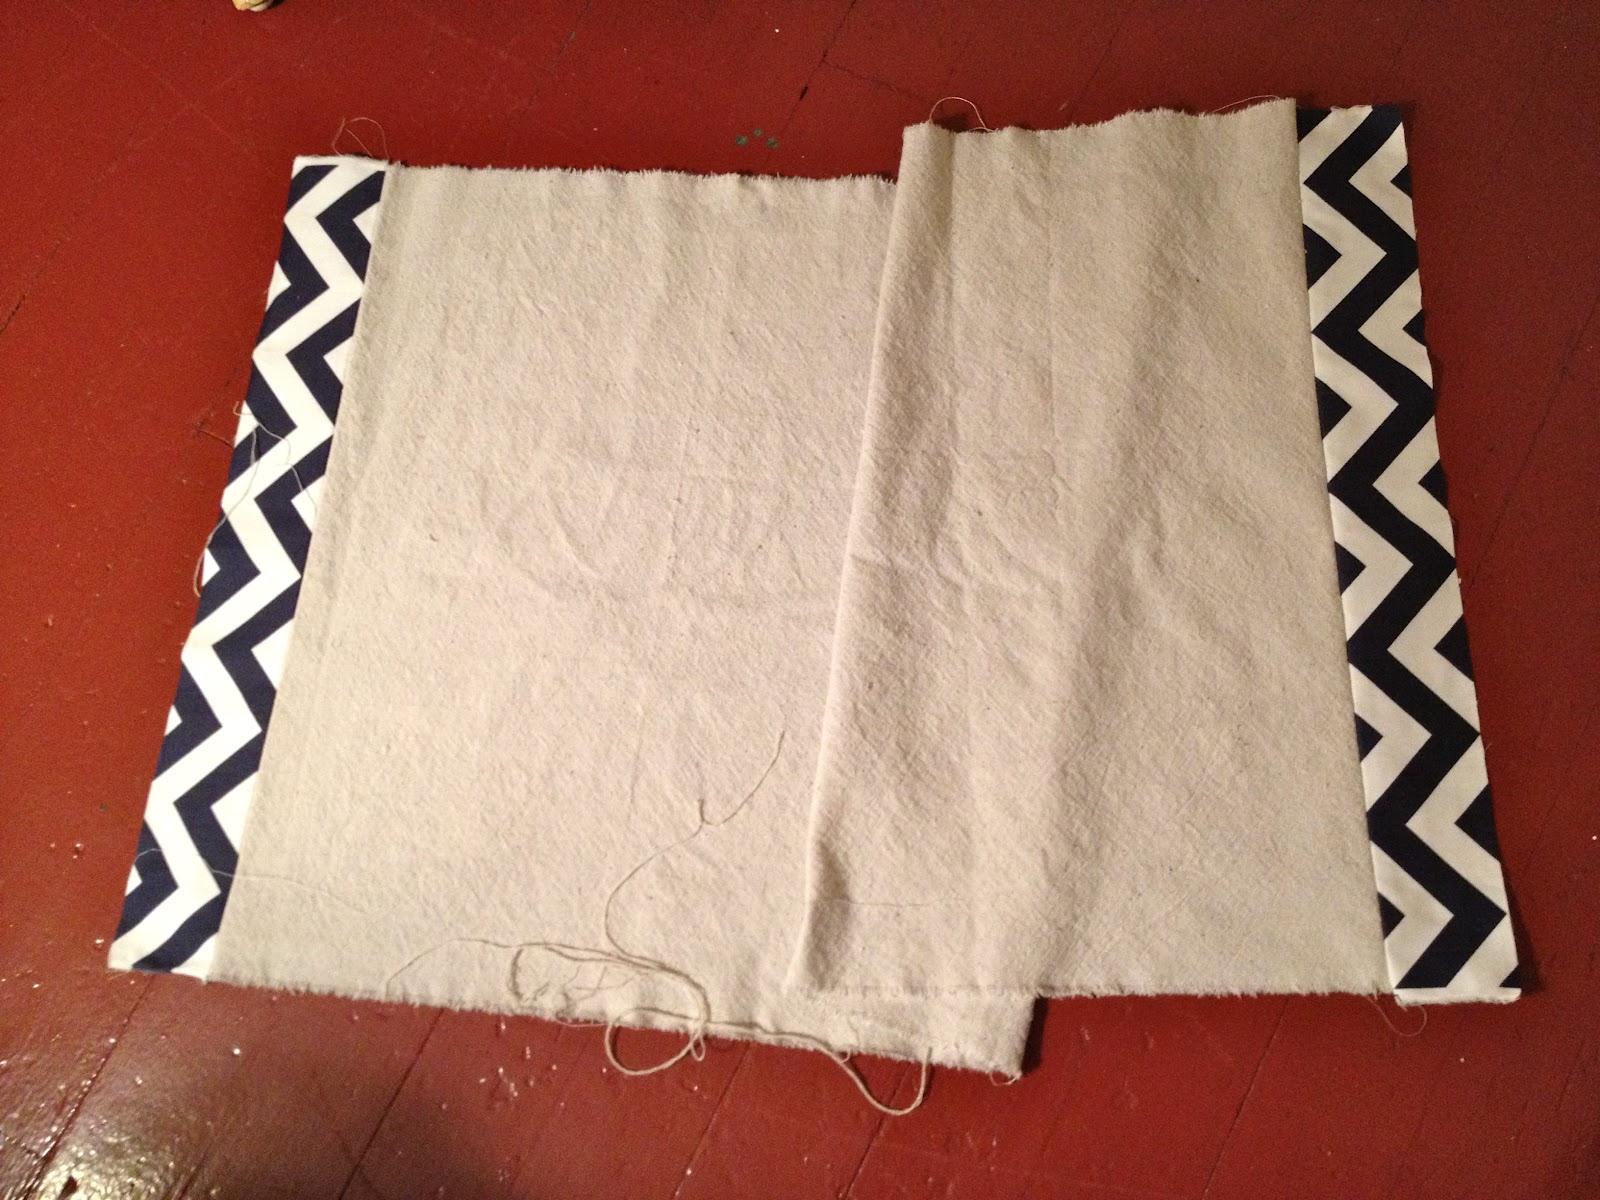
4. Sew 3″ chevron strips to drop cloth lining piece at both short ends:
(1/2″ SA)
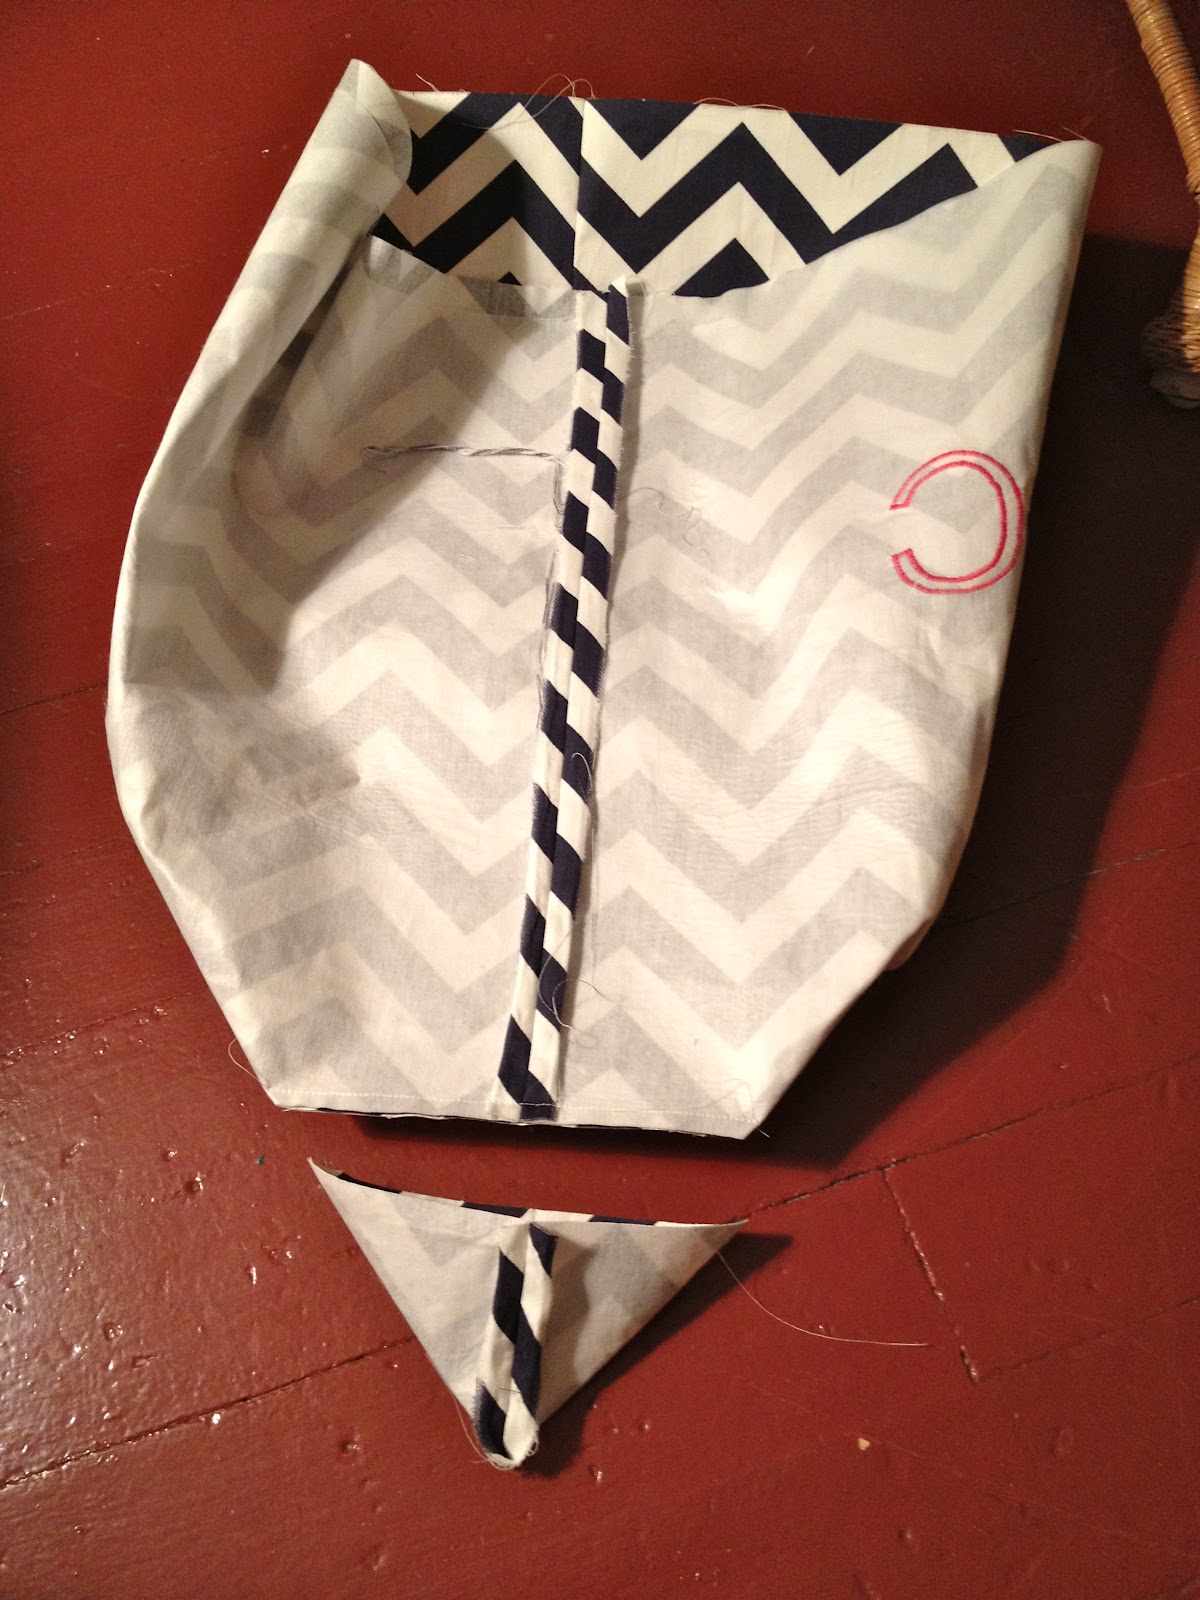
5. Fold exterior chevron piece in half, right sides together and sew side seams 1/2″SA:
(Press seams open.)

6. To make the mitered corners press the side seam flat against the folded base making a triangle:
Mark at 7.5″ wide.
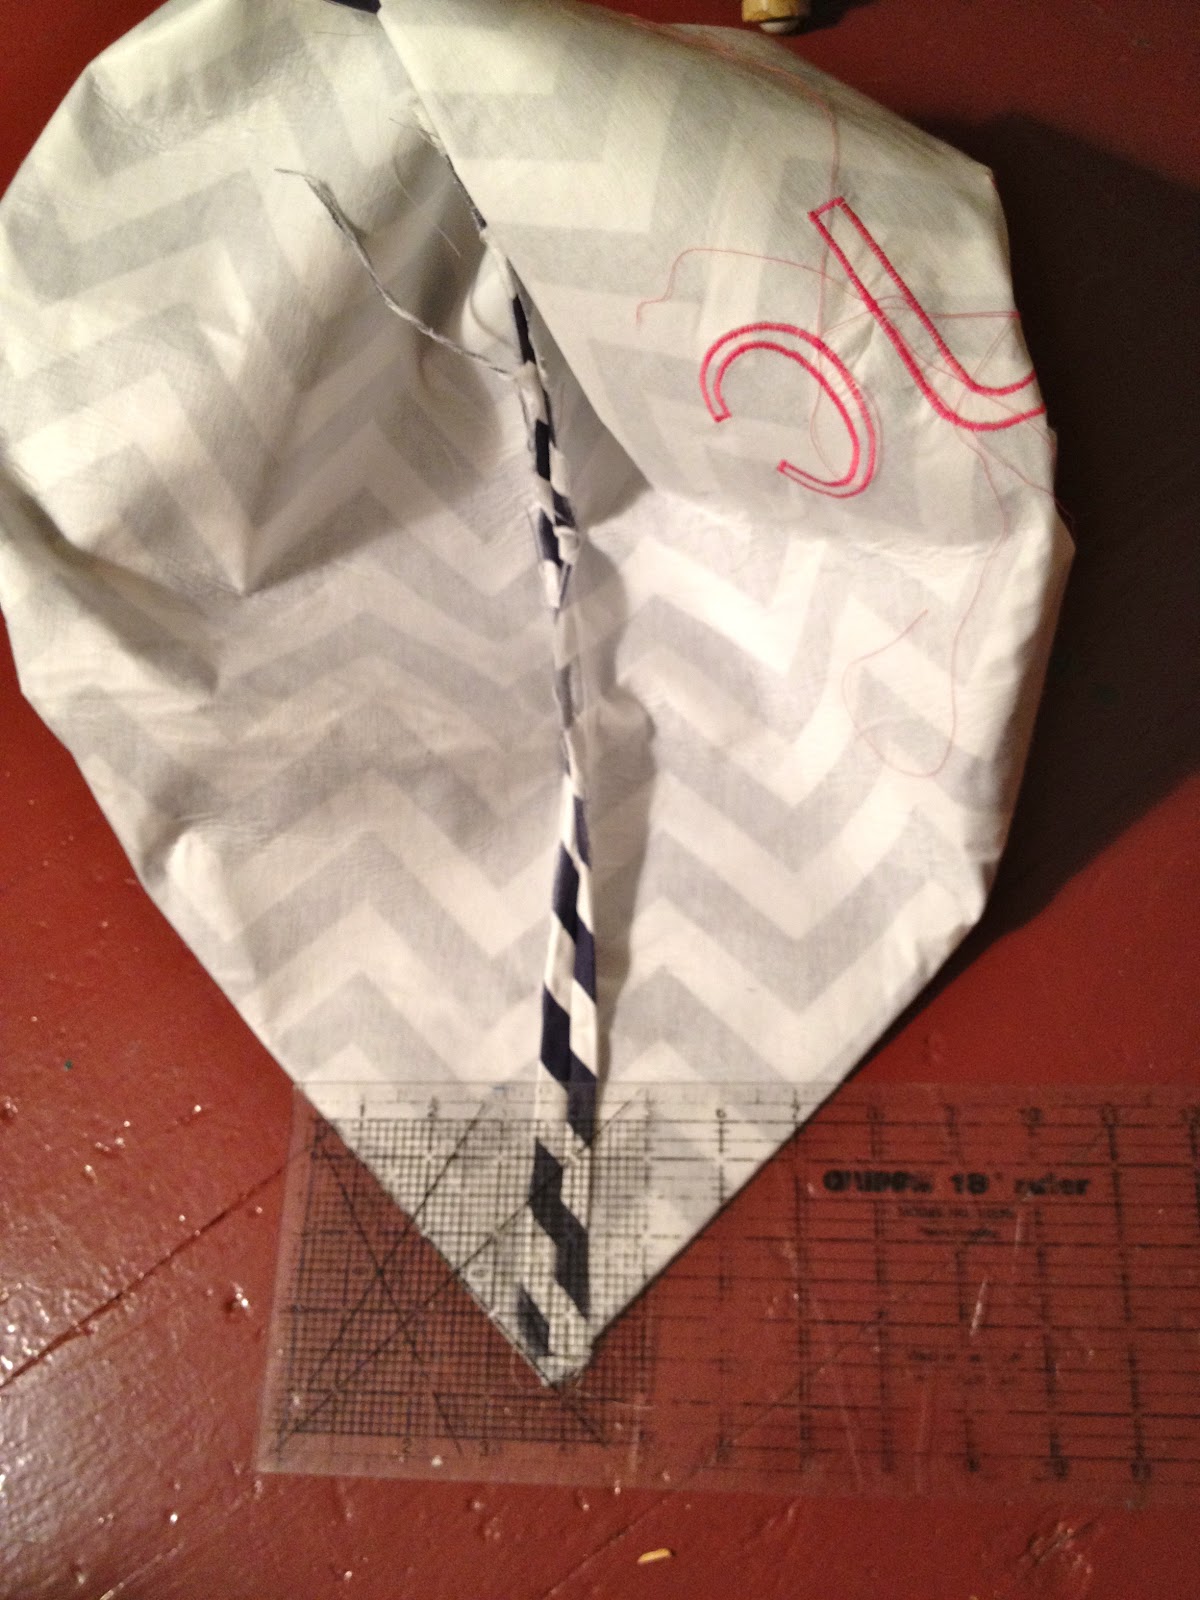
7. Sew mitered corner then clip excess bulk:
8. Repeat steps 5 – 8 for drop cloth lining piece.
Be sure to line up chevron seam when sewing side seams together:

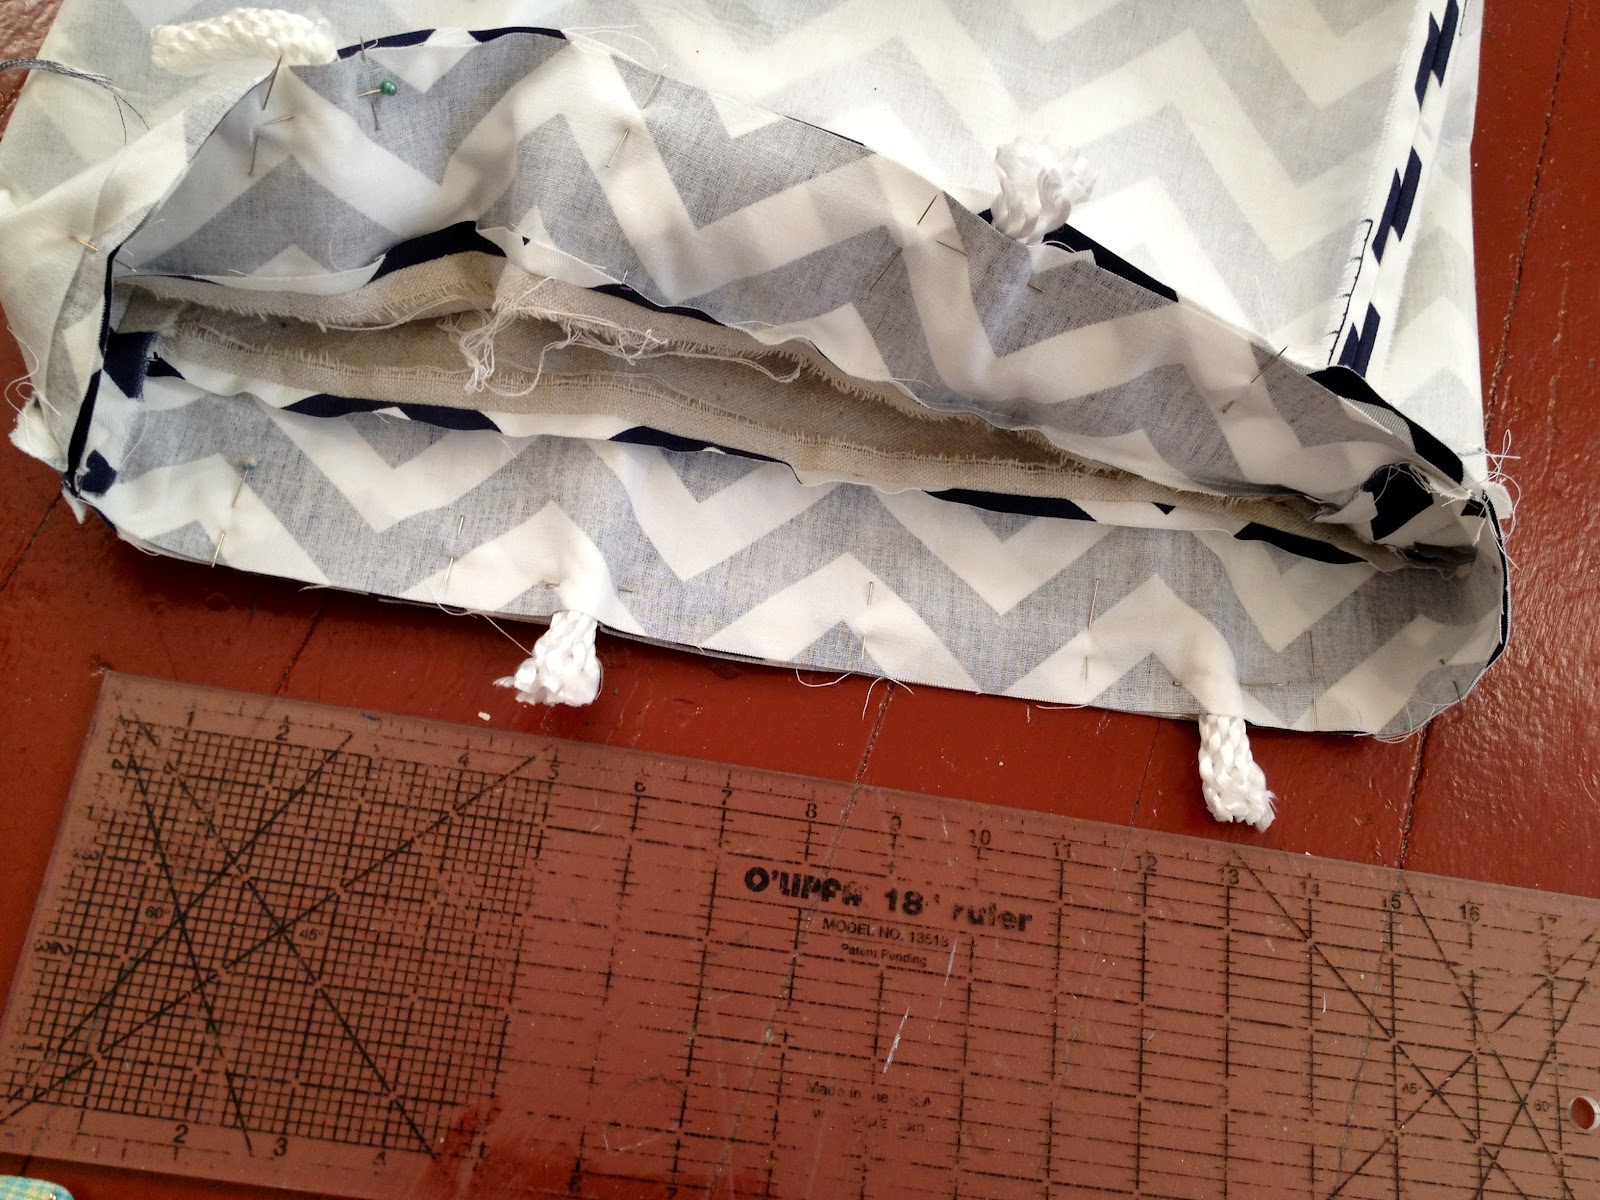
9. Turn drop cloth lining right side out and stuff into exterior bag piece (right sides together):
Cut 2 – 20″ pieces of rope.

10. Pin rope handles in between lining and exterior chevron, 6″ from side seams leaving at least 1″ hanging out then pin remaining top seam all around:
11. Sew top shut with 1/2″SA leaving at least a 6″ gap open preferably near the back and NOT over any of the rope sections:

12. Turn bag right side out through the opening in the top seam:
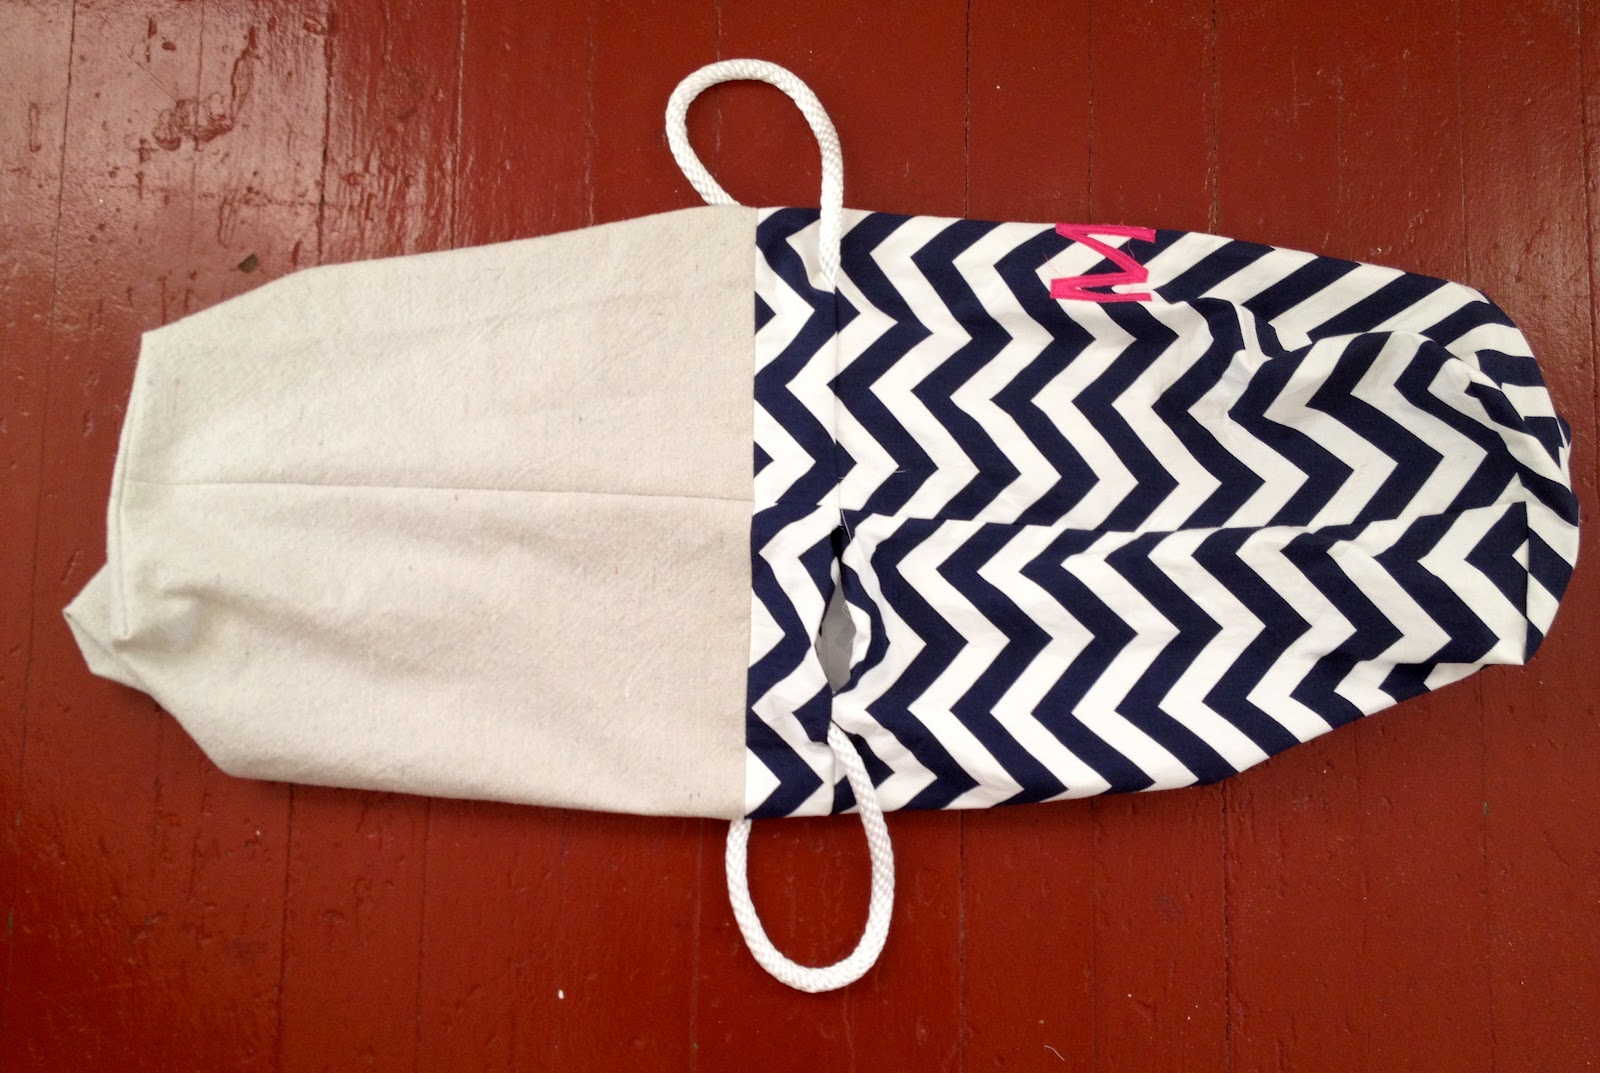
13. Push drop cloth lining down into bag and press top seam smooth, pin in place to ready for top stitching:
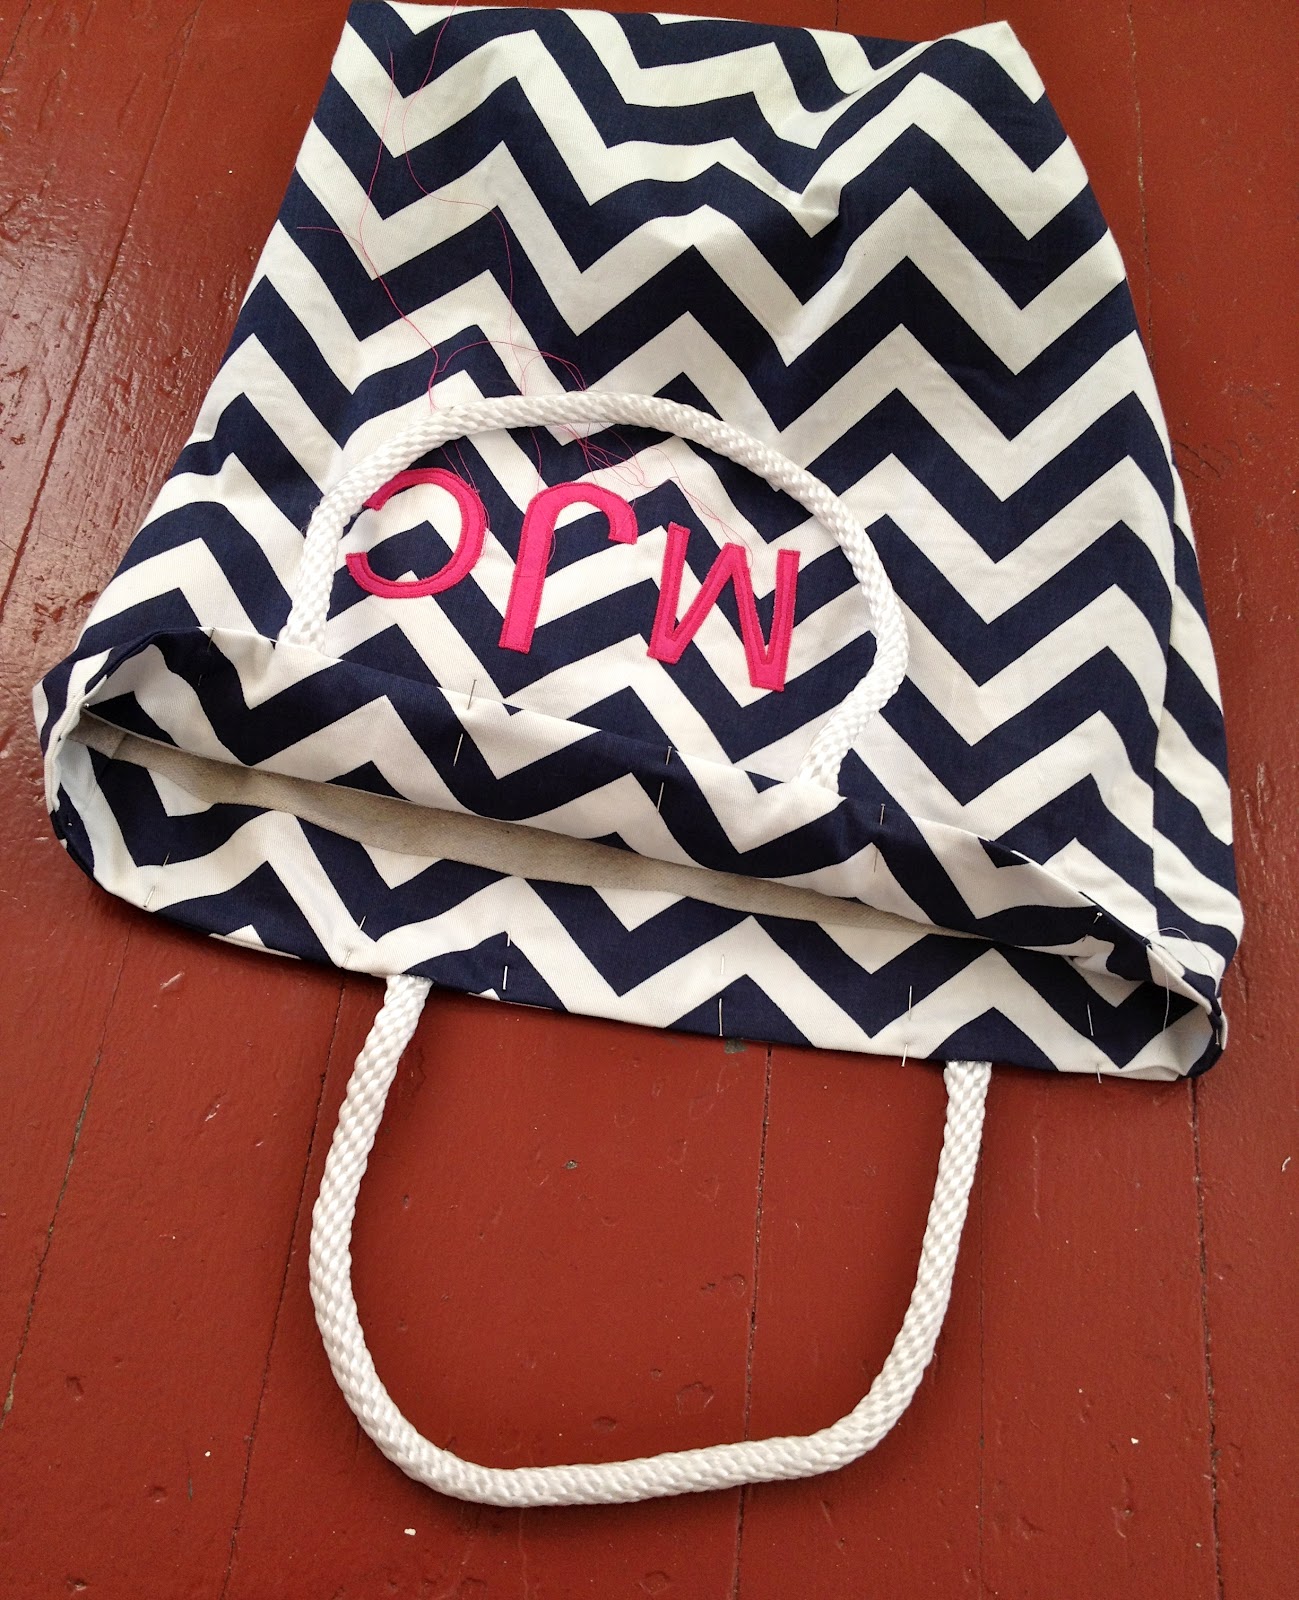
14. Top stitch 5 rows. This adds extra strength to the rope handle and creates a decorative finish:

Ready for the beach or pool.
I’m linking up to:
Whatcha Got Weekend @ Lolly Jane
SAS @ Funky Junk
DIY Fall Festival @ The DIY Showoff
Tutorials & Tips Tuesday @ Home Stories A to Z
Good Life @ A Beach Cottage
Transformation Thursday @ The Shabby Creek Cottage
Strut Your Stuff @ Somewhat Simple
Share Awesomeness Thur @ The 36th Avenue
Pretty Things Thursday @ Scissors & Spatulas
Flaunt it Friday @ Chic on a Shoestring
Frugal Friday @ The Shabby Nest
SAS @ Just a Girl
Remodelaholics Anonymous @ Remodelaholic
inspiration board @ Carolyns Homework


This is SO cute! Your going to put PB out of business 😉
Your bag is fantastic! I love it and the colors are just perfect. Megan
I want that bag! So cool! Thanks for sharing. Newest follower from DIY parade. Love for you to stop by and return the follow. Hosting Mom's Monday Mingle now. Love for you to stop by and link up. Last week we had over 150 mom blogs. Hope to see you 😉
http://www.thenaptimereview.com
This looks so good I would not have believed for a second that you made it! I am definitely going to have to make this soon!
I LOVE the Chevron bag. Super summery and fashionable 🙂
I love it, I want one!! I'm in love with Chevron and monograms! I might have to make myself one, thanks for sharing!
Jen
sewfabulous-now.blogspot.com
I just love the fuschia letters. This tote looks even better than the PB version. Beautiful!
LOVE your chevron beach tote! Super cute and such a great tutorial. Vising from JIAD and would love for you to link this up to my fashion party!
Kara
http://www.mineforthemaking.com
This is amazing! I would buy this in a heart beat since I can't sew a straight line! 🙁
Sigh….how I wish I could sew! This is cute & totally something I'd buy!
Love it, Jaime! I actually need beach bags for each of my littles. My big one is bursting at the seams. Thanks for sharing with air your laundry friday! xo Jami
I made about 15 of these bags 5 years ago for the bridesmaid’s in my son’s wedding, one for myself a couple extra for my daughters. we recently had a family beach day (yesterday) and as I looked around, I had my bag my daughter had one of hers and both my daughters in law were using theirs. thank you for putting this together I’ve just ordered green buffalo plaid outdoor canvas to make new ones for all of us for next year. the old ones have been used continuously over the last five years (some more than others) and they are still going strong.
Thank you Ann for sharing, I love hearing stories like this. Like you I desire to make new versions every year, sometimes I’m successful, sometimes not so much but it’s always fun and feels so nice to give. Keep sewing all the things!