• Home
  • Blog
  • About
  • Contact
    • Disclosure
    • Privacy Policy
  • SHOP
  • Widget area for main menu

    • Email
    • Facebook
    • Instagram
    • Pinterest
    • Twitter
    • YouTube
  • Skip to primary navigation
  • Skip to main content
  • Skip to primary sidebar

Jaime Costiglio

build - paint - sew

  • BUILD
    • BEDS
    • BENCHES
    • DESKS
    • DRESSERS
    • GAMES & TOYS
    • SCRAP WOOD
    • SHELVES
    • STORAGE
    • TABLES
  • TOOLS
  • PAINT
    • CRAFTS
    • FURNITURE
    • HOME DECOR
  • SEW
    • GIFTS
    • HOME DECOR
    • POUCHES
  • HANDBUILT HOLIDAY
    • 2021
    • 2019
    • 2018
    • 2017
    • 2016
    • 2015
    • 2014
    • 2013
  • GIFTS
    • BABIES
    • KIDS
    • FOR HER
    • FOR HIM
    • TEACHERS
    • WEDDINGS
  • SEASONAL
    • 4TH OF JULY
    • FALL
    • HALLOWEEN
    • CHRISTMAS
    • SUMMER
    • SPRING
    • ST. PATRICK’S DAY
    • THANKSGIVING
    • VALENTINE’S DAY
    • WINTER
  • SALTBOX PROJECT
    • BATHROOMS
    • DINING ROOM
    • EXTERIOR
    • FAMILY ROOM
    • FOYER / MUDROOM
    • KIDS BEDROOMS
    • KITCHEN
    • LIVING ROOM
    • MASTER BEDROOM
    • PLAYROOM
  • SCROLL SAW

“C” is for Chalkboard Valentines #2

January 23, 2013

Craft: chalkboard valentines #2

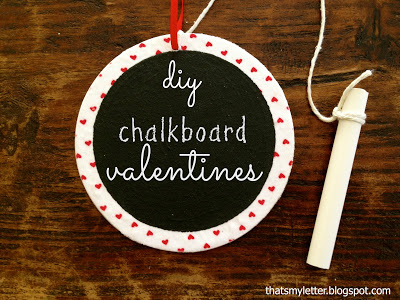
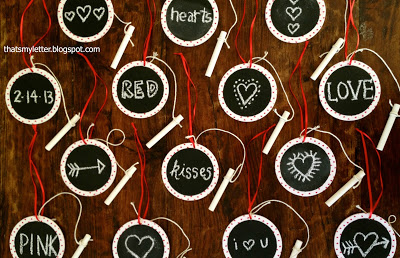
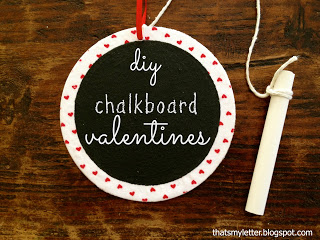
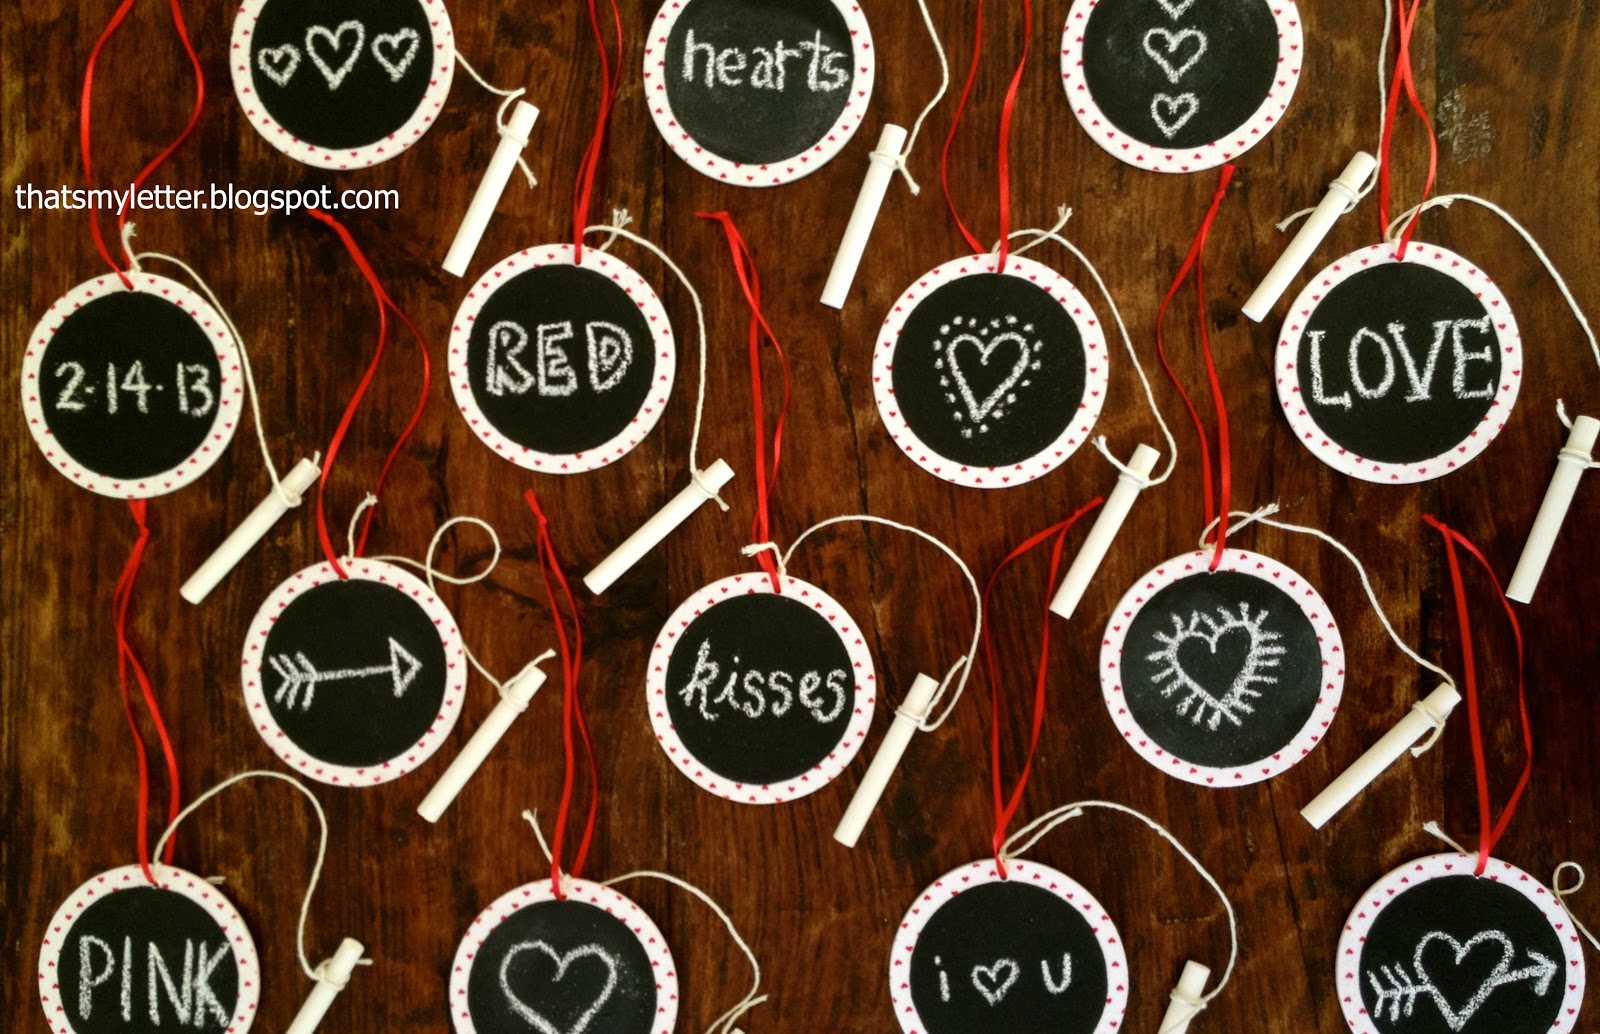
 This second version uses fabric covered chipboard coasters and chalk paint to create a fun valentine:

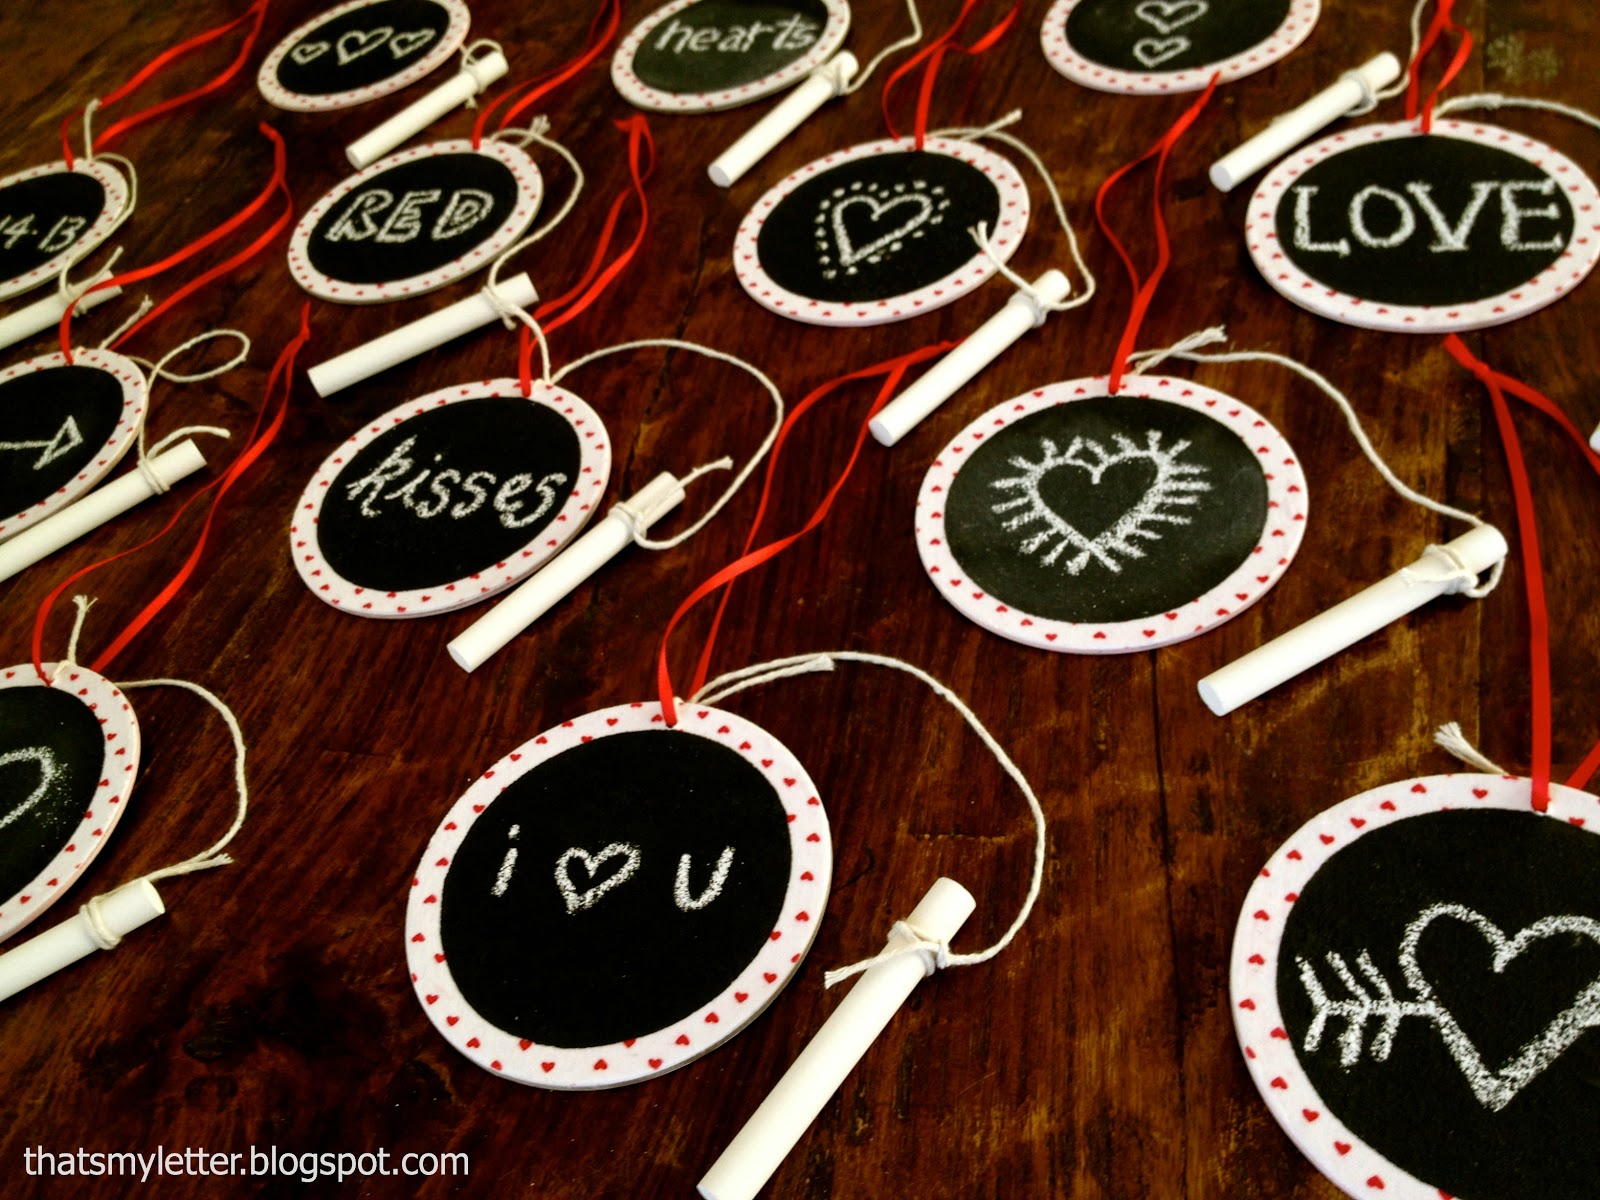
I used lightweight cotton fabric printed with tiny red hearts and mod podge to adhere the fabric to a chipboard coaster then painted a chalkboard circle space for kids to write their messages:


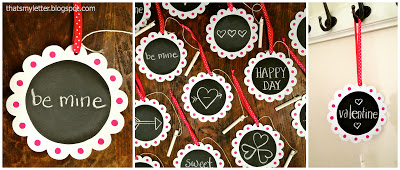
The first version below was done with paint and floral shaped chipboard for my girl’s classmates:

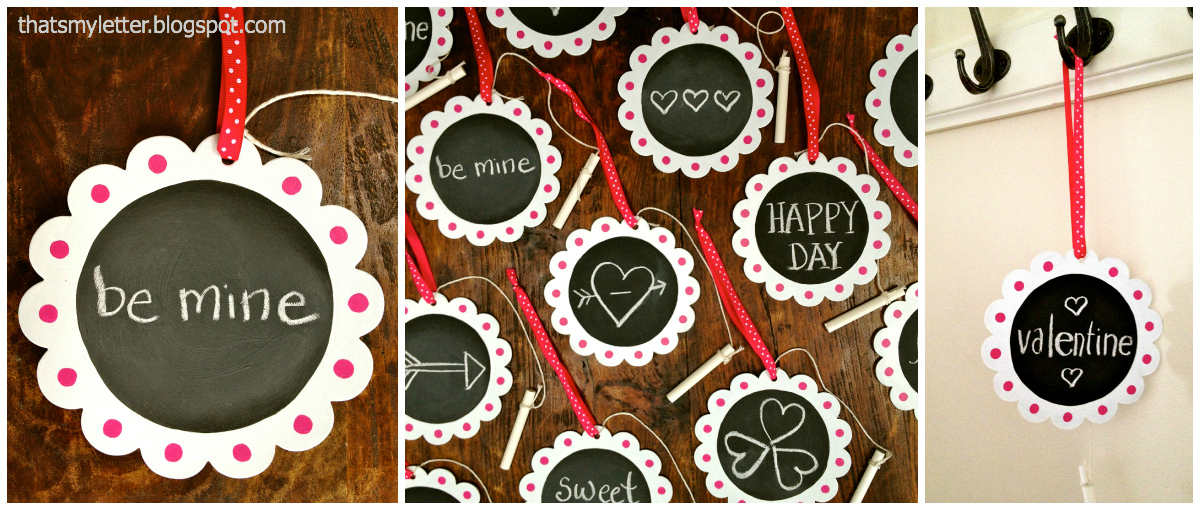
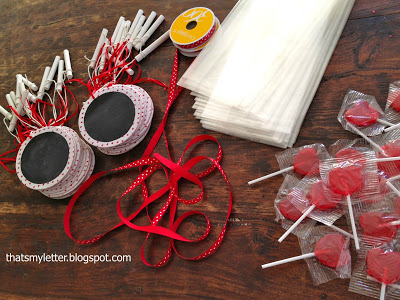
I applied the same concept to this set except I used printed fabric for the border, added a heart lollipop to the cello package and tied with red polka dot ribbon:
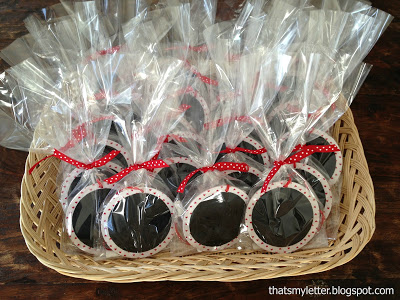
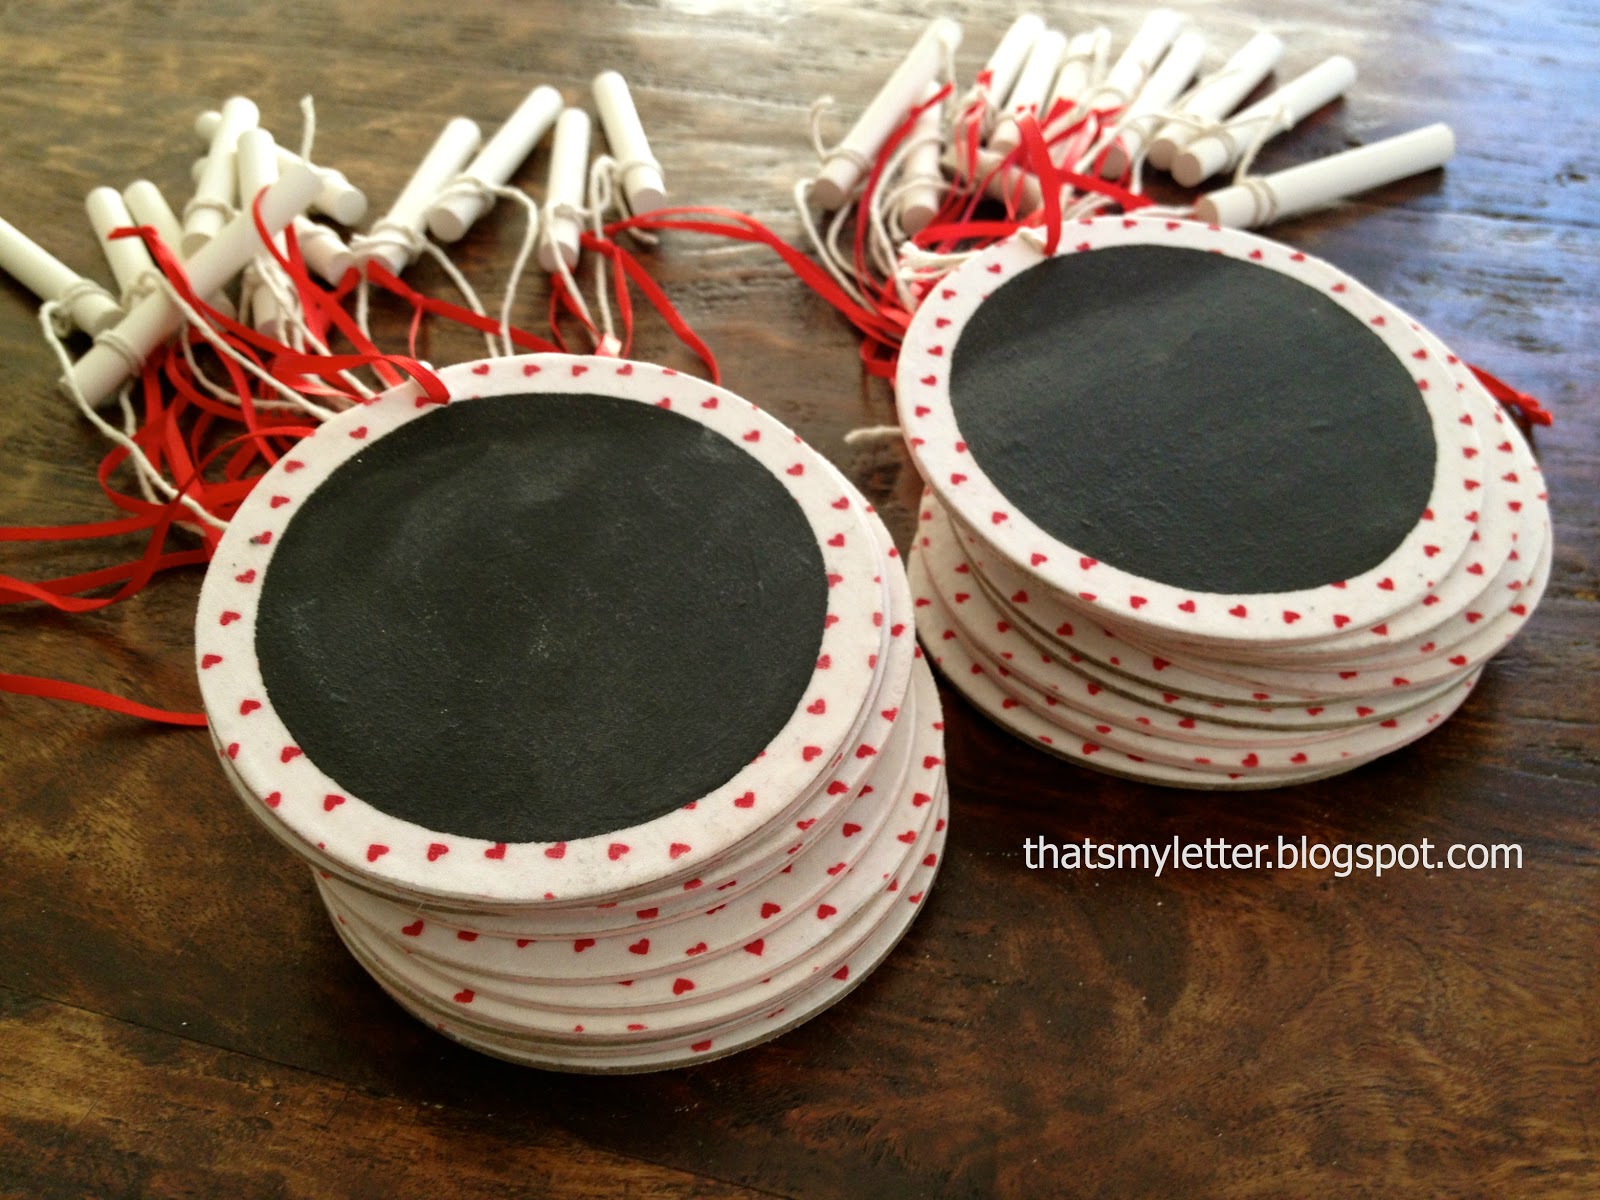
All ready to go:

Here’s how to make fabric chalkboard valentines:


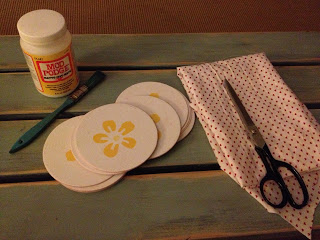
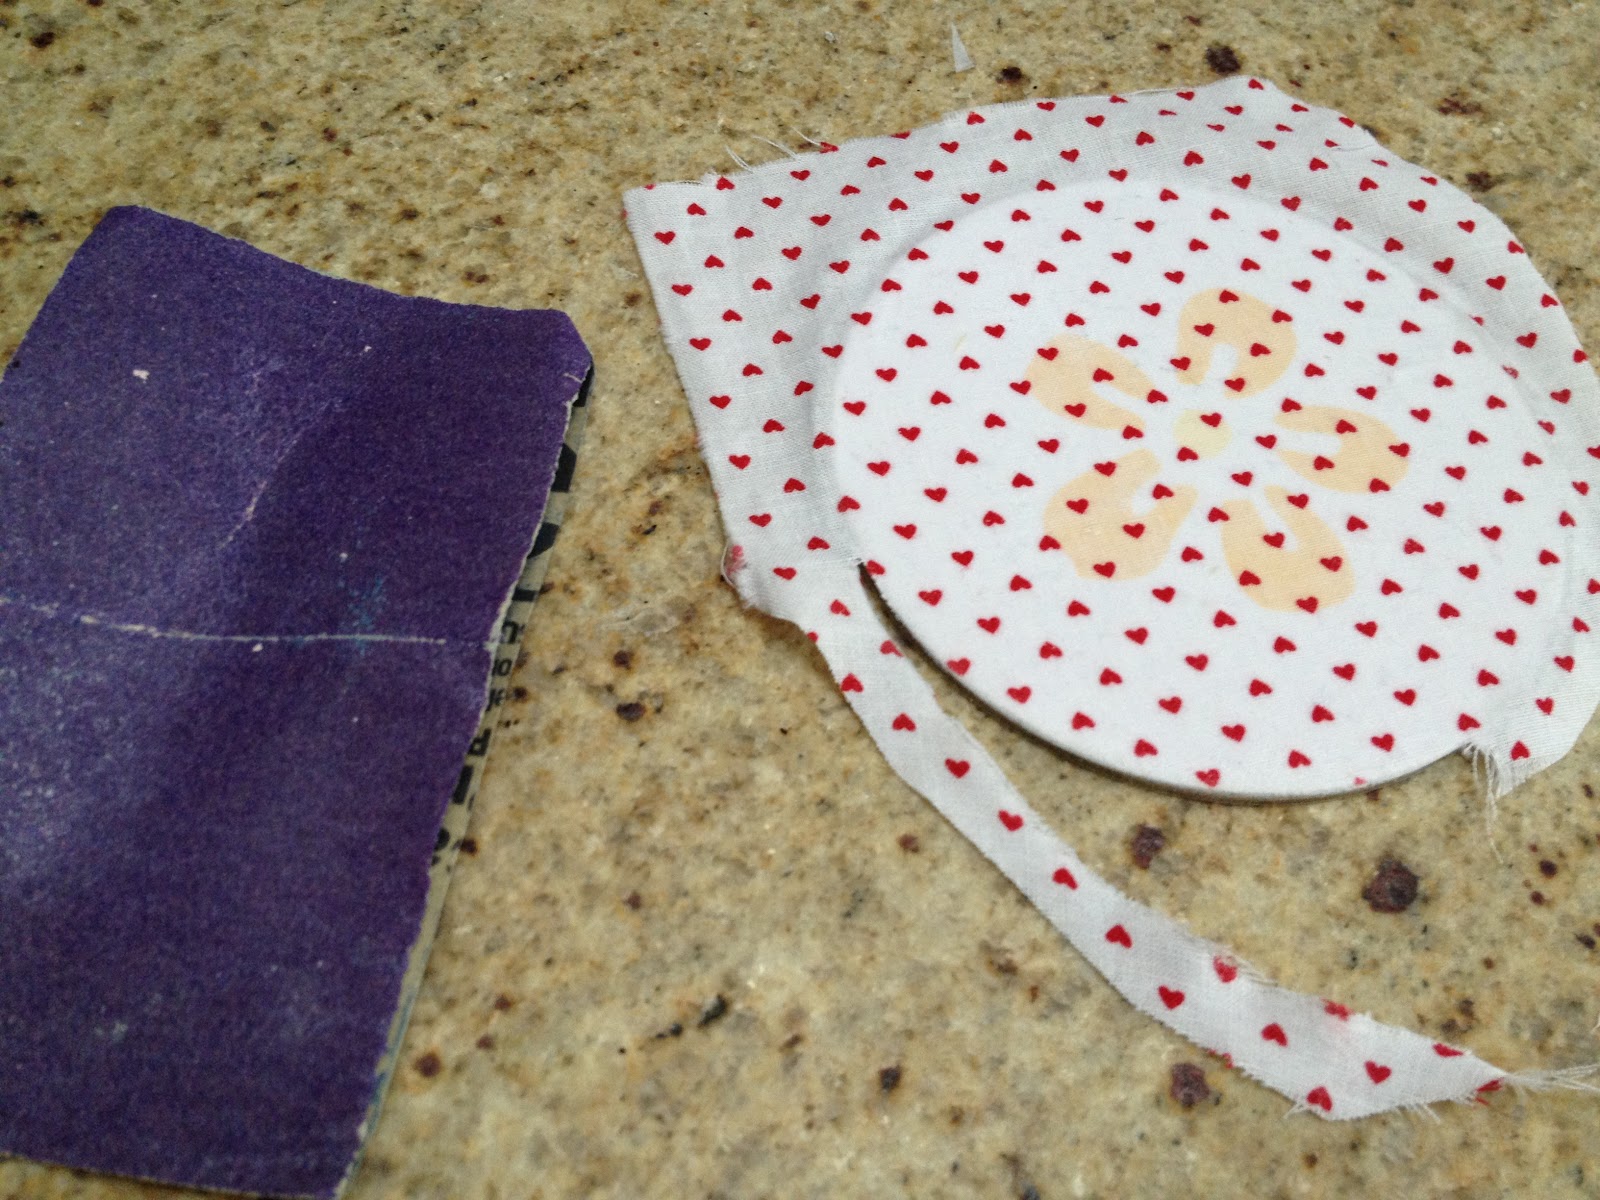
1. Use 4″ circle chipboard coasters, lightweight cotton fabric and matte mod podge:

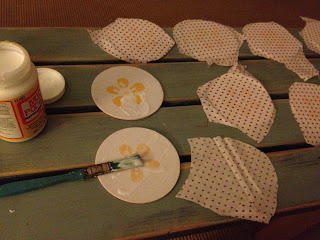
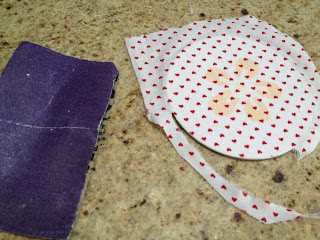
2. Cut a piece of fabric to fit coaster shape plus a little extra.
Apply mod podge to coaster, press fabric smoothly in place then apply more mod podge on top of fabric:

3. Once dry sand off excess fabric for smooth edge:

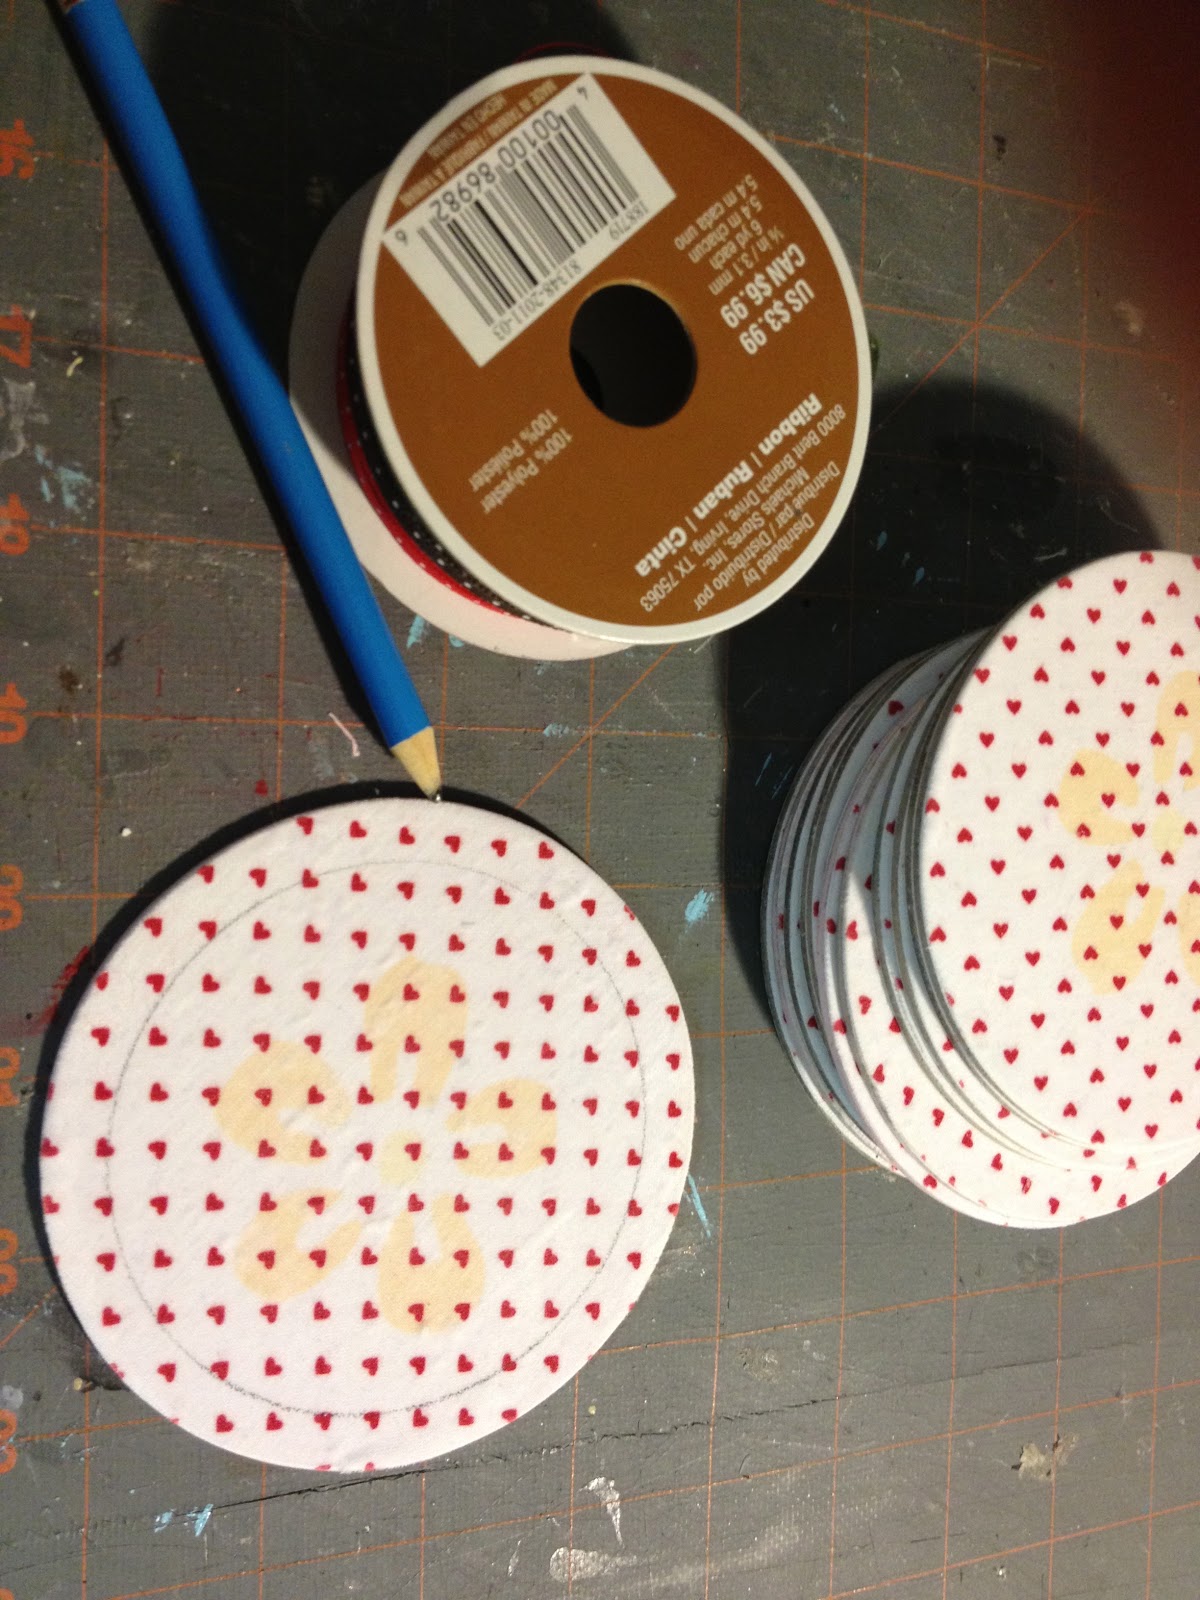
4. Trace circular shape (I used a ribbon spool) that’s just smaller in diameter than the coaster:

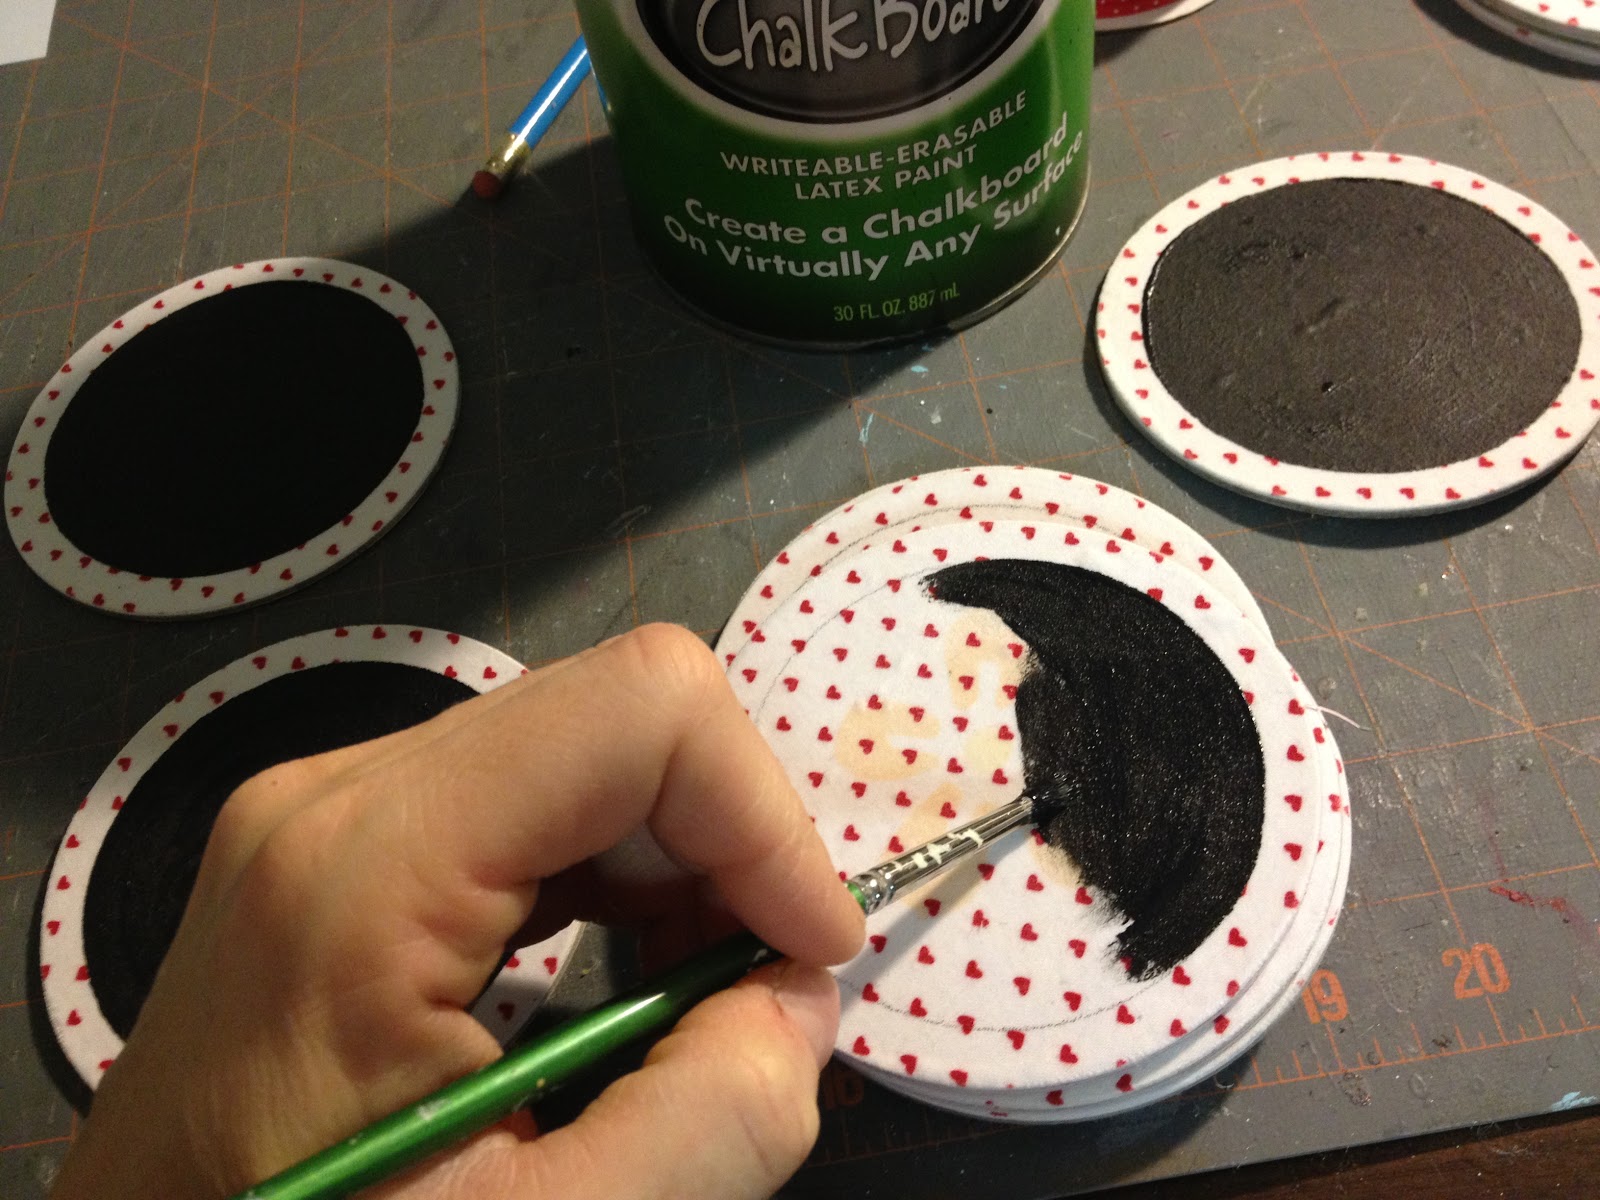
5. Paint chalkboard inside tracing line:

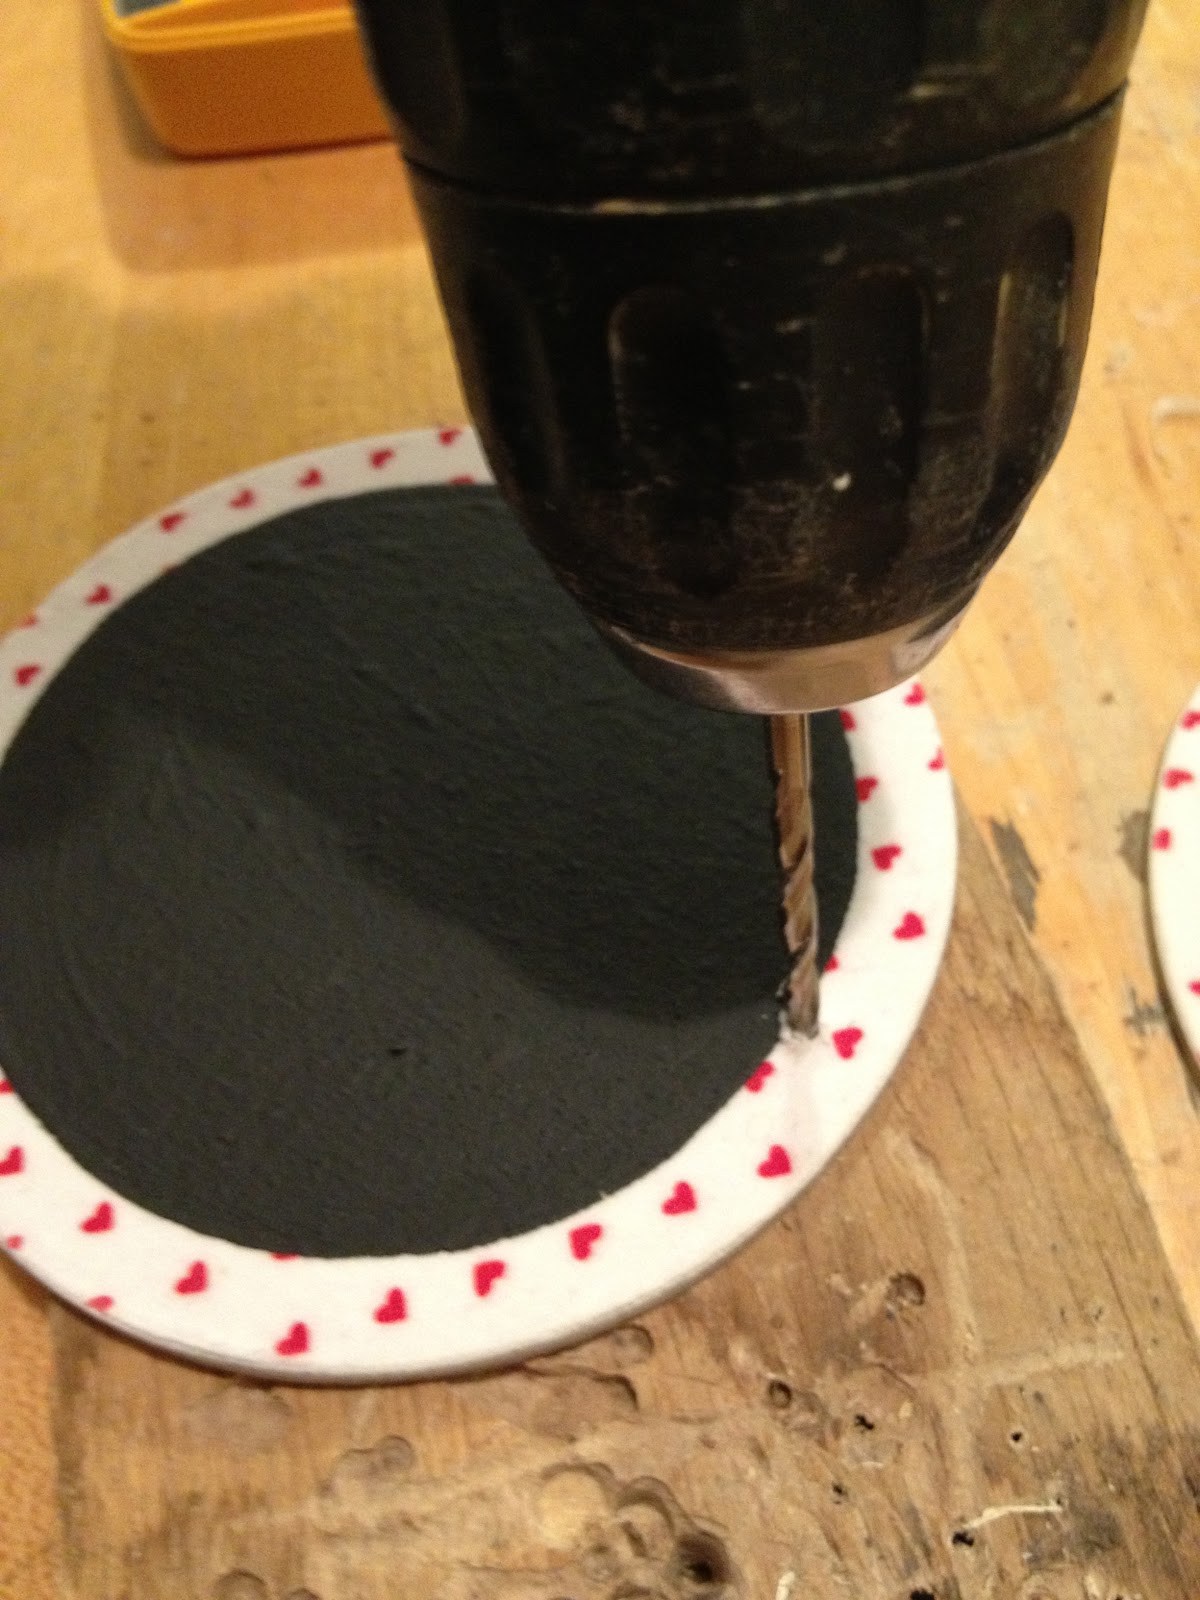
6. Drill hole for ribbon hanger and chalk string:
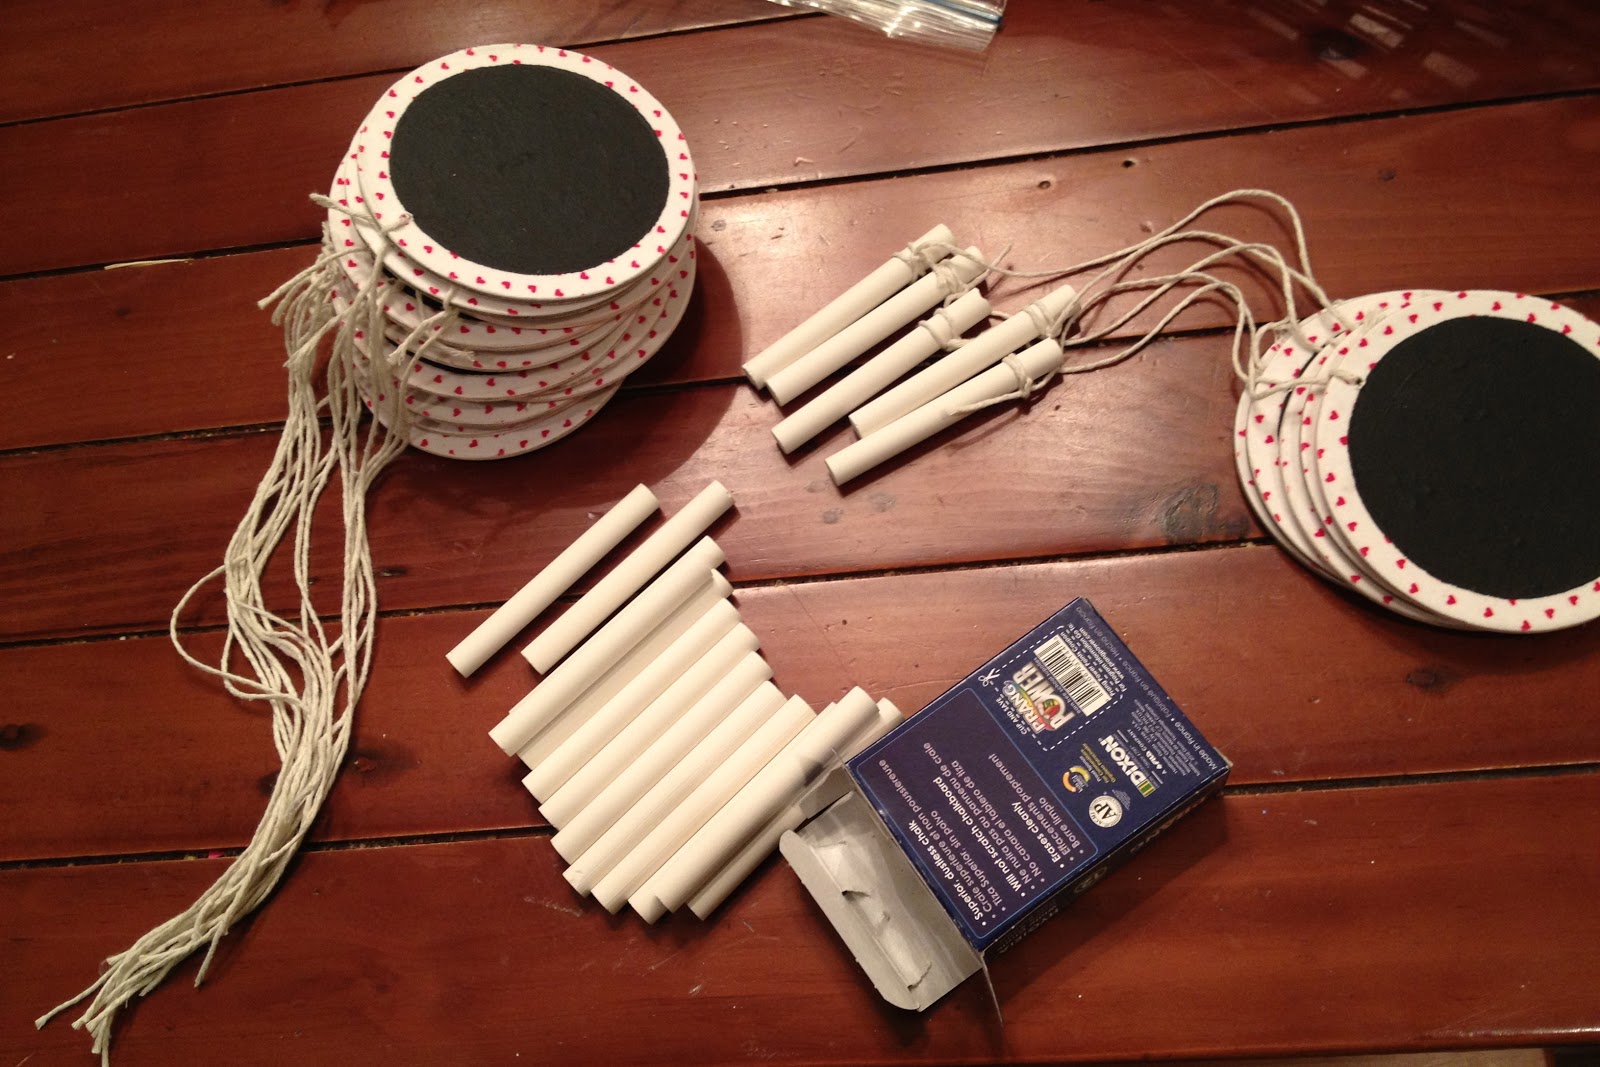
7. Attach string and chalk:

8. Add ribbon hanger.
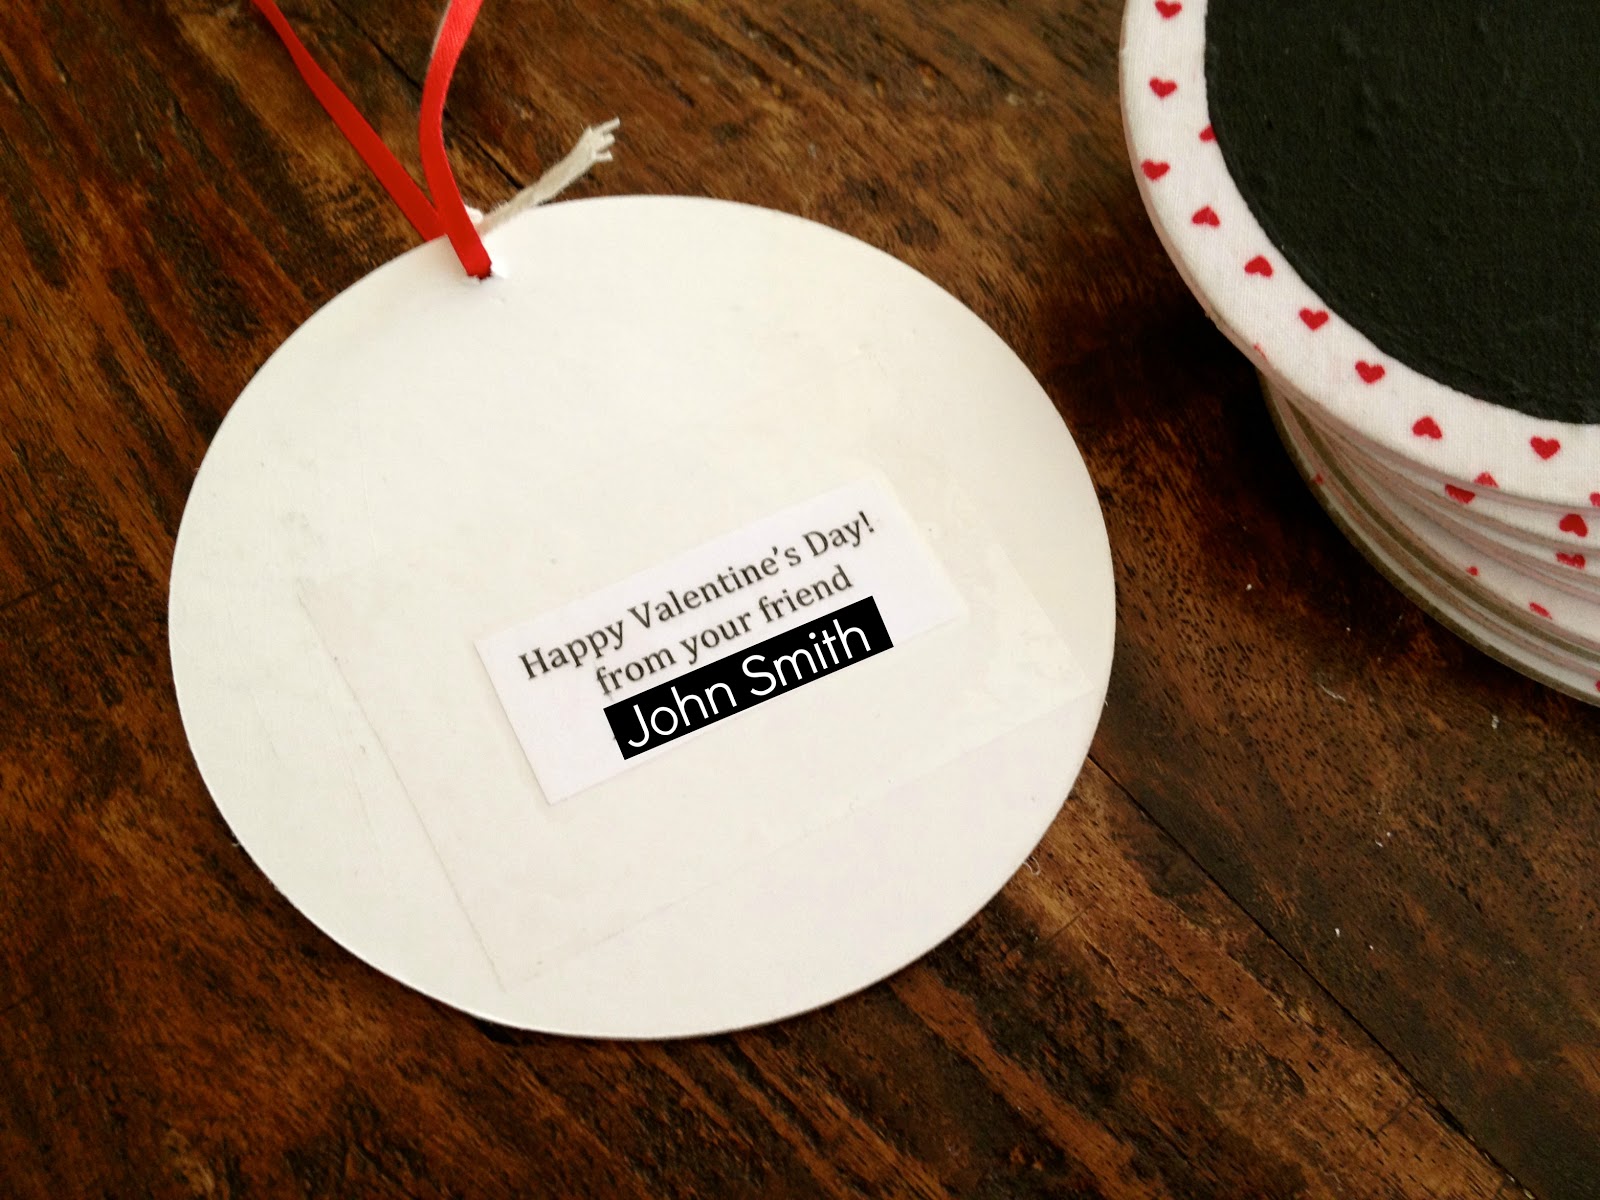
I also taped my son’s name to the back with a message:

I’m linking up to:

SAS @ Funky Junk

Nifty Thrifty Sunday @ Nifty Thrifty Things
That DIY Showoff @ The DIY Showoff
Tutorials & Tips Tuesday @ Home Stories A to Z
Strut Your Stuff @ Somewhat Simple
Share Awesomeness Thur @ The 36th Avenue
Pretty Things Thursday @ Scissors & Spatulas
Flaunt it Friday @ Chic on a Shoestring
Frugal Friday @ The Shabby Nest
SAS @ Just a Girl
Remodelaholics Anonymous @ Remodelaholic

inspiration board @ Carolyns Homework
Sunday Showcase Party @ Under the Table & Dreaming
Weekend Bloggy Reading @ Serenity Now

You may also like...

  • “T” is for Teacher Gifts“T” is for Teacher Gifts
  • “C” is for Chalk Pouch“C” is for Chalk Pouch
  • “C” is for Cake Party“C” is for Cake Party
  • DIY Primitive Nightstand with PlansDIY Primitive Nightstand with Plans
Share this post:

Filed Under: CRAFTS, DIY, GIFTS, KIDS, SEASONAL, VALENTINE'S DAY6 Comments

Reader Interactions

Comments

  1. sdowkes says

    January 23, 2013 at 2:17 PM

    So cute! Where did you find the chipboard coasters? Wait a minute – I could use REAL coasters!

    Reply
  2. Maureen says

    January 23, 2013 at 7:34 PM

    You think up the cutest ideas and they're all so doable!

    Reply
  3. [email protected] Road says

    January 25, 2013 at 1:23 AM

    That's such a cute idea! I might have to do this for some of the kids in my Sunday school class.

    Reply
  4. Inspire Me Heather says

    January 25, 2013 at 10:32 PM

    Aw, so cute Jaime!!

    Reply
  5. Chelsea @ Making Home Base says

    January 27, 2013 at 4:29 AM

    Super cute!! I love that you attached a bit of chalk to them – great idea!

    Reply
  6. Ana Lopes says

    January 27, 2013 at 8:06 PM

    Super darling! Love it!Thanks so much for sharing the great tutorial! Would love to have you visit me sometime.
    Have a fabulous week!
    Hugs from Portugal,

    Ana Love Craft
    http://www.lovecraft2012.blogspot.com

    Reply

Leave a Reply Cancel reply

Your email address will not be published. Required fields are marked *

Primary Sidebar

Hi! I’m Jaime

Jaime Costiglio

Hello!

Thank you for stopping by.
Join me for lots of DIY.

Read more

Get new posts via email

Handbuilt Holiday: Gift Project Plans

handbuilt holiday gift project plans

Collection of DIY gift project plans to build.

The Home Depot Tool Prospective

THD Prospective

Tools to consider for the DIYer.

Archives

The Home Depot Logo
Copyright © 2022 Jaime Costiglio · Custom site by Moonsteam Design

Privacy Policy