• Home
  • Blog
  • About
  • Contact
    • Disclosure
    • Privacy Policy
  • SHOP
  • Widget area for main menu

    • Email
    • Facebook
    • Instagram
    • Pinterest
    • Twitter
    • YouTube
  • Skip to primary navigation
  • Skip to main content
  • Skip to primary sidebar

Jaime Costiglio

build - paint - sew

  • BUILD
    • BEDS
    • BENCHES
    • DESKS
    • DRESSERS
    • GAMES & TOYS
    • SCRAP WOOD
    • SHELVES
    • STORAGE
    • TABLES
  • TOOLS
  • PAINT
    • CRAFTS
    • FURNITURE
    • HOME DECOR
  • SEW
    • GIFTS
    • HOME DECOR
    • POUCHES
  • HANDBUILT HOLIDAY
    • 2021
    • 2019
    • 2018
    • 2017
    • 2016
    • 2015
    • 2014
    • 2013
  • GIFTS
    • BABIES
    • KIDS
    • FOR HER
    • FOR HIM
    • TEACHERS
    • WEDDINGS
  • SEASONAL
    • 4TH OF JULY
    • FALL
    • HALLOWEEN
    • CHRISTMAS
    • SUMMER
    • SPRING
    • ST. PATRICK’S DAY
    • THANKSGIVING
    • VALENTINE’S DAY
    • WINTER
  • SALTBOX PROJECT
    • BATHROOMS
    • DINING ROOM
    • EXTERIOR
    • FAMILY ROOM
    • FOYER / MUDROOM
    • KIDS BEDROOMS
    • KITCHEN
    • LIVING ROOM
    • MASTER BEDROOM
    • PLAYROOM
  • SCROLL SAW

“C” is for Chalkboard Sign

October 14, 2012

Build: knock off chalkboard sign

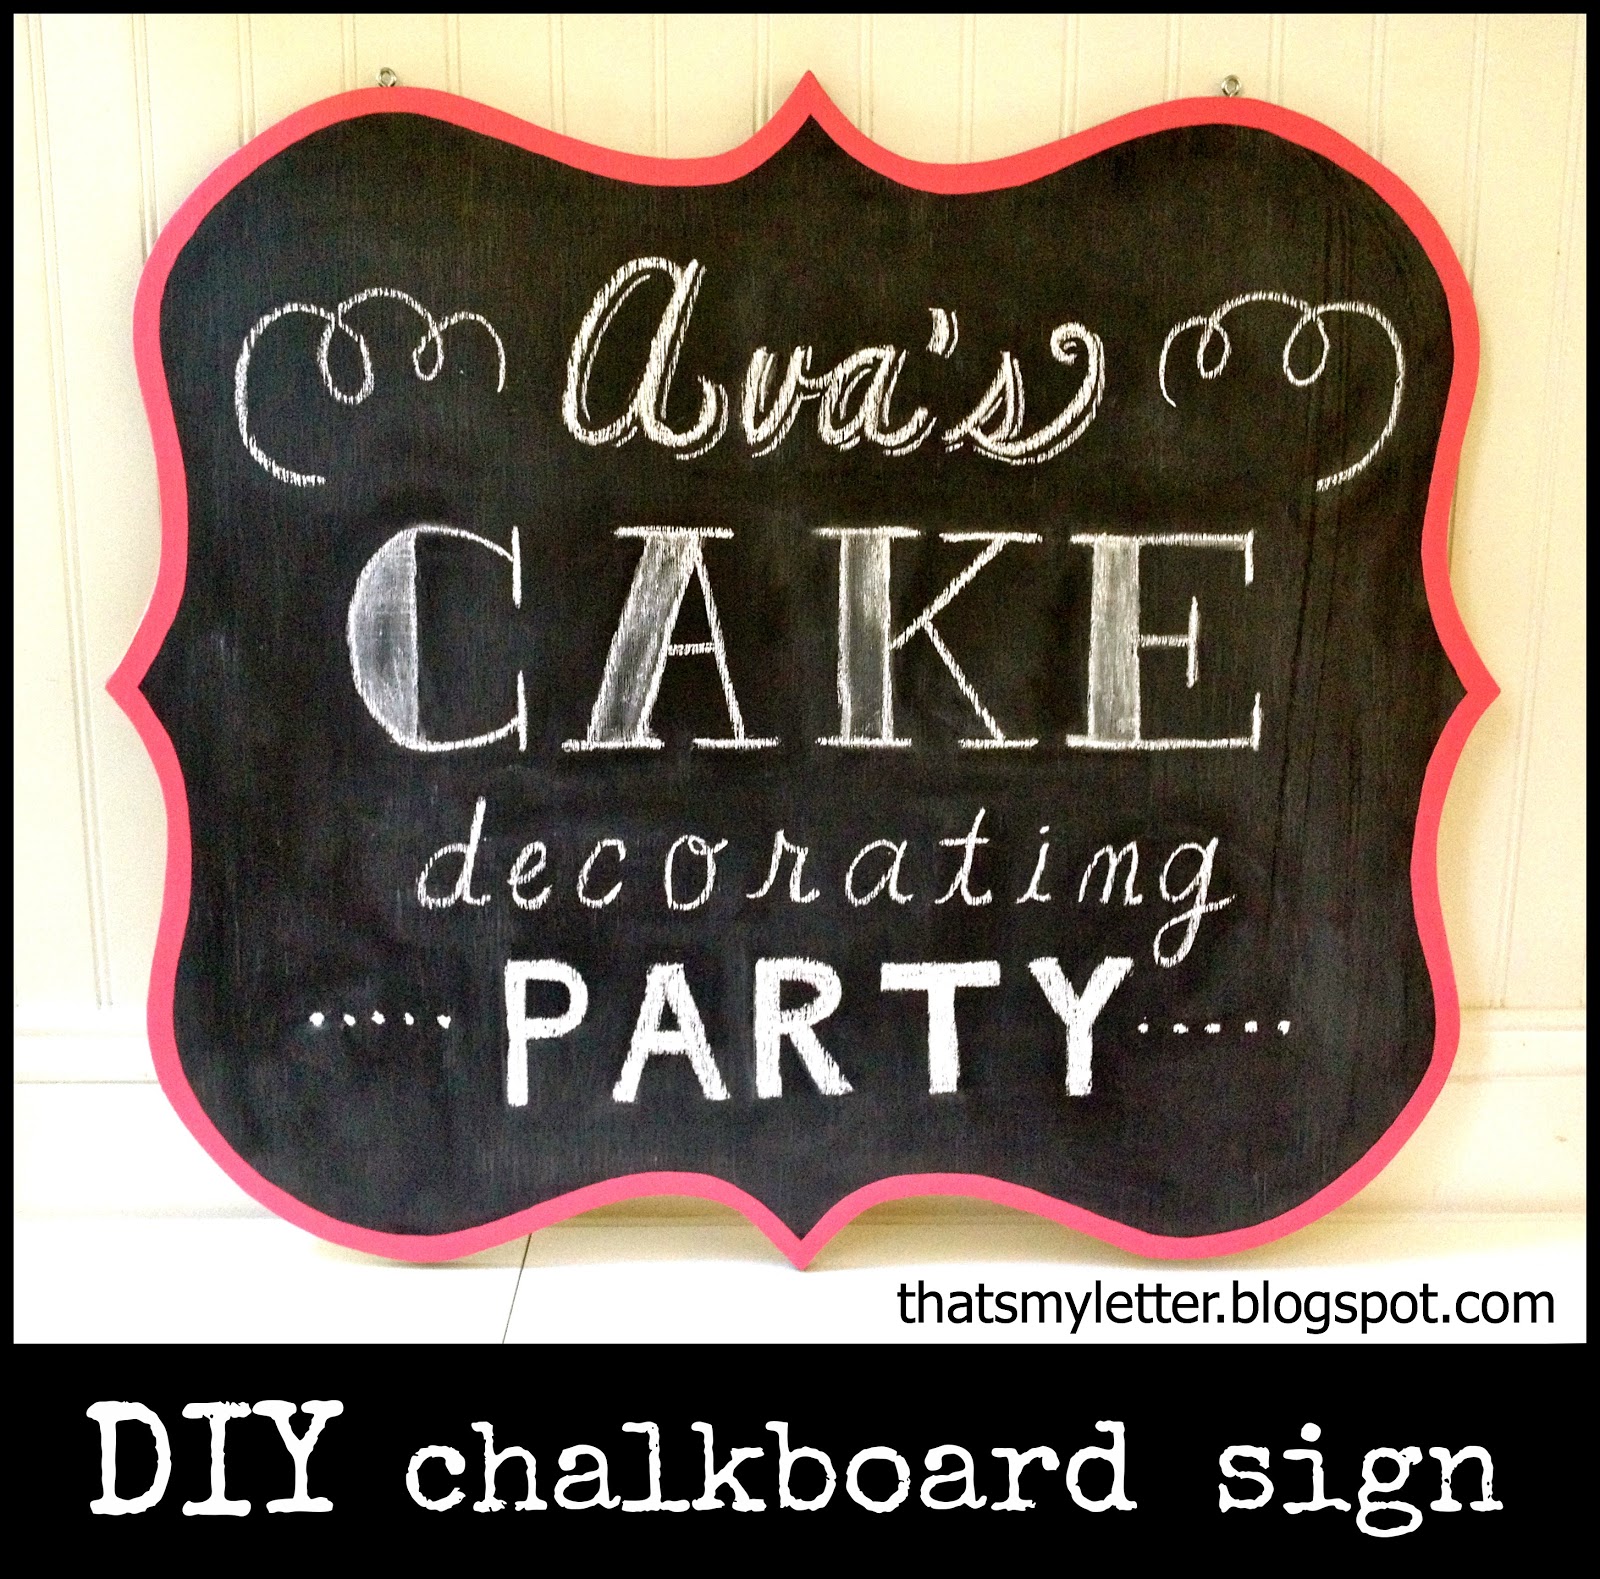
I made this sign for a birthday party, borrowing the idea from Pottery Barn’s Peter Rabbit chalkboard sign in their Spring 2011 catalog:
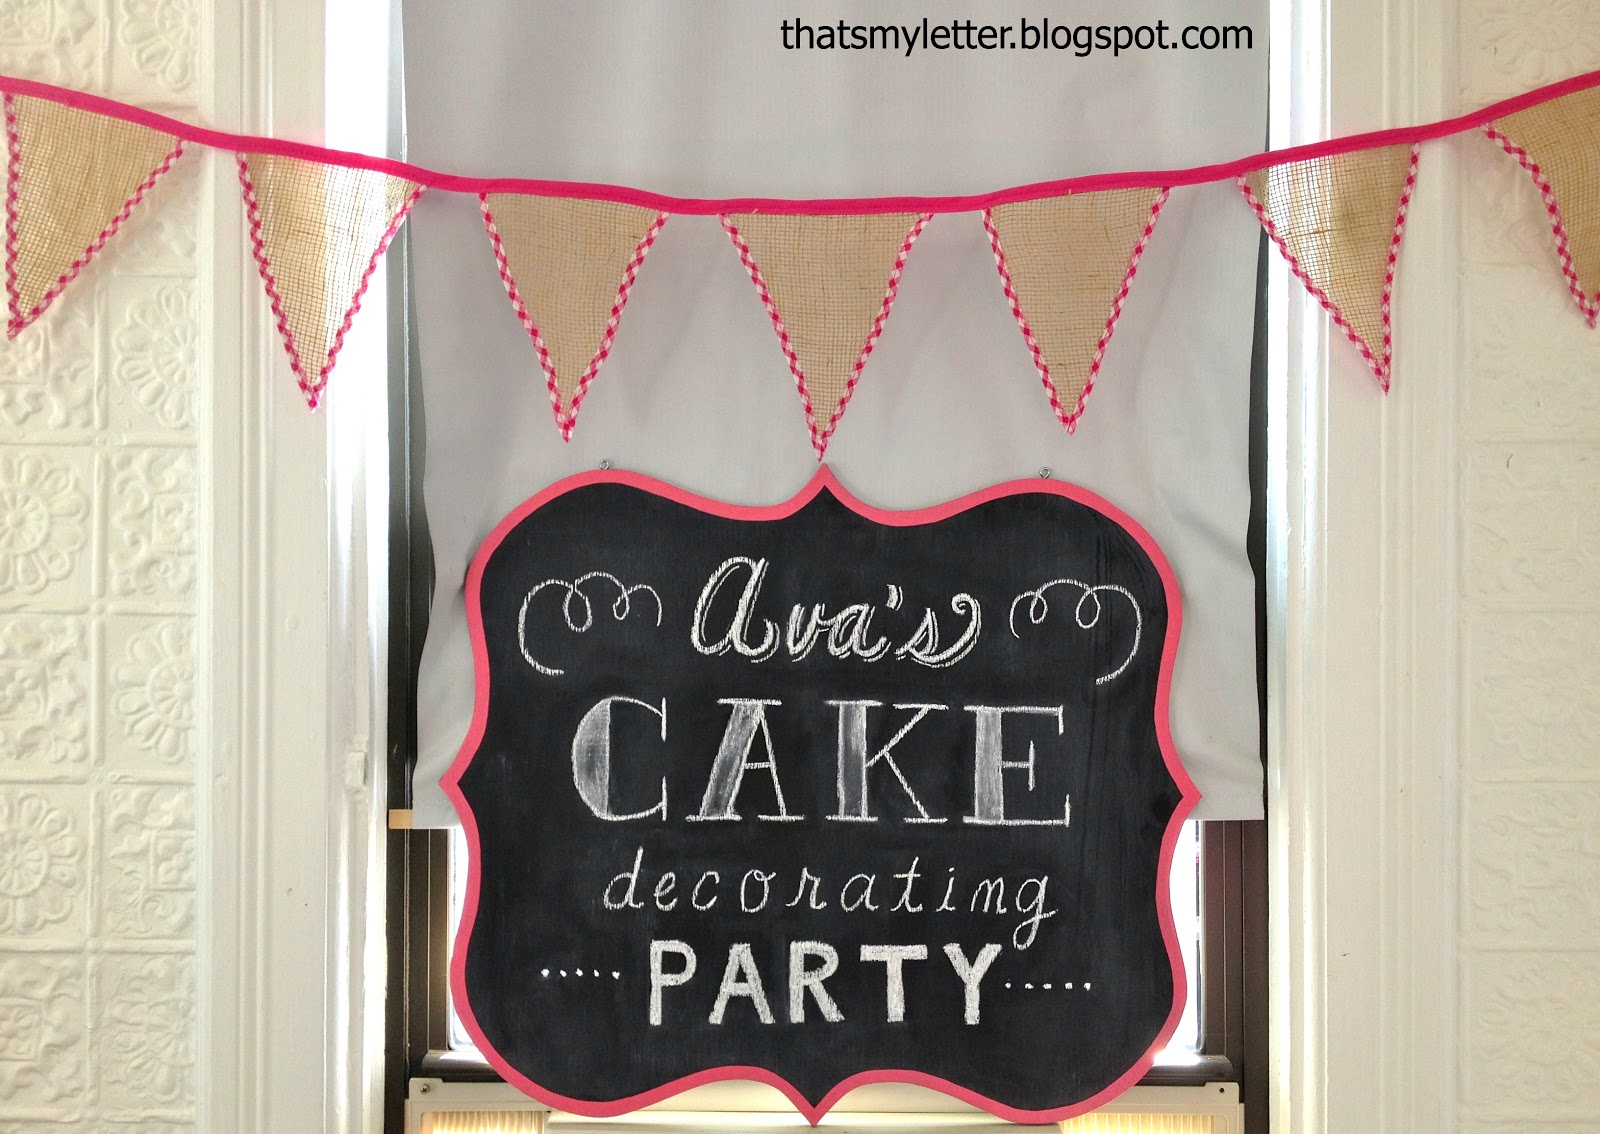
Here it is at the bakery for the party:
(You can see how I made the gingham trimmed burlap bunting here.)

Here’s how I made the chalkboard sign:

1. Cut 1/2″ plywood to 24″ x 27″.
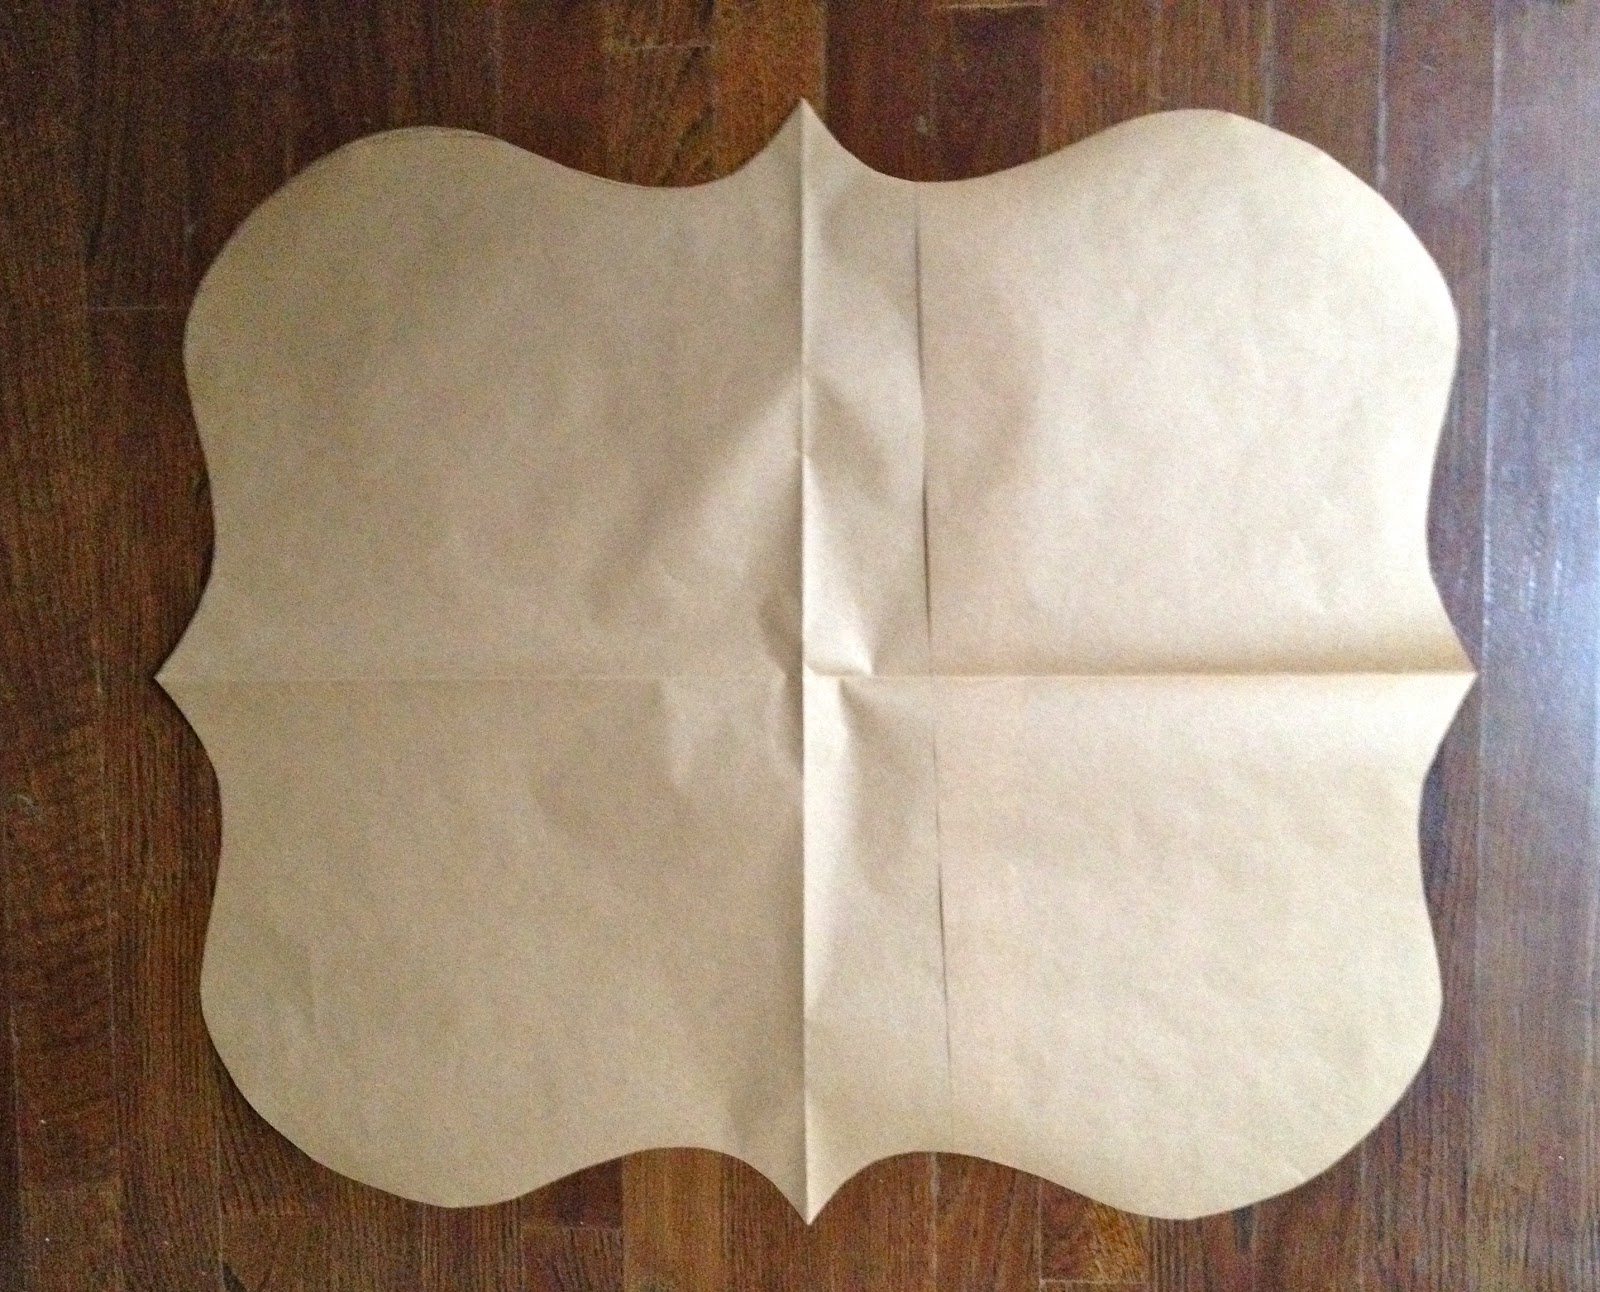
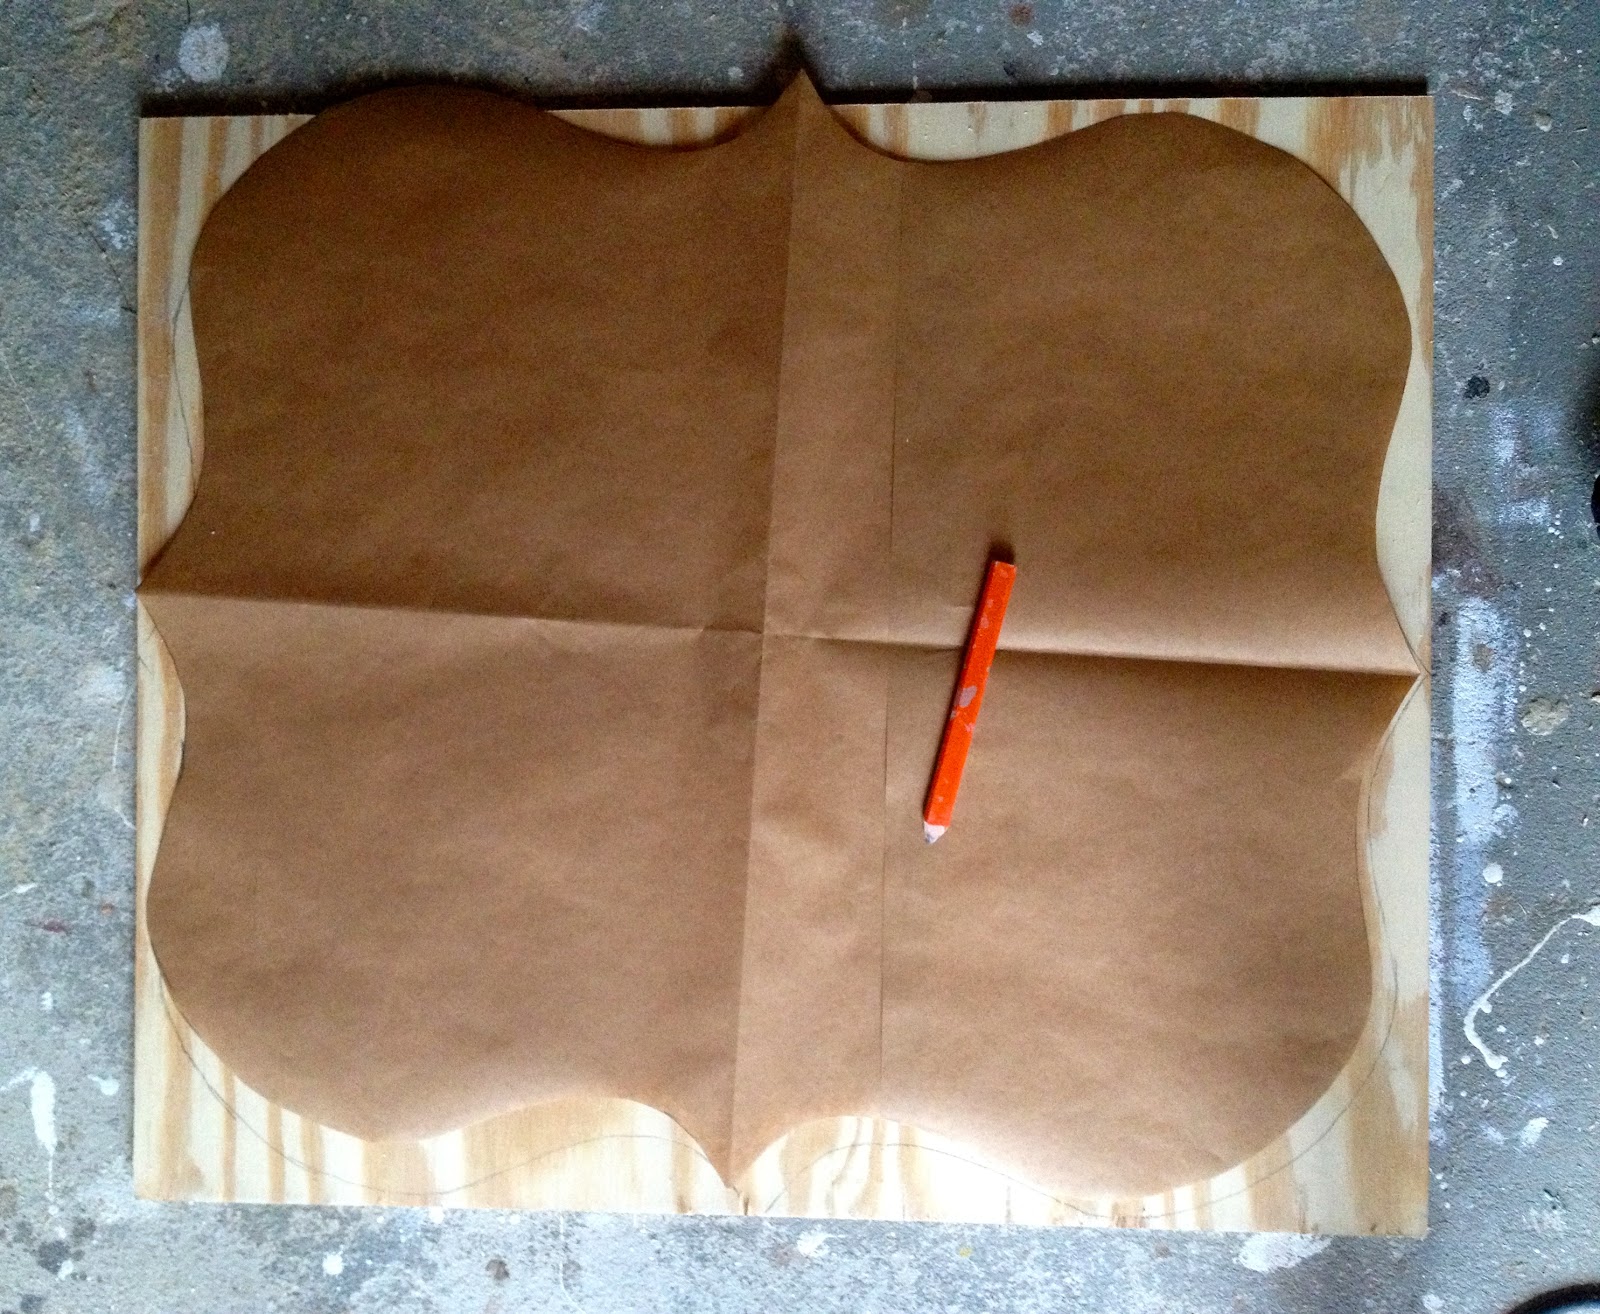
Make a craft paper template.  Cut the craft paper same size as wood then fold in half and half again:
Draw curvy edges:

2. Cut out curvy edges and unfold:

3. Place template on top of plywood and trace around edges:

4. Using a jigsaw cut out curvy edges then sand smooth:

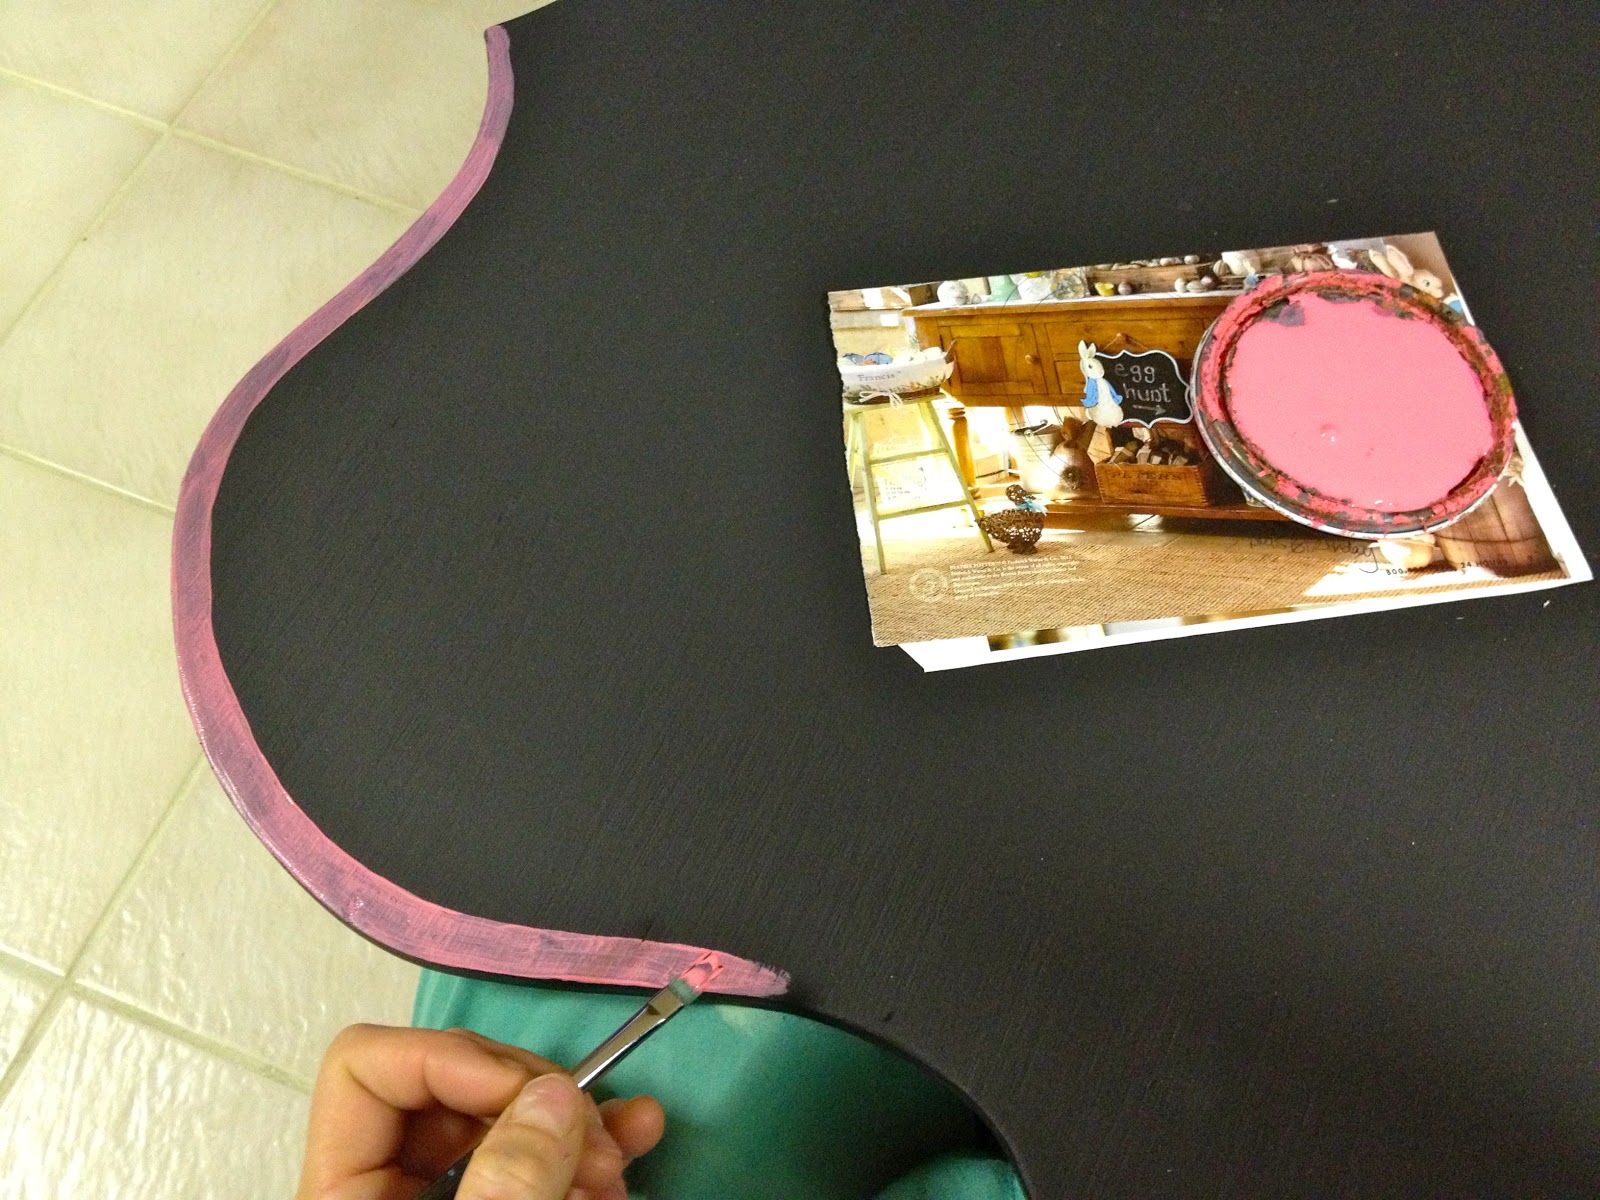
5. Paint two coats black chalkboard paint.
Add pink detail edge, I needed 3 coats to get the pink opaque:

6. Season the chalkboard by rubbing chalk all over then erase with cloth:
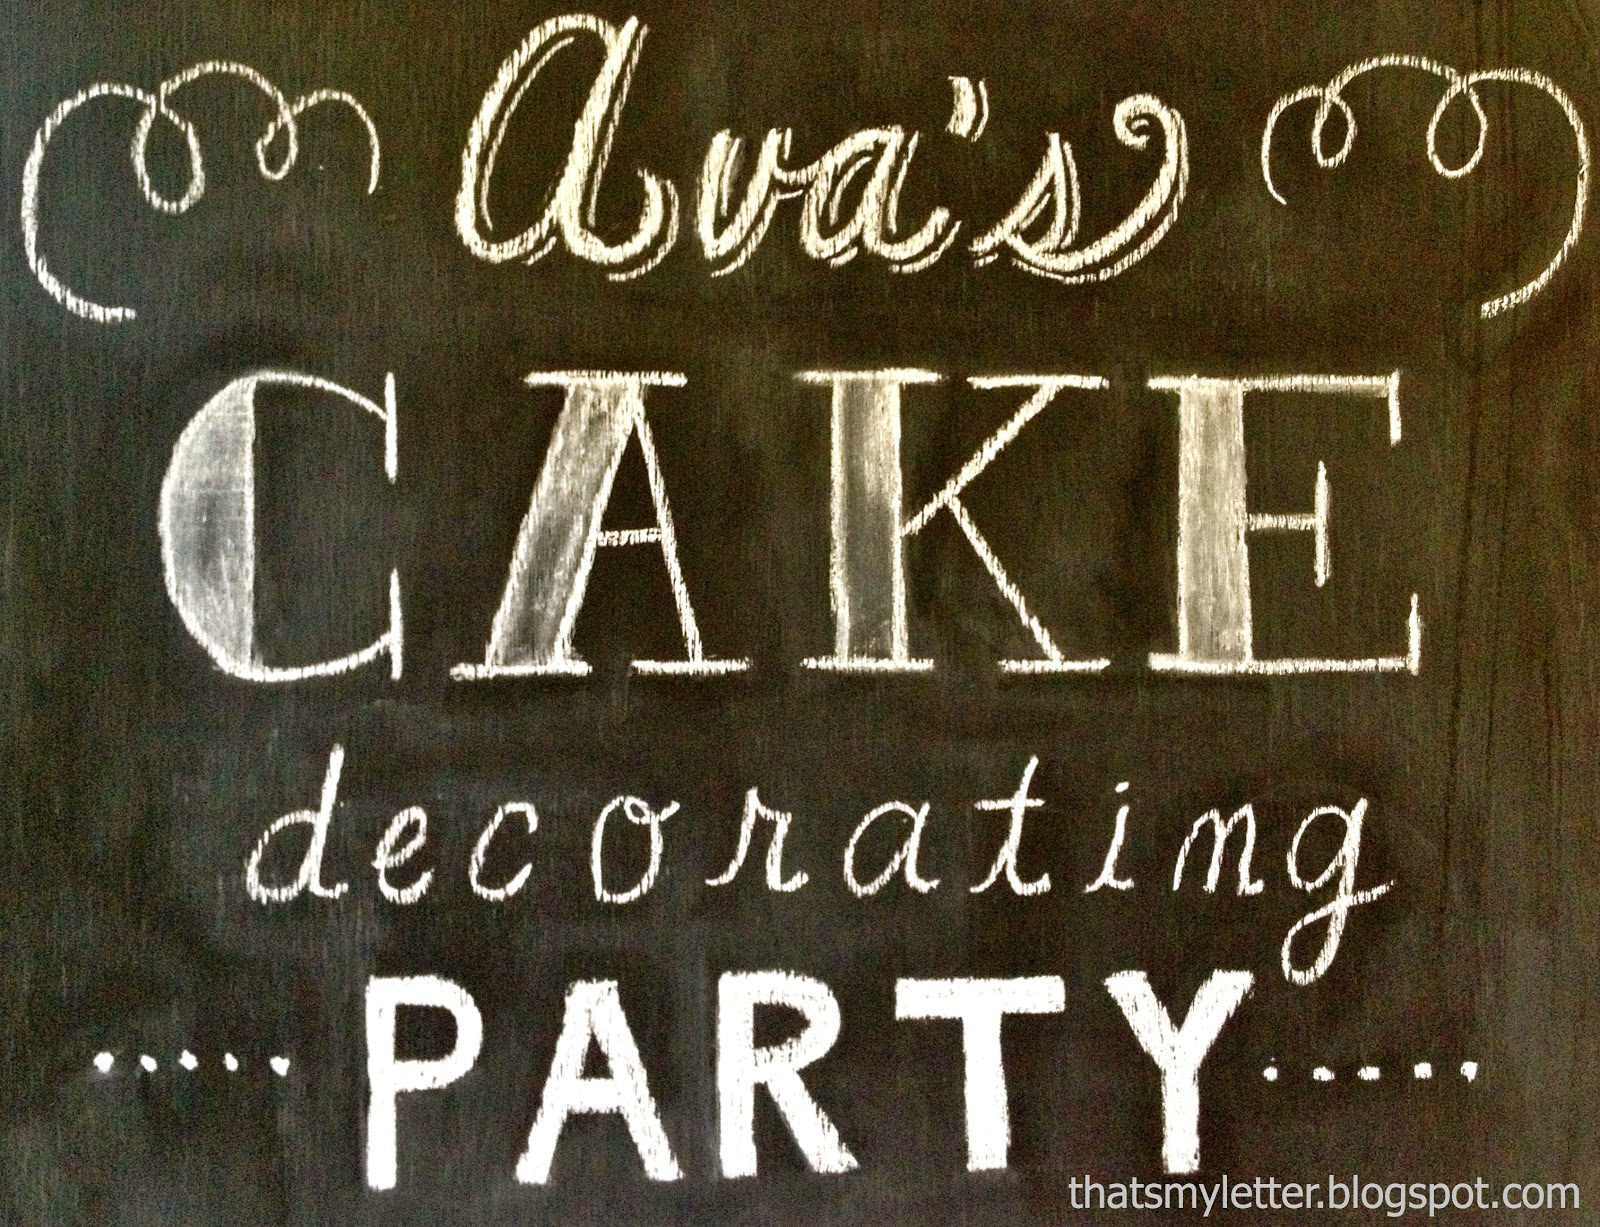
7. Start adding lettering:

8. Add hook eyes into edge board at top:
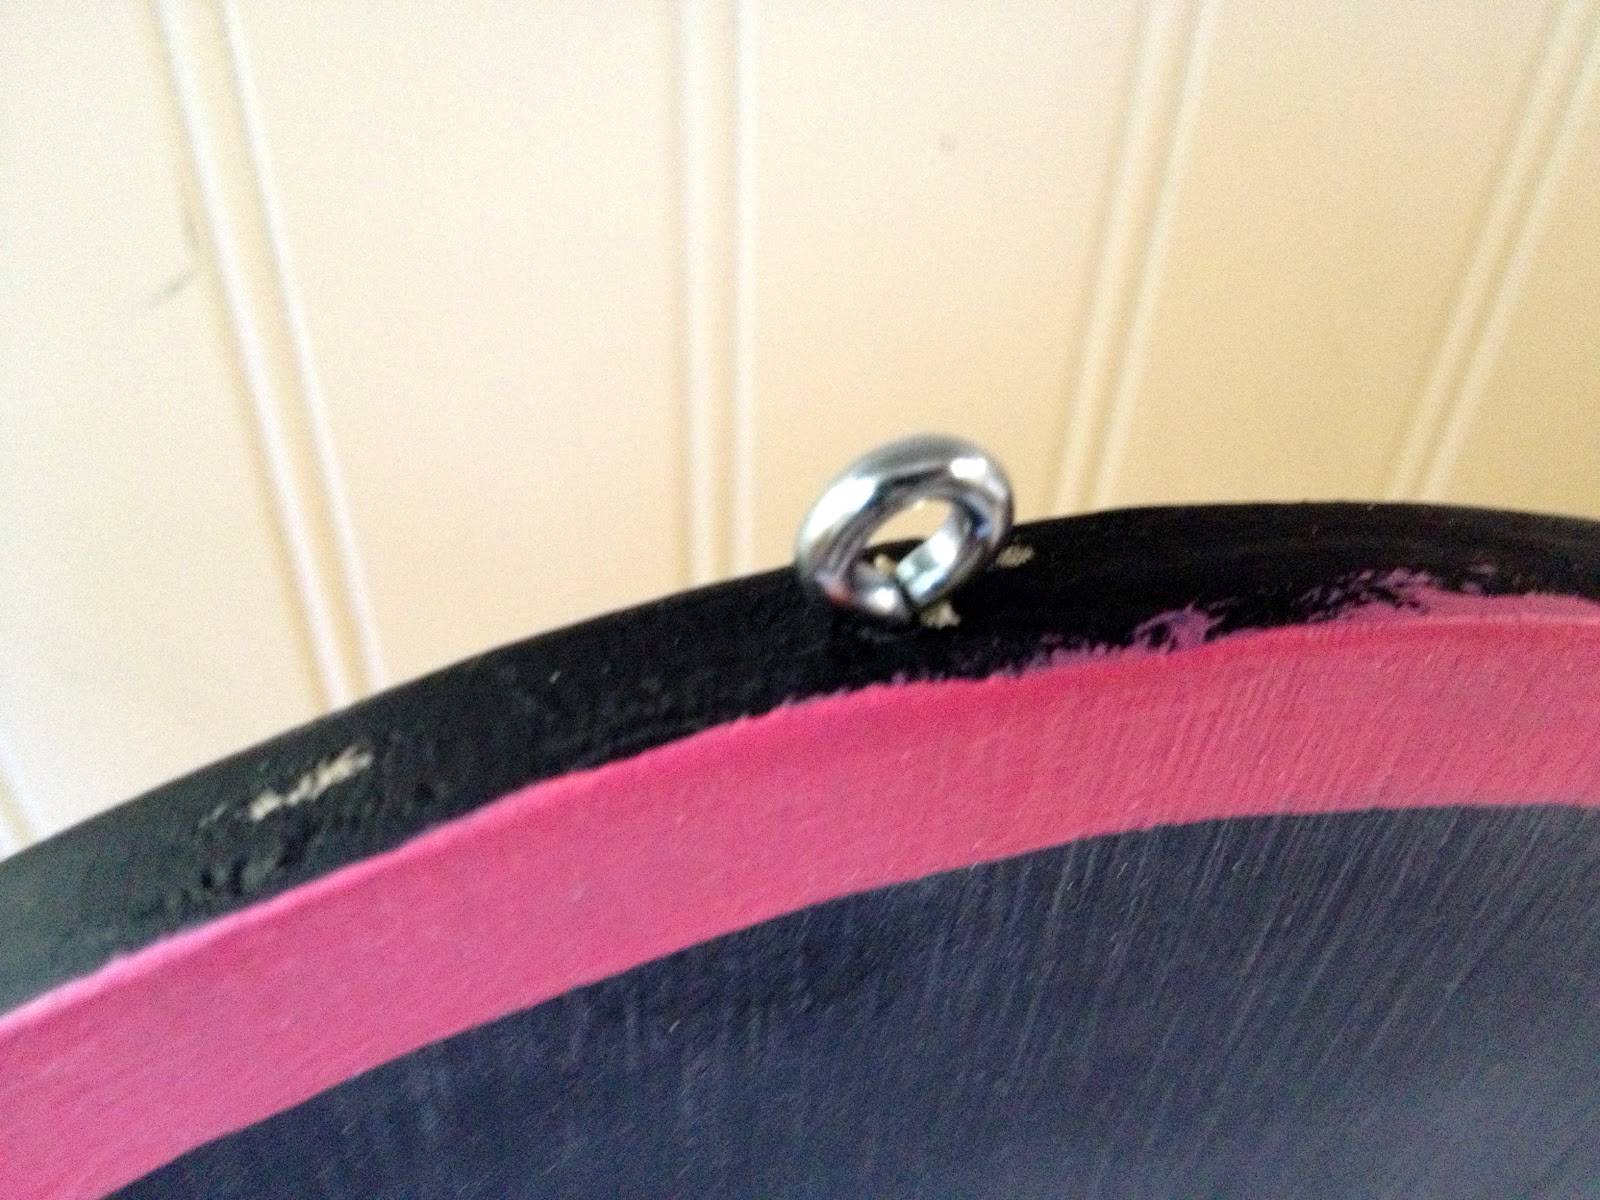
We ended up not using the hooks but they’re ready for next time.
A great, fast and easy project that’s reusable for any occasion.
I’m linking up to:
SAS @ Funky Junk
Nifty Thrifty Sunday @ Nifty Thrifty Things
DIY Project Parade @ The DIY Showoff
Tutorials & Tips Tuesday @ Home Stories A to Z
Strut Your Stuff @ Somewhat Simple
Share Awesomeness Thur @ The 36th Avenue
Pretty Things Thursday @ Scissors & Spatulas
Flaunt it Friday @ Chic on a Shoestring
Frugal Friday @ The Shabby Nest
SAS @ Just a Girl
Remodelaholics Anonymous @ Remodelaholic
inspiration board @ Carolyns Homework
Sunday Showcase Party @ Under the Table & Dreaming
Weekend Bloggy Reading @ Serenity Now

You may also like...

  • DIY Chalkboard Wall CalendarDIY Chalkboard Wall Calendar
  • DIY Giant Marquee LettersDIY Giant Marquee Letters
  • DIY Cedar Name PlaqueDIY Cedar Name Plaque
  • DIY Pencil BannerDIY Pencil Banner
Share this post:

Filed Under: CRAFTS, DIY, HOME DECOR, HOME DECOR, PAINT6 Comments

Reader Interactions

Comments

  1. Kelsey Poofy Cheeks says

    October 14, 2012 at 8:57 PM

    It looks great as always Jamie! I made a similiar scroll chalkboard sign for a craft show I did a few weeks ago – but I love the idea of a colored edge!

    Reply
  2. Jennifer says

    October 16, 2012 at 10:36 AM

    What a fabulous chalkboard! Cute, practical and just plain lovely! Well done!

    Reply
  3. dottaandbeambeam.com says

    October 17, 2012 at 6:05 PM

    I found your blog from another blog that was posted on my facebook page, but I can't remember who it was now. 🙁

    I love this project and have a question.

    How did you get the writing/letters to line up so perfectly or are you just that good? LOL

    Thanks, Angie

    Reply
  4. Erin C. Young says

    October 18, 2012 at 2:25 AM

    i was wondering too how you got your lettering so good – wish i could do that!!
    erincyoung (at) yahoo.com

    Reply
  5. Crystelle Boutique says

    October 20, 2012 at 9:11 PM

    I was just thinbkgin about making a chalkboard about that shape! You were a step ahead of me!
    I hadn't thought about the detailing around the edge, though. Good thinking!
    Love it…
    Pinning….

    Reply
  6. DaisyExpress says

    October 23, 2012 at 4:36 AM

    this is a very cute shape for a blackboard. Great blog too!

    Reply

Leave a Reply Cancel reply

Your email address will not be published. Required fields are marked *

Primary Sidebar

Hi! I’m Jaime

Jaime Costiglio

Hello!

Thank you for stopping by.
Join me for lots of DIY.

Read more

Get new posts via email

Handbuilt Holiday: Gift Project Plans

handbuilt holiday gift project plans

Collection of DIY gift project plans to build.

The Home Depot Tool Prospective

THD Prospective

Tools to consider for the DIYer.

Archives

The Home Depot Logo
Copyright © 2023 Jaime Costiglio · Custom site by Moonsteam Design

Privacy Policy