• Home
  • Blog
  • About
  • Contact
    • Disclosure
    • Privacy Policy
  • SHOP
  • Widget area for main menu

    • Email
    • Facebook
    • Instagram
    • Pinterest
    • Twitter
    • YouTube
  • Skip to primary navigation
  • Skip to main content
  • Skip to primary sidebar

Jaime Costiglio

build - paint - sew

  • BUILD
    • BEDS
    • BENCHES
    • DESKS
    • DRESSERS
    • GAMES & TOYS
    • SCRAP WOOD
    • SHELVES
    • STORAGE
    • TABLES
  • TOOLS
  • PAINT
    • CRAFTS
    • FURNITURE
    • HOME DECOR
  • SEW
    • GIFTS
    • HOME DECOR
    • POUCHES
  • HANDBUILT HOLIDAY
    • 2021
    • 2019
    • 2018
    • 2017
    • 2016
    • 2015
    • 2014
    • 2013
  • GIFTS
    • BABIES
    • KIDS
    • FOR HER
    • FOR HIM
    • TEACHERS
    • WEDDINGS
  • SEASONAL
    • 4TH OF JULY
    • FALL
    • HALLOWEEN
    • CHRISTMAS
    • SUMMER
    • SPRING
    • ST. PATRICK’S DAY
    • THANKSGIVING
    • VALENTINE’S DAY
    • WINTER
  • SALTBOX PROJECT
    • BATHROOMS
    • DINING ROOM
    • EXTERIOR
    • FAMILY ROOM
    • FOYER / MUDROOM
    • KIDS BEDROOMS
    • KITCHEN
    • LIVING ROOM
    • MASTER BEDROOM
    • PLAYROOM
  • SCROLL SAW

2×4 Holiday Card Holder

December 2, 2012

Build: 2×4 card holder
The easiest Christmas card holder to build ever.

Use a 2×4 wood board and your circular saw, make two beveled cuts, add a little stain and you have the most perfect Christmas card holder:

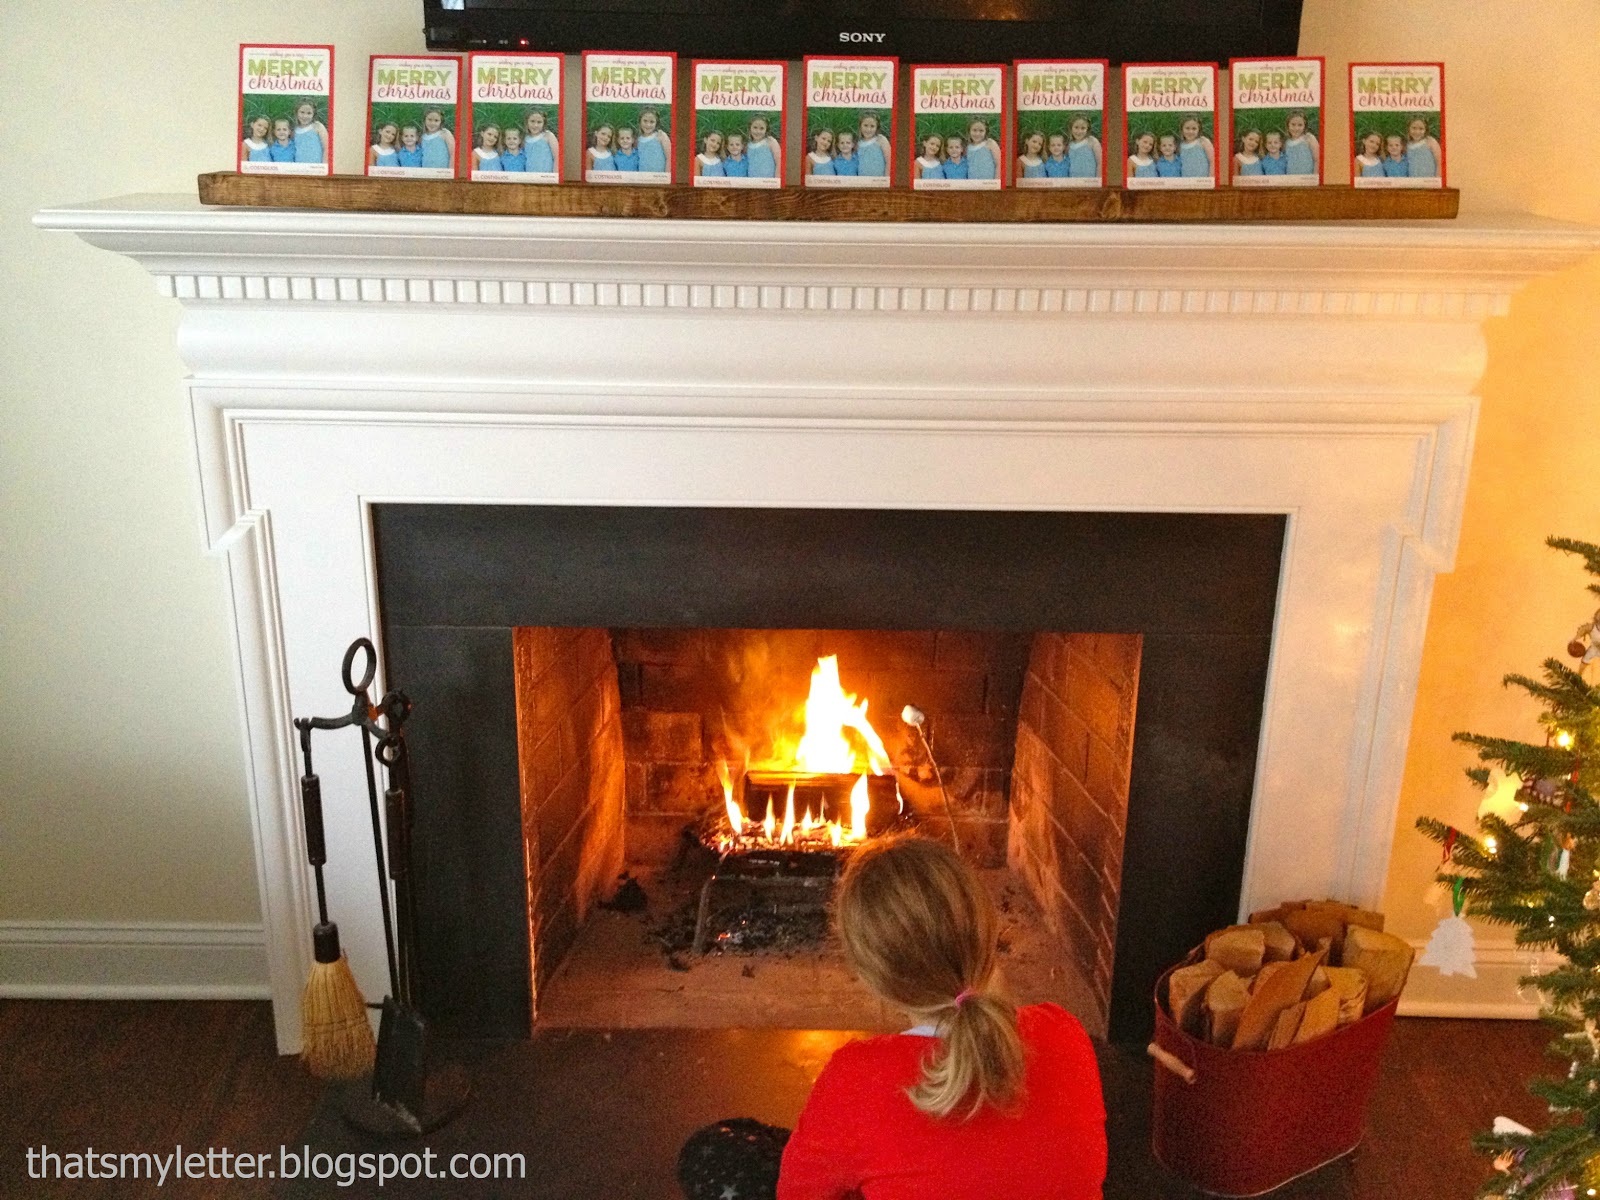
A majority of the Christmas cards we receive arrive as flat cards on heavy cardstock and my kids LOVE to go through the cards and checkout all the pictures.
With this card holder we can easily prop up all the cards for the kids to see.
(It’s early in December so I’m using our Christmas cards as stand ins, of course all the cards will be different and we can put them closer together to fit more on the board.)
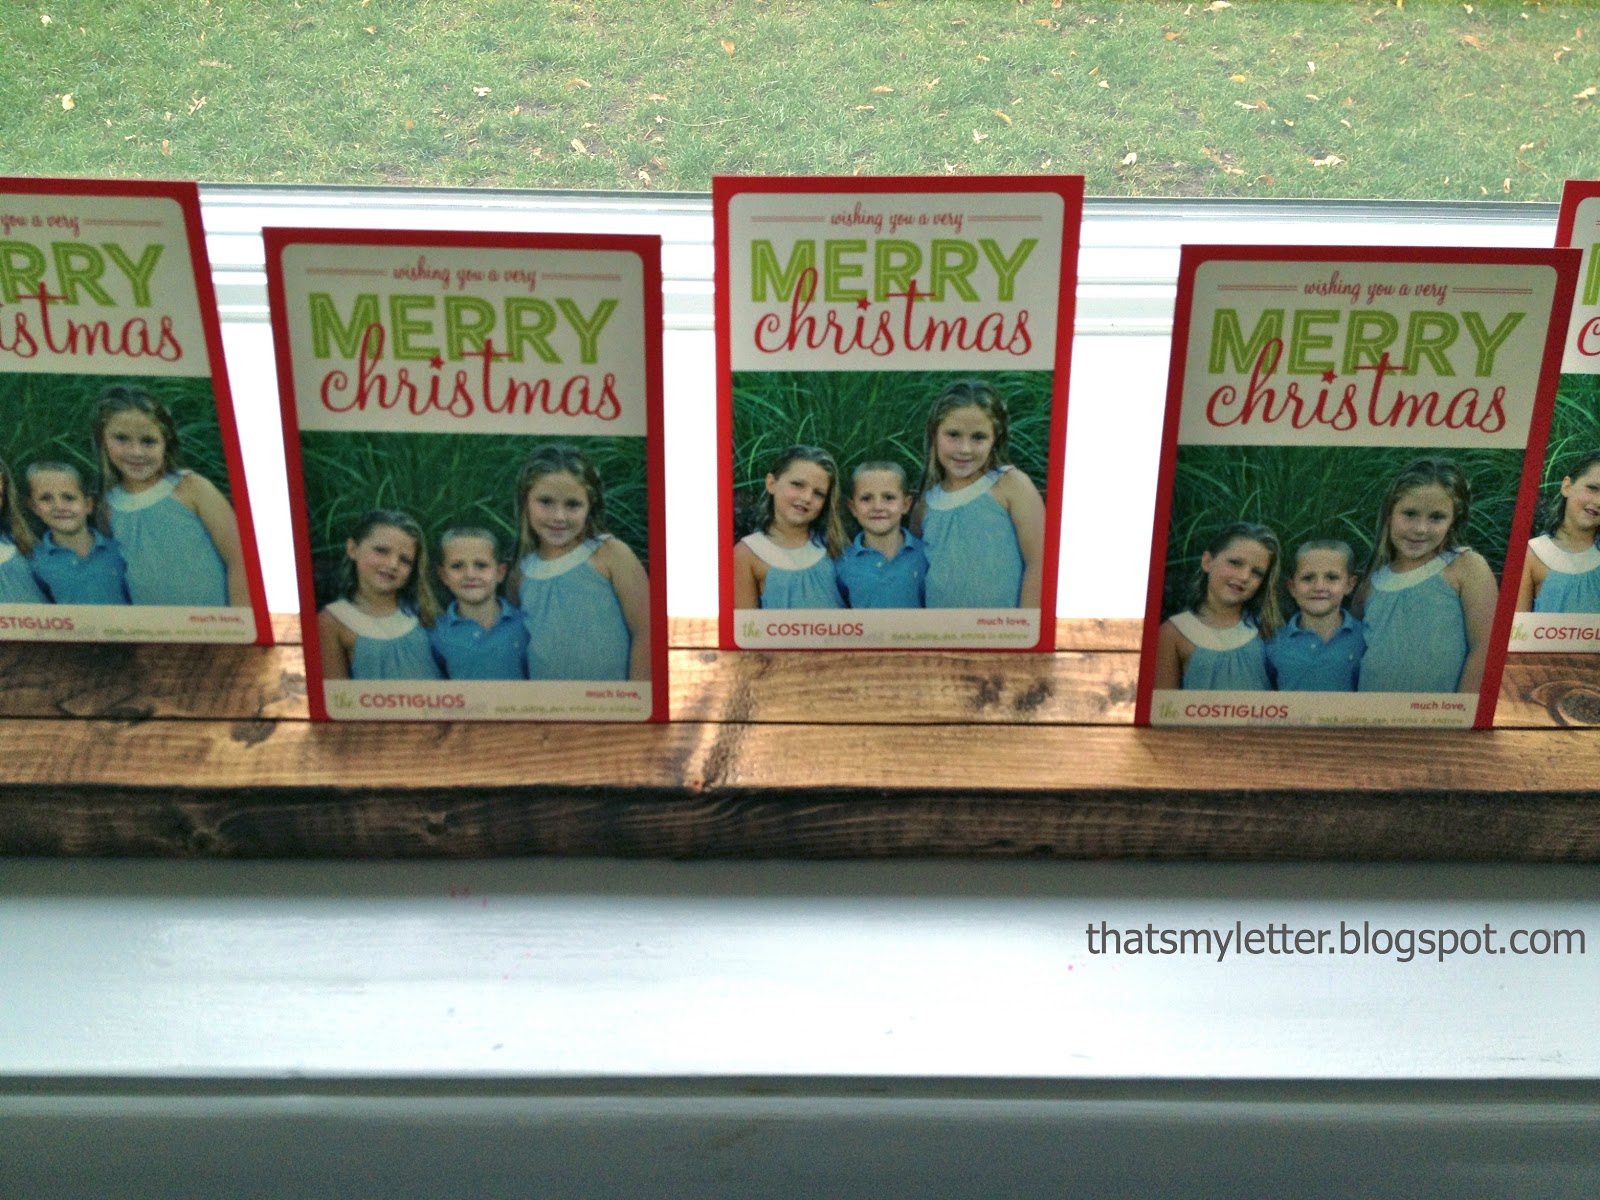
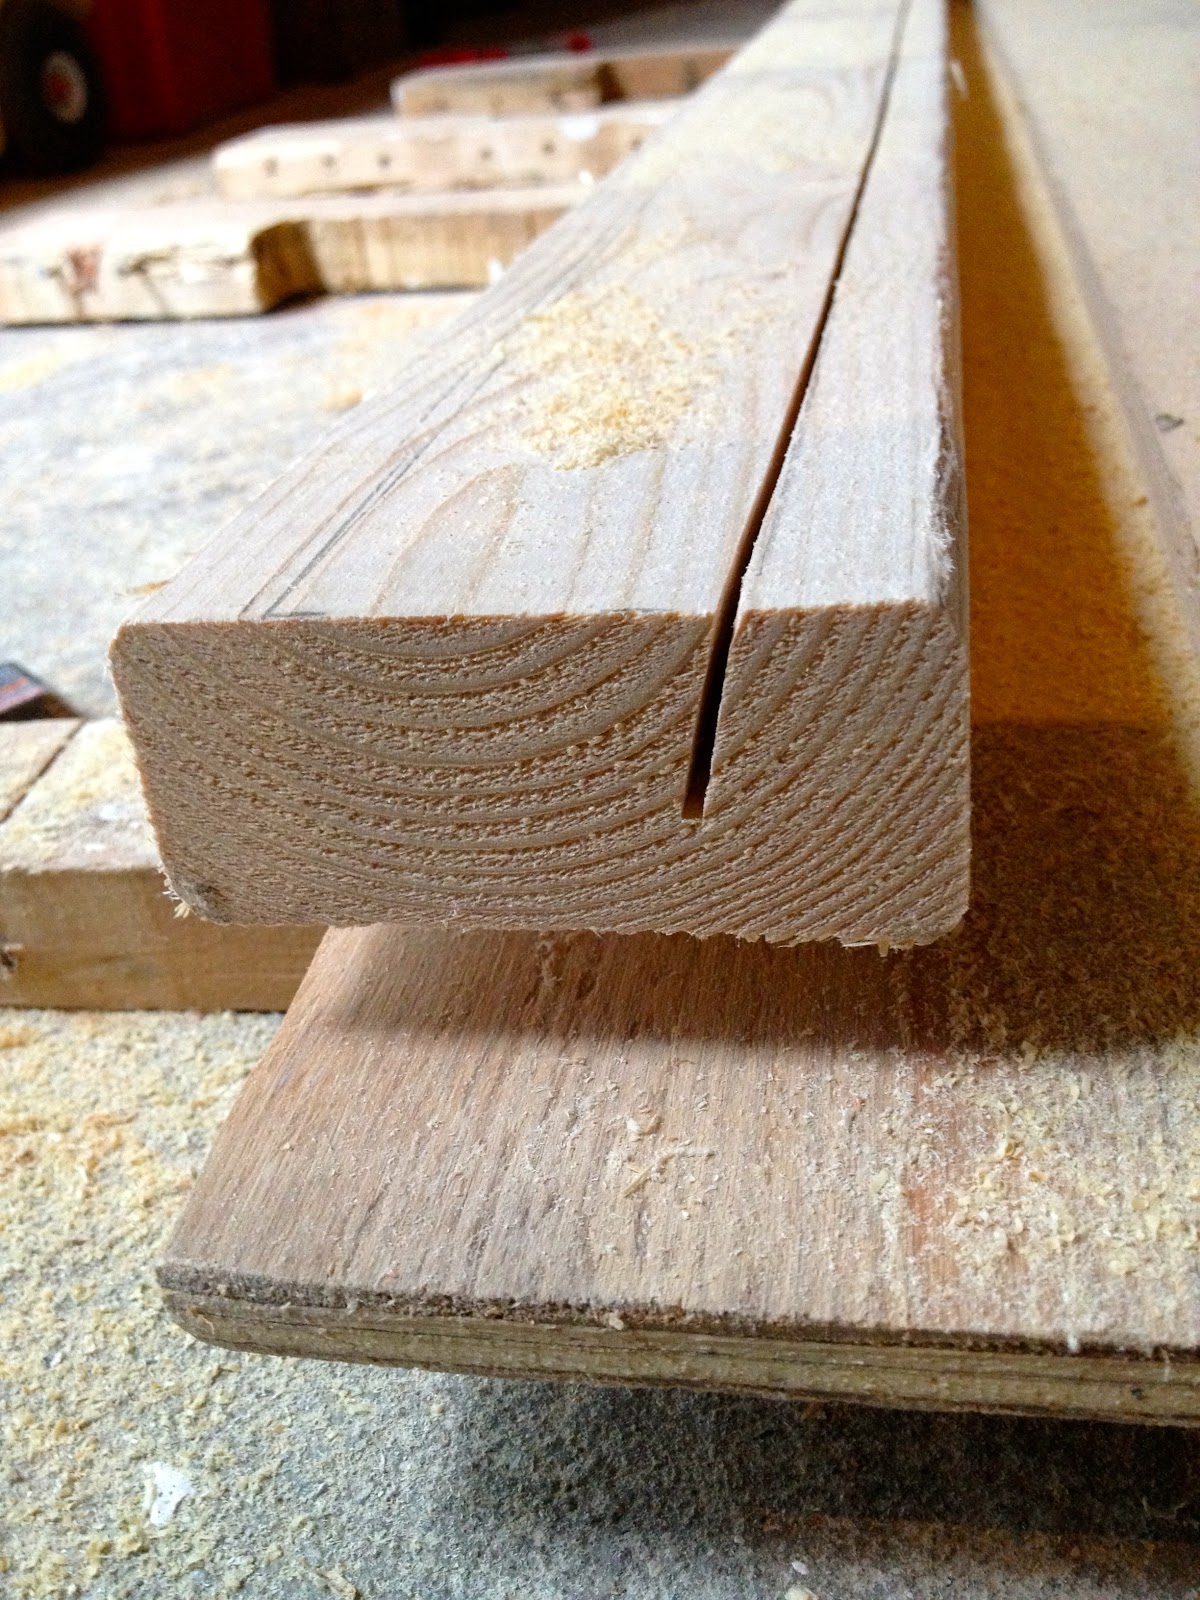
See how the cards sit down in the beveled cuts:
A typical circular saw blade is 1/8″ thick which makes a perfect fit for cardstock.
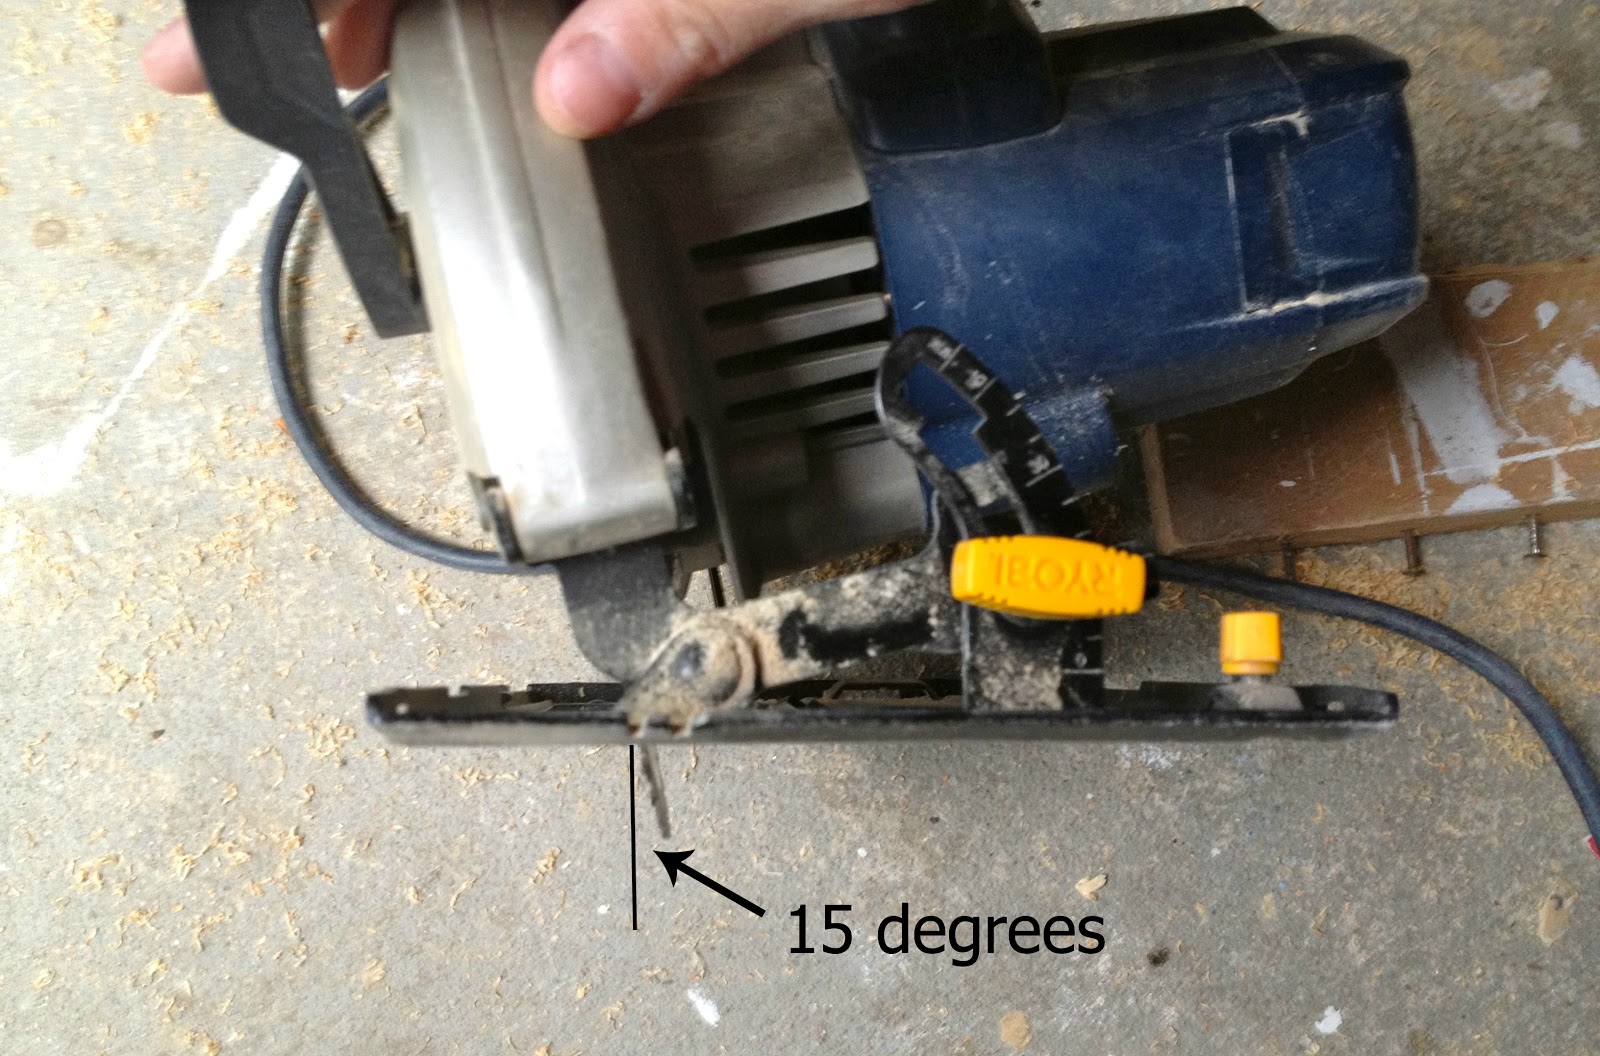
Below you can see the two beveled cuts from the side angle:
(My cuts are about 1″ deep, you probably want a 3/4″ deep cut or less.)
Here’s how to make the 2 x 4 card holder:

1. Cut your 2×4 to length.
2. Set your circular for a 15 degree bevel and about 3/4″ deep:
(You don’t want the cut too deep or you won’t see the bottom portion of the card.)
3. Mark your rows on the 2×4:
4. Clamp your board and follow the guideline to make your first cut:

5. Repeat for another row.
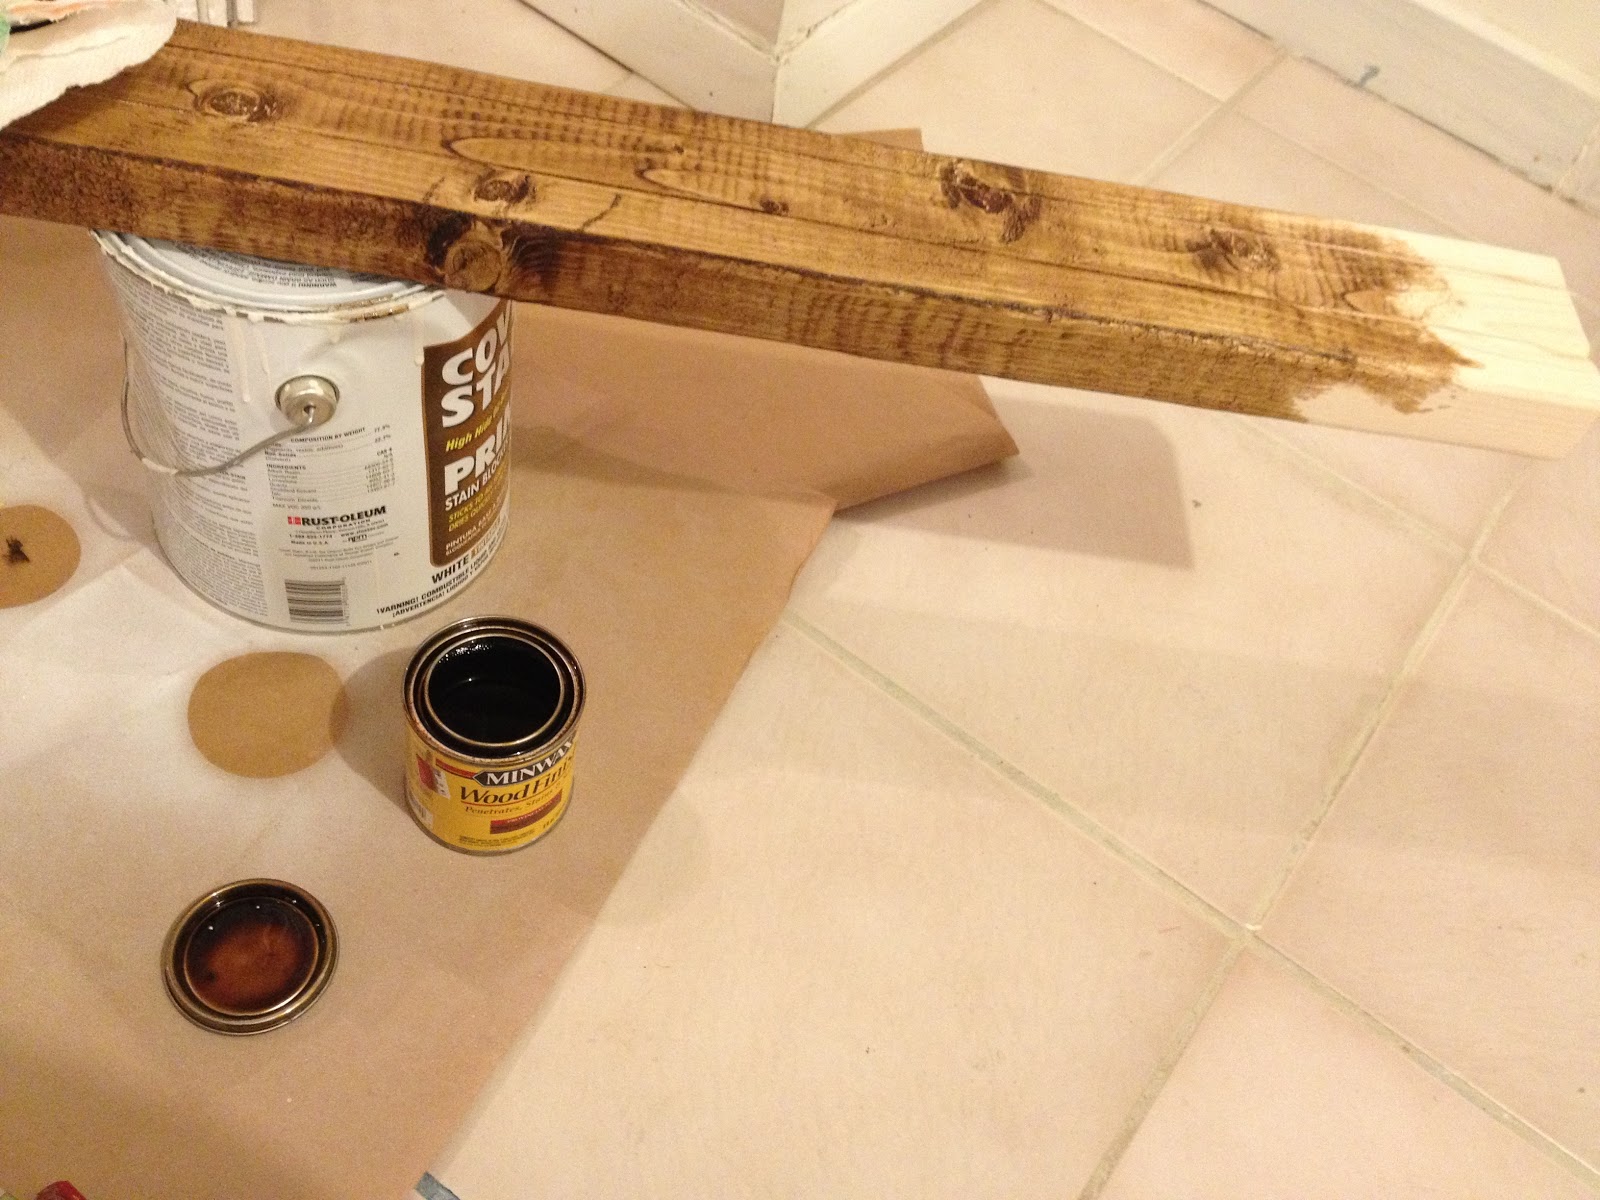
6. Stain, I used Minwax Provincial:

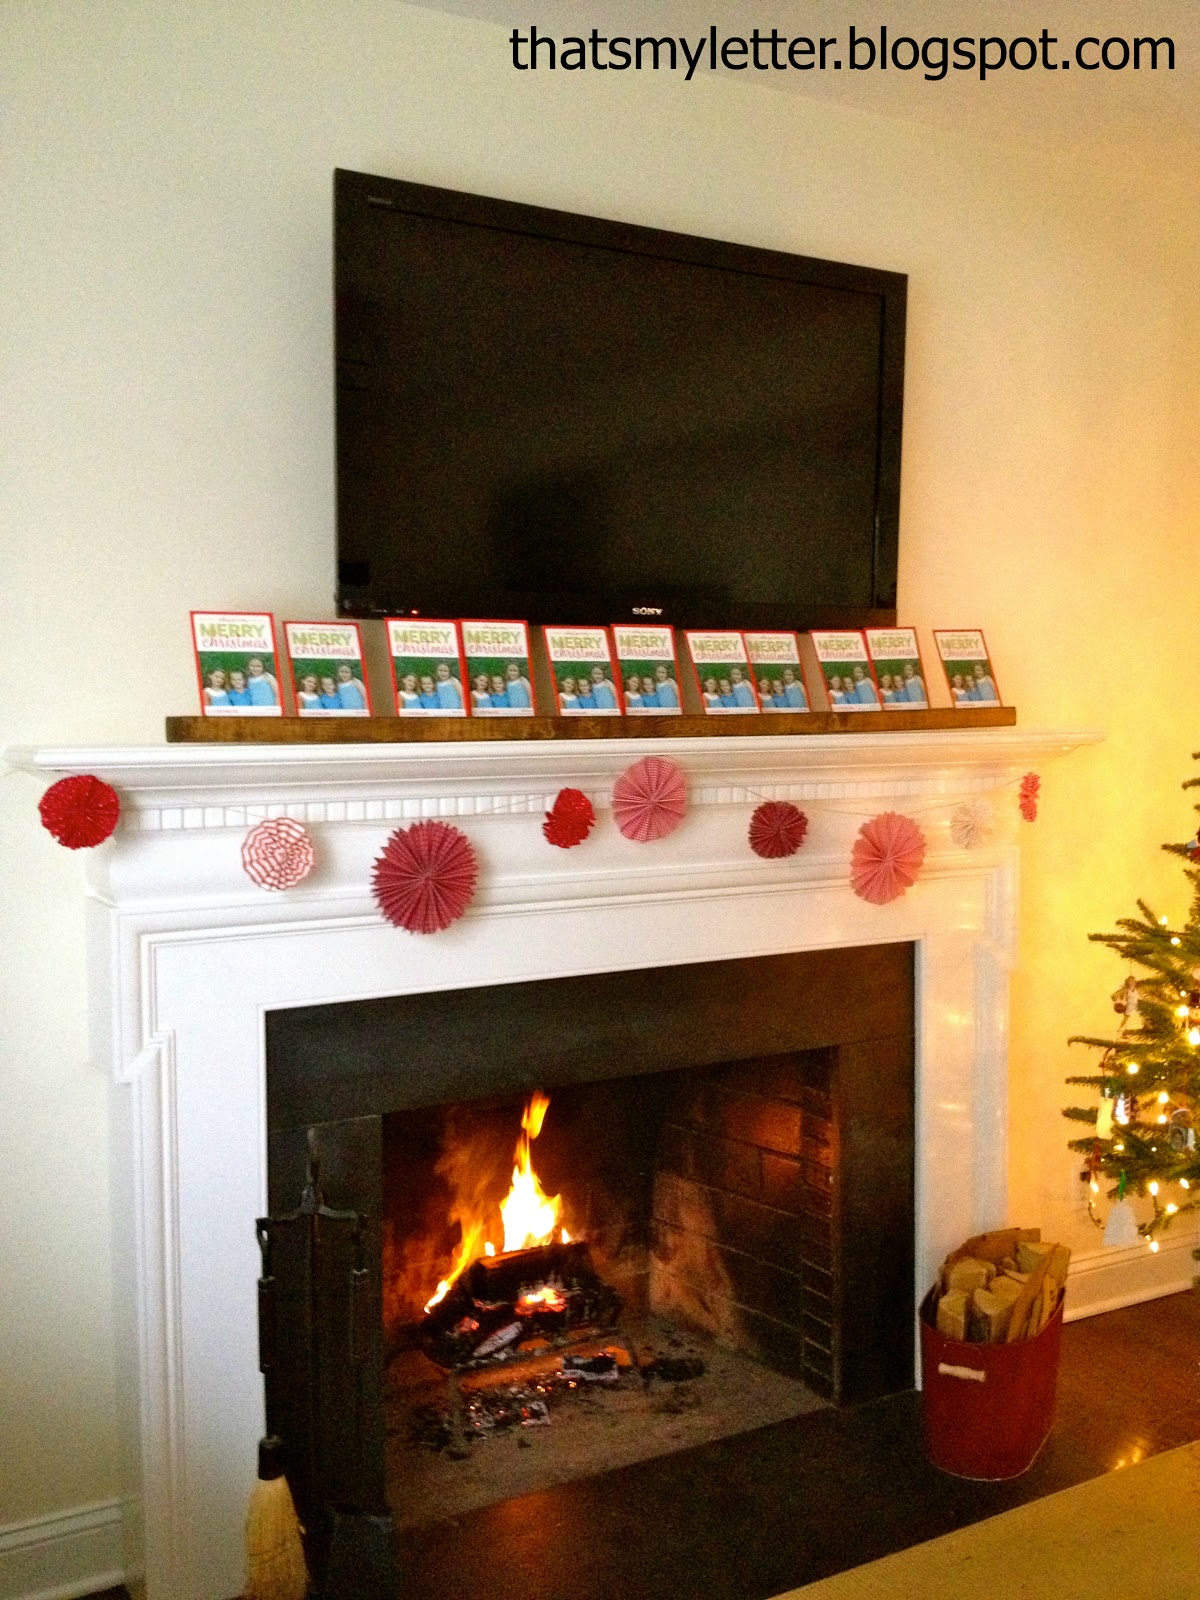
Ready for all your Christmas cards:

You may also like...

  • DIY Plant Stand with Free PlansDIY Plant Stand with Free Plans
  • DIY Ottoman Tray Parquet PatternDIY Ottoman Tray Parquet Pattern
  • DIY Animal Wall HooksDIY Animal Wall Hooks
  • DIY Star PlanterDIY Star Planter
Share this post:

Filed Under: CHRISTMAS, DIY, HOME DECOR, SCRAP WOOD, SEASONAL, WINTER14 Comments

Reader Interactions

Comments

  1. Waseem says

    December 3, 2012 at 5:45 AM

    so cute card holder..love the color and the design..i wish to design Gift Card envelopes that look like that.

    Reply
  2. Finding Home says

    December 3, 2012 at 8:11 PM

    Love this – and love that it has too channels. Take care, Laura

    Reply
  3. Amanda @ Serenity Now says

    December 7, 2012 at 1:16 PM

    How clever!! I love this. 🙂

    Reply
  4. Chaney says

    December 7, 2012 at 2:23 PM

    Oh my goodness I love this! I wish I had space for this in our tiny apartment, but I'll have to save the idea for when we're living in more than 684 square feet. (P.S. I came over from the Nester's linky party!)

    Reply
  5. Kelly says

    December 7, 2012 at 2:26 PM

    This is so simple and smart! ….and a great way to decorate a mantle on the cheap.

    Reply
  6. Emily says

    December 7, 2012 at 6:07 PM

    Thanks for sharing. This is a great idea! Pinning to my pinterest board 🙂

    Reply
  7. Loulou says

    December 9, 2012 at 2:05 AM

    This is such a great idea! It's so nice to be able to look at the lovely cards one receives, rather than piling them somewhere!

    Loulou

    Reply
  8. Suzanne says

    December 10, 2012 at 2:08 AM

    This is simply divine!

    Reply
  9. [email protected] says

    December 10, 2012 at 4:37 AM

    How clever is this! It looks too wonderful on your mantle!

    Reply
  10. Karah @ thespacebetweenblog says

    December 10, 2012 at 8:39 PM

    what a simple yet stylish idea!

    Reply
  11. Cassie @ Primitive & Proper says

    December 10, 2012 at 9:51 PM

    sucha great idea and after the holidays you can even use for photos!

    Reply
  12. Gwen @ The Bold Abode says

    December 11, 2012 at 6:07 PM

    That is a stinkin' awesome idea! I might have some scrap wood out in the garage to make one right now! I usually hang them on twine, but I'm tired of that this year… haven't even hung it up!

    Thanks for sharing!

    Reply
  13. Diana - FreeStyleMama says

    December 14, 2012 at 4:01 AM

    Great idea! I would love you to come join my Pin Me Linky Party that starts Friday morning at 8am CST.

    Reply

Leave a Reply Cancel reply

Your email address will not be published. Required fields are marked *

Primary Sidebar

Hi! I’m Jaime

Jaime Costiglio

Hello!

Thank you for stopping by.
Join me for lots of DIY.

Read more

Get new posts via email

Handbuilt Holiday: Gift Project Plans

handbuilt holiday gift project plans

Collection of DIY gift project plans to build.

The Home Depot Tool Prospective

THD Prospective

Tools to consider for the DIYer.

Archives

The Home Depot Logo
Copyright © 2023 Jaime Costiglio · Custom site by Moonsteam Design

Privacy Policy