Who wants to paint a ton of built-ins with a roller and brush? It’s doable but definitely not the smartest, fastest or most professional looking approach.
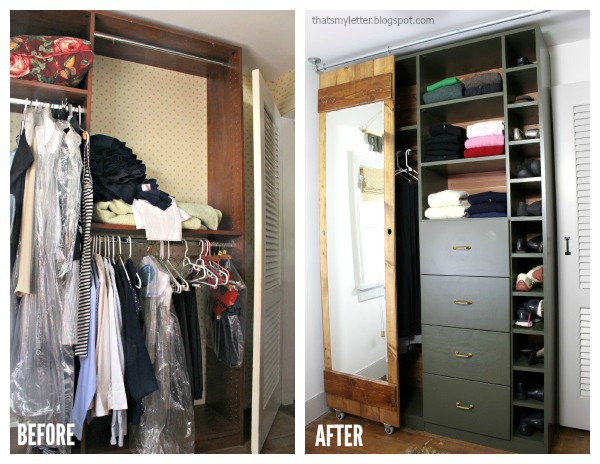
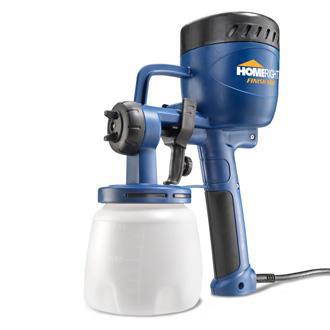
The last few months I’ve been making over our upstairs walk-in closet and the most drastic change is painting the built-ins. I used the Homeright Finish Max sprayer and the results are amazing!

To be perfectly honest I’ve never painted with a sprayer before. The thought of cleaning all the parts was enough to turn me off UNTIL I realized how much square footage there was to paint in all these built-ins. (There are actually 3 portions of built-ins, the above picture only shows one wall and a small portion of another on the left.)
The smarter person in me decided it was time to give the sprayer a try.

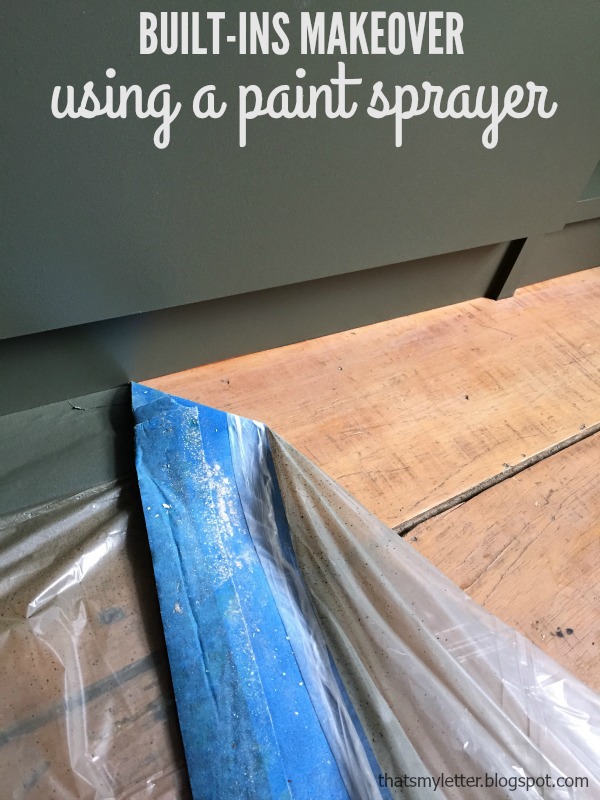
I taped off all edges and covered exposed walls and ceiling with plastic. Be sure you have proper ventilation when spraying indoors and wear safety protection.
I used Benjamin Moore Advance satin in artichoke. Follow the sprayer guidelines for dilution and paint consistency, I did have to add a little bit of water for this paint.

For some portions of the built-ins I removed the existing cabinets and rebuilt them in a slightly different and more useful configuration for my family’s purposes.
Once I removed those pieces I set up the Homeright Spray Shelter and used the sprayer to paint all remaining pieces outdoors. The spray shelter is exactly like setting up a tent and protects your freshly painted pieces from weather and airborne particles.
Once dry I used the painted pieces to rebuild the other side of the built-ins. You can see just how many pieces I had to paint and it was a breeze with the Homeright Finish Max sprayer. Honestly it would have taken me days to roll and brush these built-ins with lots of chunky corner drips and brush marks to contend with.
Clean up is easy although there are a good amount of parts to disassemble and clean out. I will say the time spent cleaning the sprayer is well worth it for the ease and professional looking finish you just can’t get with a roller and brush.

For more tips, do’s and don’ts when using a Homeright Finish Max sprayer be sure to visit my blog friend Gail at My Repurposed Life. She has a ton of great information in her 101 post you’ll want to read before beginning.
Disclaimer: I have partnered with Homeright to bring you this post. I have received compensation and/or product for review however all thoughts and opinions are my own. A huge thank you to Homeright for helping me make my built-ins look professionally done!


I have always been intimidated by paint sprayers. I think mostly because of all if the prep required. Your closet looks great though and I bet you are happy to have knocked that project out!
Your final product is exactly how I want to do to our closet. It looks great I think it's time to invest in a sprayer and the one you used looks like it will fit the bill thanks
This looks great – love the color you chose, too!