• Home
  • Blog
  • About
  • Contact
    • Disclosure
    • Privacy Policy
  • SHOP
  • Widget area for main menu

    • Email
    • Facebook
    • Instagram
    • Pinterest
    • Twitter
    • YouTube
  • Skip to primary navigation
  • Skip to main content
  • Skip to primary sidebar

Jaime Costiglio

build - paint - sew

  • BUILD
    • BEDS
    • BENCHES
    • DESKS
    • DRESSERS
    • GAMES & TOYS
    • SCRAP WOOD
    • SHELVES
    • STORAGE
    • TABLES
  • TOOLS
  • PAINT
    • CRAFTS
    • FURNITURE
    • HOME DECOR
  • SEW
    • GIFTS
    • HOME DECOR
    • POUCHES
  • HANDBUILT HOLIDAY
    • 2021
    • 2019
    • 2018
    • 2017
    • 2016
    • 2015
    • 2014
    • 2013
  • GIFTS
    • BABIES
    • KIDS
    • FOR HER
    • FOR HIM
    • TEACHERS
    • WEDDINGS
  • SEASONAL
    • 4TH OF JULY
    • FALL
    • HALLOWEEN
    • CHRISTMAS
    • SUMMER
    • SPRING
    • ST. PATRICK’S DAY
    • THANKSGIVING
    • VALENTINE’S DAY
    • WINTER
  • SALTBOX PROJECT
    • BATHROOMS
    • DINING ROOM
    • EXTERIOR
    • FAMILY ROOM
    • FOYER / MUDROOM
    • KIDS BEDROOMS
    • KITCHEN
    • LIVING ROOM
    • MASTER BEDROOM
    • PLAYROOM
  • SCROLL SAW

“B” is for Business Cards

July 21, 2014

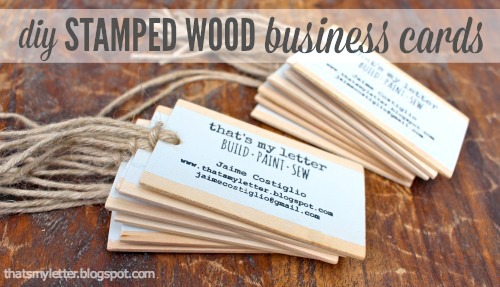
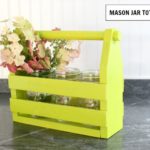
DIY stamped wood business cards
I recently had the privilege of attending and teaching at the Haven Conference and you can’t go to an event with 300 bloggers, sponsors and vendors without business cards.
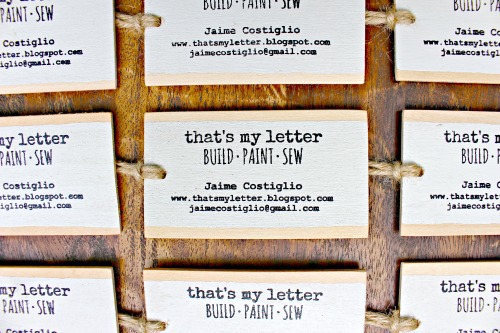
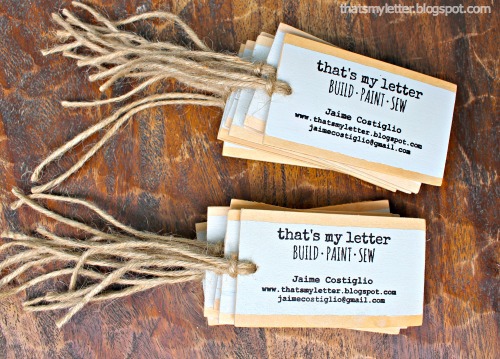
Wanting something that was unique and reflected my blog I created these stamped wood business cards:

A great project that uses up all those little wood scraps.

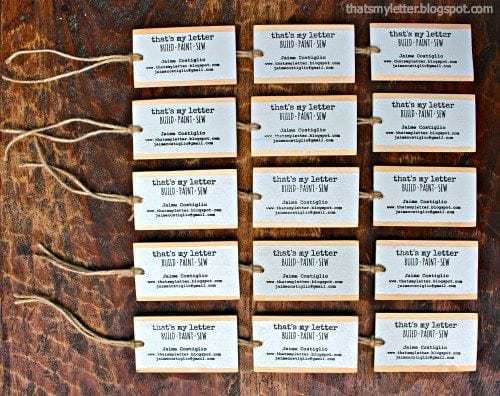
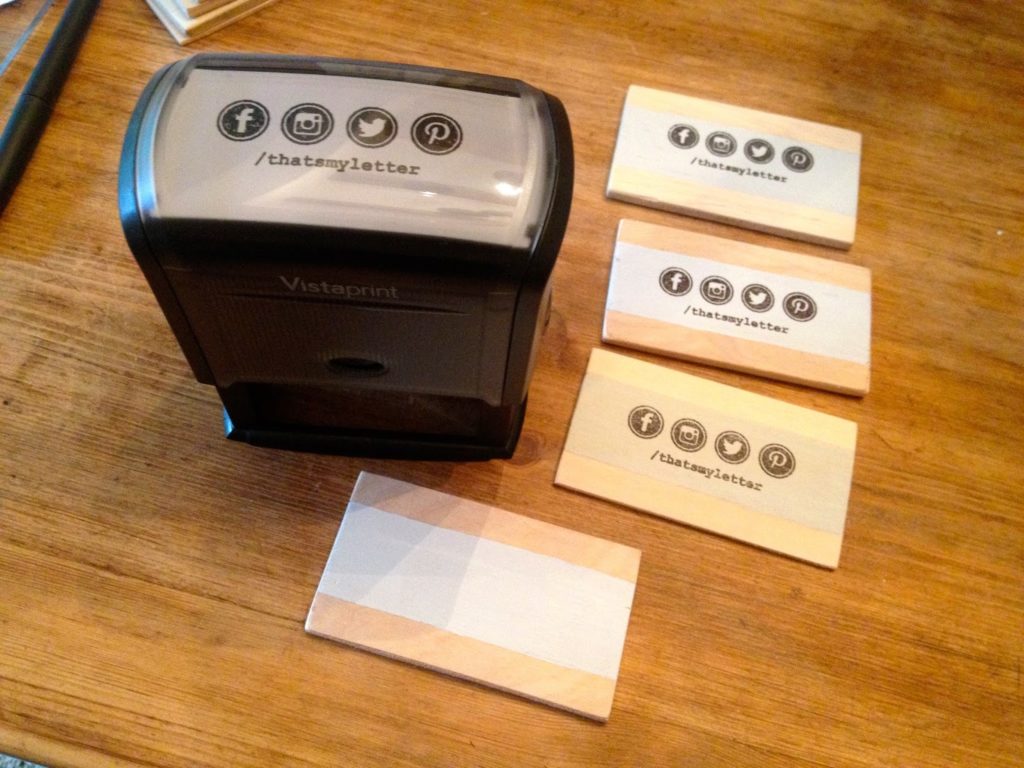
I purchased stamps with my logo and information then applied the stamp onto the painted sections of the wood.
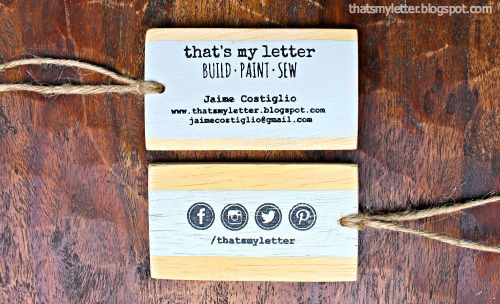
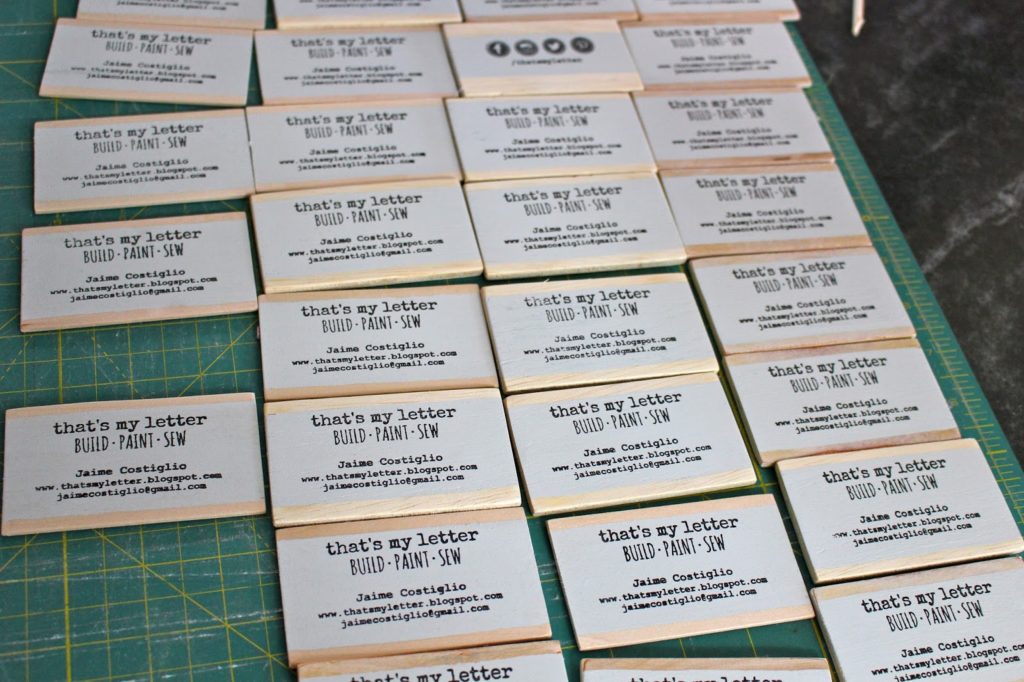
On the front of the cards is my blog name, my name and contact information.  
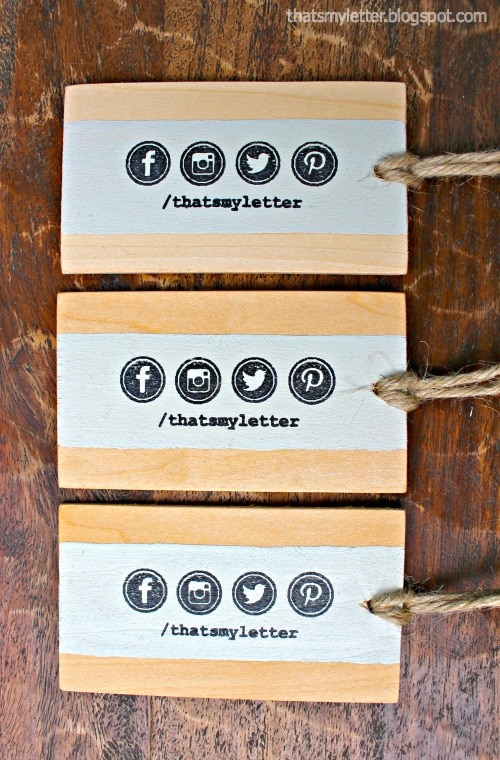
And on the back is my social media handle.

How to make stamped wood business cards:
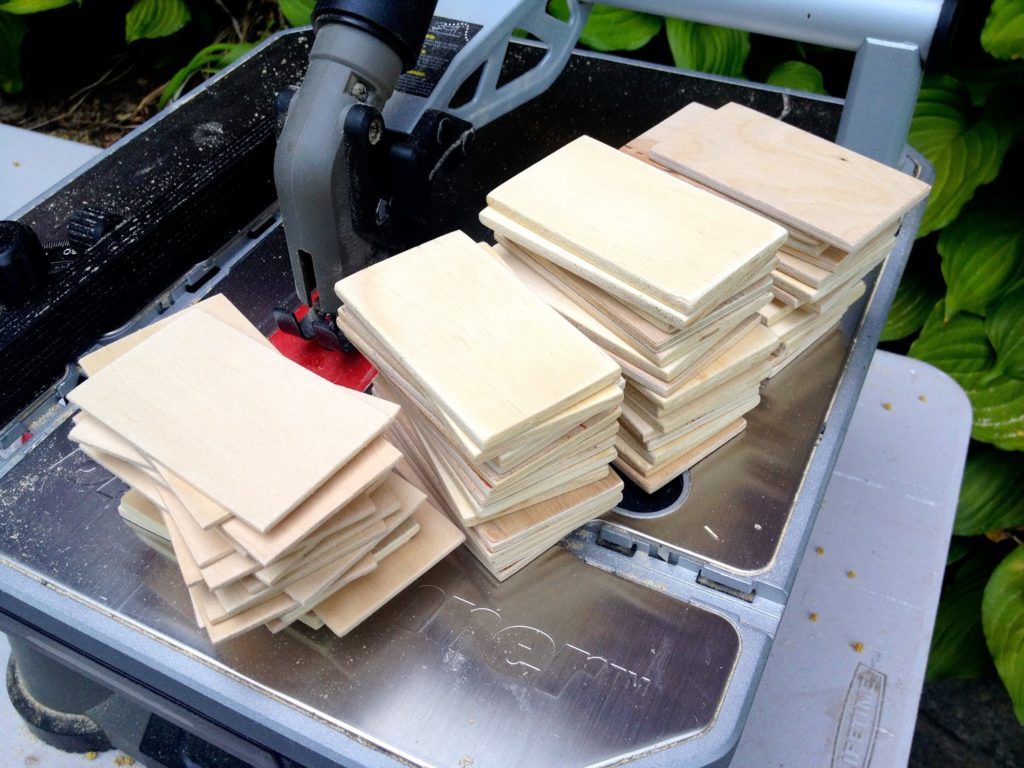
Step 1: Cut plywood into 2″ x 3 1/2″ rectangles.  I used all scrap pieces – some 1/4″ and some 3 3/32″ basswood.  And I used my Rockwell Bladerunner to make the cuts.

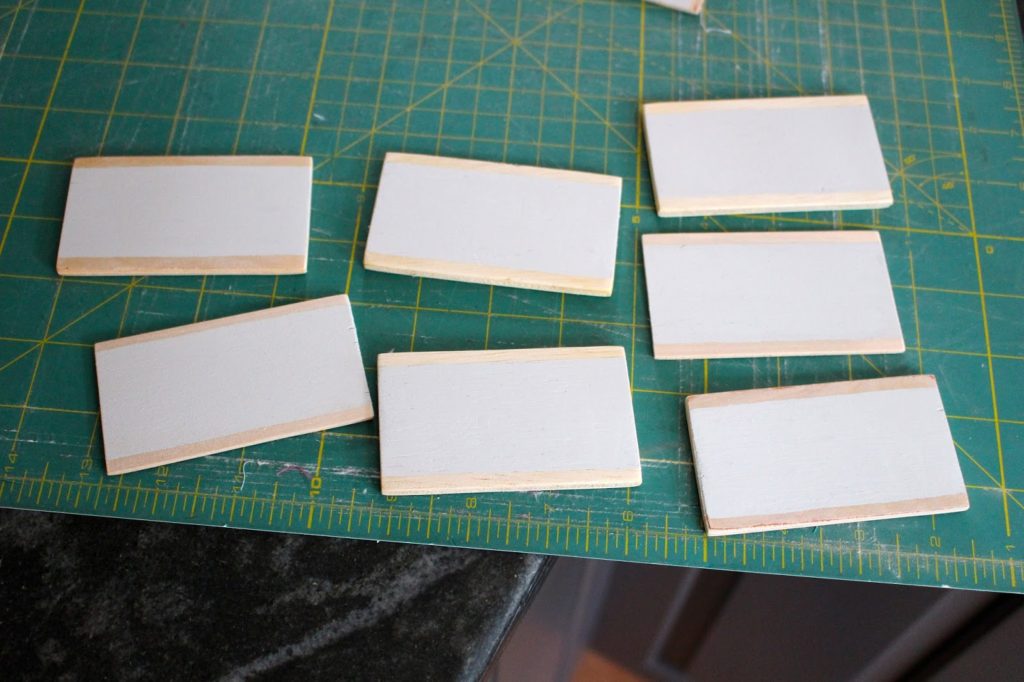
Step 2: Paint a stripe across the front and back, wide enough for your stamp.
Step 3: Stamp your information onto the painted portion.
(My stamps are from Vistaprint.)
Step 4: Let the ink dry then spray with clear gloss poly to protect the ink and enhance the wood tone.
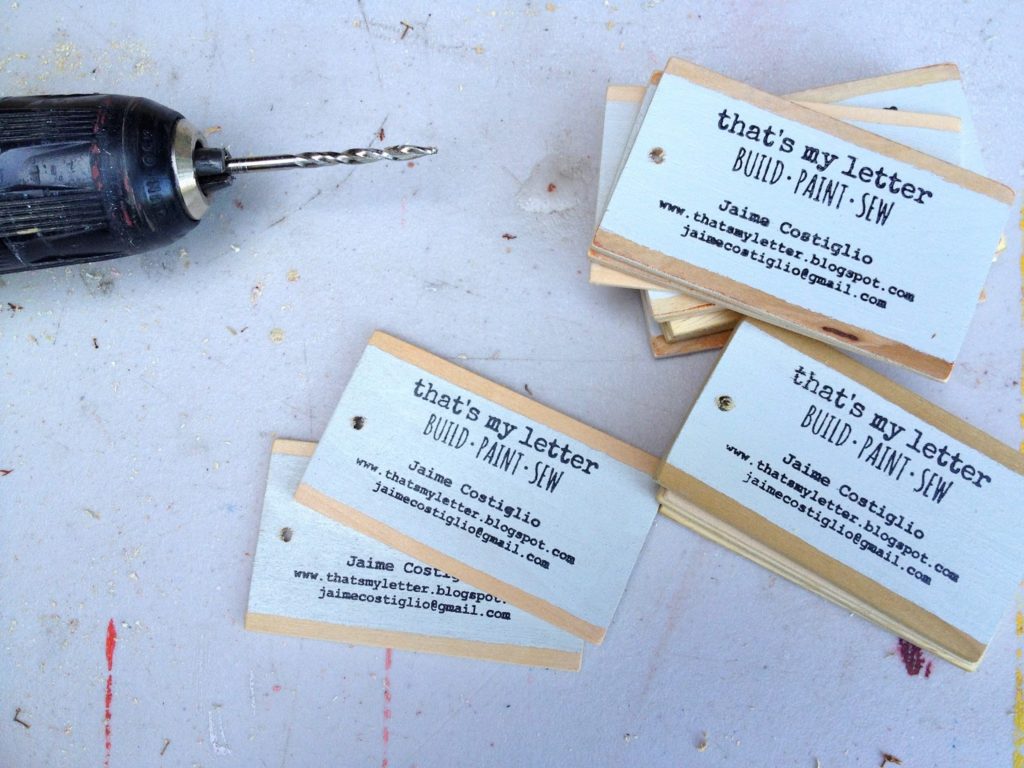
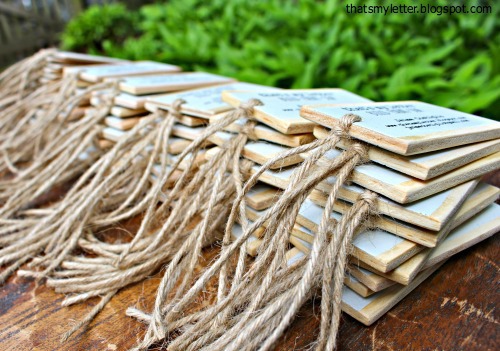
Step 5: Drill a hole near one end and insert jute string.
I’m linking up to:
Sand and Sisal

The 36th Avenue


Creative Collection @ Lolly Jane
Nifty Thrity Sunday @ Nifty Thrifty Things
Inspiration Exchange @ City Farmhouse
SAS @ Funky Junk
That DIY Party @ The DIY Showoff
Tutorials & Tips Tuesday @ Home Stories A to Z
Share Awesomeness Thur @ The 36th Avenue
Pretty Things Thursday @ Scissors & Spatulas
Flaunt it Friday @ Chic on a Shoestring
Frugal Friday @ The Shabby Nest
Furniture Feature Friday @ Miss Mustard Seed
SAS @ Just a Girl
Remodelaholics Anonymous @ Remodelaholic
inspiration board @ Carolyns Homework
Sunday Showcase Party @ Under the Table & Dreaming

You may also like...

  • Hello Haven 2017Hello Haven 2017
  • DIY Mason Jar Tote free plansDIY Mason Jar Tote free plans
  • Project PollProject Poll
  • DIY Planked Coffee TableDIY Planked Coffee Table
Share this post:

Filed Under: CRAFTS, CRAFTS, DIY, PAINT5 Comments

Reader Interactions

Comments

  1. Cheryl Bowman says

    July 21, 2014 at 12:30 PM

    Thank you a very unique business card !

    Reply
  2. Yvonne @ StoneGable says

    July 21, 2014 at 12:55 PM

    What a fabulous business card! I'm sorry I did not meet you at Haven this year!

    Reply
  3. Cristina Garay says

    July 21, 2014 at 3:01 PM

    Love them, so unique!

    Reply
  4. Lisa Thompson says

    September 25, 2014 at 6:44 PM

    Some might say that the era for business card is dead, as social networking for professionals rendered them outdated. Well, I guess that’s wrong, as there are certain events where you’ll come face-to-face with prospective clients, and you shouldn’t come empty-handed when they ask for your company details. Anyway, your business card is superb, and certainly not the type of business card that will just fall out of trend. I’m sure you left an excellent impression with the people you handed them out to.

    Lisa Thompson @ Controlled Color, Inc.

    Reply

Leave a Reply Cancel reply

Your email address will not be published. Required fields are marked *

Primary Sidebar

Hi! I’m Jaime

Jaime Costiglio

Hello!

Thank you for stopping by.
Join me for lots of DIY.

Read more

Get new posts via email

Handbuilt Holiday: Gift Project Plans

handbuilt holiday gift project plans

Collection of DIY gift project plans to build.

The Home Depot Tool Prospective

THD Prospective

Tools to consider for the DIYer.

Archives

The Home Depot Logo
Copyright © 2026 Jaime Costiglio · Custom site by Moonsteam Design

Privacy Policy