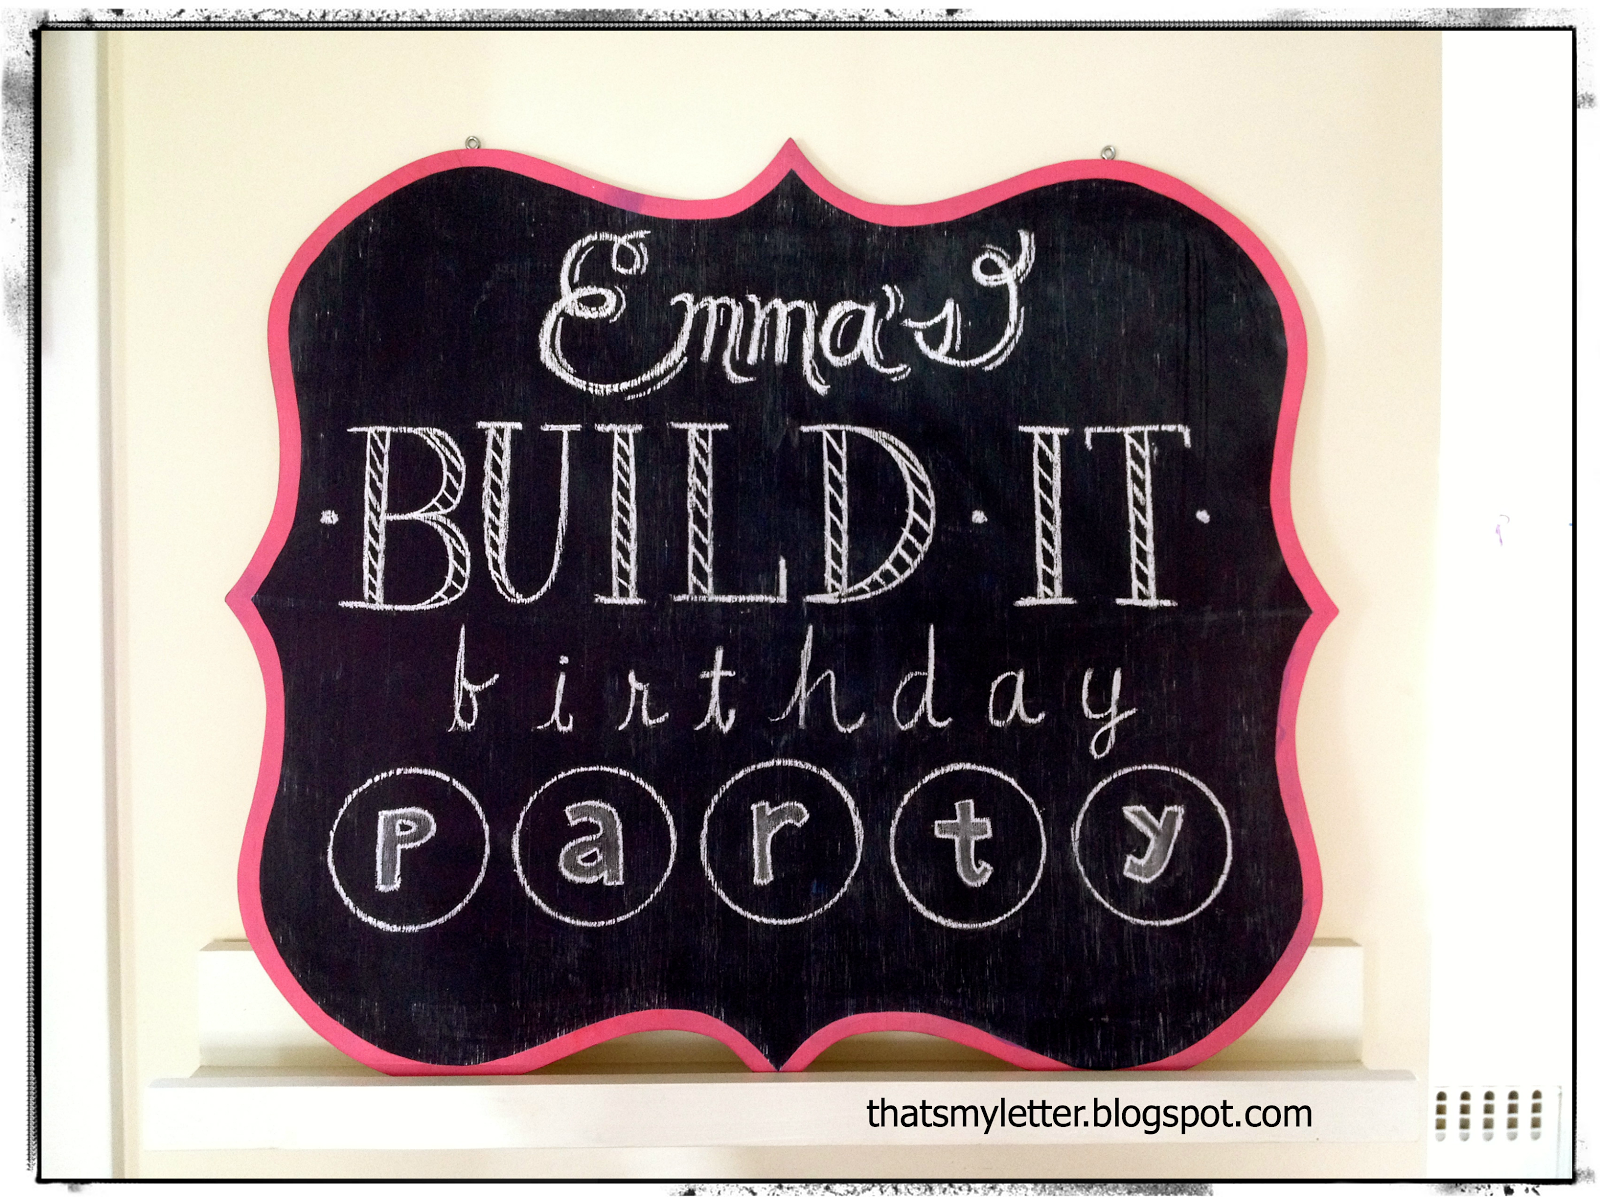
A build-it birthday party:

A birthday party for my now 7 year old girl.
I brought up the idea of a build it party where the girls would construct a piece and paint it, Emma agreed and now I’m sharing the build it party details with you!
I went solo on this one so we kept the party to six guests.
The table was set, ready for construction:
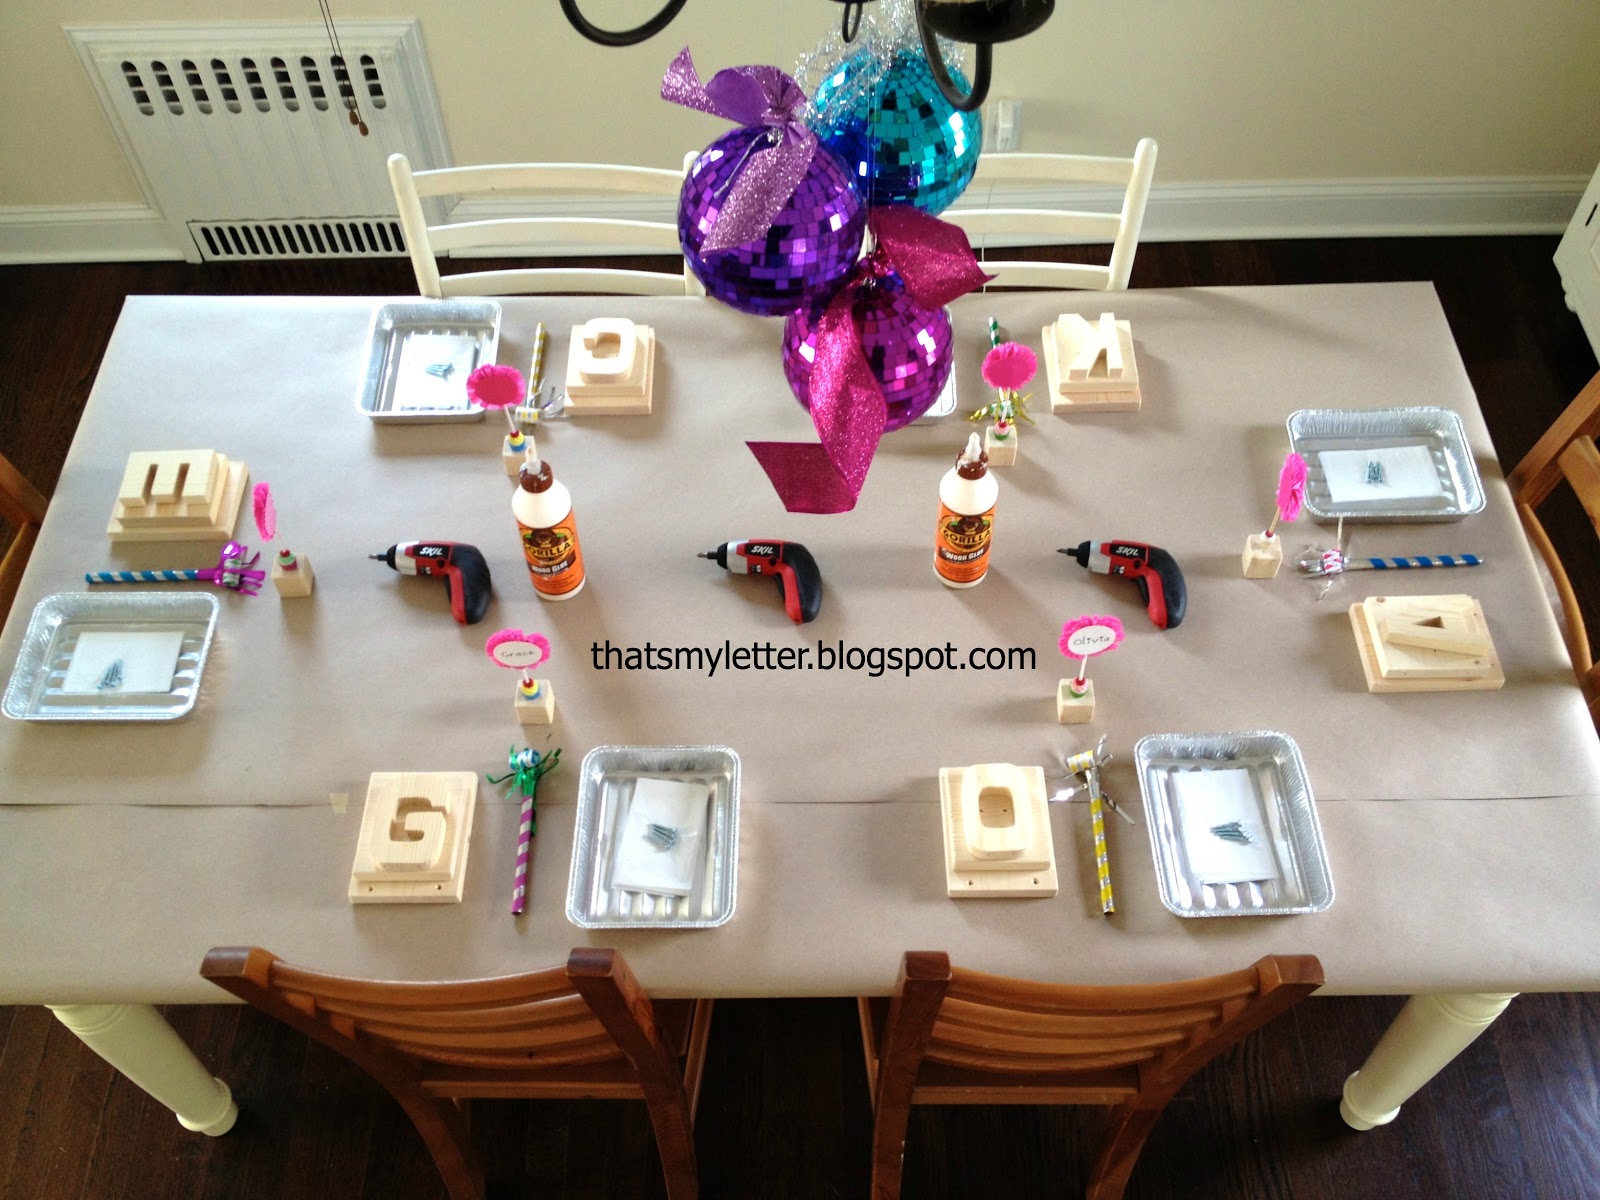
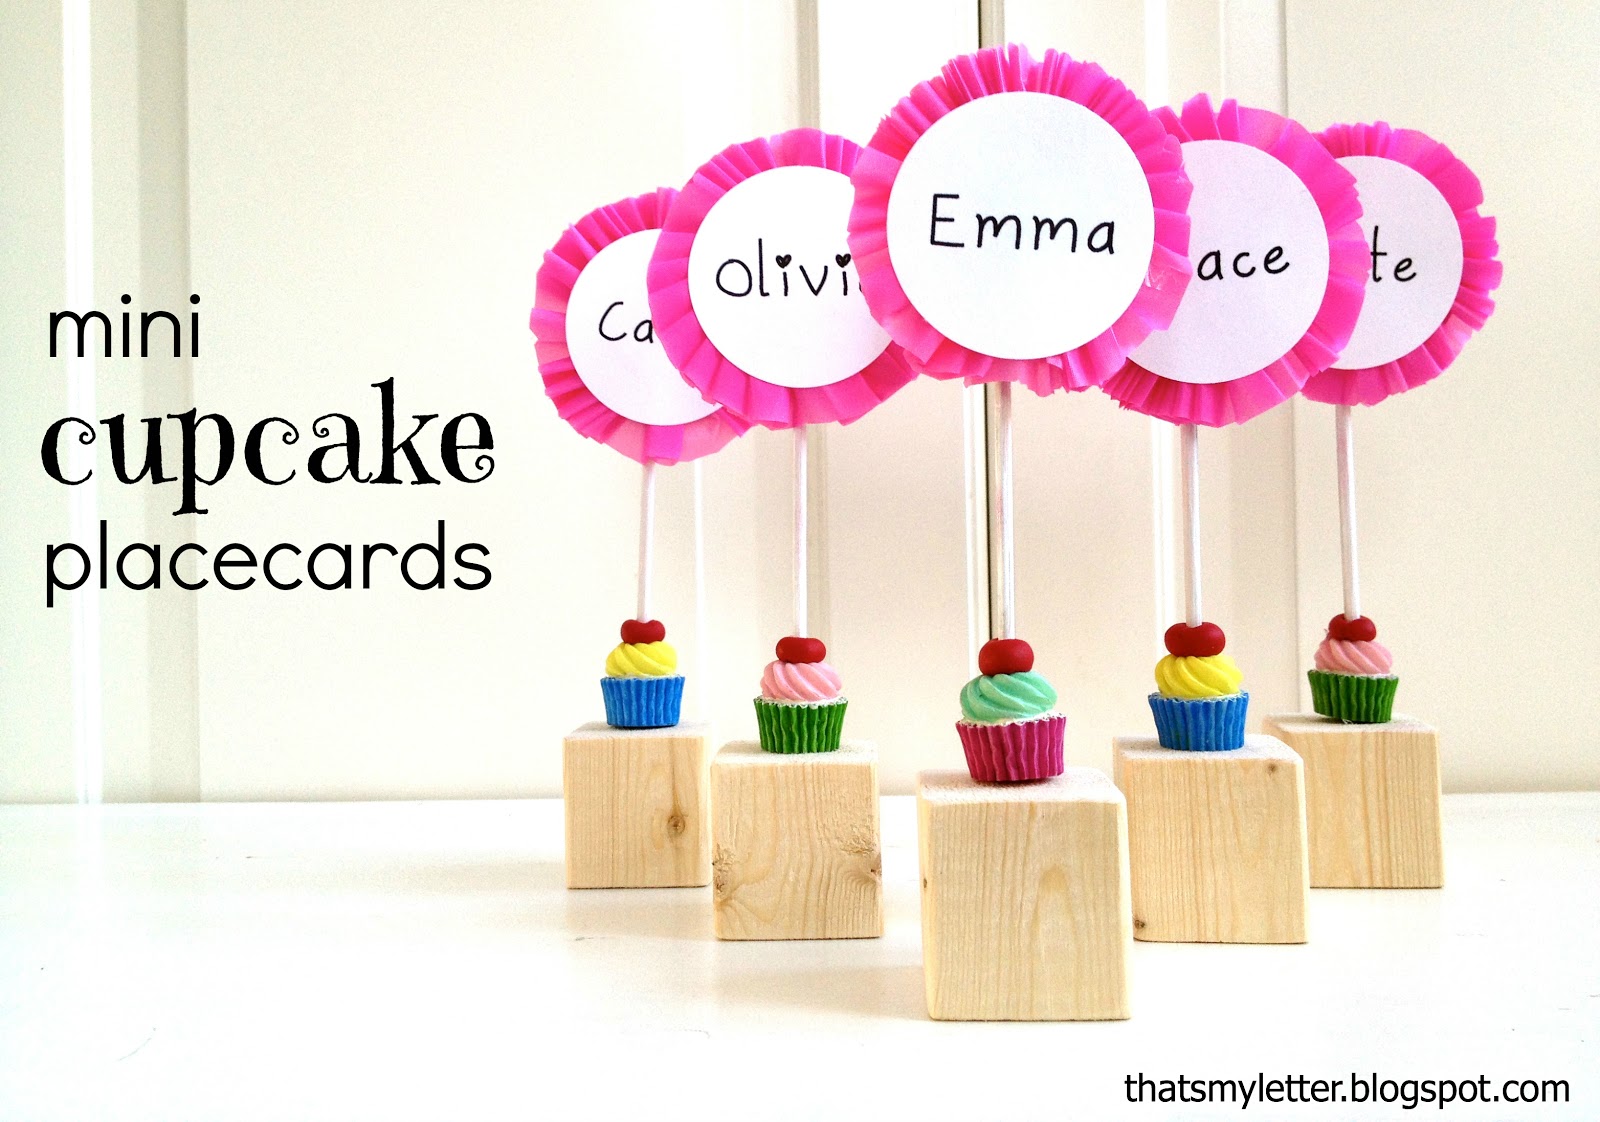
Each guest had her own place setting including precut and predrilled wood pieces, party blower, cupcake placecard, foil paint tray, plastic apron and 4 – 1 1/4″ wood screws:
(I also added two paintbrushes for each girl not pictured.)

To see how I made the mini cupcake placecard holders click here.
I purchased these palm sized cordless drills which are the perfect size and weight for kids:
(I found the drills online here.)

These girls were 7 and 8 years old and could handle the drill fine:

I did look for tiny 4 oz. size wood glue bottles which would’ve been perfect for each girl to have their own but I was not successful. So we shared two larger bottles of glue amongst the table:

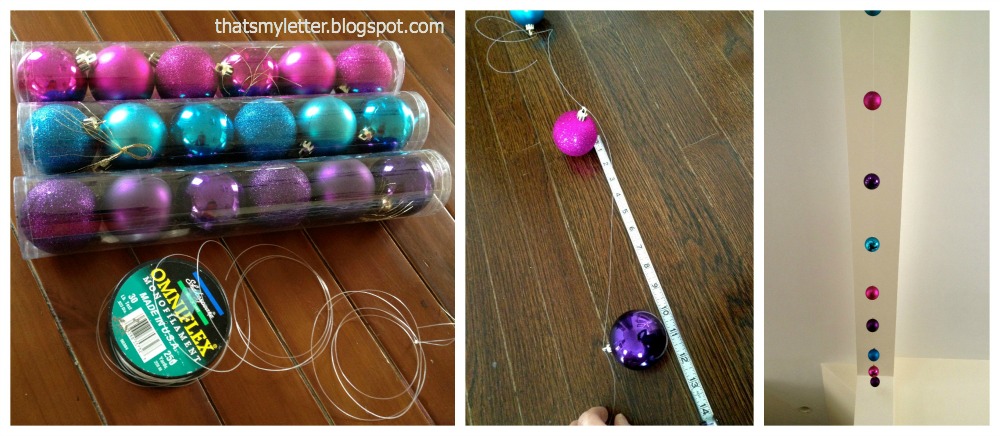
We added some simple decorations with the giant ‘disco’ balls above the table and also strung matching shiny ball ornaments above the archway:

Emma helped me make the garland one day while she was home sick from school.
Simply string the ornaments onto clear monofilament, tie a knot about every 10″ and hang with small clear command hooks:
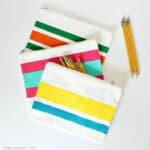
The treat bags fit perfectly on our artwork ledges:

Inside each bag was a boxy pencil pouch and cupcake paper pad:

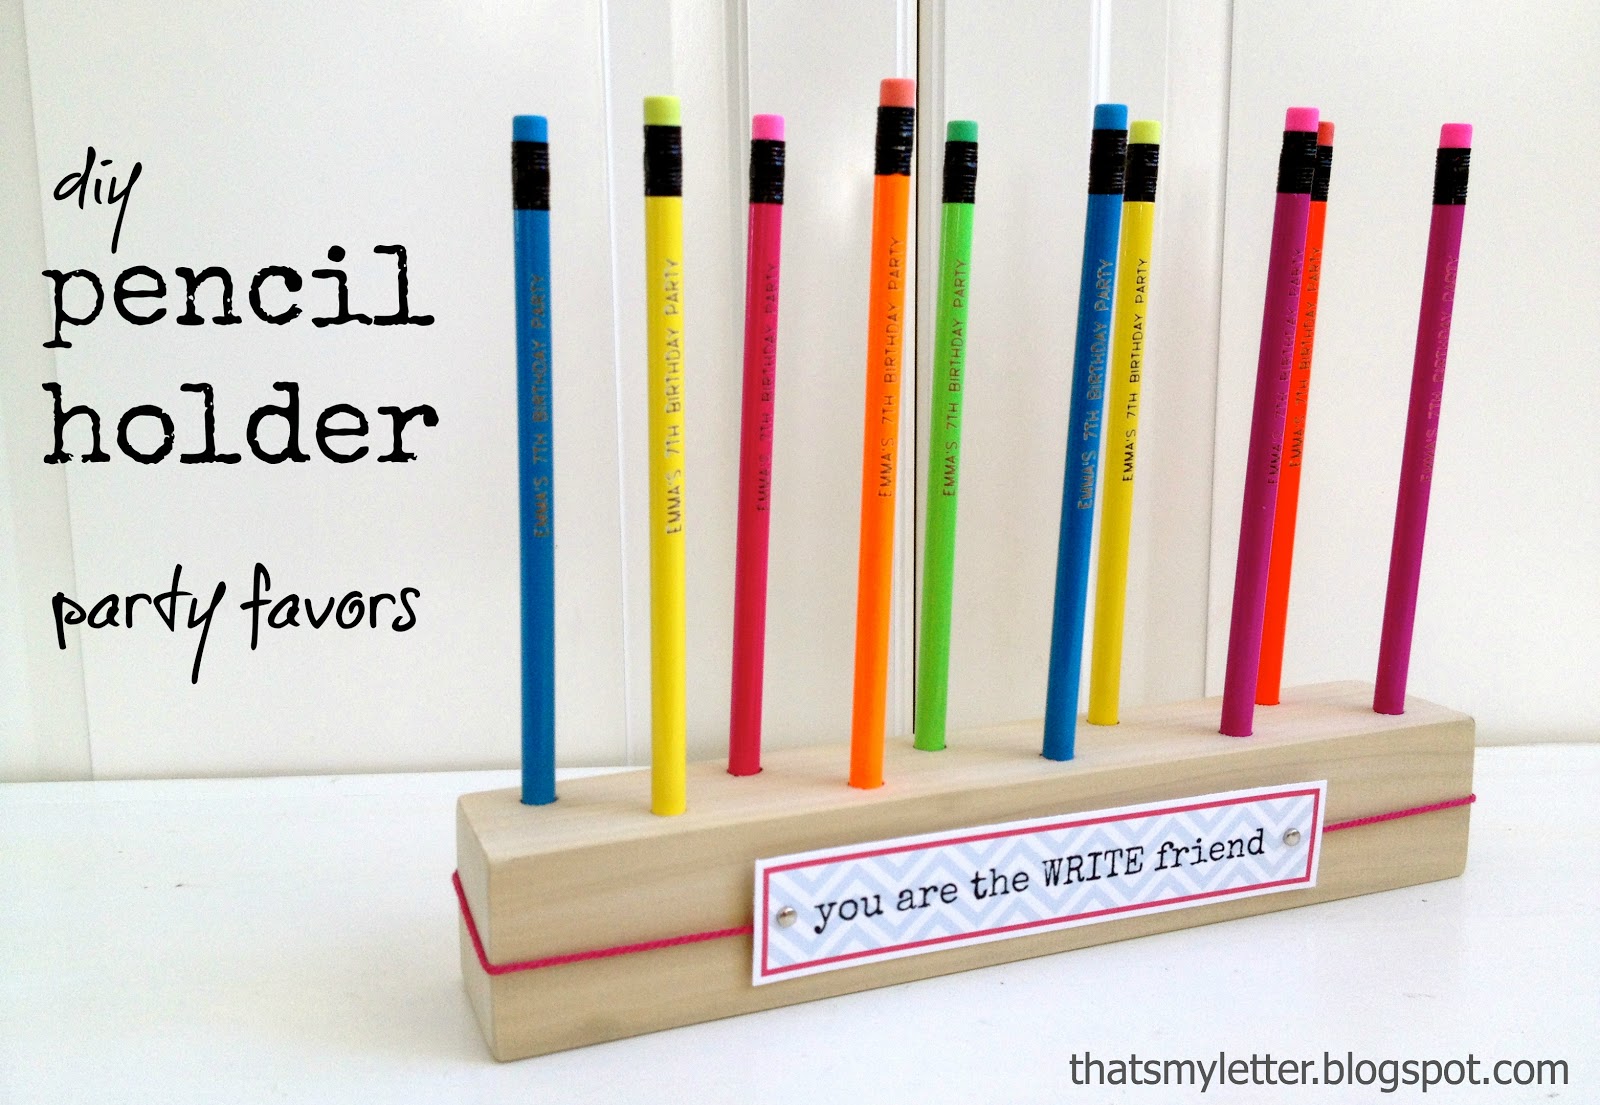
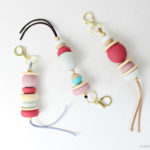
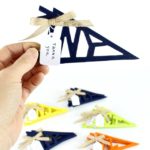
And we set up the pencil holder favors near the snacks:


Each guest received a pencil holder:
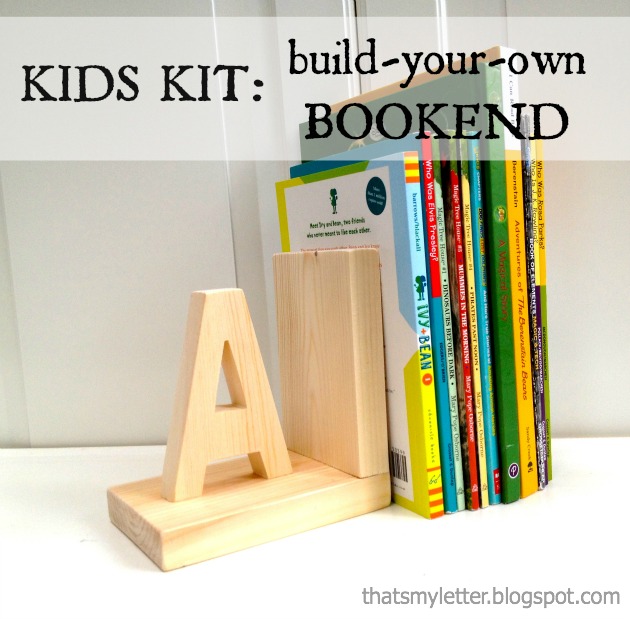
The girls got busy constructing their build it project: bookends.
I shared the full tutorial over at Pretty Handy Girl here.
Here they are painting their projects:

I prepared multiple colors of acrylic paint in small plastic deli containers so all I had to do was remove the lids and we were ready to paint:

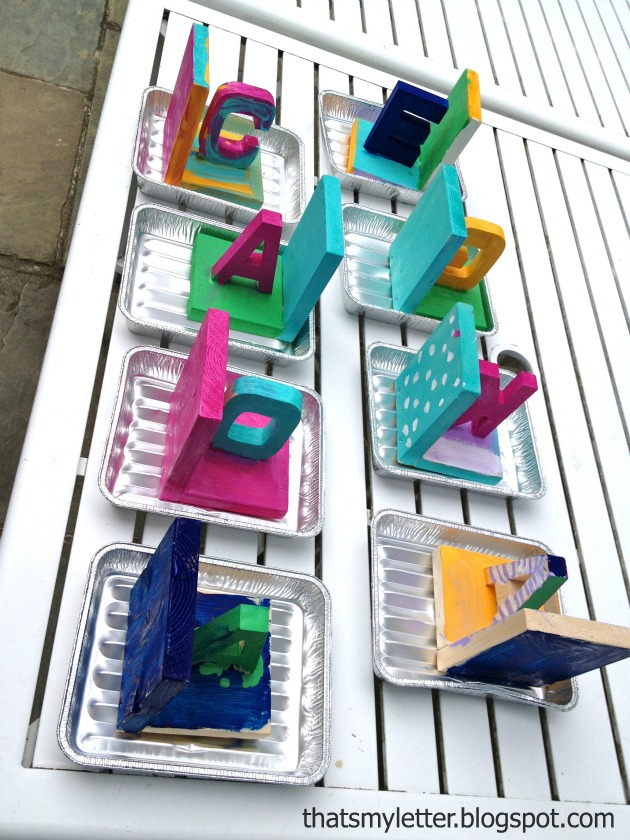
Each guest put their painted project on the foil tray and we placed them outside to dry.
The tray also made it easy to carry home as some projects had multiple layers of paint 🙂
The girls also made kool-aid playdough thanks to a great recipe from Desiree at The 36th Avenue:

1. I prepped all the ingredients in separate bowls ahead of time.
2. The girls picked their kool-aid flavor and added the packet to the bowl.
3. I added the hot water.
4. They stirred and kneaded.
5. Finally we packed the playdough in small plastic deli containers to take home and keep fresh.

Love this idea so much!!
What an awesome party! I wish my 4 girls were little again, I would have sooo done this for them! Great idea Jamie, I'm sure they had a blast!
susan
Oh, I wish my kids were little so I could do this. I did several craft themed parties for my daughter.
Can't wait to see what the girls created.
I wish I had known about a party like this when my sons were young! I love that it's both boy and girl friendly 🙂 Looking forward to seeing what they made!
You are such a cool mom!
Wow I want to come to your girls party!! How cool is that.