• Home
  • Blog
  • About
  • Contact
    • Disclosure
    • Privacy Policy
  • SHOP
  • Widget area for main menu

    • Email
    • Facebook
    • Instagram
    • Pinterest
    • Twitter
    • YouTube
  • Skip to primary navigation
  • Skip to main content
  • Skip to primary sidebar

Jaime Costiglio

build - paint - sew

  • BUILD
    • BEDS
    • BENCHES
    • DESKS
    • DRESSERS
    • GAMES & TOYS
    • SCRAP WOOD
    • SHELVES
    • STORAGE
    • TABLES
  • TOOLS
  • PAINT
    • CRAFTS
    • FURNITURE
    • HOME DECOR
  • SEW
    • GIFTS
    • HOME DECOR
    • POUCHES
  • HANDBUILT HOLIDAY
    • 2021
    • 2019
    • 2018
    • 2017
    • 2016
    • 2015
    • 2014
    • 2013
  • GIFTS
    • BABIES
    • KIDS
    • FOR HER
    • FOR HIM
    • TEACHERS
    • WEDDINGS
  • SEASONAL
    • 4TH OF JULY
    • FALL
    • HALLOWEEN
    • CHRISTMAS
    • SUMMER
    • SPRING
    • ST. PATRICK’S DAY
    • THANKSGIVING
    • VALENTINE’S DAY
    • WINTER
  • SALTBOX PROJECT
    • BATHROOMS
    • DINING ROOM
    • EXTERIOR
    • FAMILY ROOM
    • FOYER / MUDROOM
    • KIDS BEDROOMS
    • KITCHEN
    • LIVING ROOM
    • MASTER BEDROOM
    • PLAYROOM
  • SCROLL SAW

“B” is for Blingy Letter Pouch

March 6, 2013

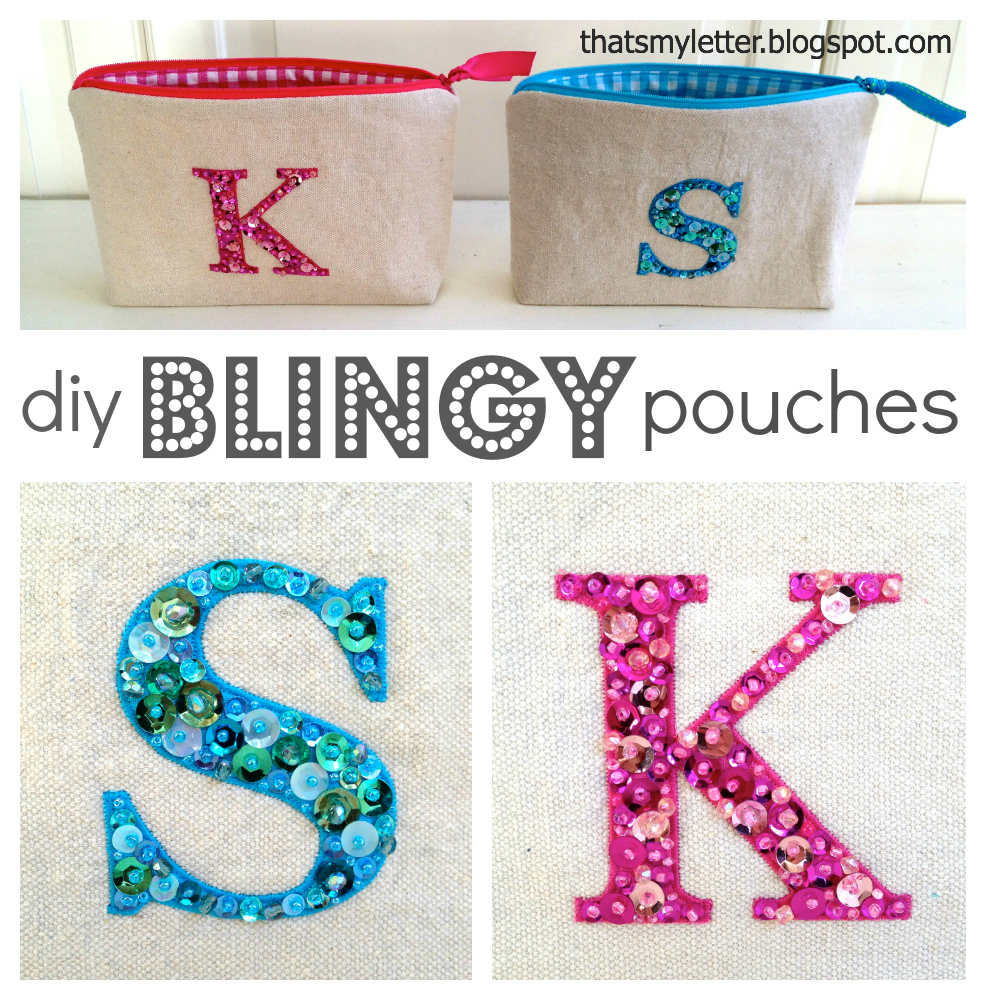
Sew: blingy sequined pouch


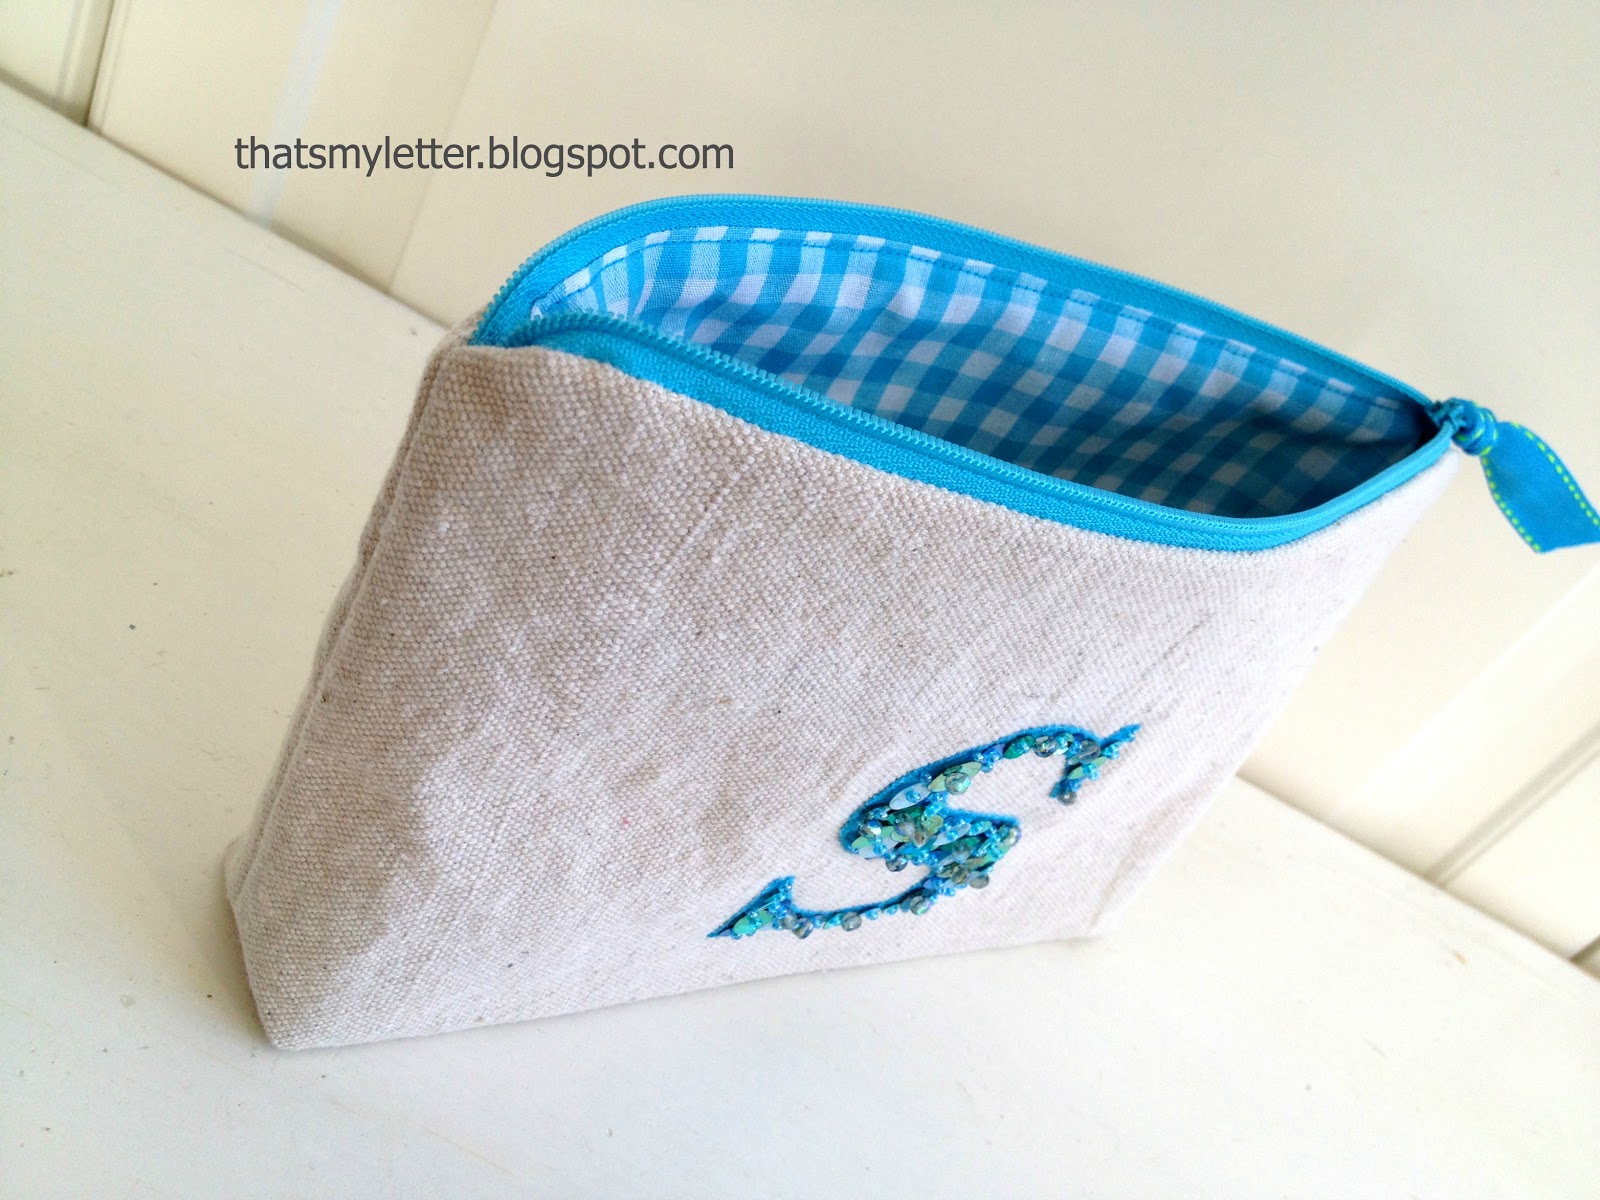
I amped up the bling by sewing multiple sized sequins and beads onto a single letter in a coverall fashion and then making it into a zippered pouch:

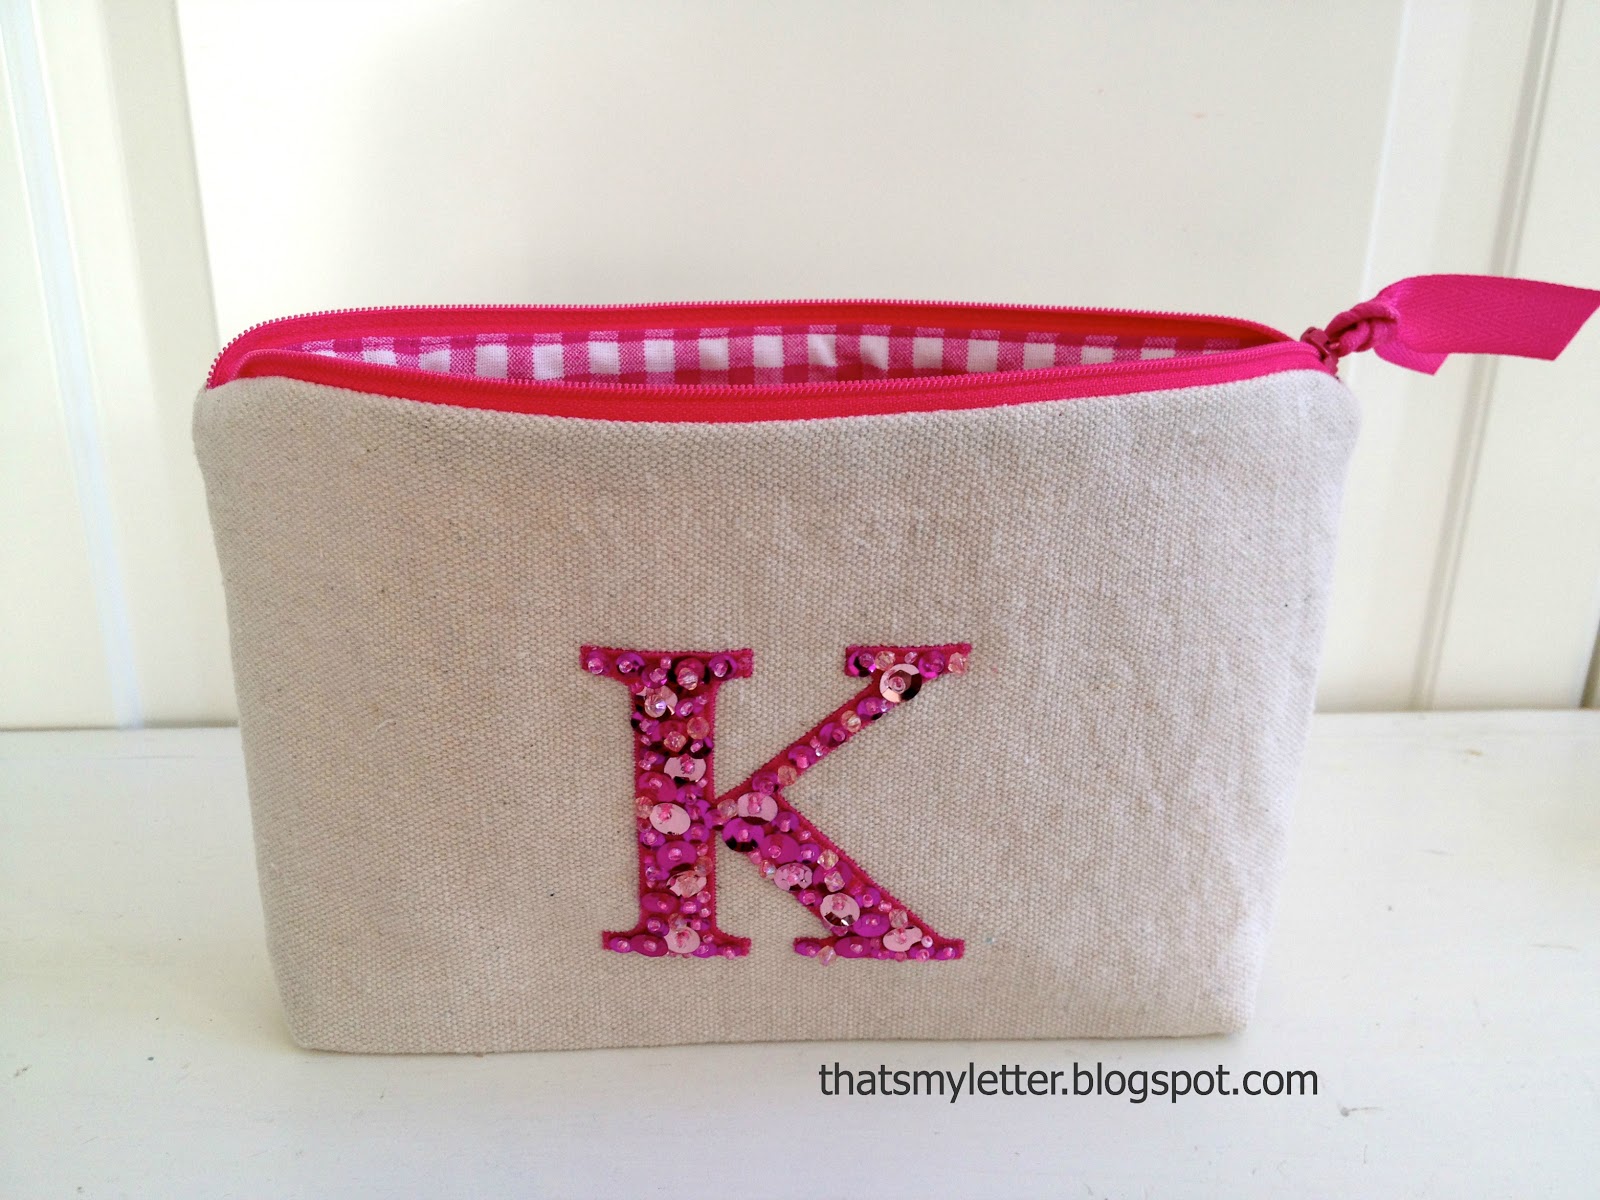
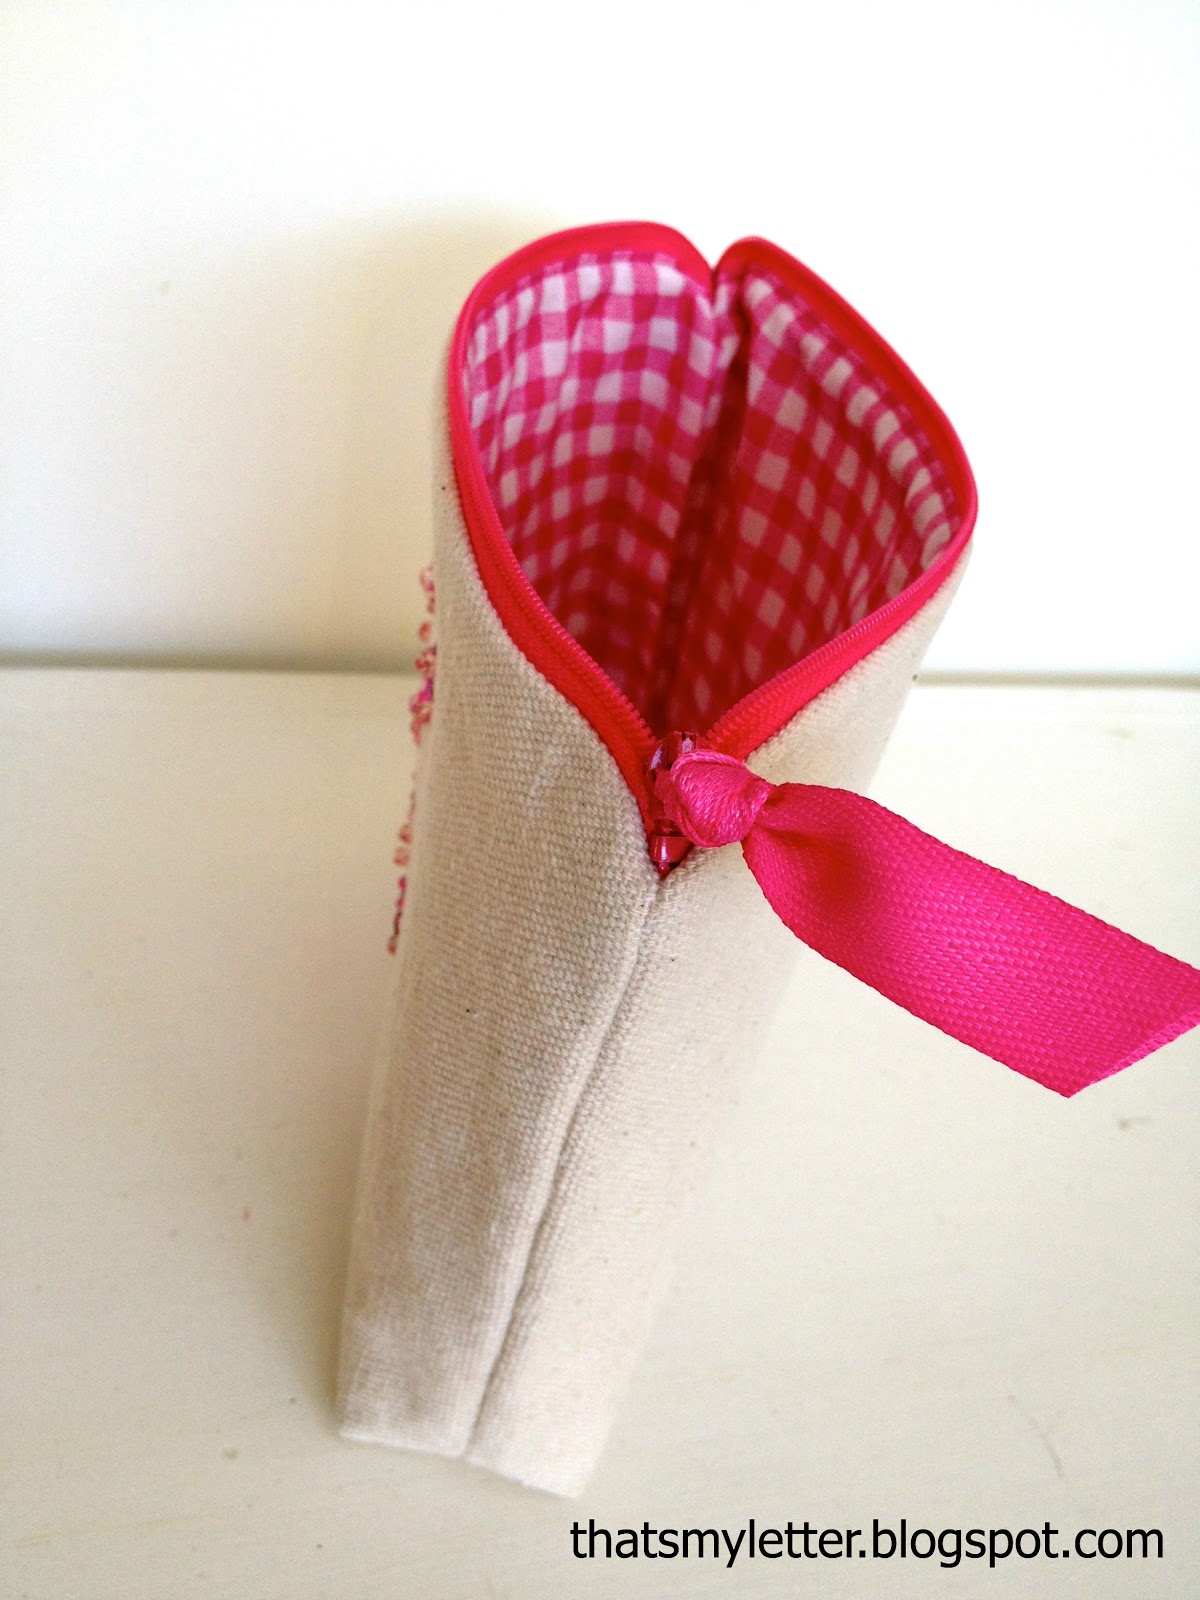
The exterior is drop cloth canvas with a coordinating gingham lining:

I probably could’ve placed the letter a tiny bit higher on the pouch – next time:

Here’s how to make the blingy sequined pouch:


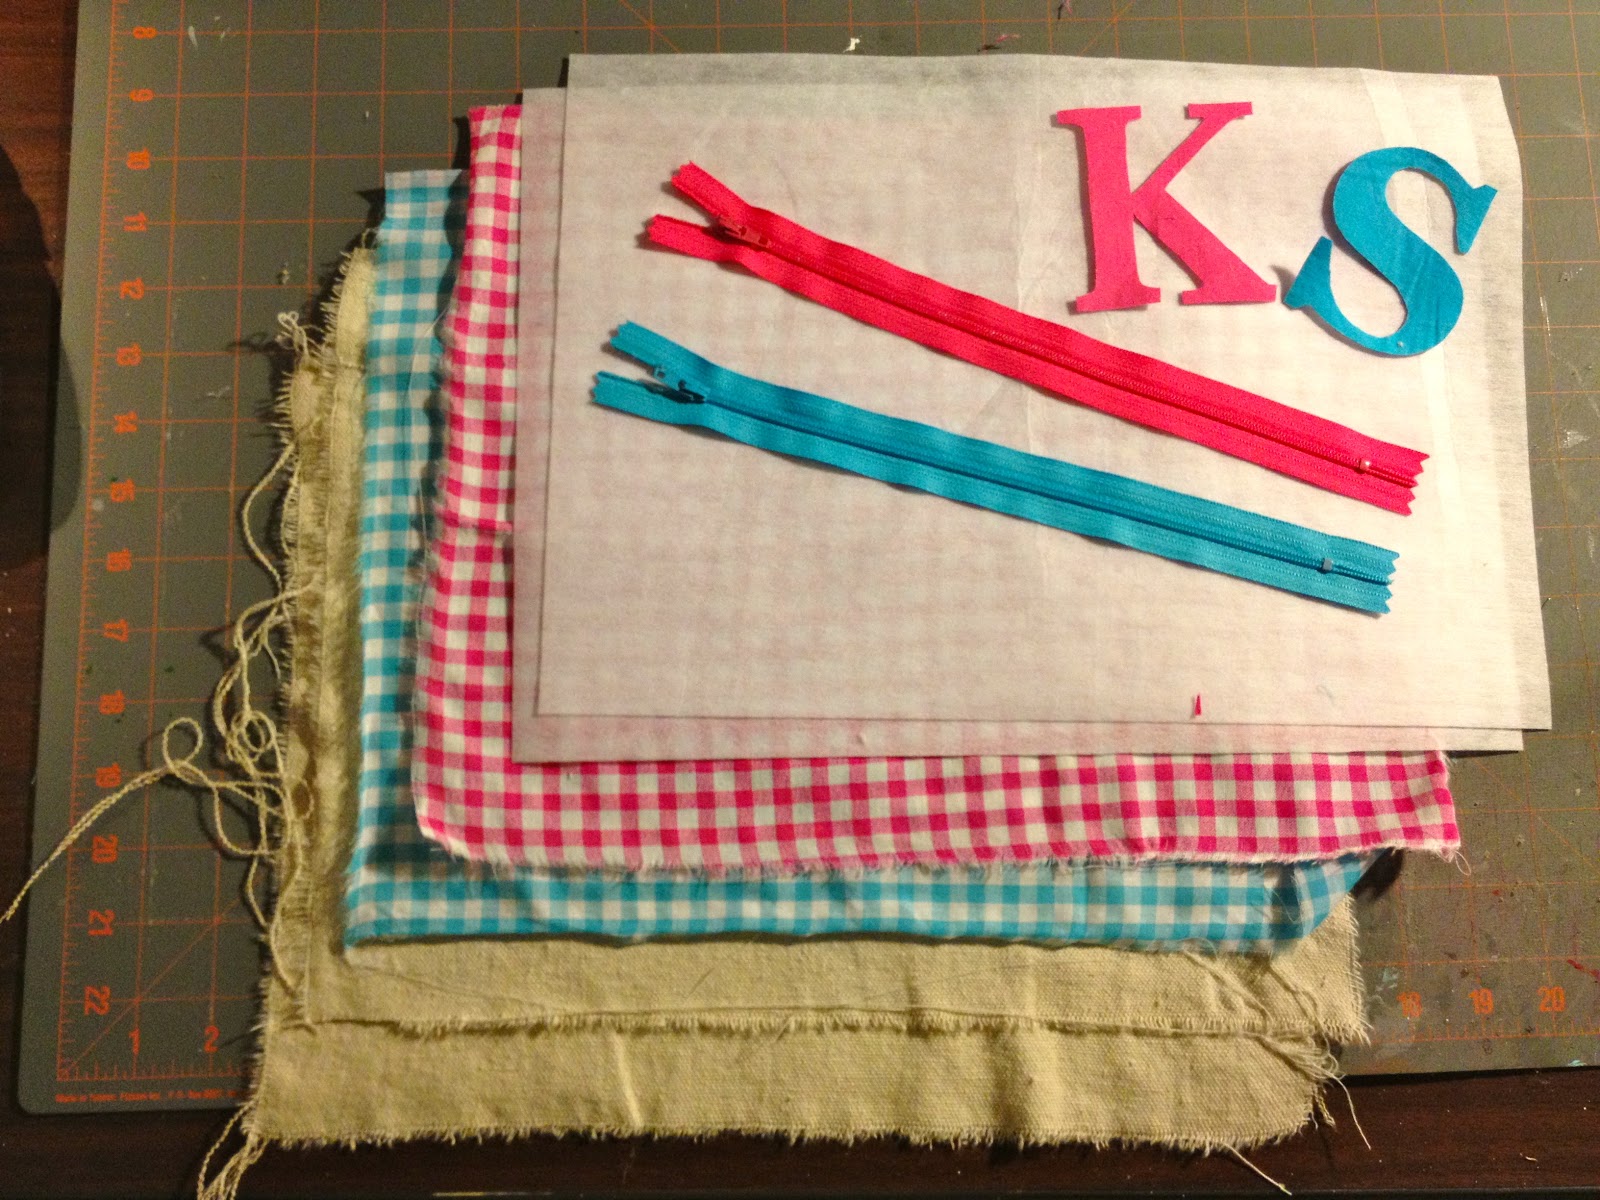
1. Supplies (for one pouch):

1 – drop cloth exterior 11″ x 14″
1 – gingham cotton lining 11″ x 14″
1 – med. weight fusible interfacing 11″ x 14″
1 – 10″ zipper
1 – fabric letter (I used Georgia font at 300 point – full tutorial here)

2. Apply interfacing to wrong side of drop cloth.
Center and pin letter to front half:

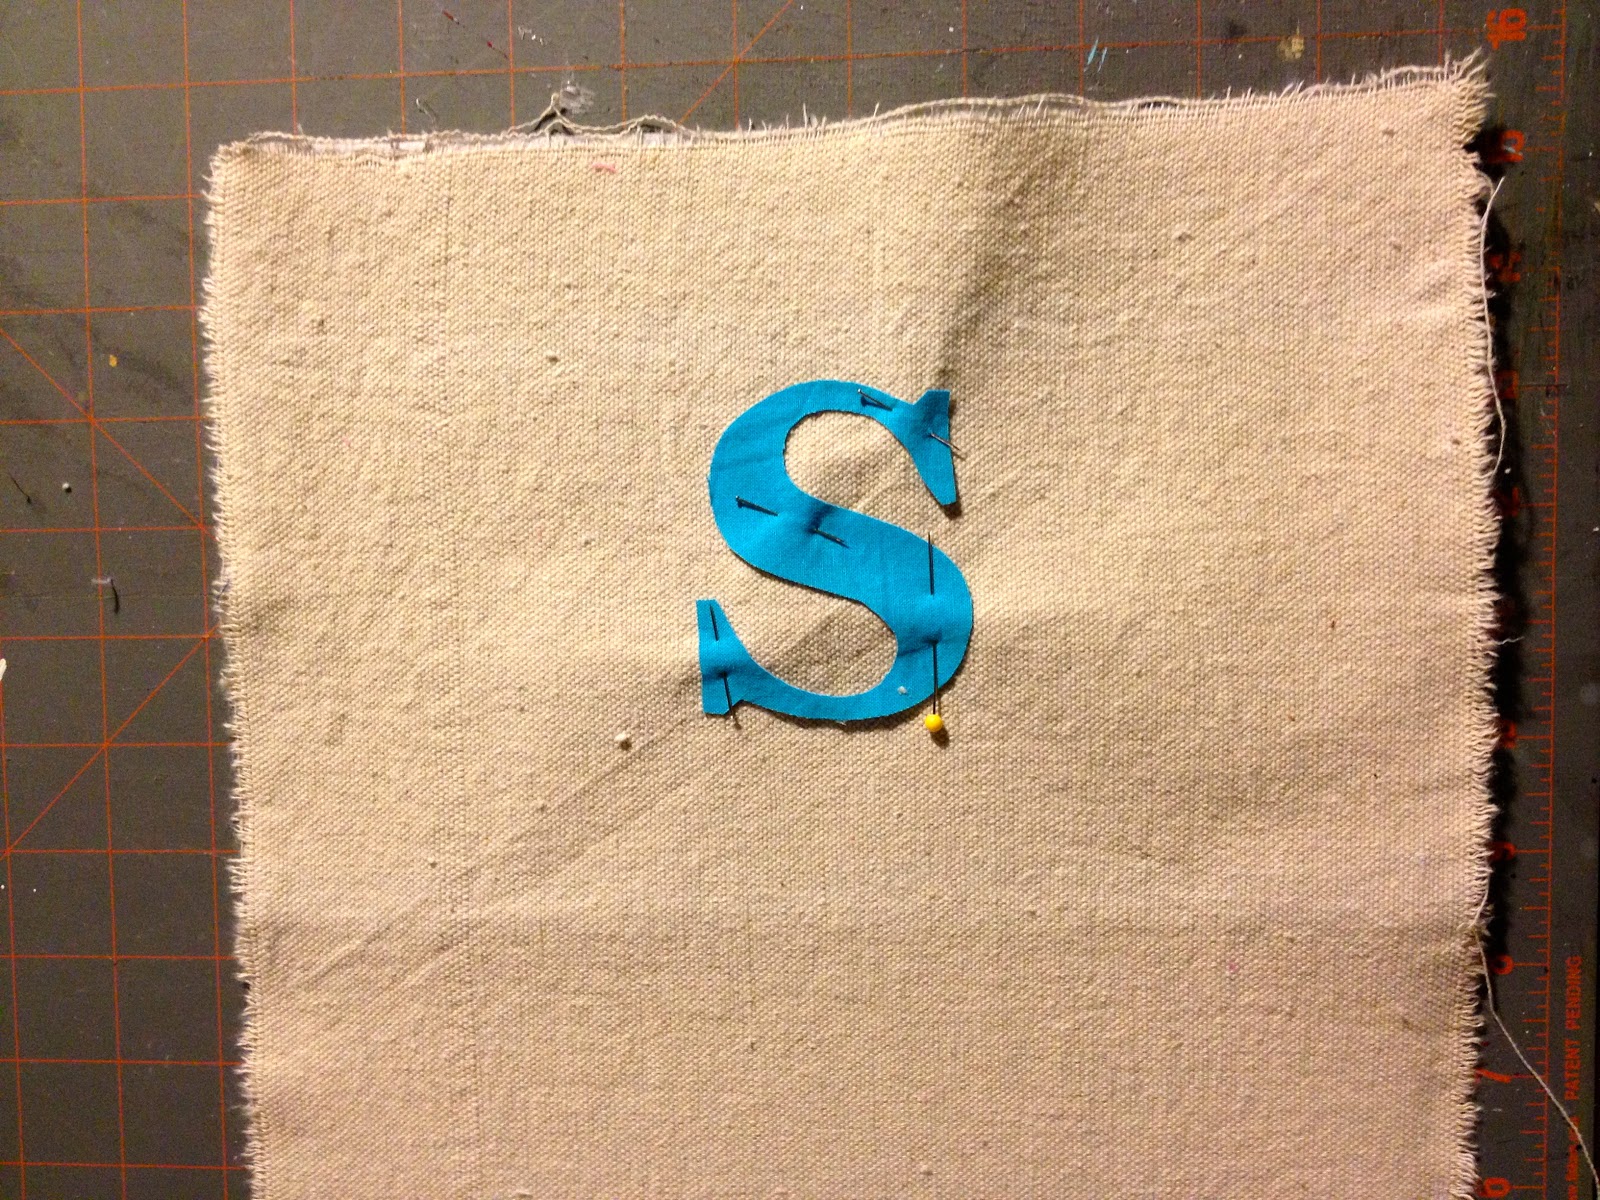
3. Zig zag stitch around edge, tight and narrow.

4. Sew multiple sized sequins and beads to cover entire letter:

 5. Now sew in zipper and lining following my tutorial here.

You may also like...

  • DIY Simple Personalized PillowsDIY Simple Personalized Pillows
  • DIY Embellished Monogram PouchDIY Embellished Monogram Pouch
  • “P” is for Painted Zipper Pouch“P” is for Painted Zipper Pouch
  • DIY Personalized Fabric BuntingDIY Personalized Fabric Bunting
Share this post:

Filed Under: DIY, FOR HER, FOR HIM, GIFTS, GIFTS, KIDS, POUCHES, SEW, SEWING3 Comments

Reader Interactions

Comments

  1. Samantha says

    March 6, 2013 at 10:39 PM

    I LOVE these! Would you consider doing a custom order for 5 of them?

    Reply
  2. Bonny Yokeley says

    March 7, 2013 at 9:56 PM

    These are so cute. I'm pinning for when I'm feeling brave enough to sew zippers.

    Reply
  3. Inspire Me Heather says

    March 8, 2013 at 2:05 PM

    So cute! I just love the monograms the way you've done that and they go so well with the gingham inside – just beautiful!

    Reply

Leave a Reply Cancel reply

Your email address will not be published. Required fields are marked *

Primary Sidebar

Hi! I’m Jaime

Jaime Costiglio

Hello!

Thank you for stopping by.
Join me for lots of DIY.

Read more

Get new posts via email

Handbuilt Holiday: Gift Project Plans

handbuilt holiday gift project plans

Collection of DIY gift project plans to build.

The Home Depot Tool Prospective

THD Prospective

Tools to consider for the DIYer.

Archives

The Home Depot Logo
Copyright © 2022 Jaime Costiglio · Custom site by Moonsteam Design

Privacy Policy