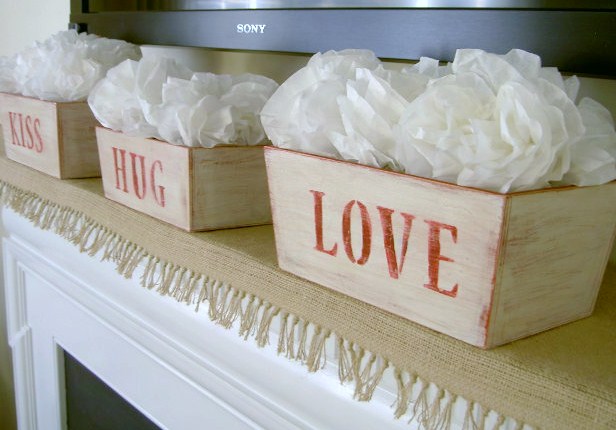
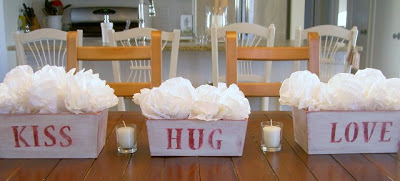
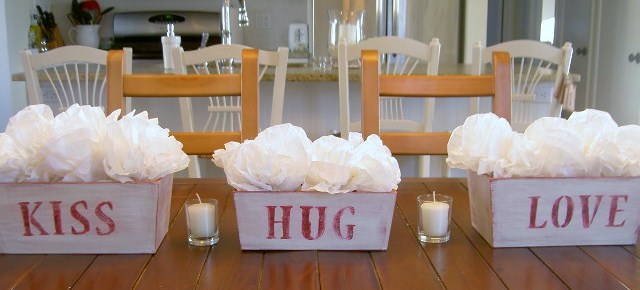
Kiss, Hug and Love
(Or a continuation from yesterday’s post on bins.)
(Or a continuation from yesterday’s post on bins.)
Simple Valentine’s decorations.

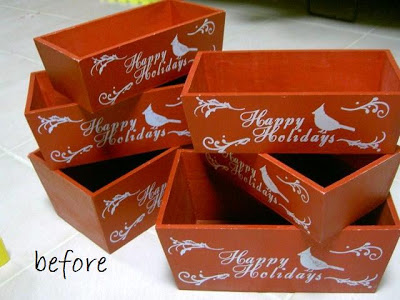
The before:


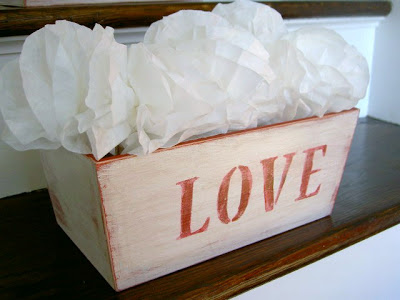


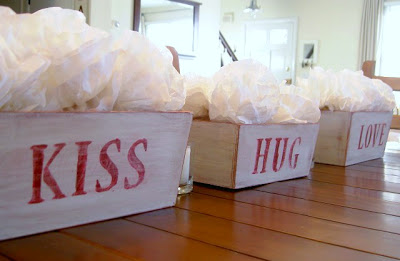

And the after:

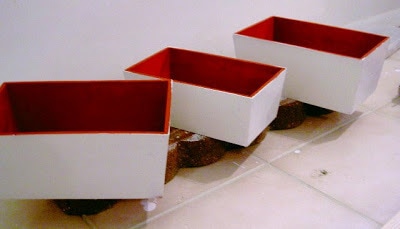
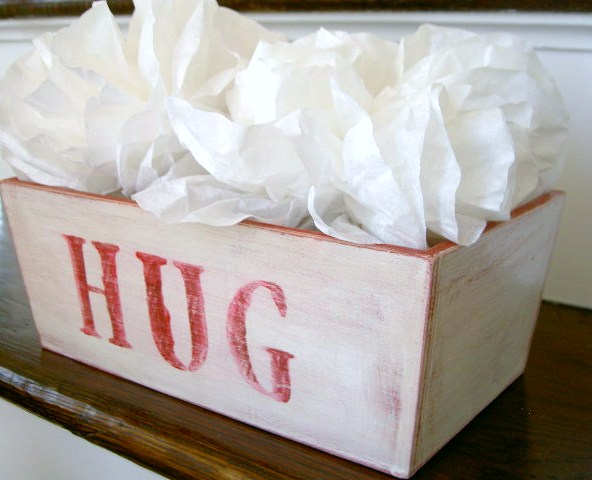
I painted one thick coat of Behr Off White satin finish:

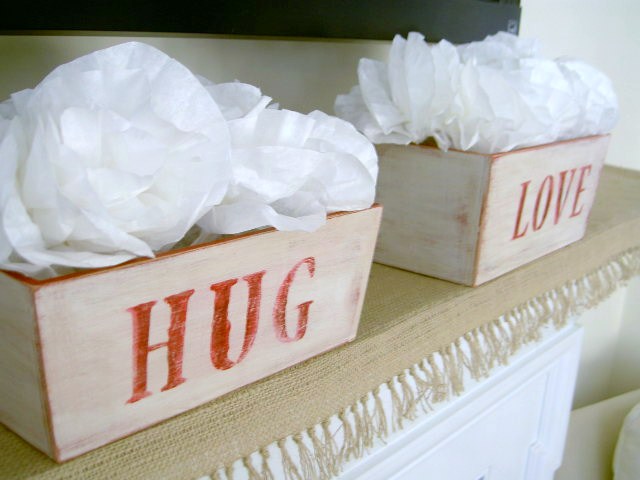
Painted the words on using stencils, first red paint then brown. Sanded with 120 grit, applied Minwax special walnut and sealed with clear satin poly.

For the ‘flowers’, I know they look nothing like any real flowers but they sure are pretty.
Here’s how I made the flowers:
(Martha also has a good tutorial here.)
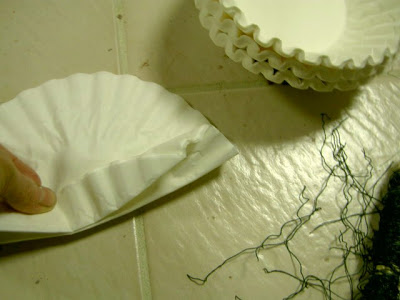
Stack 6 coffee filters
Flatten and start folding back and forth like a fan.


Add some wire in the middle to hold the folds.
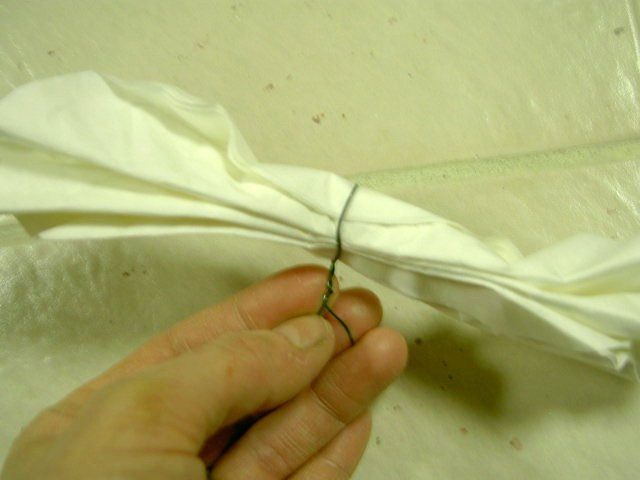
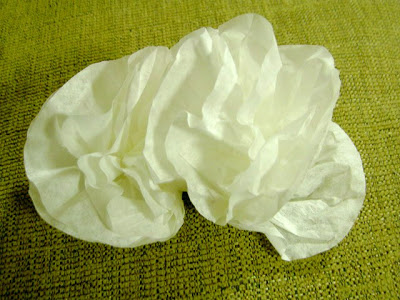
Pull up each layer of filter towards the middle, alternating sides.
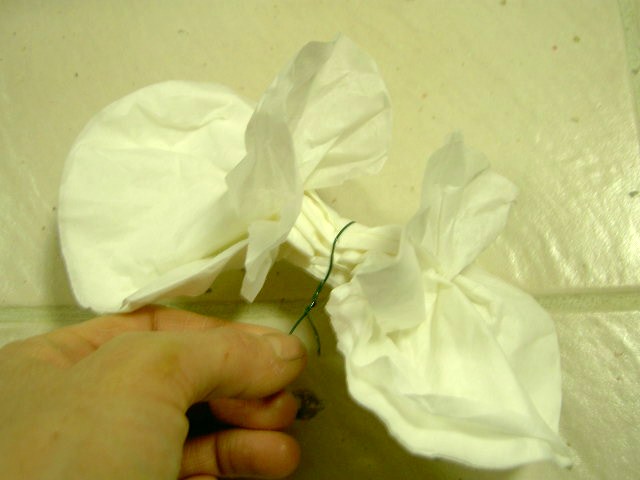
And you have a ‘flower’.

In total I made 14 flowers, super fast and easy touch.


I’m linking to:


![]()


Those are ADORABLE! Featured you on my blog today .. Check it out!
http://www.thepaintedcottageonline.blogspot.com
-Lauren
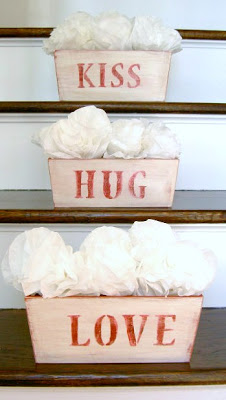
So cute! I love them on the stairs.
Very cute. Where did you get the wood boxes? laura
ps I'm a new follower.. would love a return visit.. have a great week, laura
great use of Christmas clearance! i love that!
Just dropping by to let you know that I linked to this post in a round up today from the Home & Garden channel at Craft Gossip. 🙂 You can see the feature here
http://homeandgarden.craftgossip.com/9-crafty-valentine-ideas/
If you would like a "featured by" button, you can grab one here!
http://homeandgarden.craftgossip.com/grab-a-craft-gossip-button/
Hello! I found you through Making the World Cuter. Your bins are so great! I'm your newest follower!
🙂
Kelly
That's great! If you have not been by yet, make sure you enter my linky contest! The best of January 2011 will be showered with prizes! I also have some great Valentines giveaways going on right now!
http://www.thesaturdaymorningsblog.com/2011/01/strut-your-stuff-link-up-party.html
Great idea and great reuse of those boxes. You could also fill the top one with Hershey's kisses!
Too cute! You did a great job on those boxes!
These are too cute! I love that you kept the inside red too!
Those boxes are Super Cute!!
super cute – I agree with Beth – love them on the stairs, they are super cute on the table as well! Found you though the CSI link 🙂
jenn (greendoordesigns.blogspot.com)
I love how fun and simple these bins are…adorable. Thanks for the tutorial on how to make the flowers too!
Love! Great idea, posted about it @ http://www.UglythenPretty.com
What a beautiful job!! I want to cast my vote for your project in the vday challenge over at Less-Than-Perfect Life of Bliss.
Good luck!