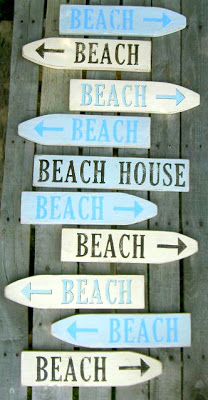
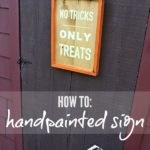
Handpainted beach signs.

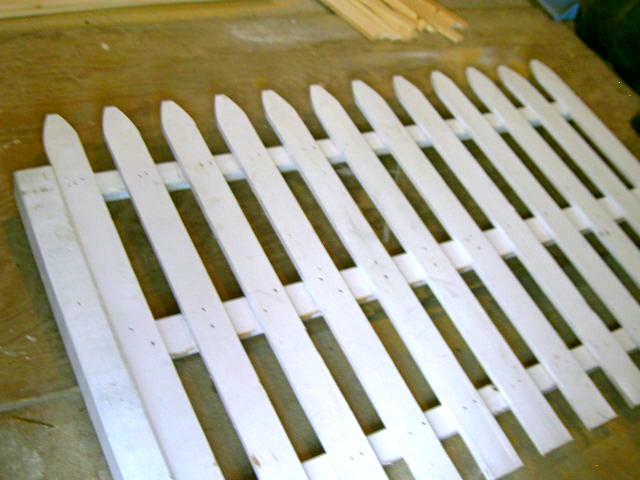
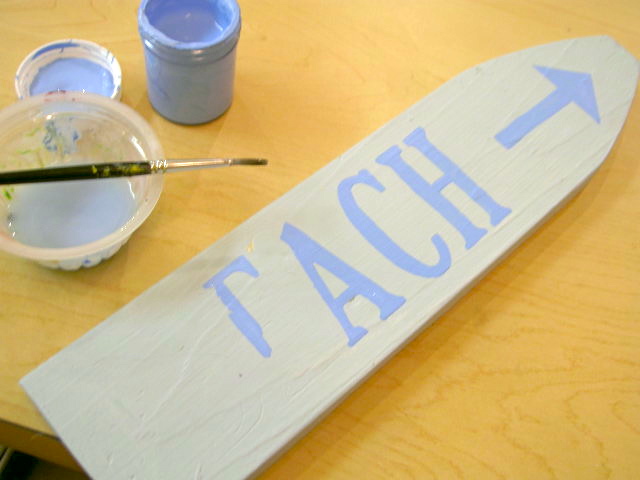
What once was this:
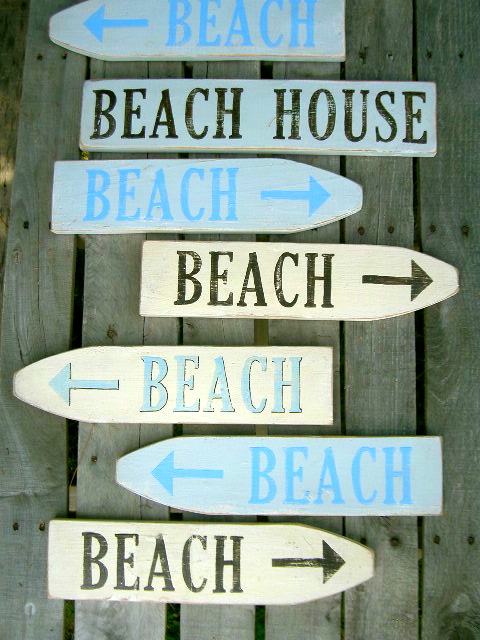
Is now this:

Here’s how I made them:
1. Find your fence piece.
(Another great find while out running early on bulk trash day!
And there was 2 of them, now I’m kicking myself for not taking both.)
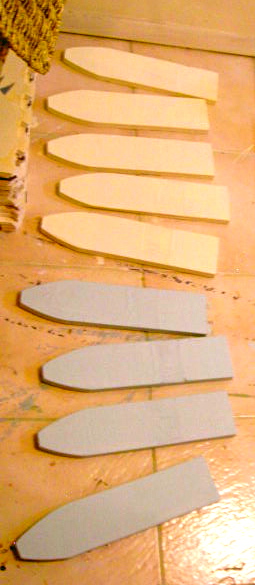
2. Disassemble and cut your pointy pieces to size.
3. Paint background color, I used two coats.
Creamy color is BM sugar cookie.
Blue is MS rainwater.
4. Print out letters off computer.
Line up and trace letters using a ballpoint pen to create slight indent in wood.
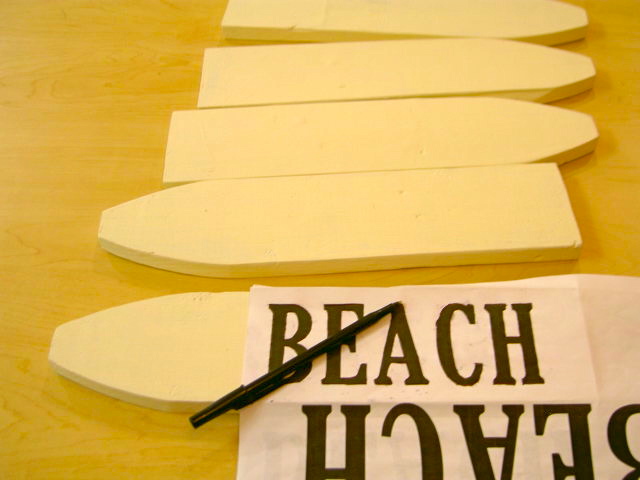
5. Paint inside the indented line.
6. Sand to distress.
Seal with exterior grade satin poly.

Which way is your beach?
Yes these are going to the fair along with the Sea & Sand signs.
I’m linking up to:
Delightfully Inspiring @ Delightful Order
Transformation Thursday @ The Shabby Creek Cottage
Strut Your Stuff @ Somewhat Simple
Share Awesomeness Thur @ The 36th Avenue
Good Life @ A Beach Cottage
Flaunt it Friday @ Chic on a Shoestring
Tickled Pink @ 504 Main
Frugal Friday @ The Shabby Nest
SAS @ Just a Girl
Feathered Nest @ French Country Cottage
Remodelaholics Anonymous @ Remodelaholic
Whatcha Got Weekend @ Lolly Jane
SAS @ Funky Junk
Lovely Crafty Weekend @ Lovely Crafty Home
Weekend Wrap Up @ Tatertots & Jello
Sundae Scoop @ I Heart Naptime
Sister Sunday @ Sisters of the Wild West
Sunday Showcase Party @ Under the Table & Dreaming
Just Something I Whipped Up @ The Girl Creative
DIY Project Parade @ The DIY Showoff
Made by You Mondays @ Skip to My Lou
Making the World Cuter @ Making the World Cuter
Nifty Thrifty @ Coastal Charm
Tuesday Treasures @ My Uncommon Slice of Suburbia
Tutorials & Tips Tuesday @ Home Stories A to Z
Such a creative idea! I love your beach signs!
OK love your blog…just found you on thrify decor chick and I'm now a follower! I love your secretary make-over! I just purchased an old pine desk off craigslist and can't wait to make it over with white paint. Thanks for the tip about steel wool to clean the hardware, I will definitely be trying that!
sweetmagnoliastyle.blogspot.com
Genius…and beautiful…great job, Jaime!!!!
I Love these! Thanks for showing us how to do this!!
Nancy
coeurdalenegifts.blogspot.com
These are so cute…just love 'em.
So cute~and nearly free! How cool is that?
The signs look awesome as a group!!!
Which way do I go, which way do I go??? They look awesome Jaime even if you are lost…
Oh I LOVE them and your blog! You're very talented.
Glad to have found you through A Beach Cottage's Good Life Wed.
Hope you're having a beachy week. :O)
What a great idea! VERY cute!
Love these! Now I'm in the mood to go to the beach! =)
Jeanine
Once again, you made my day, Jaime! I just so happen to have some picket fences in my barn…..! 🙂 Beautiful job as usual, girl!
xoxo laurie
How awesome is that! Love, love, love it!
Very cute and Lovable…i am loving it…
Letters
Oooh, so fun. I love it. I wish I lived near a beach to use them! 🙂 I'd love for you to share this on my link party today! http://www.alittleknickknack.com Have a great weekend!
Super cute at as always Jaime! I hope you will come share this at my VIP party today. http://designergarden.blogspot.com/2011/08/vip-party-22.html
This is super cute! I have made signs over and over for parties, weddings, etc, but it never dawned on me to just pick up a fence piece! I am always hunting down boards. Genius! I would love for you to link up at my Savvy HomeMade blog party at HomeSavvyAtoZ.com on Monday! I am a new follower!
So wickedly awesome! Makes me miss my old Florida home….(Sigh) Following your blog now. I would love for you to show this off at my Wickedly Crafty Saturdays! http://wiccanmakesometoo.blogspot.com/2011/08/wickedly-crafty-saturdays-8611.html
What an awesome way to use an old fence, I never would've thought of that!
lovin this
would love it if you could share this post on my new link party, Serenity Saturday, over at http://www.serenityyou.blogspot.com
xxx
Great way to use an old fence!
My "beach" sign is an old piece of driftwood…probably a part of a thick picket fence…Found it on Honeymoon Island (Dunedin FL). Instead of painting the word "beach", I painted "WET" and have it pointing toward not only my pool, but the beach. It's a conversation starter…
Jane (artfully graced)