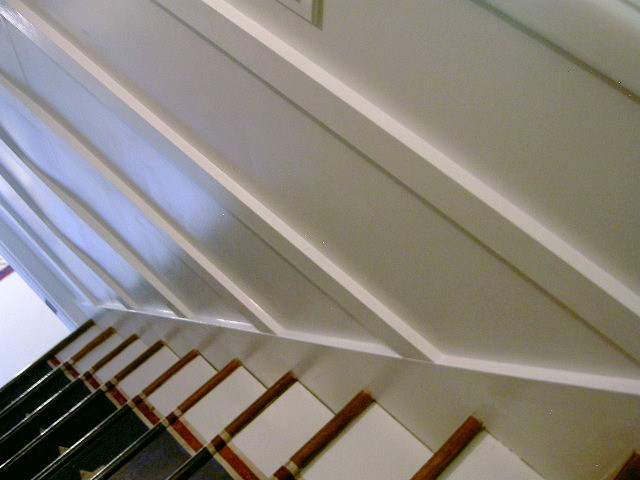
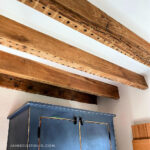
Board and batten (without the boards) on the basement stairwell.
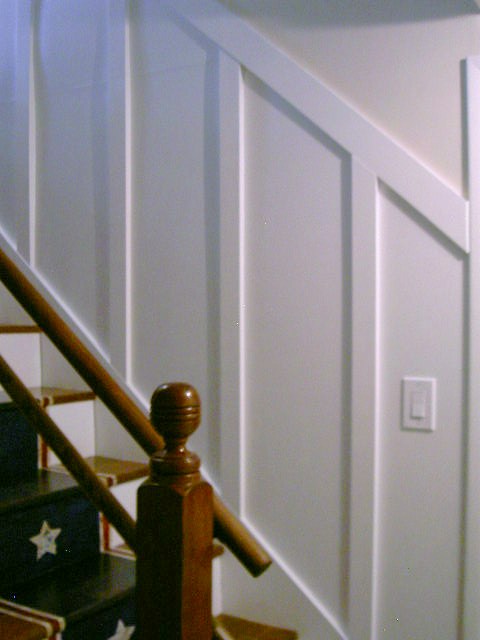
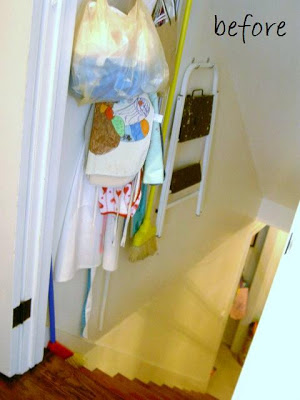
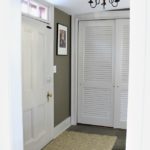
Previously this stairwell was an eyesore.
The door to the basement is right off the newly renovated kitchen and every time we opened the door all this ugliness was in plain sight.


Not any more!

This was my chance to try board and batten, I jumped on the bandwagon and freshen up the
neglected stairwell.
neglected stairwell.

There’s lots of tutorials out there on how to tackle this project but my favorite and most informative comes from Pink Toes and Power Tools. Click here for her multi-step, nitty gritty, extremely detailed posts and you’ll know everything you need to know about board and batten.
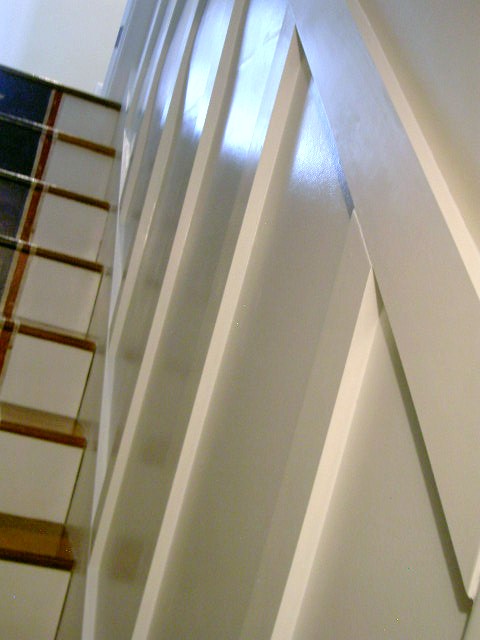
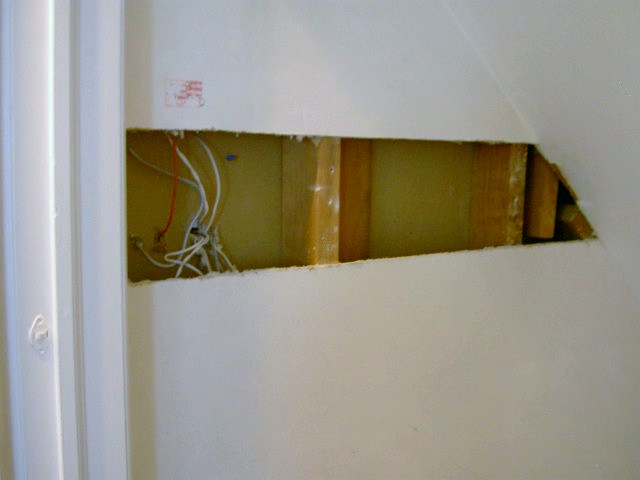
One problem I had that Pink Toes didn’t have, EXTREMELY WAVY WALLS! The house is 60 years old and settled so the bulge at the base of the first floor and top of basement is clearly evident here:
To combat this and work with the bulgy wall I planed down the back of the 1×3 almost 1/4″ and I adhered my boards with construction adhesive, wood screws and mollys:

It really only evident in certain lights and it was something I couldn’t change about the wall so I worked with it. After all the caulking and painting you really can’t tell.
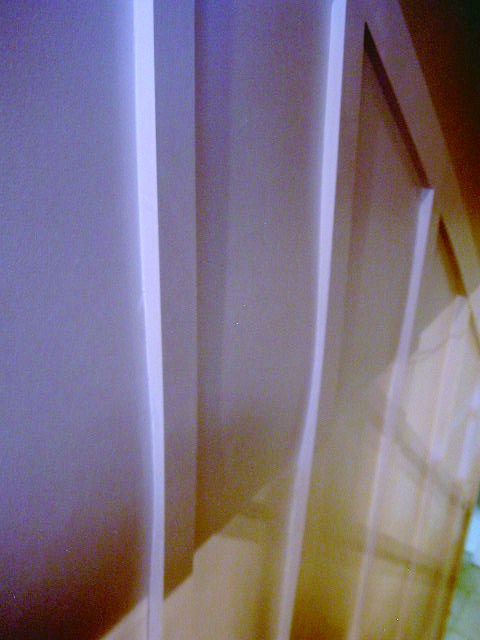
Here’s a few progress shots of the process:
1. Rip off old board with hooks, unfortunately chunks of drywall came off too:

2. Cut straight lines for drywall repair:
3. Patch with drywall and mud.
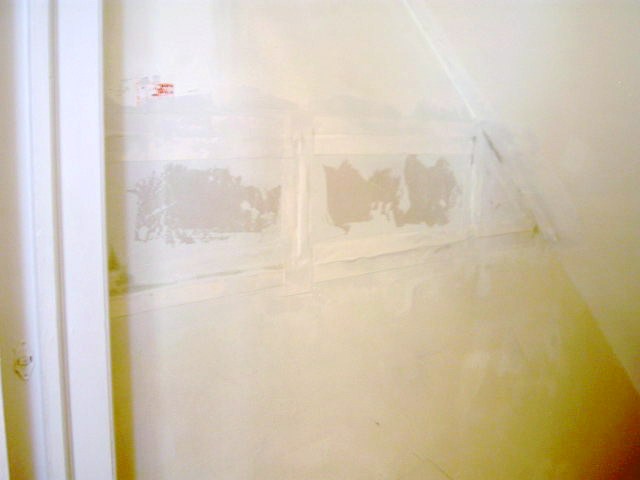
Sand, mud, sand, mud, until it’s smooth.
4. Paint.

The eyesore is gone and the stairs are complete.
If you’re curious about how I painted the faux runner on the stairs check the how-to here.
One last side by side:

That was worth it, now should I do it to the upstairs?
I’m linking up to:


I am so impressed by all the bloggers out there using their power tools! This looks beautiful. Your solution for your bulging wall is genius, can't tell at all! I would love to do this to my basement stairwell ~ already have a similar look in the basement between two built-in bookcases, so It I think it would look awesome ~ thanks for sharing!
:)Heidi
Awesome Job!! I love it! 🙂
AMAZING! Must have been a lot of work but I think it was well worth it!
Looks great !
PERFECT!!!!!!!!!!
You are working miracles with that stairway! The wall looks great, and the bulge hardly shows. Great work!
I can't believe the transformation in your stairwell! It's amazing! What a great solution to the bowed wall. Way to go!
I never would have known the walls were wavy gravy. Looks super.
Jaime, you just made my week with your nice comments–thank you so much!
I love, love, love your stairs, all of it–the paint and board & batten. Fantastic job conquering those wavy walls; I'm so glad I didn't encounter that 🙂
This is beautiful. I'm amazed that you could work with those wavy walls. Good work! (Do you just want to sit at the top and stare at it all day?)
A fabulous job you have done…just gorgeous. Sure, go ahead do the upstairs….but take a break and enjoy!
~Pam
pamspaintparlor.typepad.com
Love it, and the stair runner is so creative. We are currently working on our kitchen/family room b and b, and hope to move to the basement stairs soon. Thanks for sharing.
Uve done an awesome job, and i didnt even recognize the stair runner as faux unil i read it. It all looks great……..ur latest follower……..Bonnie
It is a perfect addition to those wonderful stairs!!!
I'm a new follower from the Tater tots Blog hop. I love your different posts, especially those cute pears. Thanks for posting how to do that one. I gave you the Versatile Blogger Award. I'm thinking you probably already received it. You can check it out here: http://www.meldreamsoften.com/2011/04/versatile-blogger-award.html
Looks amazing! You must be so happy! I hope to try this soon as well!
Stacey of Embracing Change
This came out SO great! don't you just love the crooked/bulging walls in older homes? you made it come out so nice. I'd love it if you'd link this up to our Wicked Awesome wed link party this week.
Hi! I came across your blog while browsing Knock Off Decor. Very inspiring posts! I'm in the process of renovating a very old home myself so I can wait to view your other renovation posts. Cheers!
Well, you may have had trouble with wavy walls, but I would never be able to tell. It looks great Jaime. Very impressive!
Jaime I can't believe how b&b transformed your stairwell. I've been dying to try it somewhere in my house and after seeing that this might have to be my next project! Thanks for sharing.
Hi, I found you via DIY Showoff. Your stairwell is really a showpiece now! We have a similar bulging wall issue (currently camouflaged by wallpaper), and we're going to have to address it with a different camouflaging solution someday. I like how you worked with it here.
Now this is a project that I'm going to try. I was just looking at the wallpaper in my stairwell and thought how shabby it looked (not in a good shabby way). Your project looks fantastic, thanks so much for sharing.
Wow, you did a beautiful job! I love it!
Pam
Very nice work and your runner is cool too.
Linda
This is fabulous!! So fresh and updated, thanks for linking!
XO
that looks awesome… we just did some in our daughters room…i love it on your stairs! oh no… the husbands gonna kill me… the wheels are turning… i want to do the stairs now!!!! thanks for inspiring!
Wow, stunning!!!!!!!! LOVE IT!!!!
http://www.iheartmygluegun.com
Thinking about doing this myself!
http://www.dishesandsocks.com/
it looks amazing! I've always loved board & batten and especially love it in a stairway 🙂
This is so cool!!!
It looks amazing!!! Nice solution for the bulging wall!!
Love this look! Great job! Thanks for linking flaunt it friday! 🙂