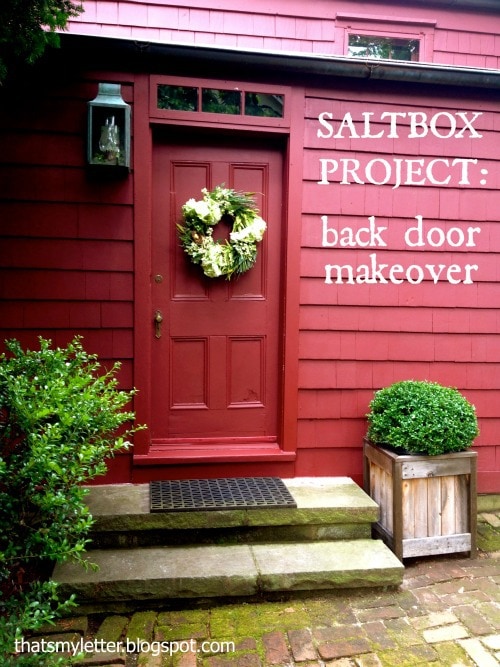
A primitive farmhouse back door makeover. As we chip away at the projects in our new home the easy transformations with fast results are at the top of the list.
The back door needed a tiny facelift and although we hardly ever use that door I still thought it deserved a quick change.
(This project did have one minor hiccup – wood rot below the stoop – details down below.)
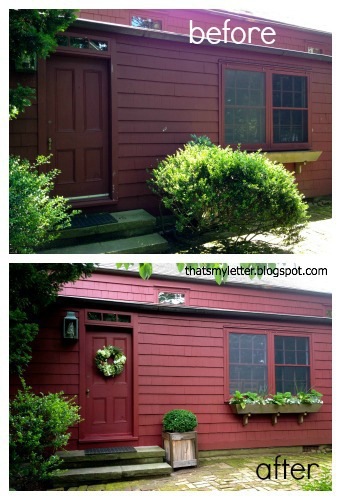
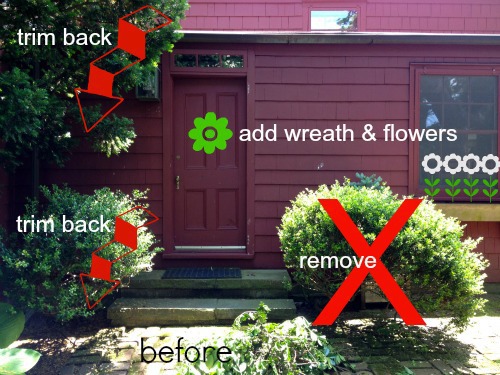
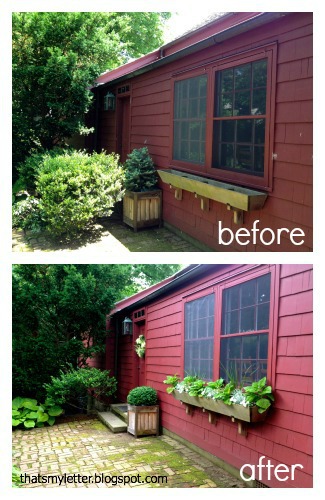
I removed the overgrown boxwood blocking half the brick walkway, trimmed
back all the trees and bushes on the left side, added a wreath and
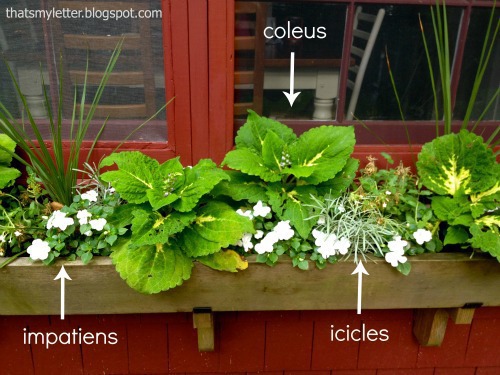
planted annuals in the windowbox:
back all the trees and bushes on the left side, added a wreath and
planted annuals in the windowbox:
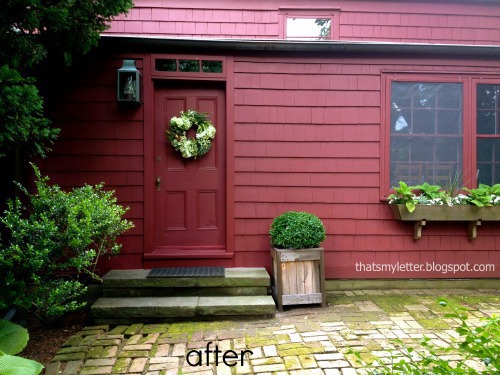
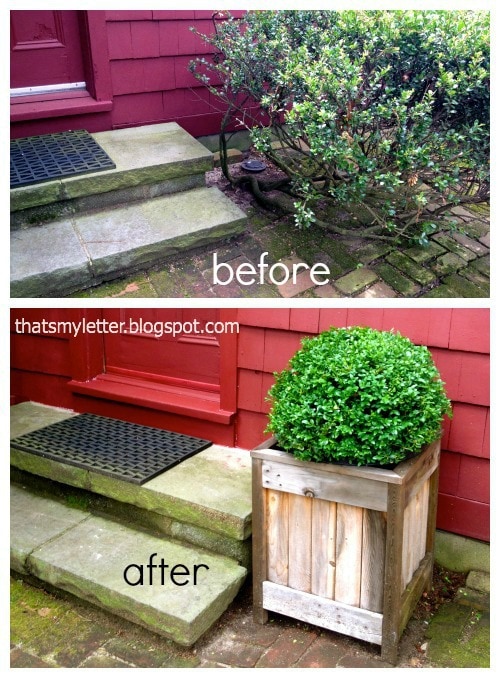
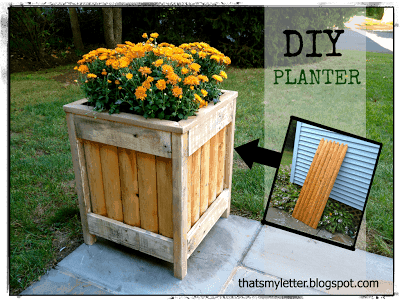
In place of the overgrown boxwood I put a planter made from a cedar fence piece from our old house and inside a new green velvet boxwood:
The planter was outside all winter so you can see how the cedar has aged above compared to the original color below:
The walkway is so much more open and clean looking now, amazing how removing one bush makes all the difference:
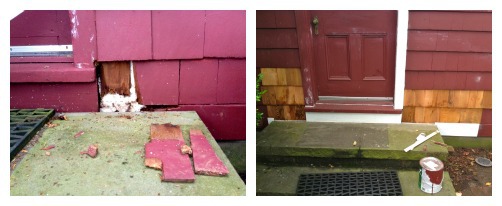
As for the wood rot, it all stemmed from a misguided gutter that was allowing all the rainwater to pour down directly onto the top step. Adding to the problem, the top step sits about 1″ away from the siding (probably due to settling over time?) but all the water was pooling behind the step and splashing up onto the cedar shakes.
I peeled back a few shakes and then called my contractor friend who has the absolute best workers ever.
Thank you to Raf and Adrien for such a tidy repair of the gutter, all the wood rot and new concrete in the gap:
I painted everything (Benjamin Moore cottage red flat) and now it’s better than before.
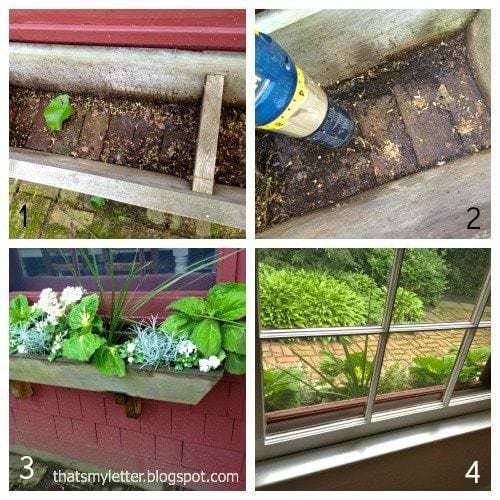
As for the windowbox 1) it was fine but had no drainage. I simply 2) drilled a bunch of 1/4″ holes to allow for water seepage. 3) Add soil and flowers and the view 4) from inside the dining room:
The back door side of the house is mostly shady and damp all the time, hence the moss covered bricks, so I planted shade appropriate annuals:


Looks fantastic! At first I was a bit sad to see the boxwood go (I'm always sad to see plants leave) but the area looks a lot tidier without it. You did a great job!
Oh so much better! I envy people who are brave enough to envision how change will improve something, and then follow through.
So pretty and inviting! Glad you were able to get the necessary repairs made.
Looks great! Love the planter!
Emily @ elizabethjoandesigns.com
Very nice! Love all the little touches! It makes it so much more welcoming! Jenna @ Rain on a Tin Roof
Wow, you have a pretty bold exterior scheme! But I'm amazed at how you managed to make it appear something but an eye soar. The greens totally helped. Anyway, I don't believe that a house would be as charming or striking if you remove the landscape. Good work here, Jaime! Willene@Roofing & More, Inc.
Though you hardly use your back door, you were right when you said that it deserves a little facelift! It's still a part of your house, that when left ignored, can create a negative effect on or it can damage the aesthetic appeal of your house. Your efforts paid off! Good job, Jaime!
–Katie Nicoll @ ClarkAdams