• Home
  • Blog
  • About
  • Contact
    • Disclosure
    • Privacy Policy
  • SHOP
  • Widget area for main menu

    • Email
    • Facebook
    • Instagram
    • Pinterest
    • Twitter
    • YouTube
  • Skip to primary navigation
  • Skip to main content
  • Skip to primary sidebar

Jaime Costiglio

build - paint - sew

  • BUILD
    • BEDS
    • BENCHES
    • DESKS
    • DRESSERS
    • GAMES & TOYS
    • SCRAP WOOD
    • SHELVES
    • STORAGE
    • TABLES
  • TOOLS
  • PAINT
    • CRAFTS
    • FURNITURE
    • HOME DECOR
  • SEW
    • GIFTS
    • HOME DECOR
    • POUCHES
  • HANDBUILT HOLIDAY
    • 2021
    • 2019
    • 2018
    • 2017
    • 2016
    • 2015
    • 2014
    • 2013
  • GIFTS
    • BABIES
    • KIDS
    • FOR HER
    • FOR HIM
    • TEACHERS
    • WEDDINGS
  • SEASONAL
    • 4TH OF JULY
    • FALL
    • HALLOWEEN
    • CHRISTMAS
    • SUMMER
    • SPRING
    • ST. PATRICK’S DAY
    • THANKSGIVING
    • VALENTINE’S DAY
    • WINTER
  • SALTBOX PROJECT
    • BATHROOMS
    • DINING ROOM
    • EXTERIOR
    • FAMILY ROOM
    • FOYER / MUDROOM
    • KIDS BEDROOMS
    • KITCHEN
    • LIVING ROOM
    • MASTER BEDROOM
    • PLAYROOM
  • SCROLL SAW

“A” is for Apron (kid size)

October 24, 2012

Sew: kid size aprons

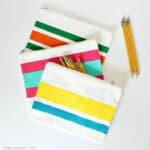
Pink and white gingham aprons with pink trim, perfect for a cake decorating birthday party:

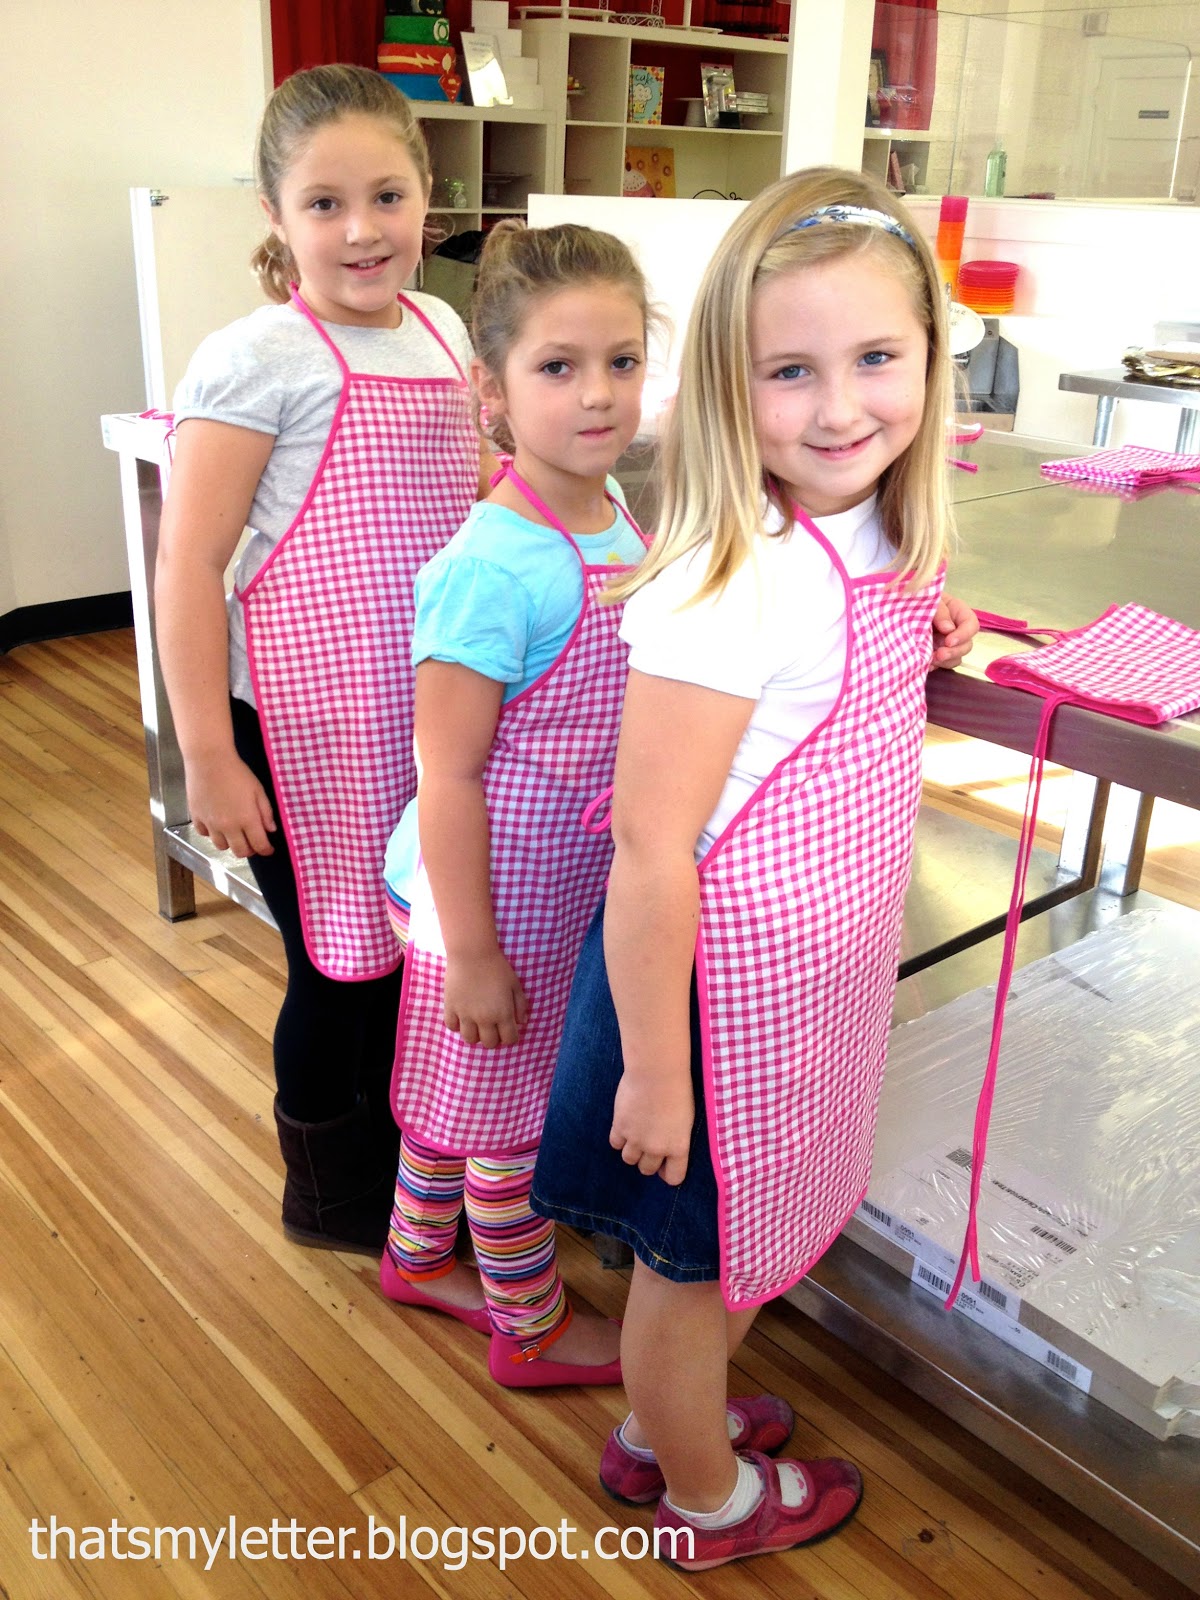
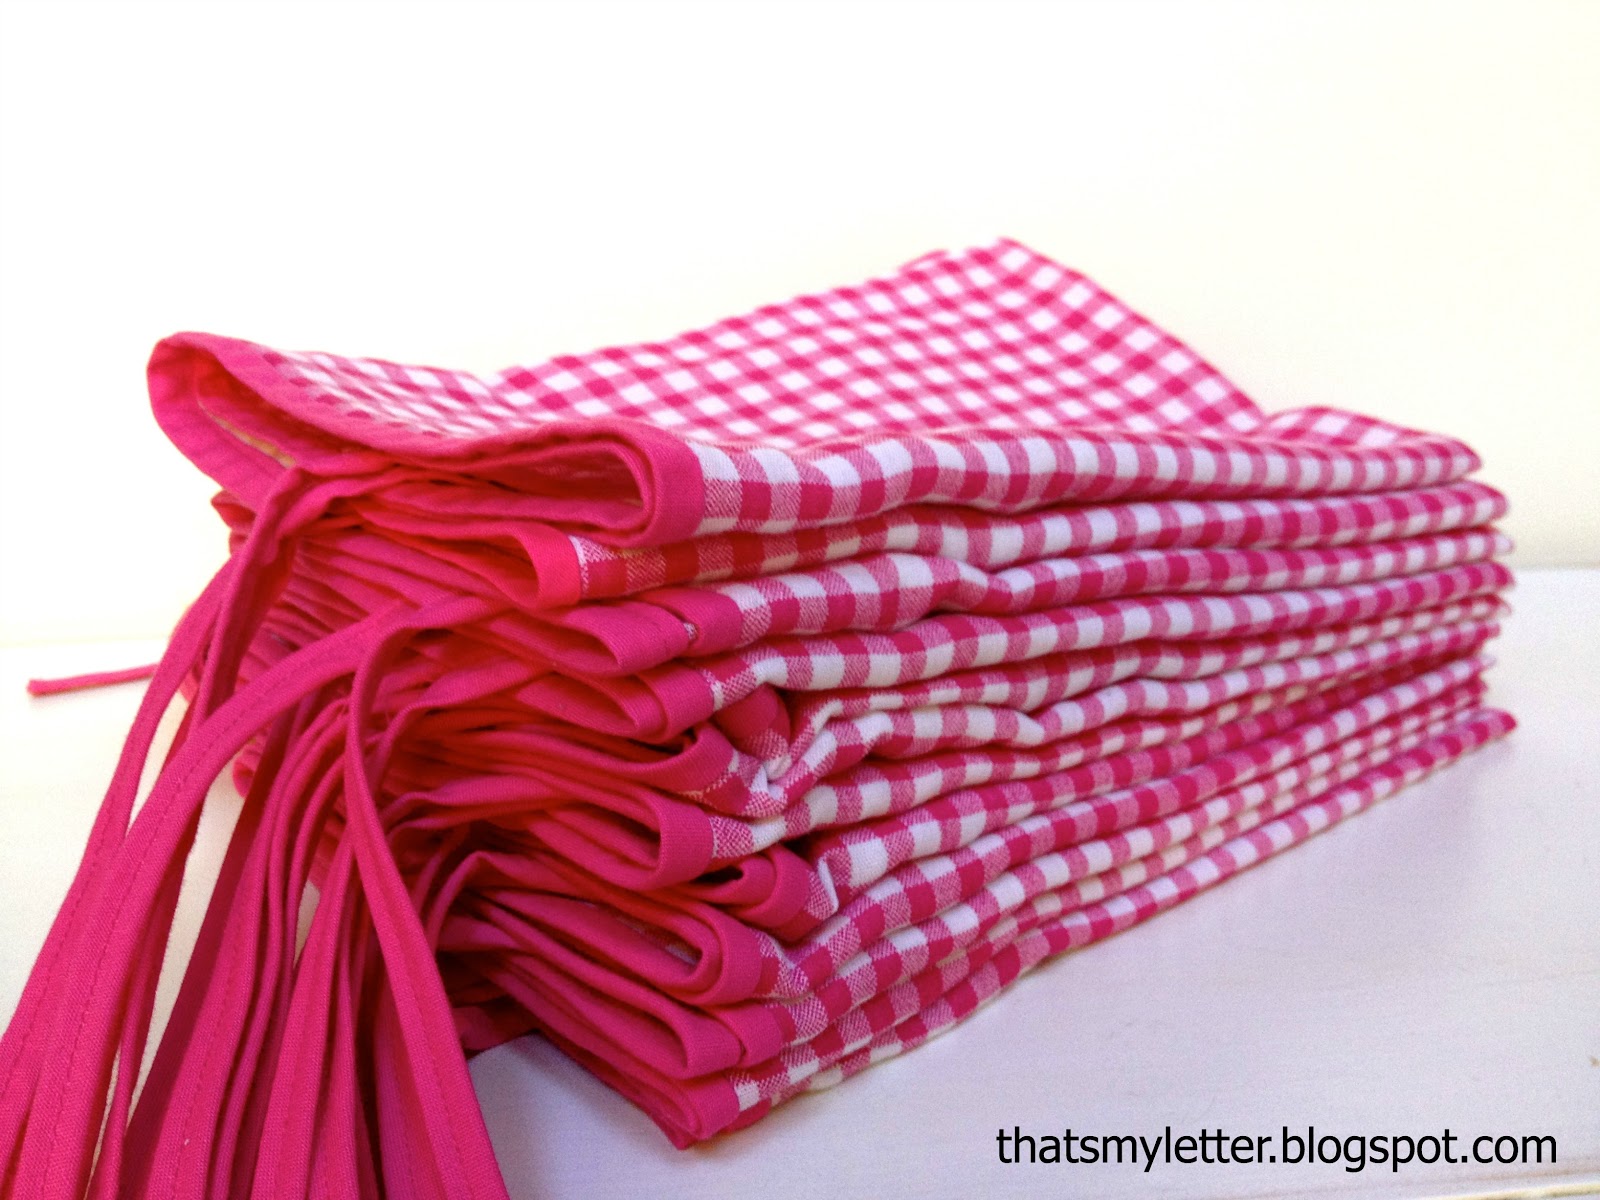
I made 12 aprons, one for each party guest.
The aprons make a great favor the girls can use again and again.
Thanks cousin for modeling!
She’s concentrating hard on making her cake box:

And here they are with their finished cakes:

Here’s how I made the aprons:

1. I used an Ikea duvet cover Barbro Ruta I found on clearance last summer:
Wash and dry your cotton fabric.
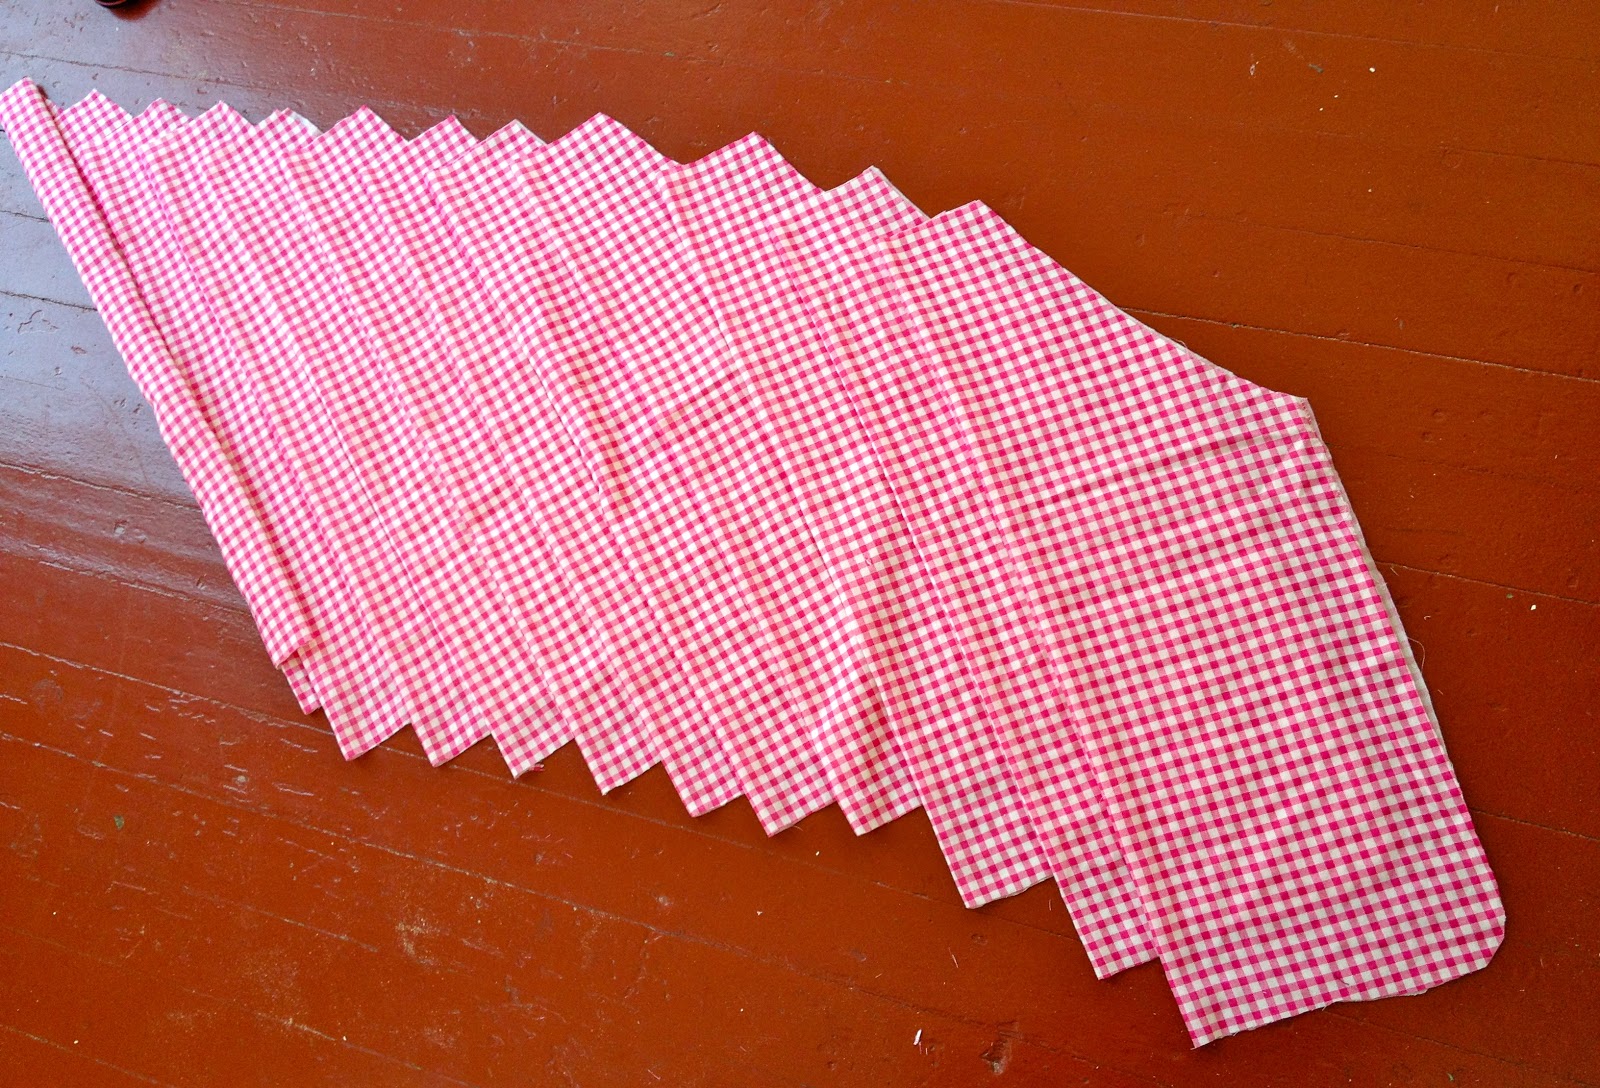
2. Use an existing apron as your pattern and cut out 12 aprons:

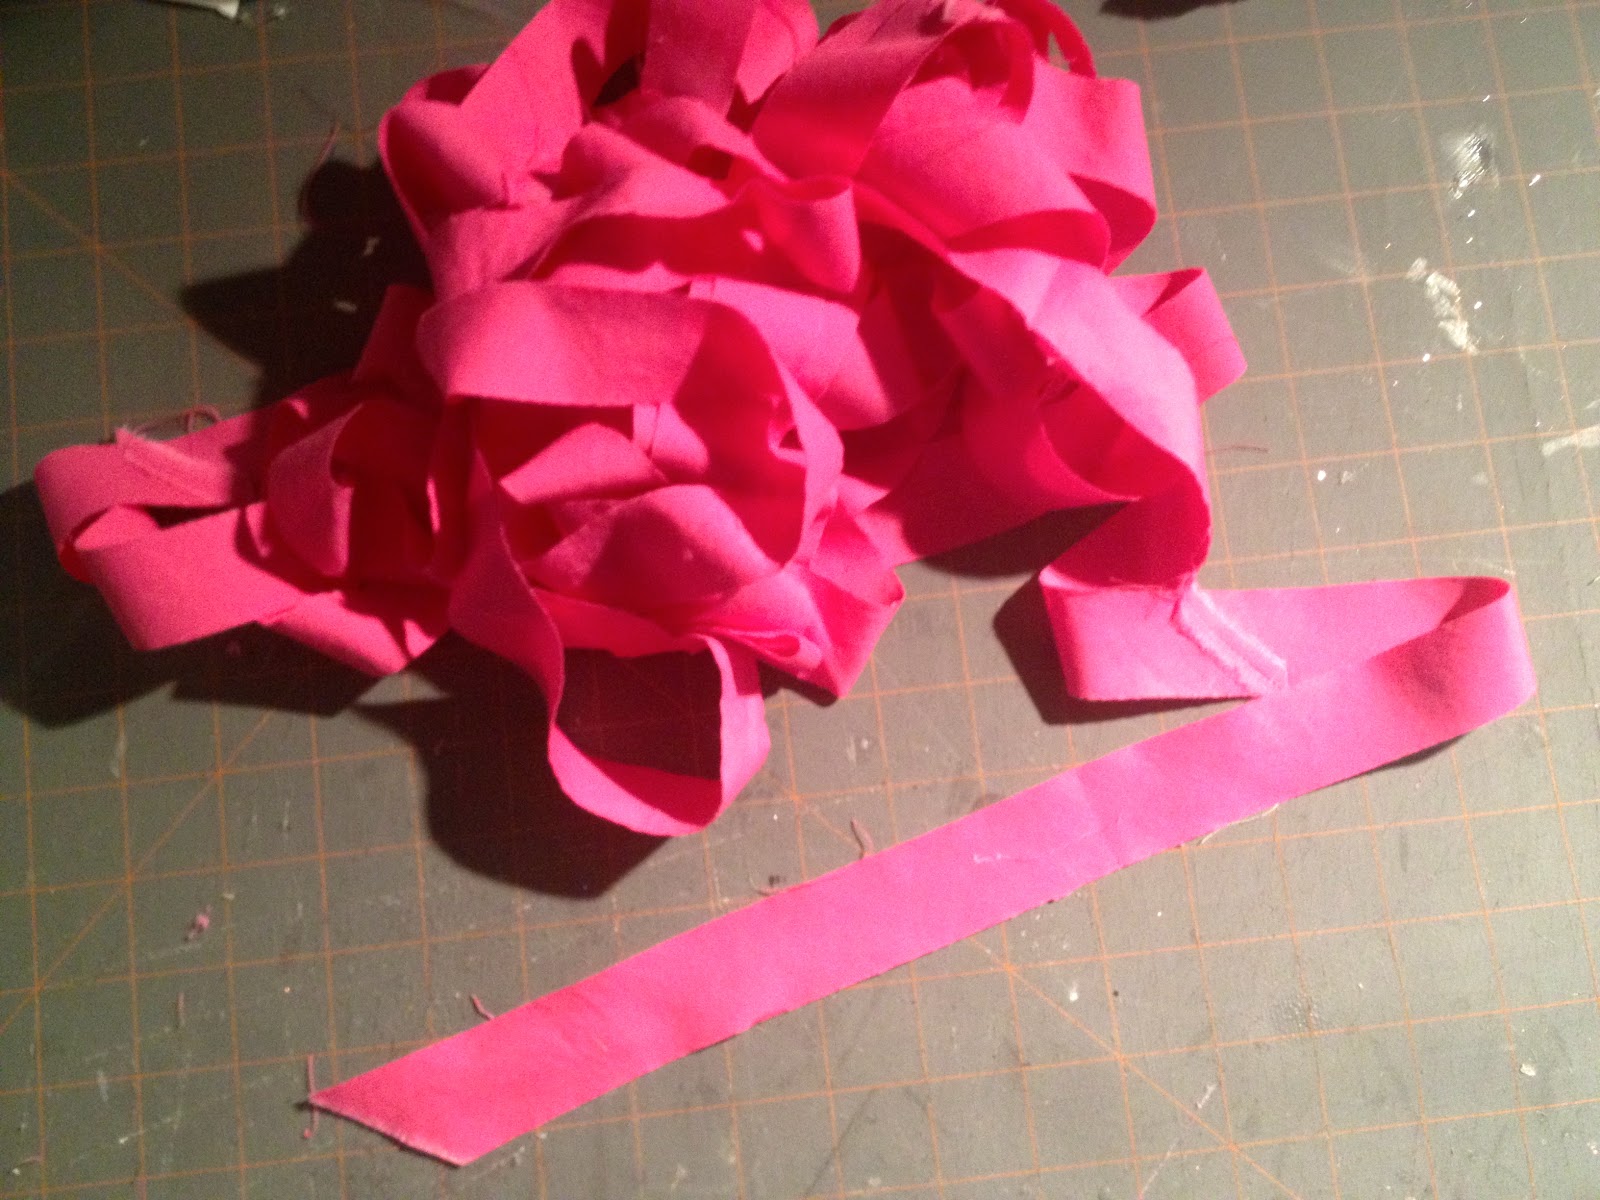
3. Make 48″ of 1 1/4″ bias cut binding for each apron:

4. Begin by sewing binding to apron top and around both sides and bottom then press:
5. Now flip apron over and press in raw edge 1/4″:
6. Fold pressed edge over to create binding and pin:

7. Stitch in ditch from the front side, keep checking the back side to be sure you catch the folded edge in your stitching:
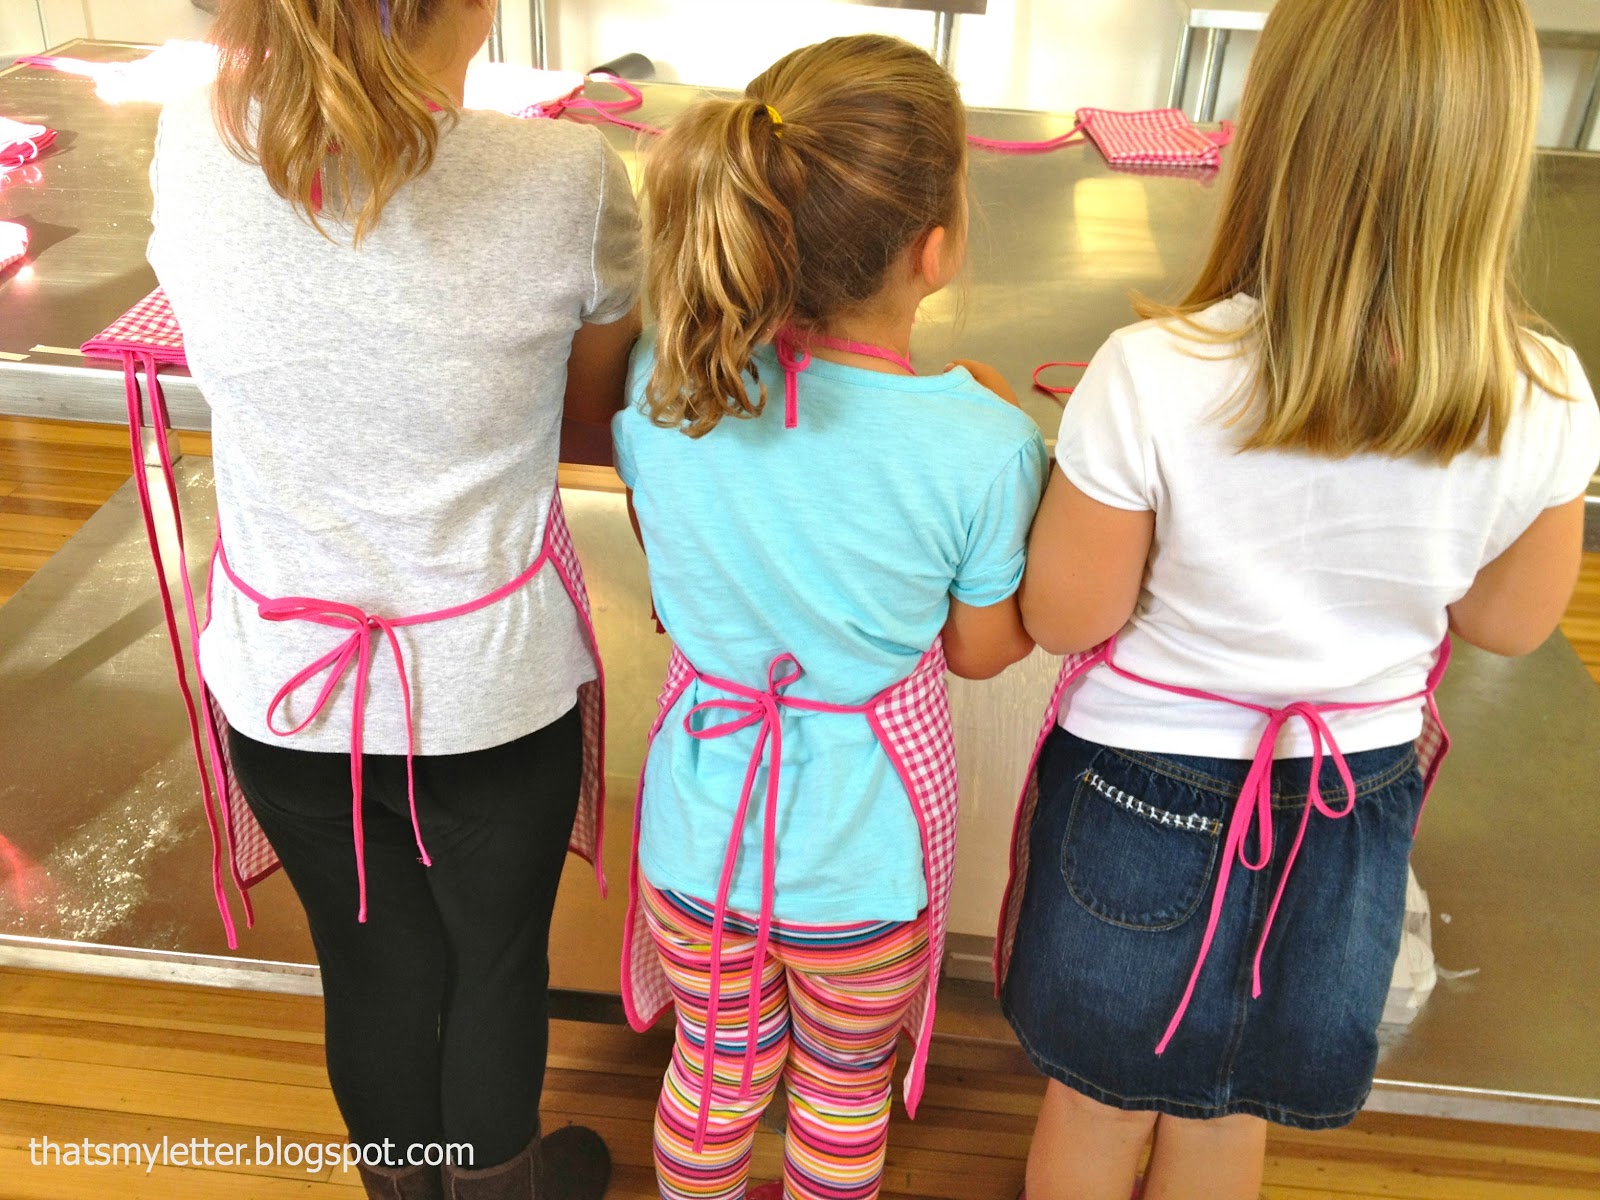
8. Then repeat the process for the ties extending your binding 15″ at the top for the neck ties and 24″ on the bottom for the waist ties.
I’m linking up to:
SAS @ Funky Junk
Nifty Thrifty Sunday @ Nifty Thrifty Things
DIY Project Parade @ The DIY Showoff
Tutorials & Tips Tuesday @ Home Stories A to Z
Strut Your Stuff @ Somewhat Simple
Share Awesomeness Thur @ The 36th Avenue
Pretty Things Thursday @ Scissors & Spatulas
Flaunt it Friday @ Chic on a Shoestring
Frugal Friday @ The Shabby Nest
SAS @ Just a Girl
Remodelaholics Anonymous @ Remodelaholic
inspiration board @ Carolyns Homework
Sunday Showcase Party @ Under the Table & Dreaming
Weekend Bloggy Reading @ Serenity Now

Textiles @ Freckled Laundry

You may also like...

  • Cross Stitch Monogram Ornament PlacecardCross Stitch Monogram Ornament Placecard
  • Painted Zipper Pouch with Stylin PaintPainted Zipper Pouch with Stylin Paint
  • Wood & Leather Bed Free PlansWood & Leather Bed Free Plans
  • DIY Village Cut Out Wreath & DecoArt / Cricut GiveawayDIY Village Cut Out Wreath & DecoArt / Cricut Giveaway
Share this post:

Filed Under: DIY, GIFTS, GIFTS, KIDS, SEW, SEWINGLeave a Comment

Reader Interactions

Leave a Reply Cancel reply

Your email address will not be published. Required fields are marked *

Primary Sidebar

Hi! I’m Jaime

Jaime Costiglio

Hello!

Thank you for stopping by.
Join me for lots of DIY.

Read more

Get new posts via email

Handbuilt Holiday: Gift Project Plans

handbuilt holiday gift project plans

Collection of DIY gift project plans to build.

The Home Depot Tool Prospective

THD Prospective

Tools to consider for the DIYer.

Archives

The Home Depot Logo
Copyright © 2026 Jaime Costiglio · Custom site by Moonsteam Design

Privacy Policy