Sew: personalized applique pillow
One last post for Christmas Eve:
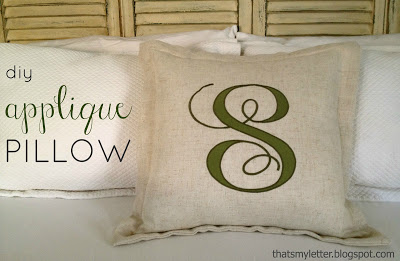
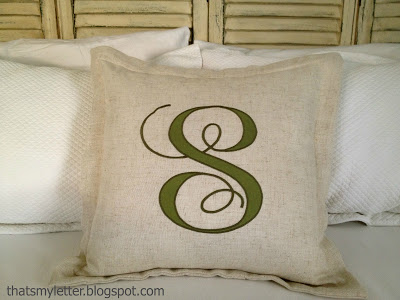
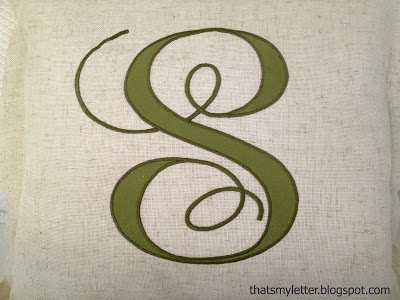
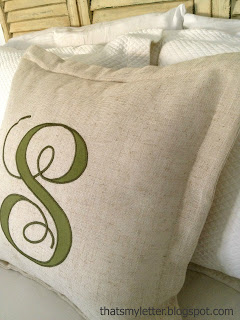
Easy to sew personalized applique pillow with flanged edge.
Easy to sew personalized applique pillow with flanged edge.
Inspired by Pottery Barn’s Monogram Applique Pillow:
image from potterybarn.com
I made this version of the 18″ pillow using the Monogram font found here and the main pillow fabric is actually a curtain panel (source here).
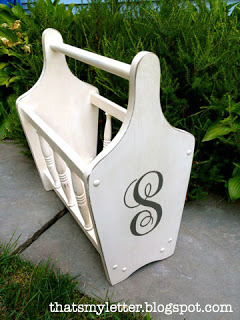
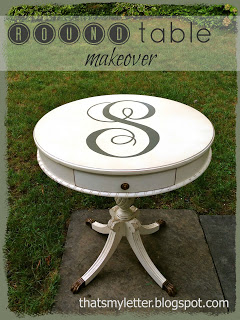
This pillow goes to the same family for whom I refinished this magazine rack and circle table:
Notice the “S” is the same however for the pillow I stretched the font a bit to fit the more square proportions:
Here’s how to make the applique pillow:
** Instructions below are for 18″ square pillow form with a 1 1/2″ flange and envelope closure.**
1. Cut pillow main fabric pieces: (fabric source here)
1 @ 22″ x 22″ (front)
2 @ 22″ x 15″ (back pieces)
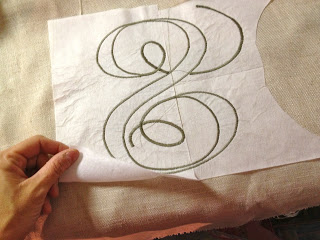
2. To make monogram letter- print out letter to size.
(I used Monogram KK font here at 675 point and 150% scale to stretch horizontally.)
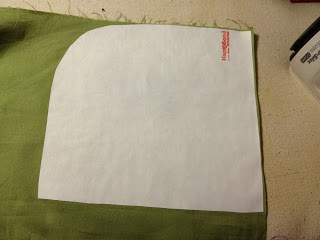
Prepare letter fabric with heat-n-bond double sided fusible interfacing:
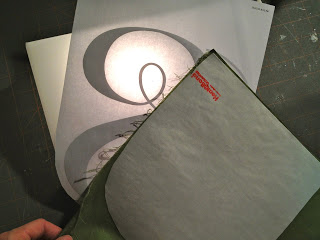
3. Place print out face down on light box then fabric face down:
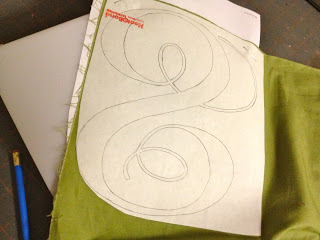
4. Trace outline of letter onto paper backing:
(For more info on how I make fabric letters check this post.)
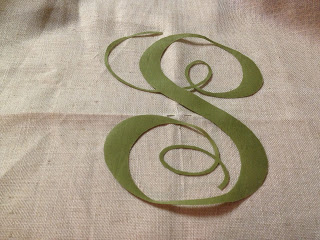
5. Cut out letter and find middle of pillow front fabric (marked with straight pins):
(**Prepare fabric with interfacing on back only over center portion where letter will be sewn – see Step 8.**)
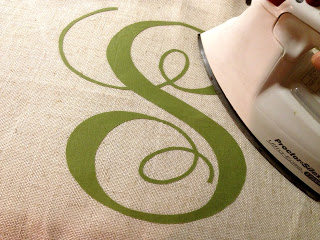
6. Peel off paper backing and iron letter in place:
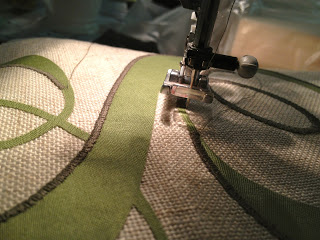
7. Sew edges using zig zag stitch. Go slow and make small adjustments on the turns while keeping your needle in the down position:
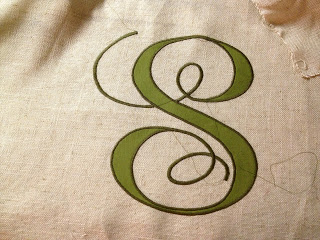
8. Remove the excess interfacing from the back side clipping as close to stitching as possible:
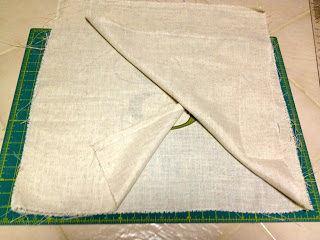
9. To sew pillow cover place front piece right side up then layer one back piece and then the other, overlapping finished edges in the middle to make the envelope closure.
(**Prior to this step prepare back pieces by folding cut edge in twice from one 22″ side and straight stitch for finished edge.)
Pin in place and sew 1/2″ seam around all four edges.
10. Clip corners and turn right side out.
Press edges.
From front sew 1 1/2″ in from outer edge around all four sides to create flange.
That’s it! Stuff in the insert and it’s ready.
I’m linking up to:
SAS @ Funky Junk
Nifty Thrifty Sunday @ Nifty Thrifty Things
DIY Project Parade @ The DIY Showoff
Tutorials & Tips Tuesday @ Home Stories A to Z
Strut Your Stuff @ Somewhat Simple
Share Awesomeness Thur @ The 36th Avenue
Pretty Things Thursday @ Scissors & Spatulas
Flaunt it Friday @ Chic on a Shoestring
Frugal Friday @ The Shabby Nest
SAS @ Just a Girl
Remodelaholics Anonymous @ Remodelaholic
inspiration board @ Carolyns Homework
Sunday Showcase Party @ Under the Table & Dreaming
Weekend Bloggy Reading @ Serenity Now





Ah. Mazing! Applique is always in high demand with interior designers (I used to work at an ID firm). You should call your local IDs and tell them that you can applique for them- you could earn a pretty penny doing it.
You do such wonderful work. I enjoy your newsletter so much. You are an inspiration. Thanks for sharing with all of us and Merry Christmas!
Marsha ([email protected])
What a BEAUTIFUL Pillow! I LOVE all your projects! Thank you so much for sharing the DIY! Merry Christmas! 🙂
Really well done, Jaime. Your stitching looks perfect and sometimes the satin stitch can be tricky on such an intricate design. Love it.
It's beautiful! Thanks so much for the tutorial…I'm not a sewer but I think I will actually attempt it!
Happy New Year!
Amy
http://www.homesweetthriftyhome.blogspot.com
How beautiful! I wish I could sew! I may just stick to wood painting crafts like that beautiful monogrammed table!
Love this idea. Thanks so much for the great tutorial.
Beautiful. I especially love the font
Love this! Can I ask what material you used for the pillow? Thanks!