• Home
  • Blog
  • About
  • Contact
    • Disclosure
    • Privacy Policy
  • SHOP
  • Widget area for main menu

    • Email
    • Facebook
    • Instagram
    • Pinterest
    • Twitter
    • YouTube
  • Skip to primary navigation
  • Skip to main content
  • Skip to primary sidebar

Jaime Costiglio

build - paint - sew

  • BUILD
    • BEDS
    • BENCHES
    • DESKS
    • DRESSERS
    • GAMES & TOYS
    • SCRAP WOOD
    • SHELVES
    • STORAGE
    • TABLES
  • TOOLS
  • PAINT
    • CRAFTS
    • FURNITURE
    • HOME DECOR
  • SEW
    • GIFTS
    • HOME DECOR
    • POUCHES
  • HANDBUILT HOLIDAY
    • 2021
    • 2019
    • 2018
    • 2017
    • 2016
    • 2015
    • 2014
    • 2013
  • GIFTS
    • BABIES
    • KIDS
    • FOR HER
    • FOR HIM
    • TEACHERS
    • WEDDINGS
  • SEASONAL
    • 4TH OF JULY
    • FALL
    • HALLOWEEN
    • CHRISTMAS
    • SUMMER
    • SPRING
    • ST. PATRICK’S DAY
    • THANKSGIVING
    • VALENTINE’S DAY
    • WINTER
  • SALTBOX PROJECT
    • BATHROOMS
    • DINING ROOM
    • EXTERIOR
    • FAMILY ROOM
    • FOYER / MUDROOM
    • KIDS BEDROOMS
    • KITCHEN
    • LIVING ROOM
    • MASTER BEDROOM
    • PLAYROOM
  • SCROLL SAW

“A” is for Apple Paperweight

August 8, 2014

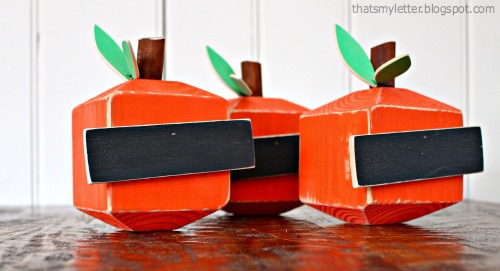
DIY wood apple paperweight
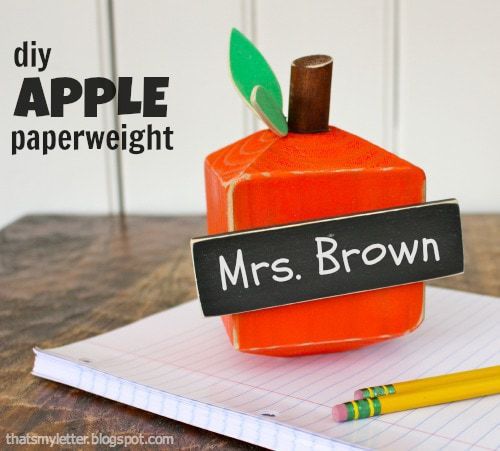
An easy back to school teacher gift made using a piece of 4×4 scrap wood.
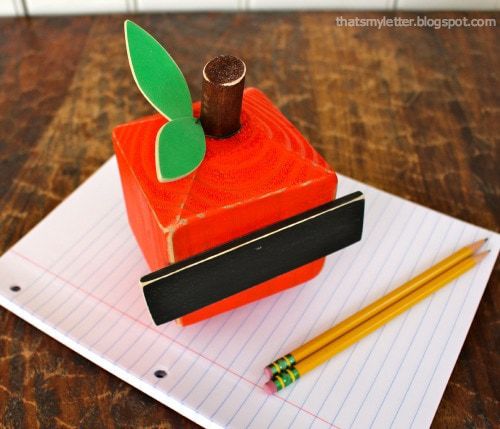
Any teacher is sure to love a personalized apple paperweight to display on their desk.

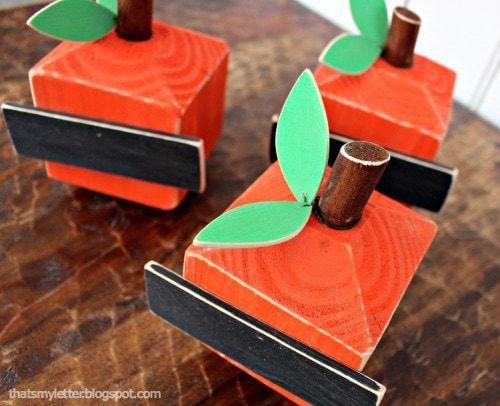
The leaves and stem are wood too.

I attached a piece of chalkboard painted flat moulding on front for the personalization but you could leave this off.

How to make an apple paperweight:
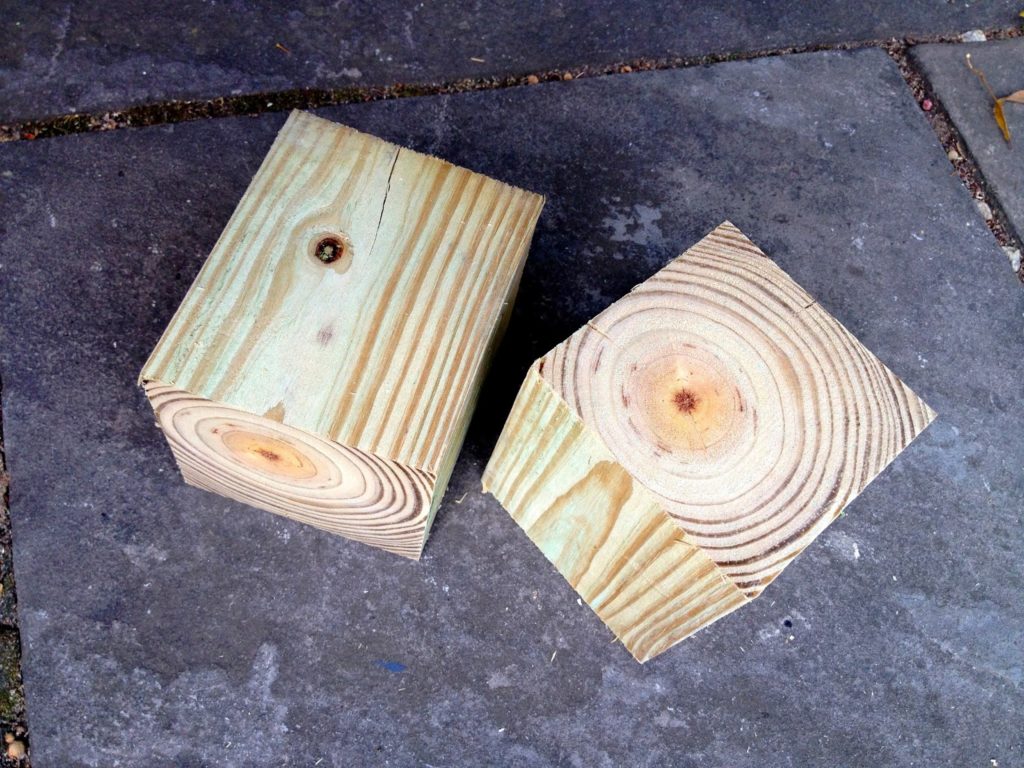
Step 1: Cut 4×4 into 4″ piece.

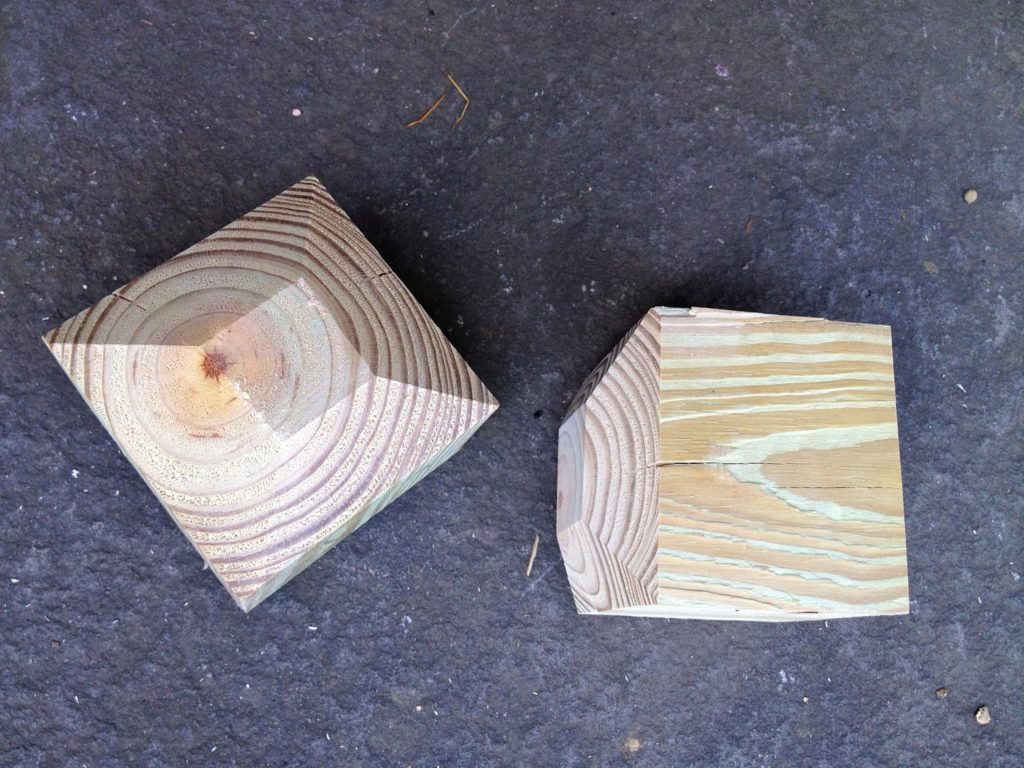
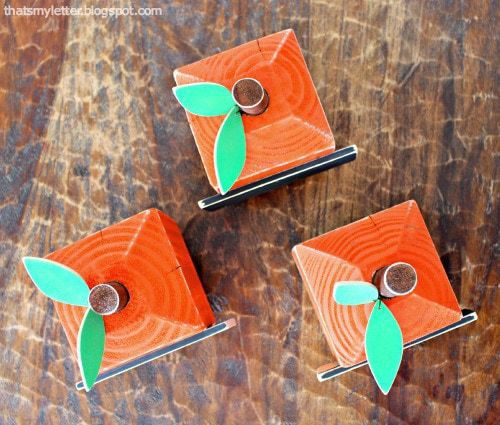
Step 2: Miter all 4 sides of both cut ends at 30 degrees.

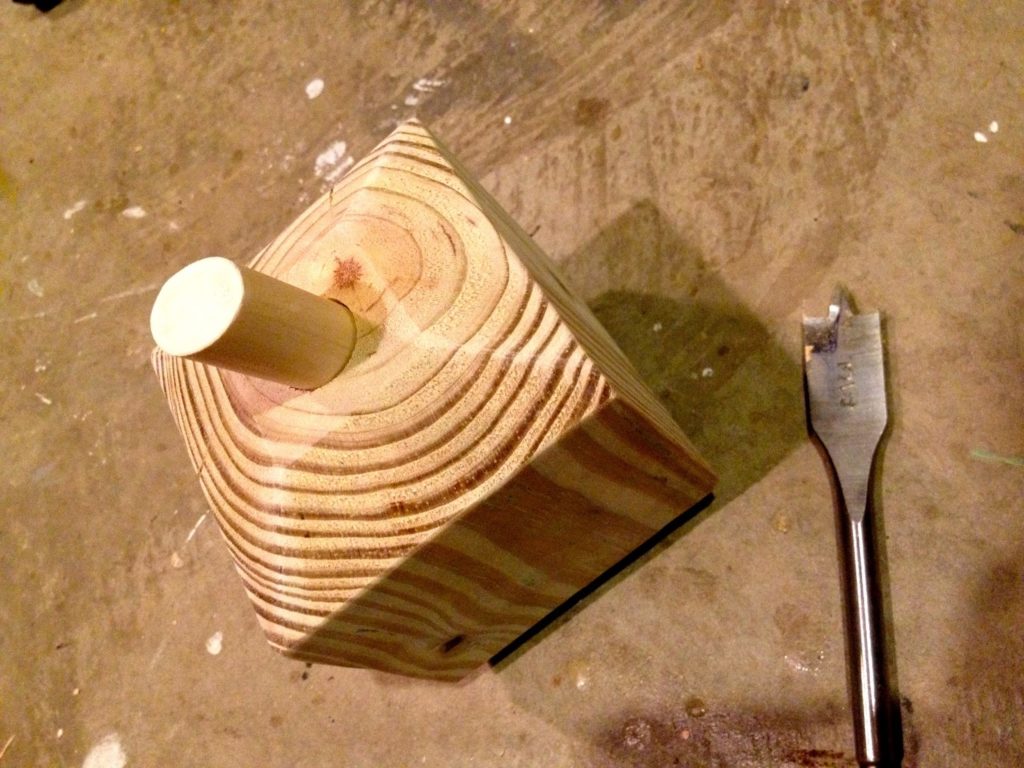
Step 3: Drill 3/4″ hole at center and insert 3″ length of 3/4″ dowel.
Paint apple body red and stem brown, once dry sand edges smooth.

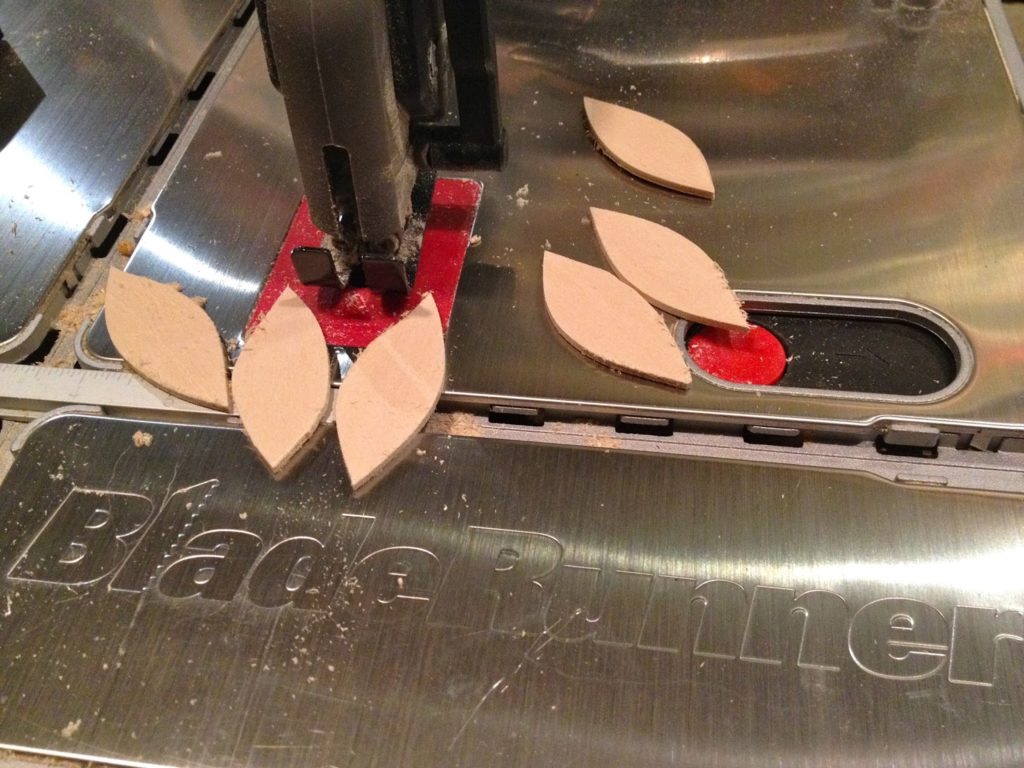
Step 4: Cut 5/32″ basswood leaves.  I used my Rockwell BladeRunner but a jigsaw should work too.

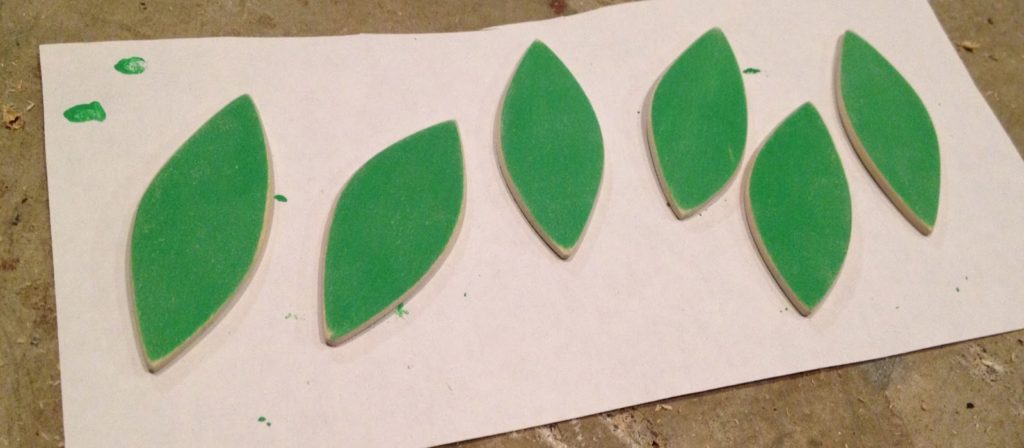
Step 5: Paint green and sand edges.

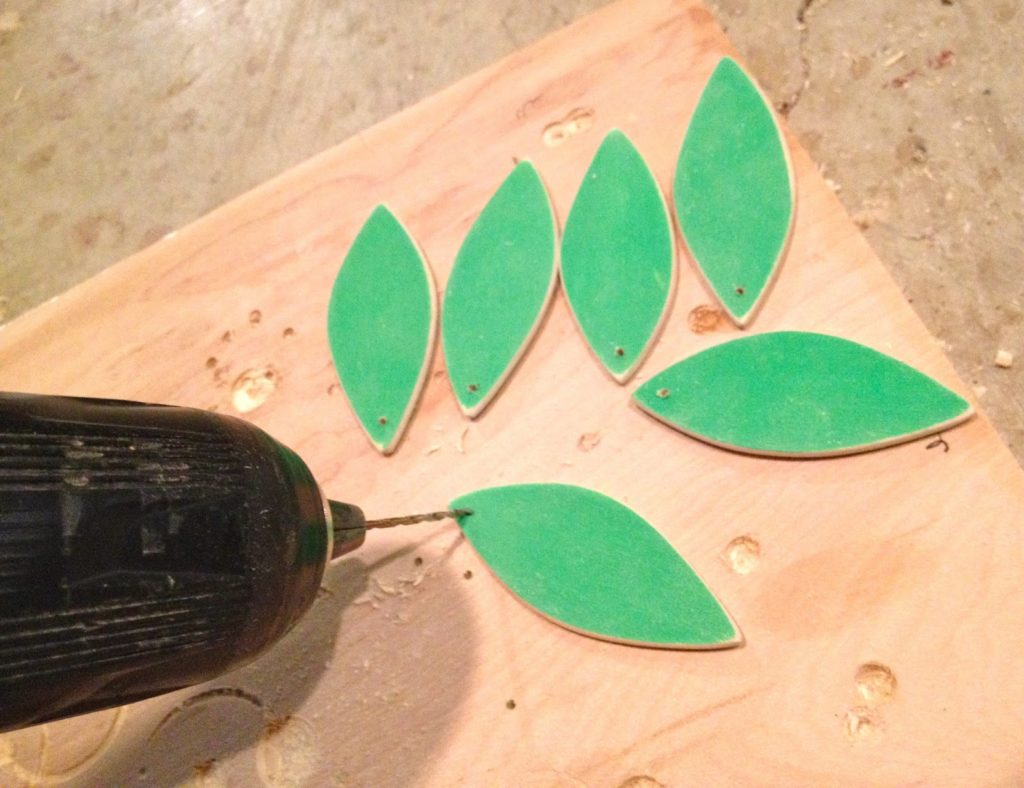
Step 6: Drill hole for wire.

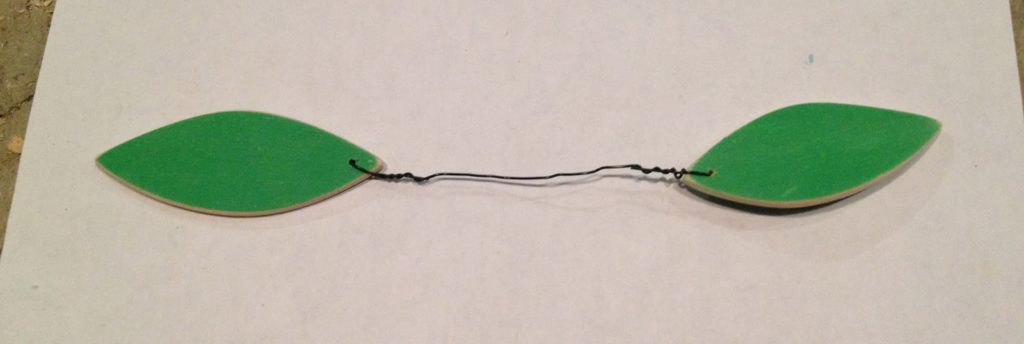
Step 7: Thread wire through holes and twist snug.

Step 8: Wrap wire around stem base and twist leaves snug.
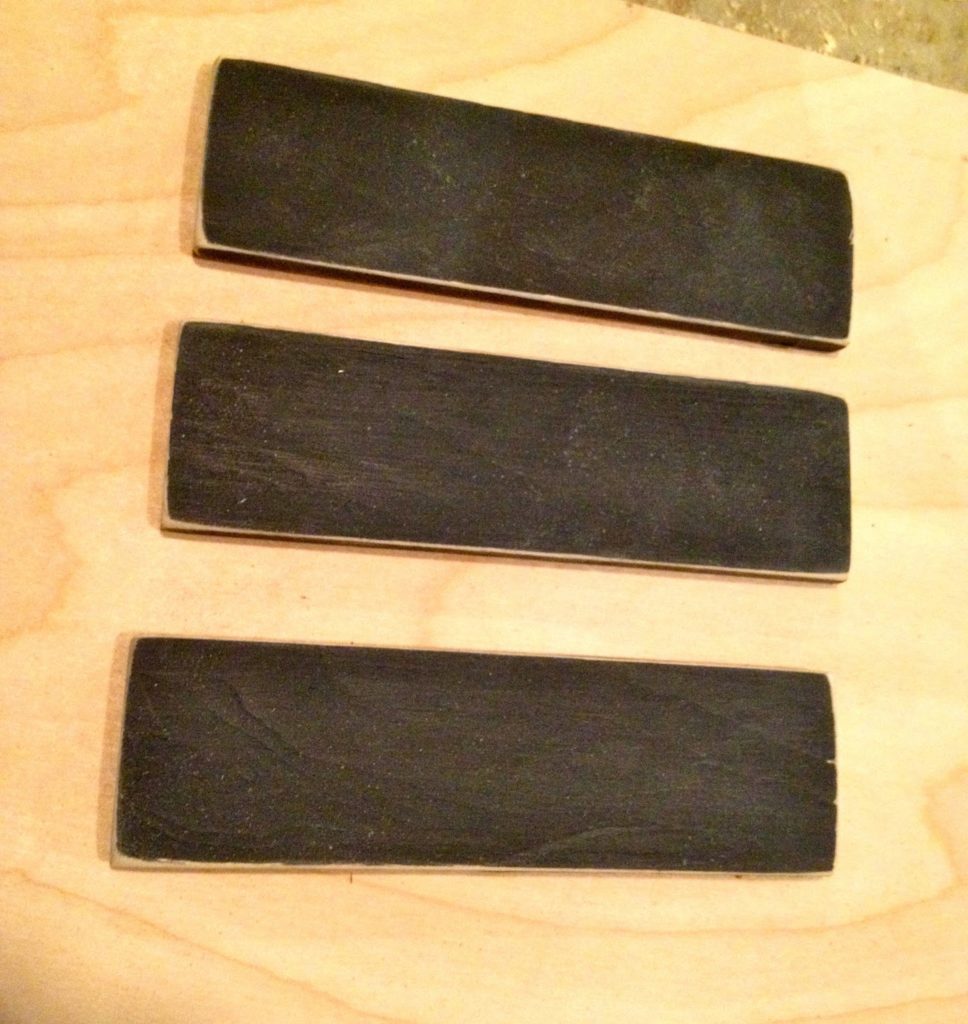
Step 9: Paint 5″ pieces of flat moulding with black chalkboard paint.

Step 10: Glue and nail chalkboard piece in place.
Write teacher’s name with white chalk marker.

I’m linking up to:
Sand and Sisal

The 36th Avenue


Creative Collection @ Lolly Jane
Nifty Thrity Sunday @ Nifty Thrifty Things
Inspiration Exchange @ City Farmhouse
SAS @ Funky Junk
That DIY Party @ The DIY Showoff
Tutorials & Tips Tuesday @ Home Stories A to Z
Share Awesomeness Thur @ The 36th Avenue
Pretty Things Thursday @ Scissors & Spatulas
Flaunt it Friday @ Chic on a Shoestring
Frugal Friday @ The Shabby Nest
Furniture Feature Friday @ Miss Mustard Seed
SAS @ Just a Girl
Remodelaholics Anonymous @ Remodelaholic
inspiration board @ Carolyns Homework
Sunday Showcase Party @ Under the Table & Dreaming

You may also like...

  • “T” is for Teacher Gifts“T” is for Teacher Gifts
  • “C” is for Chalkboard“C” is for Chalkboard
  • Cross Stitch Monogram Ornament PlacecardCross Stitch Monogram Ornament Placecard
  • DIY Desktop TrayDIY Desktop Tray
Share this post:

Filed Under: BUILD, CRAFTS, CRAFTS, DIY, GIFTS, PAINT, SCRAP WOOD, TEACHERS4 Comments

Reader Interactions

Comments

  1. Steph @ Three Loud Kids! says

    August 8, 2014 at 6:47 PM

    This is such a cute project!

    Reply
  2. Our Pinteresting Family says

    August 12, 2014 at 5:33 PM

    Absolutely adorable!

    Reply
  3. Cliff Horn says

    October 11, 2014 at 8:51 PM

    If you want to save time you can use Ryobi #20 wood biscuits for the leaves. All you have to do is drill the holes and paint.

    Reply

Leave a Reply Cancel reply

Your email address will not be published. Required fields are marked *

Primary Sidebar

Hi! I’m Jaime

Jaime Costiglio

Hello!

Thank you for stopping by.
Join me for lots of DIY.

Read more

Get new posts via email

Handbuilt Holiday: Gift Project Plans

handbuilt holiday gift project plans

Collection of DIY gift project plans to build.

The Home Depot Tool Prospective

THD Prospective

Tools to consider for the DIYer.

Archives

The Home Depot Logo
Copyright © 2023 Jaime Costiglio · Custom site by Moonsteam Design

Privacy Policy