• Home
  • Blog
  • About
  • Contact
    • Disclosure
    • Privacy Policy
  • SHOP
  • Widget area for main menu

    • Email
    • Facebook
    • Instagram
    • Pinterest
    • Twitter
    • YouTube
  • Skip to primary navigation
  • Skip to main content
  • Skip to primary sidebar

Jaime Costiglio

build - paint - sew

  • BUILD
    • BEDS
    • BENCHES
    • DESKS
    • DRESSERS
    • GAMES & TOYS
    • SCRAP WOOD
    • SHELVES
    • STORAGE
    • TABLES
  • TOOLS
  • PAINT
    • CRAFTS
    • FURNITURE
    • HOME DECOR
  • SEW
    • GIFTS
    • HOME DECOR
    • POUCHES
  • HANDBUILT HOLIDAY
    • 2021
    • 2019
    • 2018
    • 2017
    • 2016
    • 2015
    • 2014
    • 2013
  • GIFTS
    • BABIES
    • KIDS
    • FOR HER
    • FOR HIM
    • TEACHERS
    • WEDDINGS
  • SEASONAL
    • 4TH OF JULY
    • FALL
    • HALLOWEEN
    • CHRISTMAS
    • SUMMER
    • SPRING
    • ST. PATRICK’S DAY
    • THANKSGIVING
    • VALENTINE’S DAY
    • WINTER
  • SALTBOX PROJECT
    • BATHROOMS
    • DINING ROOM
    • EXTERIOR
    • FAMILY ROOM
    • FOYER / MUDROOM
    • KIDS BEDROOMS
    • KITCHEN
    • LIVING ROOM
    • MASTER BEDROOM
    • PLAYROOM
  • SCROLL SAW

“W” is for Wood Tag Wreath

January 9, 2013

Paint: Valentine’s wood tag wreath

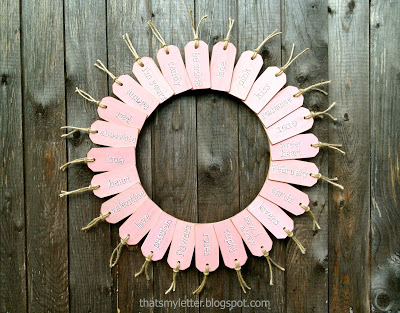
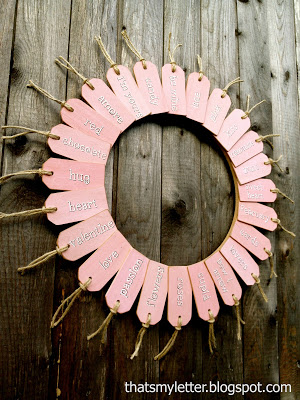
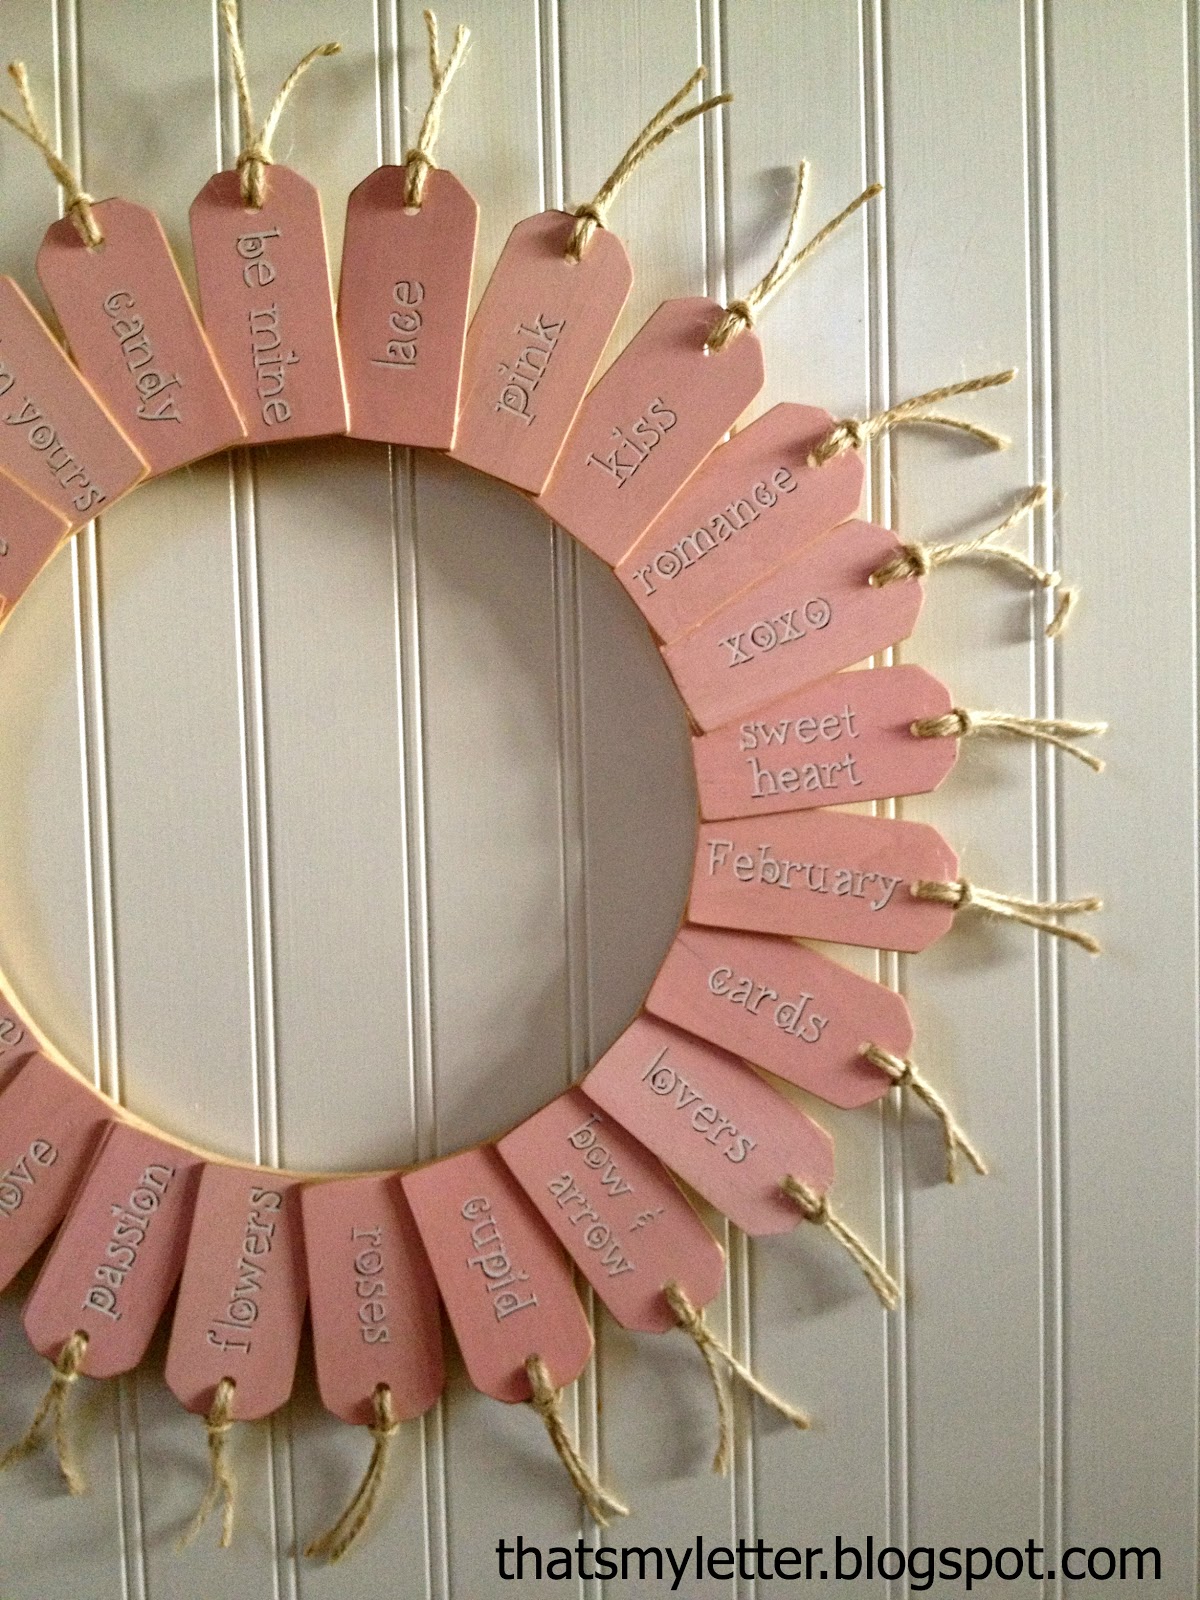
A Valentine’s Day wreath made from small wood tags:

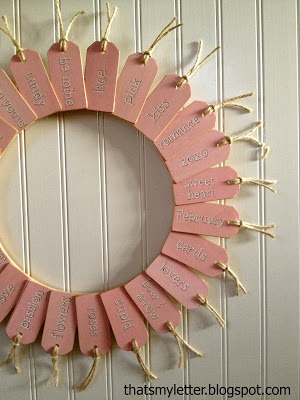
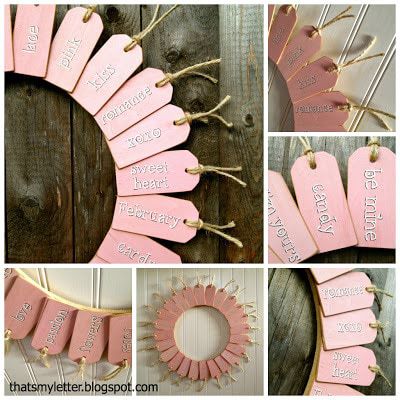
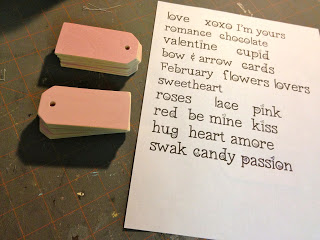
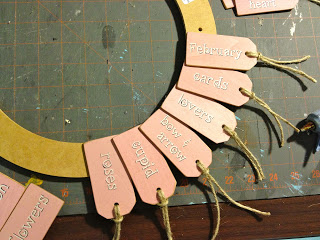
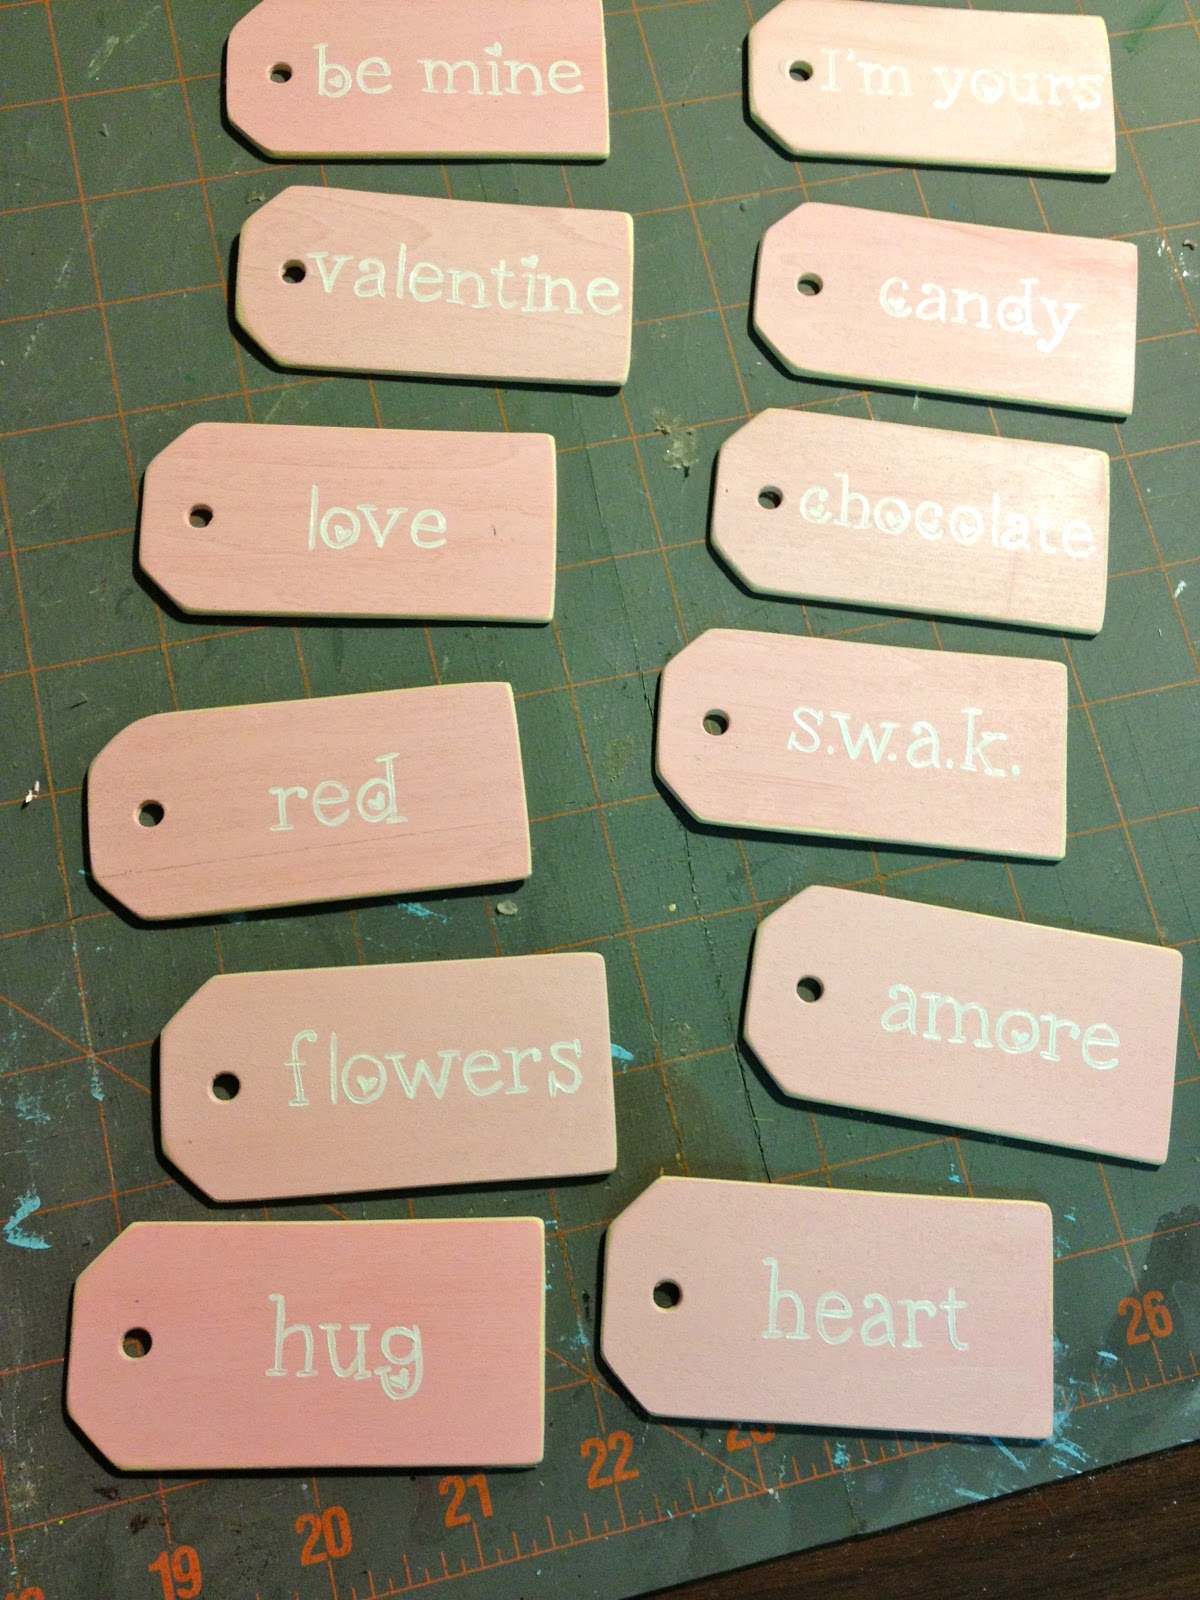
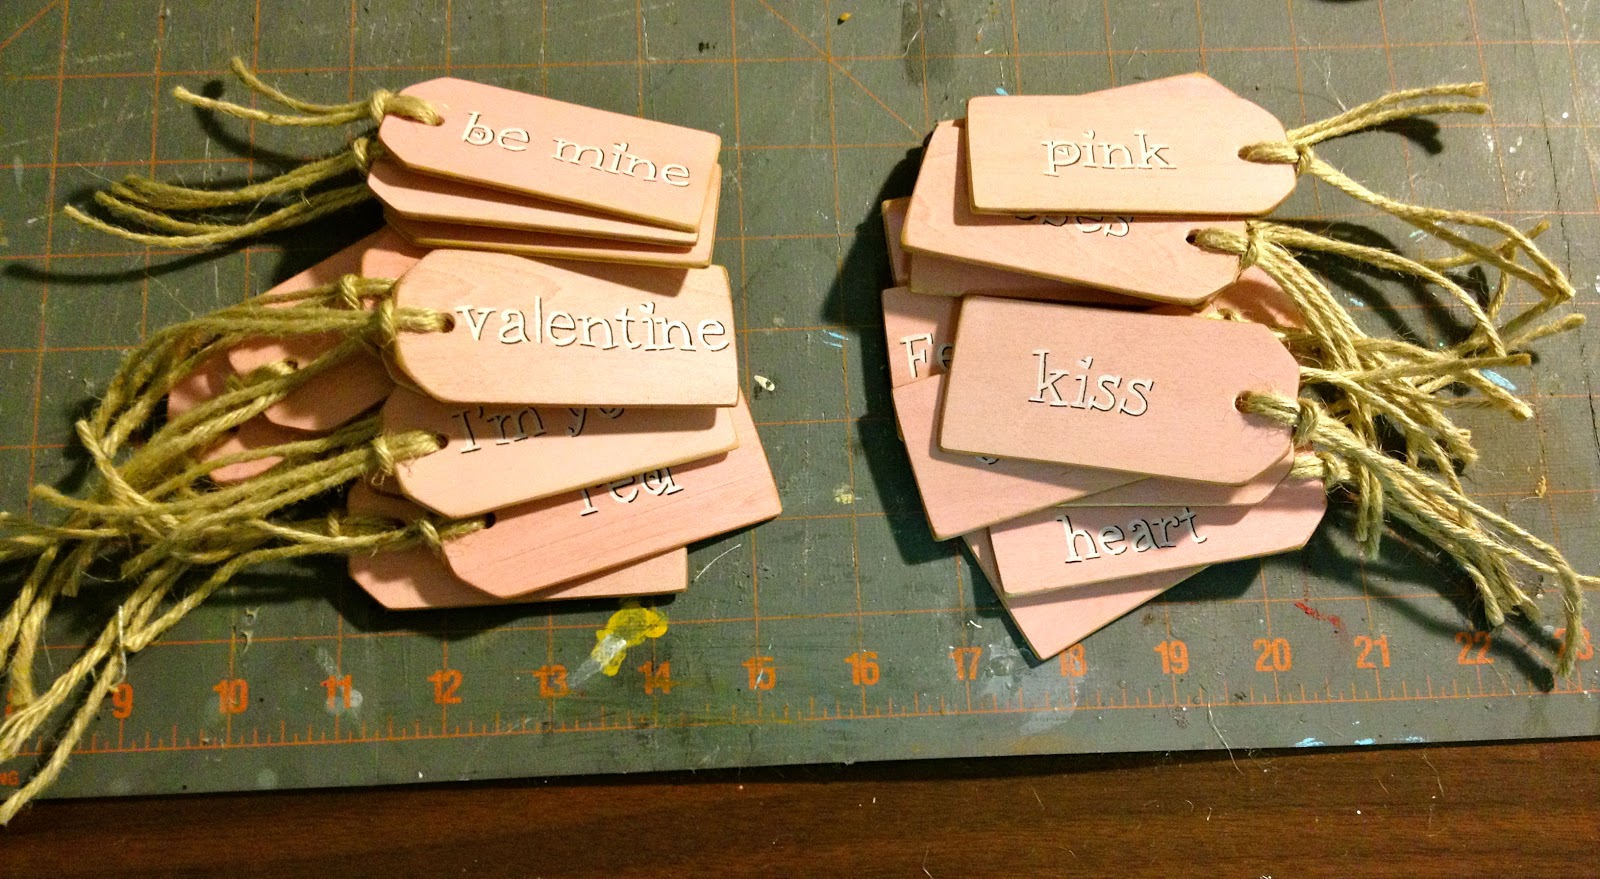
Each tag is painted with a different Valentine themed word:
Inspired by Ballard Designs wood beverage tags:
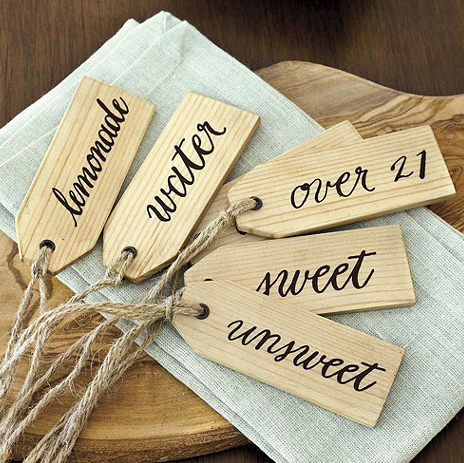
image from ballarddesigns.com

Here’s how to make the Valentine’s wood tag wreath:


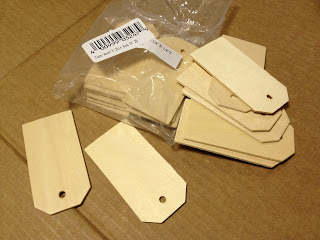
1. Purchase 24 wood tags.
(source here, 25 tags for $5)

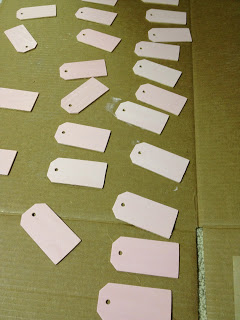
2. Paint light pink:

3. Sand edges.
Print out letters, I used LoveNess Two font at 50 point.
Divide tags in half: 12 facing right, 12 facing left:

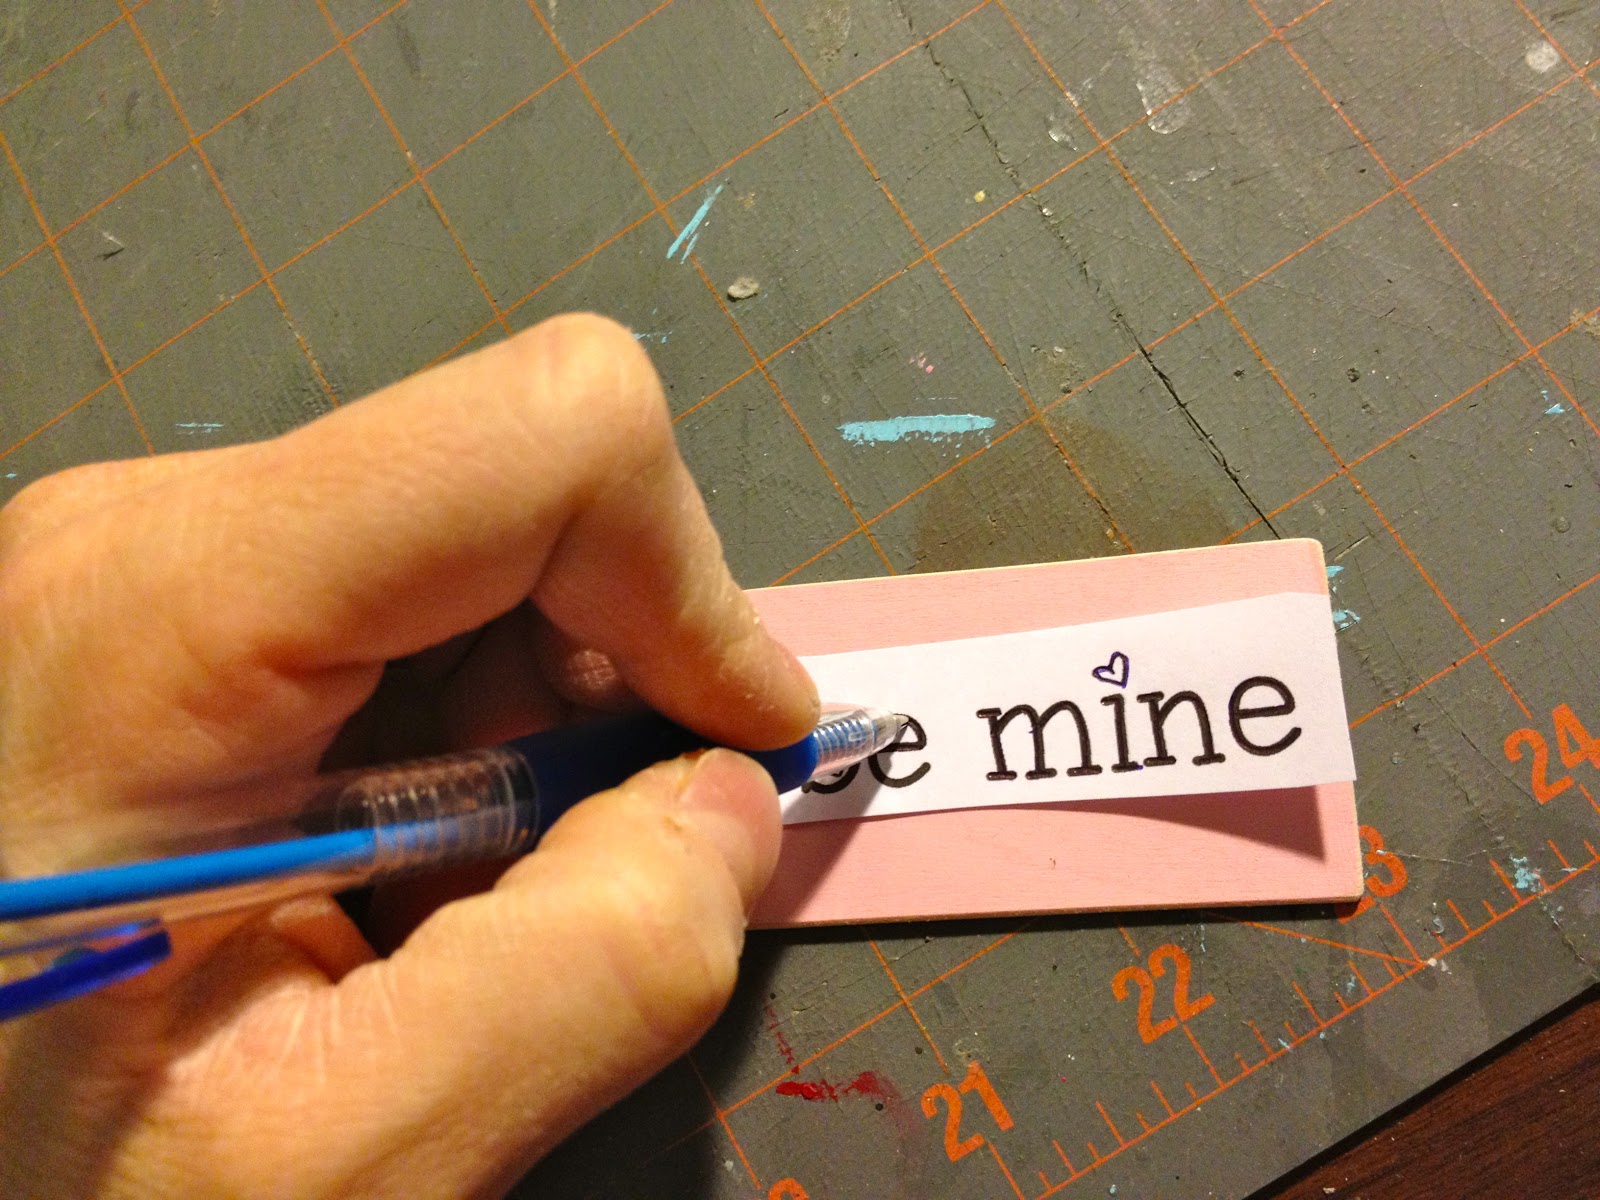
4. Line up lettering over tag and trace with ballpoint pen:
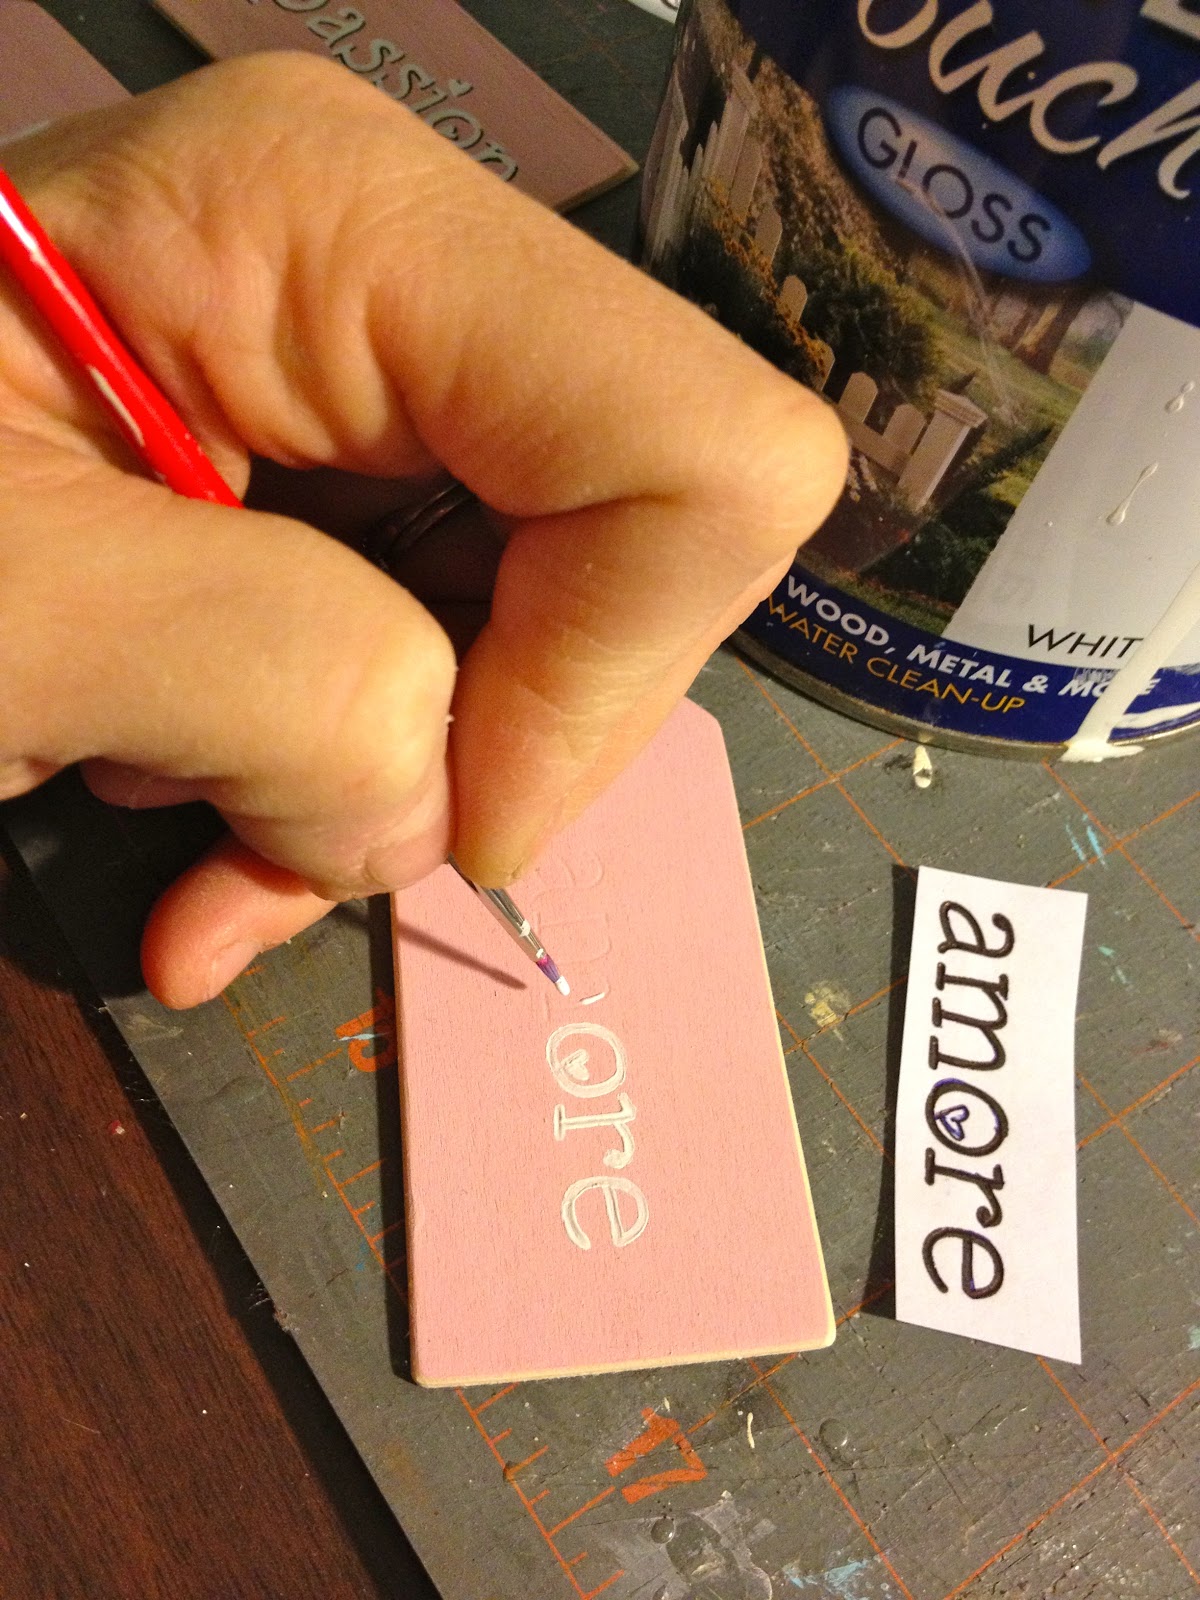
5. Paint over indent left behind by pen:

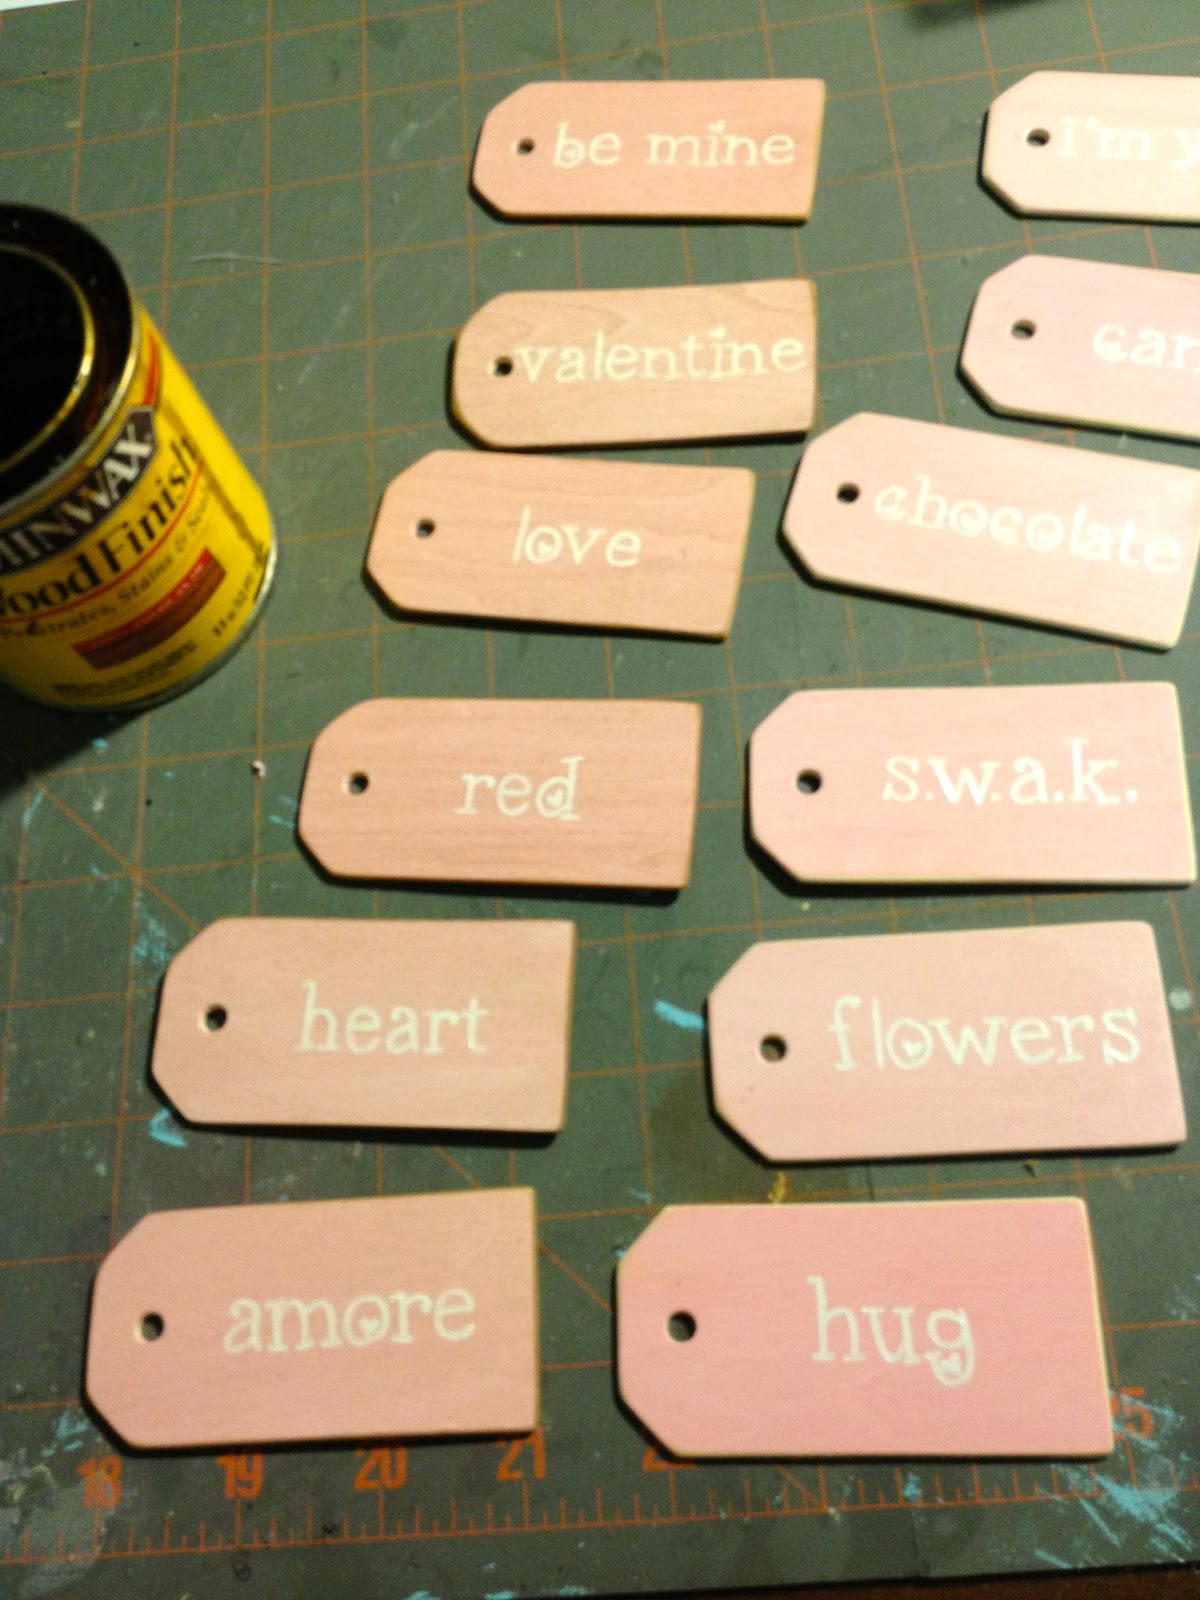
6. Apply Minwax Early American stain:
(left column is stained, right is not)

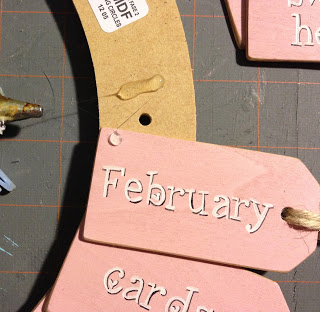
7. Add dimension to lettering with black fine point pen:

8. Add jute string:

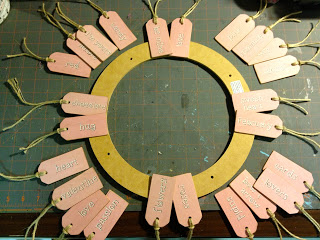
9. Use a 12″ flat wreath form and layout tags:

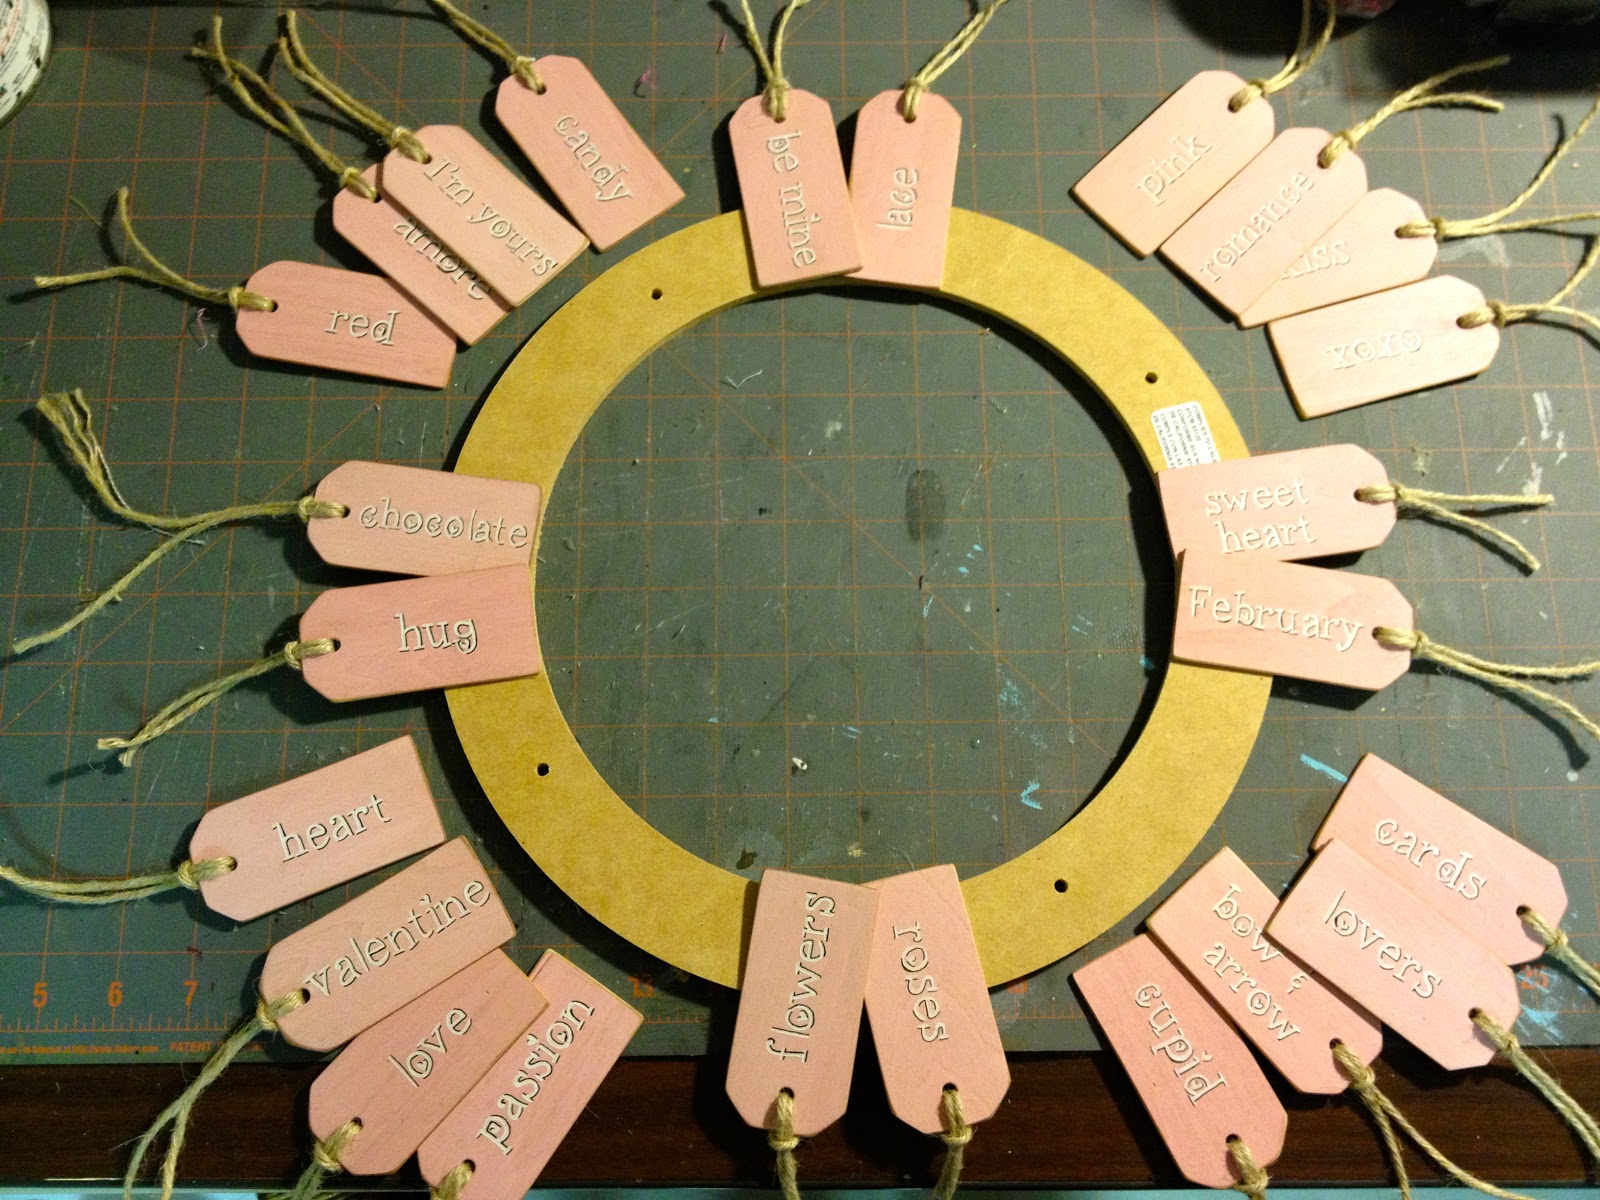
10. Overlap slightly, 6 tags per each quarter of the wreath:

11. Place a little dab of hot glue on the corner of the previous tag and on the wreath form:

I’m linking up to:

SAS @ Funky Junk

Nifty Thrifty Sunday @ Nifty Thrifty Things
DIY Project Parade @ The DIY Showoff
Tutorials & Tips Tuesday @ Home Stories A to Z
Strut Your Stuff @ Somewhat Simple
Share Awesomeness Thur @ The 36th Avenue
Pretty Things Thursday @ Scissors & Spatulas
Flaunt it Friday @ Chic on a Shoestring
Frugal Friday @ The Shabby Nest
SAS @ Just a Girl
Remodelaholics Anonymous @ Remodelaholic
inspiration board @ Carolyns Homework
Sunday Showcase Party @ Under the Table & Dreaming
Weekend Bloggy Reading @ Serenity Now

You may also like...

  • How to Make a Sugar Skull WreathHow to Make a Sugar Skull Wreath
  • DIY Workshop: Christmas Wreath TrioDIY Workshop: Christmas Wreath Trio
  • House Shape Door DecorHouse Shape Door Decor
  • DIY Giant WishboneDIY Giant Wishbone
Share this post:

Filed Under: CRAFTS, DIY, HOME DECOR, HOME DECOR, PAINT, SEASONAL, VALENTINE'S DAY14 Comments

Reader Interactions

Comments

  1. Lori Young says

    January 9, 2013 at 2:00 PM

    this is so cute!! I love the idea!!~ Lori

    Reply
  2. Liz Lewis says

    January 10, 2013 at 7:51 AM

    This is gorgeous and so feminine!
    Liz
    http://liz-makes.blogspot.com

    Reply
  3. Sherry of Pondered Primed Perfected says

    January 11, 2013 at 2:12 AM

    So very LOVE-ly!!! What a great idea. I really need some Valentine's inspirations…thanks!

    Reply
  4. Nif says

    January 11, 2013 at 2:38 AM

    So so cute! You are so darn creative! Love this wreath. Thanks for sharing!
    Hugs,
    Nif

    Reply
  5. [email protected] says

    January 11, 2013 at 2:39 AM

    super cute! Thanks for the tip on transferring the lettering by indenting with a pen. genius… and good for those of us without cricuts 🙂

    Reply
  6. Erin {Home Everyday} says

    January 11, 2013 at 3:42 PM

    Yeah, this is about the MOST ADORABLE wreath I have seen! I love this whole concept. I'm wondering if I could do a "year round" type one with welcome in every language! Thanks for the inspiration. PINNING!

    Reply
  7. Diane Higdon says

    January 11, 2013 at 8:32 PM

    Oh My Gosh…You are the wood tag Queen of all Queens!!! I LOVE it…I made a Christmas Tag for my door and followed your wonderful tutorial on how to do it, and I think it turned out wonderful. I even blogged about it. Not sure if I would have the patience to do these, but they are REALLY cute!!!! Keep em comin girl!! 🙂

    Reply
  8. [email protected] says

    January 12, 2013 at 11:08 AM

    What a cute project! I love this and also love that you can customize it with any love saying.

    I'm visiting from Serenity Now.

    Reply
  9. Designed Decor says

    January 12, 2013 at 3:30 PM

    Jaime, What an awesome and creative idea! It turned out so darn cute! I just started a new blog hop and would love for you to come over and link up your post or any social media. http://designeddecor.com/talkin-about-thursday-2/
    [email protected]

    Reply
  10. Linda @ it all started with paint says

    January 12, 2013 at 3:58 PM

    Your wreath is just darling! My hand is not steady enough to get the words to look that fabulous, so maybe some scrapbook letters might work best for me …

    Oh, and pinning!
    🙂 Linda

    Reply
  11. Our Pinteresting Family says

    January 13, 2013 at 3:47 AM

    Such a creative idea! I love your wreath. 🙂

    Reply
  12. Domestic Goddesque says

    January 13, 2013 at 9:14 AM

    What a strikingly creative idea. Love!!

    Reply
  13. gertie @ The Old Block House says

    January 13, 2013 at 9:54 PM

    Adorable! Thank you so much for sharing a link to the wooden tags. I've been looking for some of these for a prim project.

    Reply
  14. twelveOeight says

    January 14, 2013 at 5:38 AM

    This is soooo pretty!!

    xoxo, Tanya
    twelveOeight

    Reply

Leave a Reply Cancel reply

Your email address will not be published. Required fields are marked *

Primary Sidebar

Hi! I’m Jaime

Jaime Costiglio

Hello!

Thank you for stopping by.
Join me for lots of DIY.

Read more

Get new posts via email

Handbuilt Holiday: Gift Project Plans

handbuilt holiday gift project plans

Collection of DIY gift project plans to build.

The Home Depot Tool Prospective

THD Prospective

Tools to consider for the DIYer.

Archives

The Home Depot Logo
Copyright © 2022 Jaime Costiglio · Custom site by Moonsteam Design

Privacy Policy