Build: diy wood wheelie cars
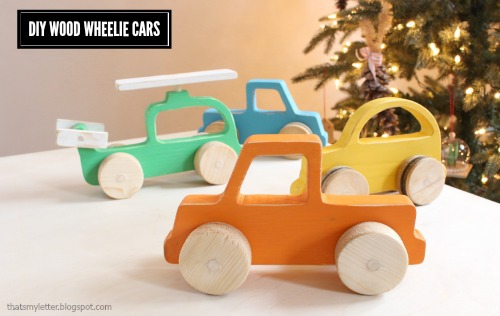
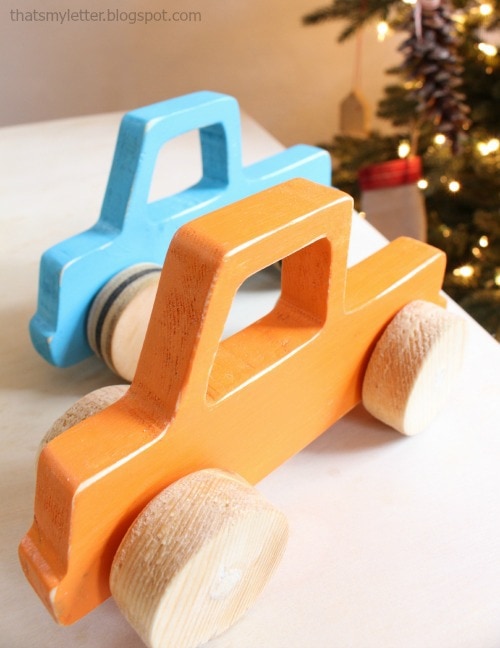
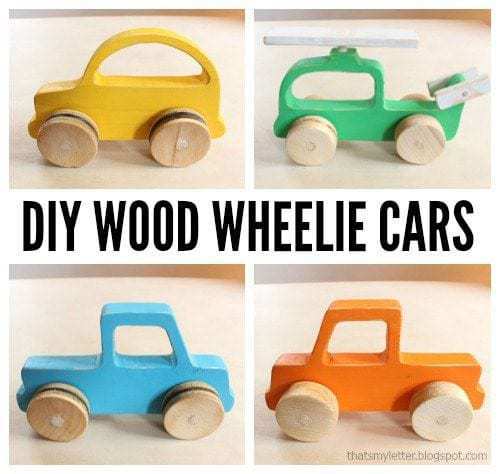
Happy Friday friends! Let’s get building. Today Ana White and I are sharing a fun toy build: wood wheelie cars made entirely from wood scraps.
Ana has plans for all of these wood wheelies: the truck, car and helicopter. Use your jigsaw to cut the shapes, I recommend a scrolling blade for smooth detailed cuts. I made the wheels with a hole saw bit but you could also purchase premade wheels from the craft store.
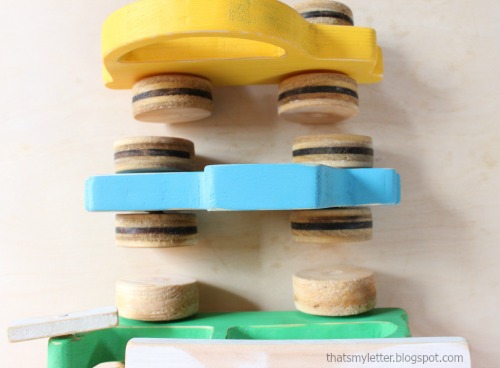
Some wheels were cut from 3/4″ plywood, the layers of wood add a nice design element but plywood does contain glue and chemicals so if you’re concerned about babies chewing on the wheels maybe consider using solid pine. All of the wheels are coated in mineral oil.
Inspired by Manny & Simon push toys:
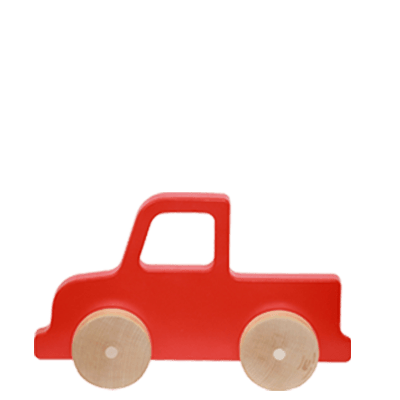
image source
They have a bunch of really cute vehicle shapes but they’re a little pricey, if you have some wood scraps you can make your own for practically nothing!
Go to Ana’s site to get the pdf patterns and plans for all of the wood wheelie car designs. You’ll be making wheelie cars for all the little ones on your list this year.
How to make wood wheelie cars:
Follow Ana’s plans for dimensions and shape cut outs.
Step 1: Use a jigsaw to cut out shape.
Step 2: To cut interior spaces drill a hole large enough for saw blade to fit.
Step 3: Sand well and paint body. Be sure to use child-safe paint and seal with mineral oil. Drill holes for wheel dowel using a bit one size larger than dowel.
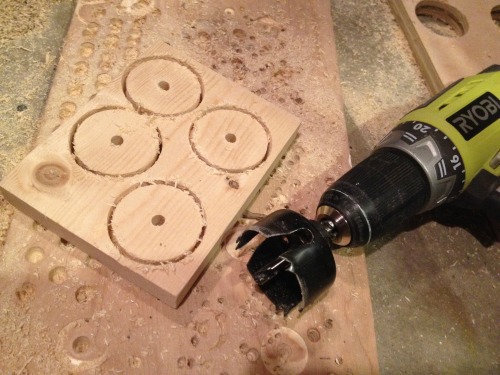
Step 4: Use a hole saw to cut out wheels. (Good tutorial here.)
Step 5: The wheels will need a lot of sanding to get smooth. (I also think my hole saw blade was pretty dull which didn’t help matters.) Purchase a dowel with a diameter to match the center hole made by the hole saw.
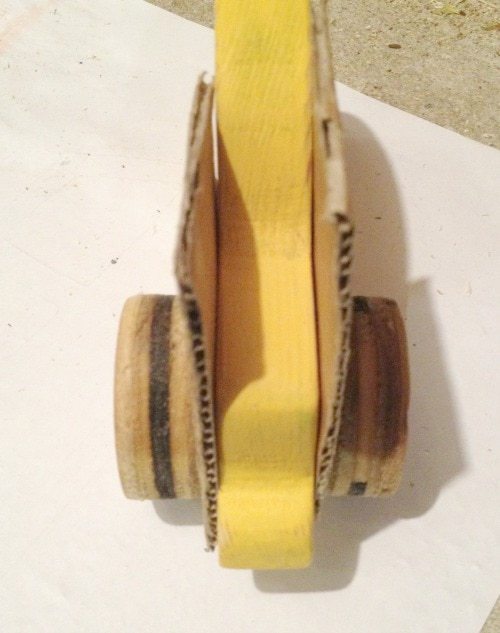
Step 6: Cut dowel at 2 1/2″ long. Insert and glue one wheel. Prepare cardboard spacers by cutting out a notch for the dowel.
Step 7: Assemble wheels using cardboard spacers between wheel and body, this will allow the wheels to move freely without rubbing against the body.
Looking for more diy gift build ideas? Click here to see all the builds so far this year and 12 gift builds from last year too!
I’m linking up to:
Creative Collection @ Lolly Jane
That DIY Party @ The DIY Showoff
Tutorials & Tips Tuesday @ Home Stories A to Z
Share Awesomeness Thur @ The 36th Avenue
Pretty Things Thursday @ Scissors & Spatulas
Flaunt it Friday @ Chic on a Shoestring
Frugal Friday @ The Shabby Nest
Furniture Feature Friday @ Miss Mustard Seed
SAS @ Just a Girl
Remodelaholics Anonymous @ Remodelaholic
inspiration board @ Carolyns Homework
Sunday Showcase Party @ Under the Table & Dreaming









I love this! Off to the garage now…
These are so sweet.
These would be amazing for little boy gifts! Love this idea so much. I'm thinking I could make this into a train. 😉
I see you are using the BladeRunner saw. Do you like it? I got one and don't think it works that well. Any suggestions on blades that work well with it?
What kind of paint do you suggest for these? I love this idea, but am concerned about the paint. Any suggestions?
Love these and want to make for my grandson. Just wanted to know what paint to use as little ones put all things in their little mouths. Thanks
I used DecoArt Americana Acrylic paint, it is non-toxic.