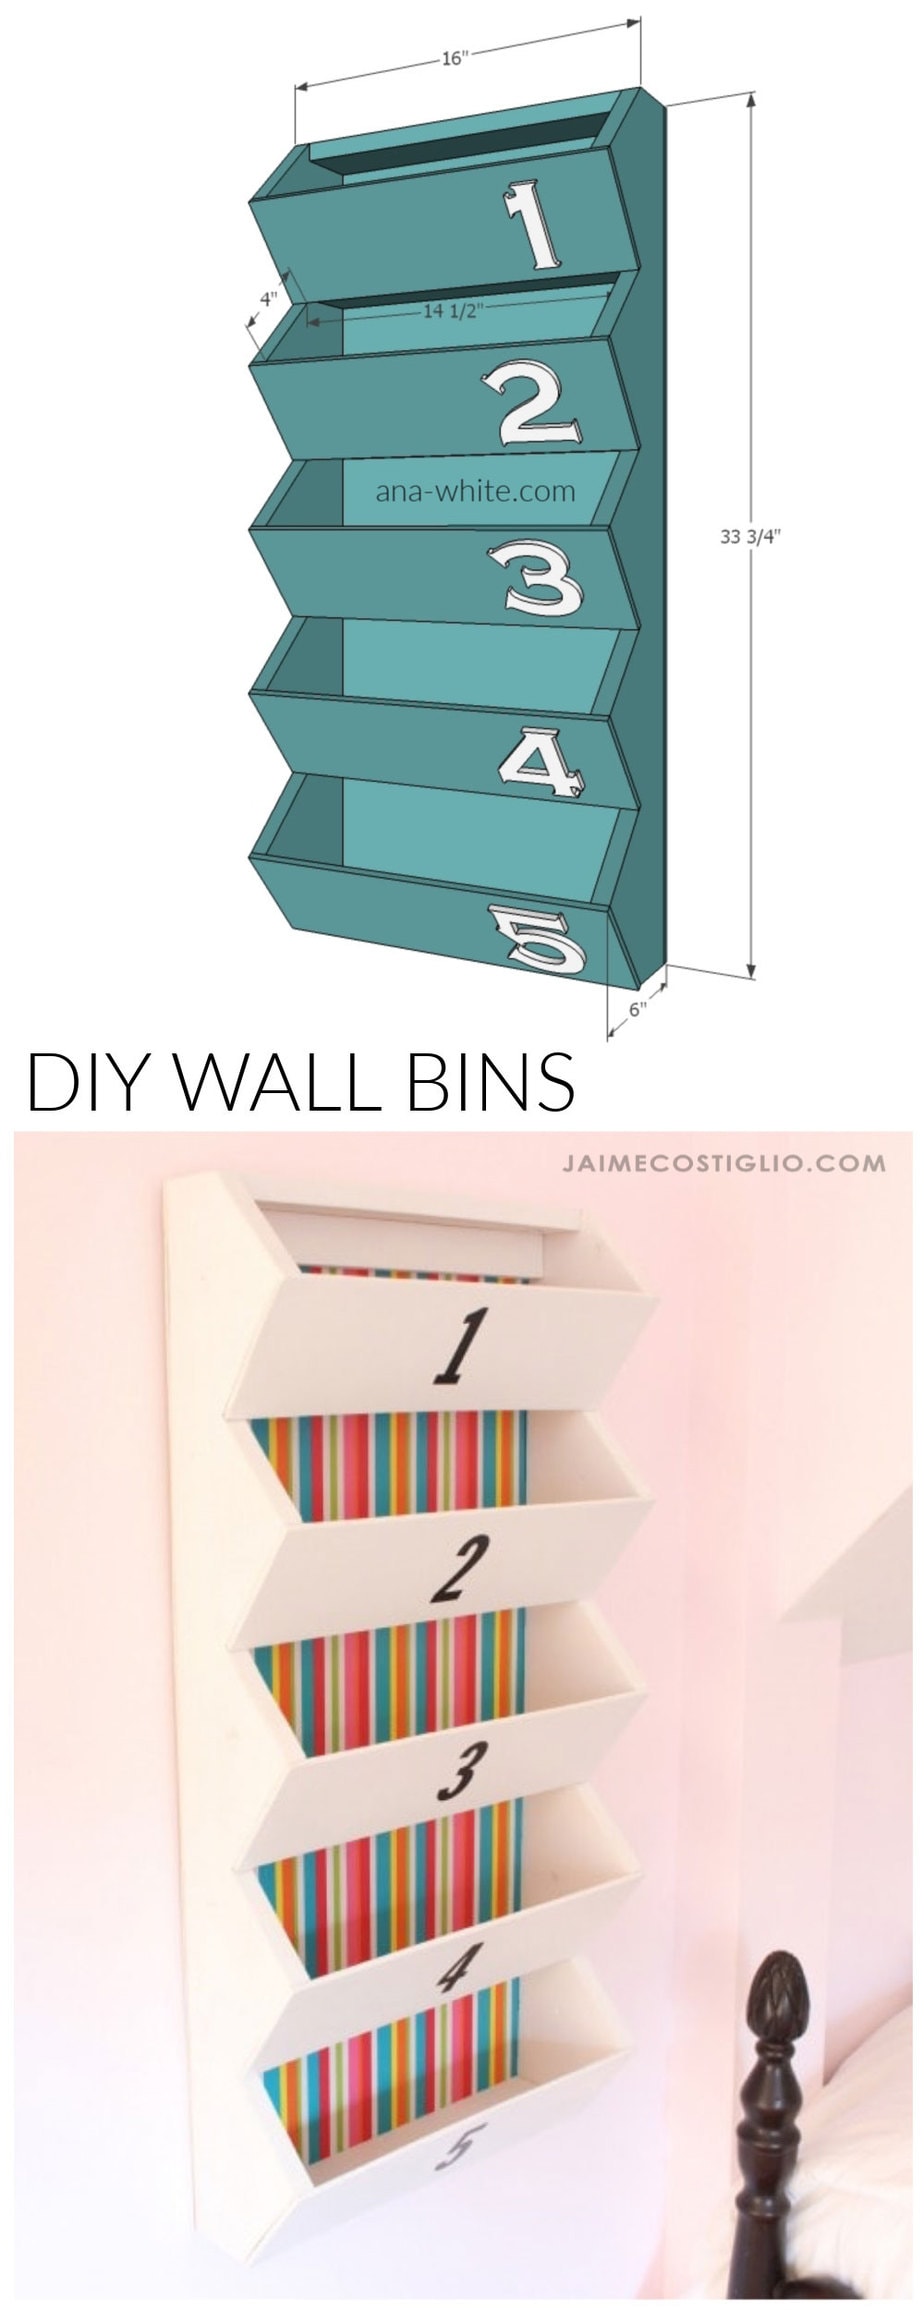
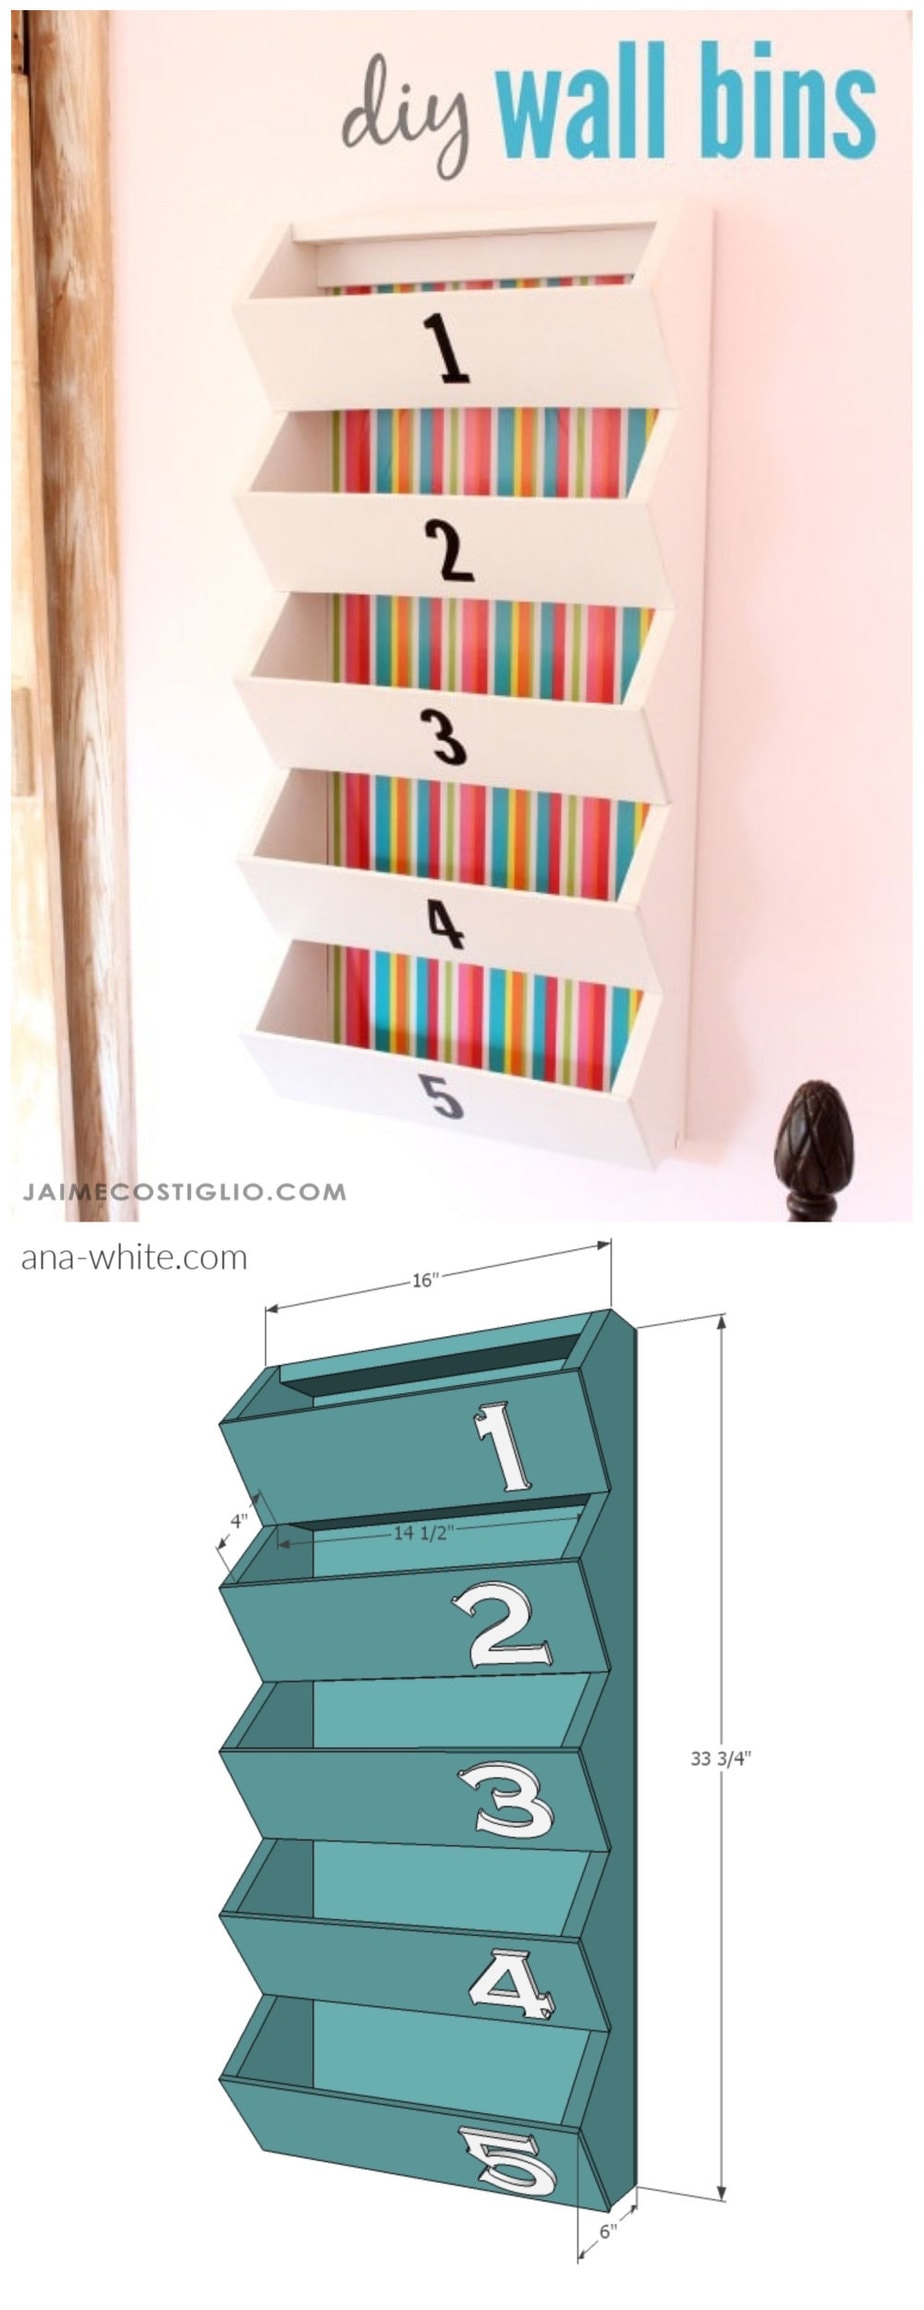
A place for everything and everything in it’s place. So let’s make a place for all the small things floating around and DIY some wall bins to corral the mess. Ana White and I are back at it again sharing another handmade holiday gift build that’s great for any age. These perfectly sized wall bins are sure to be a much appreciated gift for anyone.

A DIY tutorial to build vertical wall bins with tons of storage for all the things. Make wall storage for kids bedroom, mudroom and more!

We’re building our way towards the big day less than 5 weeks away! Get started now on all your gift builds and your friends and family will be thanking you. Every Friday leading up to Christmas we will be sharing a gift project idea with free plans. Be sure to follow along as we make holiday magic with Handbuilt Holiday gift ideas.

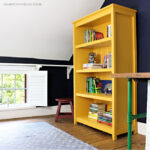
Who needs cute storage? Everyone! I built these wall bins using Ana’s plans for my two tween nieces. So I choose white paint and fun, bright colored backings but the finish options are endless.
Wall Bin Storage:
- easily accessible
- corral small bits
- add fun pattern to room decor
- great for boys, girls or even in a nursery
We borrowed this idea from Crate and Barrel and used their Take Five Wall Bin (no longer available) as inspiration:

Their wall bins version is obviously made from metal but we built our version using wood boards. Therefore, it costs about $25 in supplies plus you can customize it any way you like. But you can make it your own with customizations like:
- paint color
- numbers – use vinyl, wood or metal
- letters – spell out a name or monogram
- add decorative flourish on front of bin

The backing is inexpensive wrapping paper attached to 1/4″ plywood using spray adhesive. Because it is so colorful it makes a great contrast to the white bins.


Ana’s plans are very easy to follow step-by-step instructions with all the cuts. Hence you’ll need a jigsaw for this build to cut out the stepped side pieces and after that it all comes together quickly.


Supplies:
- Ana’s plans linked here
- miter saw
- jig saw
- sander
- measuring tape
- pocket hole jig
- drill
- nail gun
- wood glue
- 3″ black vinyl numbers
Below are a few detailed construction notes. And be sure to read through Ana’s plans here entirely before beginning.

Step 1: Cut the sides using a jigsaw.

Step 2: Add the cross supports (base of each bin).
(not pictured) Step 3: Nail the front pocket pieces in place using a nail gun. After that apply putty, sand & paint.

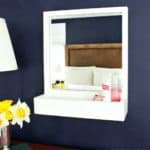
Step 4: Before attaching the backing I used spray adhesive and wrapping paper to make a decorative background.

Step 5: Find the center of each bin and apply 3″ black vinyl numbers.
In conclusion thanks for joining me for this wall bins project. Please leave any questions in the comments below and be sure to follow me on social media for sneak peeks, tools and project inspiration:
Instagram / Pinterest / Facebook / Youtube / Twitter
SHOP THIS PROJECT:


This is so cute! Love the fun patterned backing.