* This post is sponsored by The Home Depot.
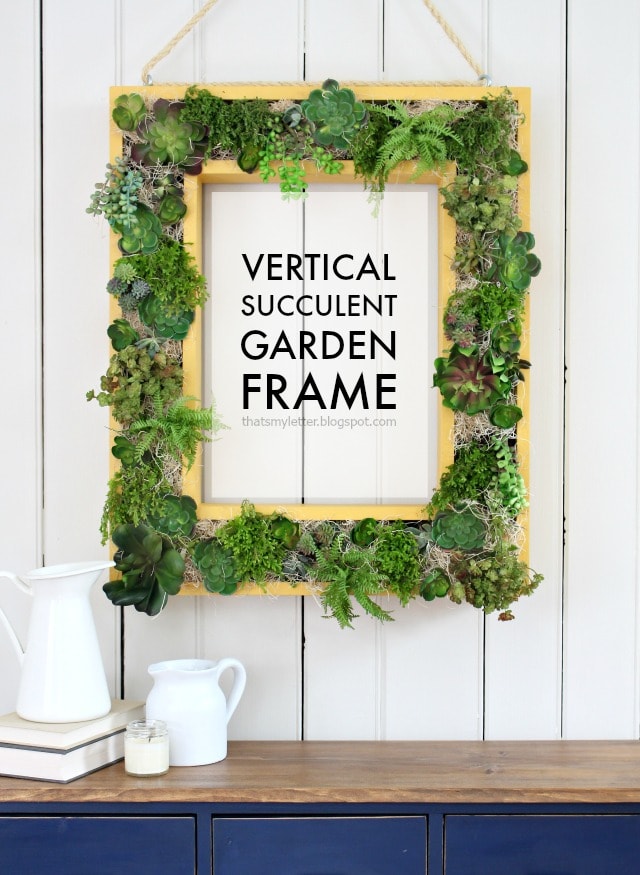
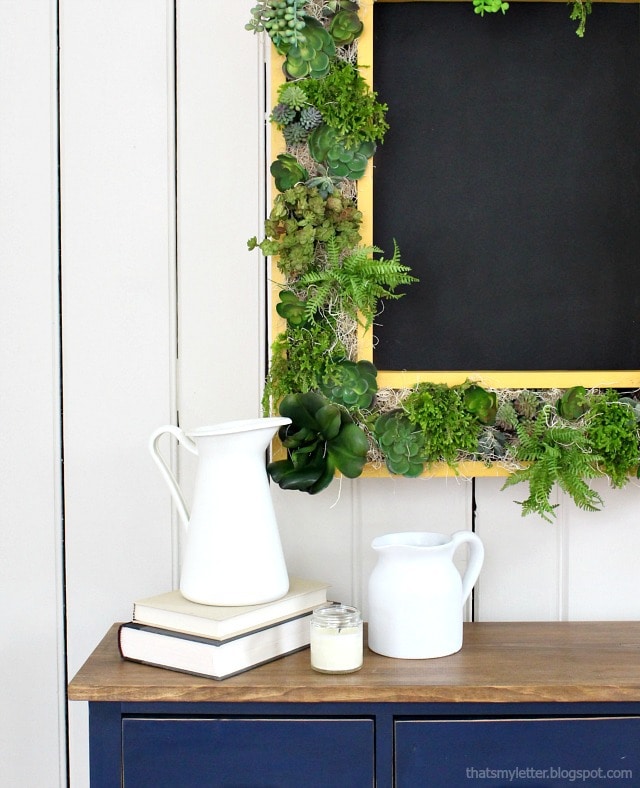
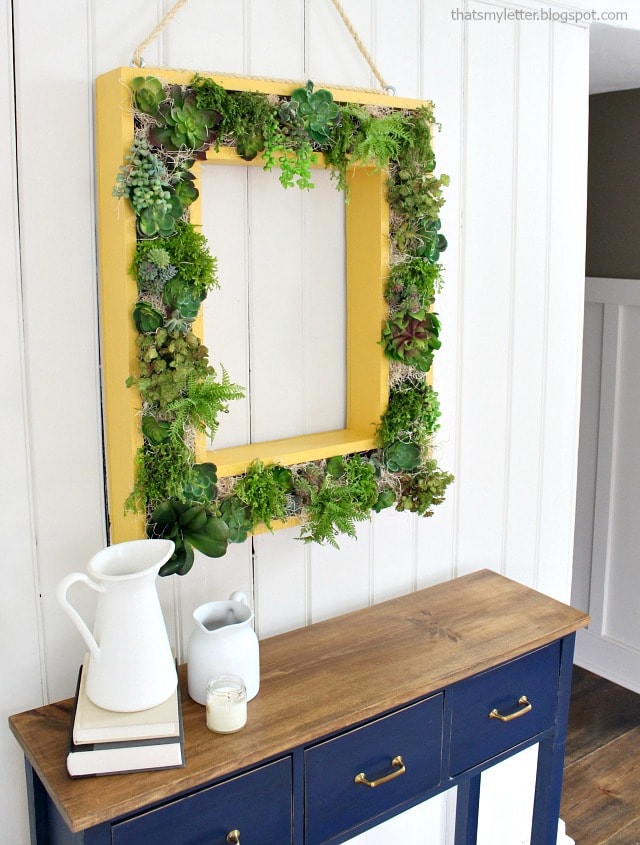
Today is the day we celebrate with a virtual party! Ten diy bloggers sharing their custom versions of the vertical succulent garden Do-It-Herself Workshop project. I opted to make my planter into a vertical succulent garden frame:
The DIH workshop at The Home Depot is happening this Thursday, April 20th at 6:30pm, click here to register at your local store. Learn to make a vertical succulent garden with just a few simple steps.
The Home Depot offers Workshops at all of their locations for do-it-yourselfers of all ages and experience levels. There are three types of Workshops offered – Do-It-Yourself (DIY), Do-It-Herself (DIH) and Kids.
Customers can learn how to build décor projects, how to make easy home repairs and how to operate tools through demonstrations and step-by-step instructions.
Visit http://workshops.homedepot.com to learn more.
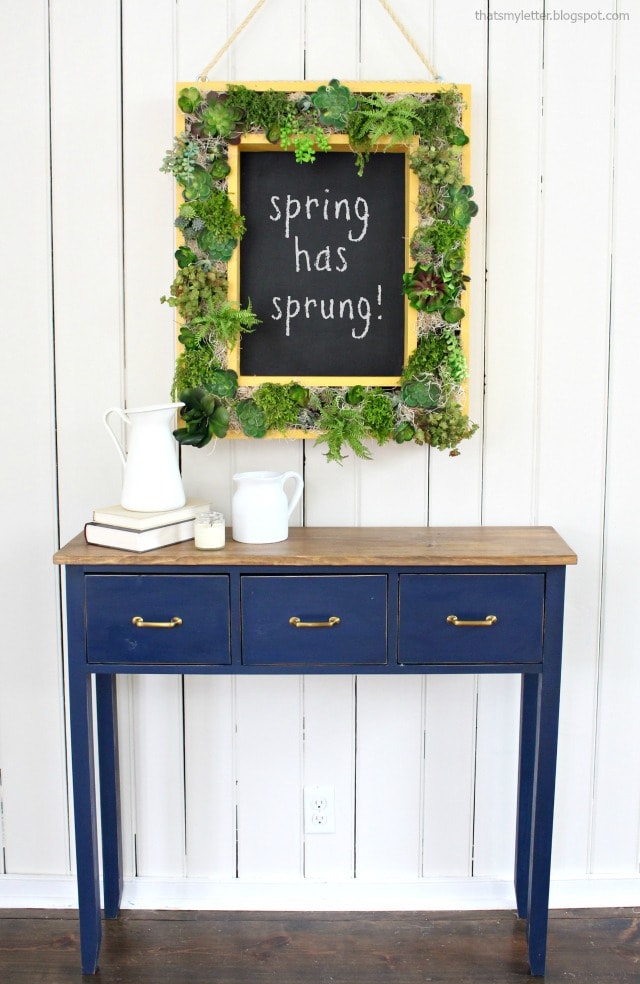
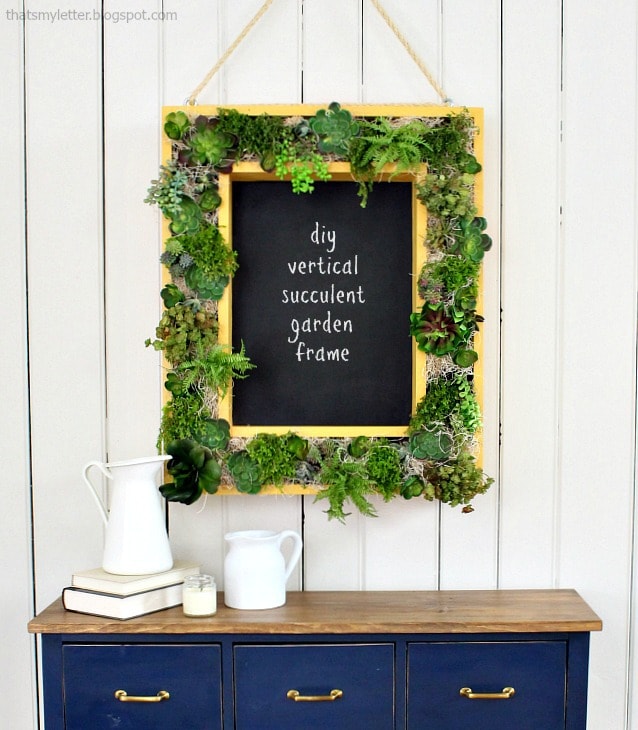
I thought it would be more useful to add a chalkboard to my vertical succulent garden frame:
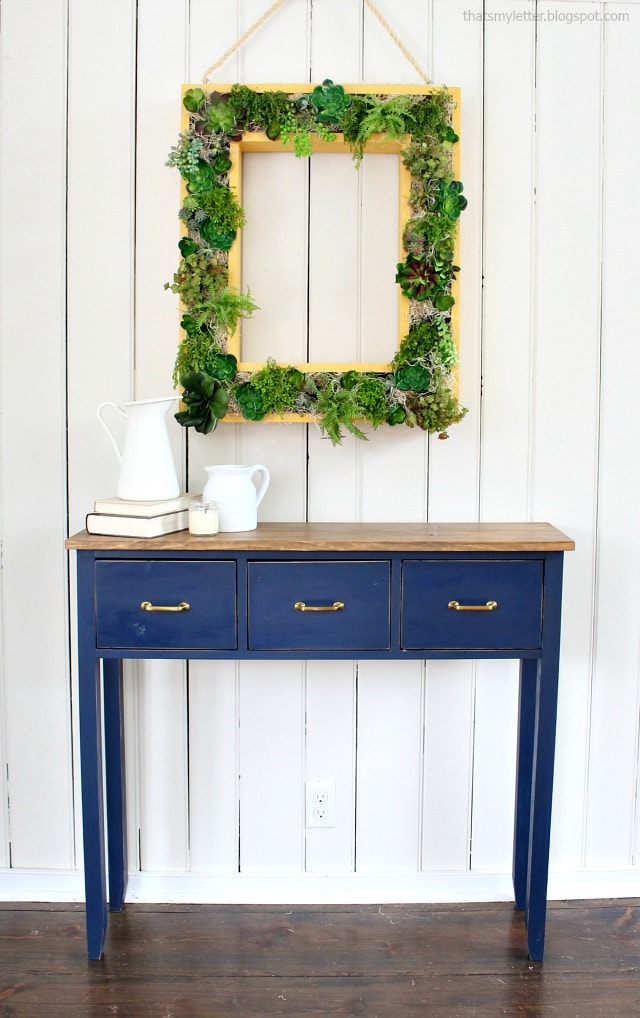
But I do like it without the chalkboard too. Something about that negative space gives me a little breathing room.
Either way you can learn to make the Vertical Succulent Garden project at the DIH Workshop at your local Home Depot store and then customize however you like – chalkboard or no chalkboard.
And if you have previously attended a workshop and would like to supply feedback please complete this survey here. Genuine customer experiences and response provides direction and aids in making the workshops experience successful.
Be sure to visit all my blogger friends who created custom versions of the vertical succulent garden:
Jen @ House of Wood
Brooke @ All Things Thrifty
Sandra @ The Rustic Life
Amy @ Her Toolbelt
Jenn @ Build Basic
Karianne @ Thistlewood Farms
Timisha @ Toolbox Divas
Kelli & Kristi @ Lolly Jane
Debbie @ Refresh Restyle
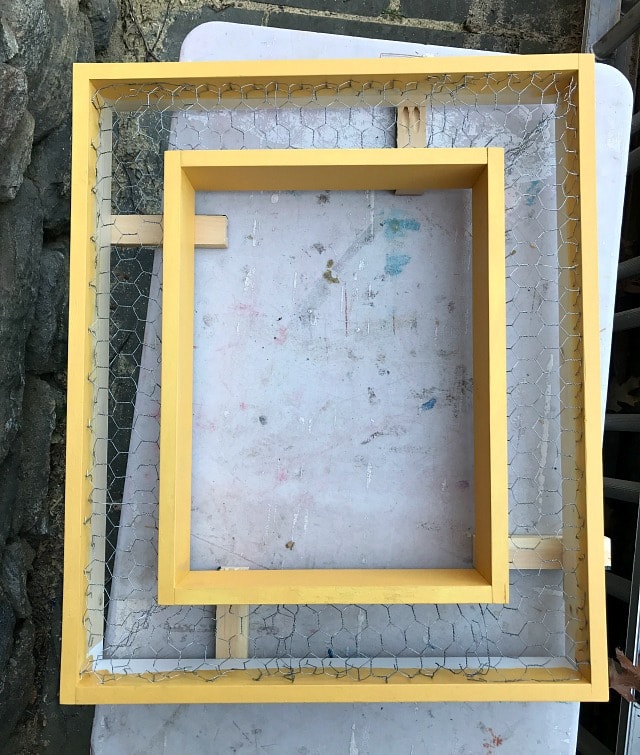
To make my vertical succulent garden frame simply create two boxes, one smaller to fit inside the other:
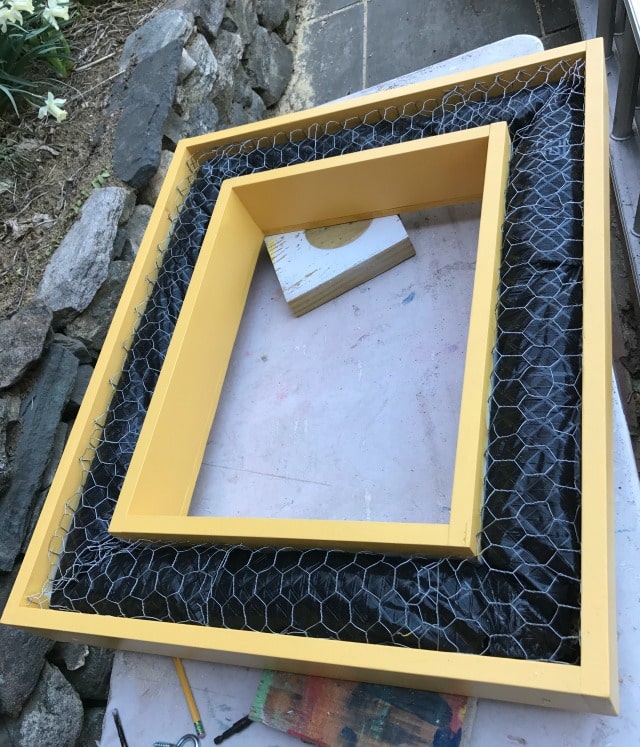
I kept a 3 1/2″ space between the boxes, enough room for the stapler to fit when attaching the chicken wire.
Attach the poly and fill it up with soil then attach the back.
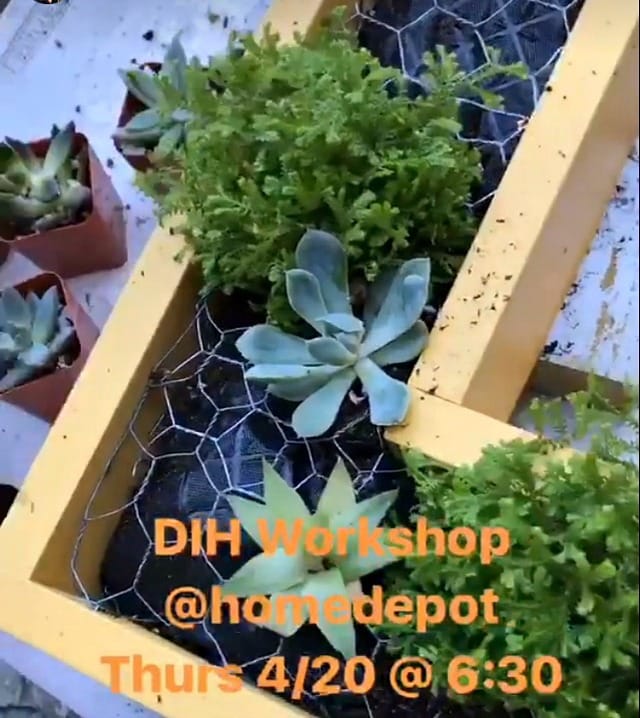
If you follow me on Instagram you may have seen the actual process during my Instagram story. Here I am filling the frame with succulents:
Add the screw eyes and rope then hang and enjoy!
Then change your mind and add a chalkboard painted piece of plywood for a different look.
Thank you for visiting, I hope you enjoyed this project and please leave comments and share.
* I acknowledge that The Home Depot is partnering with me to participate in this Workshops Program. As a part of the Program, I am receiving compensation in the form of products and services, for the purpose of promoting The Home Depot. All expressed opinions and experiences are my own words. My post complies with the WOMMA Ethics Code and applicable Federal Trade Commission guidelines.





Hello. Do you mind telling me how you attached the chalkboard and also what material you use for the back and how it was shaped? Thanks
The chalkboard panel is screwed to the yellow frame portion on the back. The back is 1/2″ plywood cut to fit, use a jigsaw to cut out the interior portion. Hope that’s helpful.
Thank you so much for responding so quickly! I appreciate the help! Ps. The comment section seems to jumble up words when i type them.
You’re welcome Hawie and thank you for letting me know about the typing in the comments section, I will work on a fix.
This is gorgeous!
When following your steps I’m not sure what “Attach the poly and fill it up with soil then attach the back.” means?
– You staple the chicken wire to the frame
– Then put in poly planter bags
-Fill those with soil
…. And then?