Looking for an easy to make party favor?
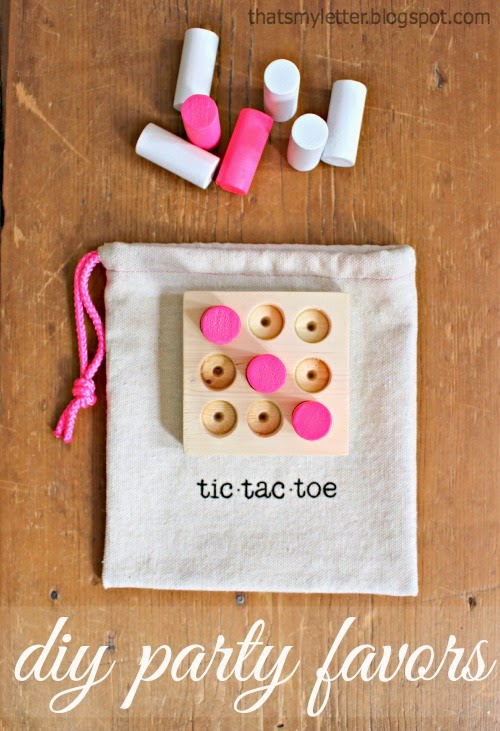
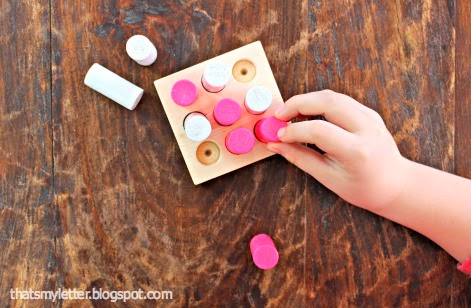
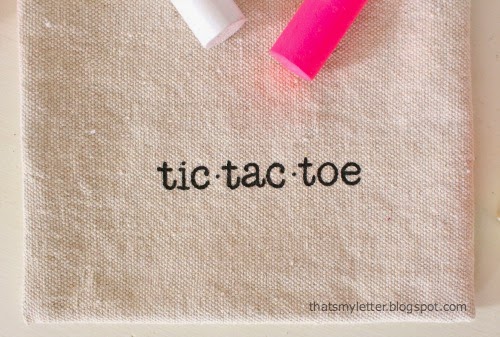
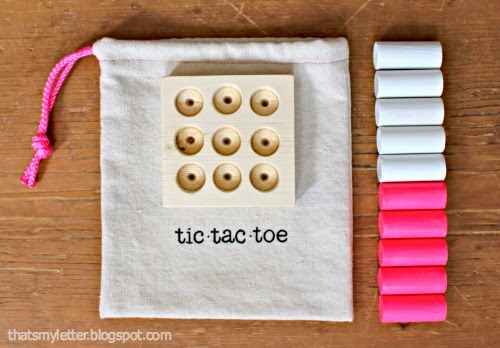
Portable tic tac toe game made with wood scraps.
*** CHOKING HAZARD: NOT SUITABLE FOR TODDLERS ***
How to make tic tac toe party favors:
1. Use a 1×4 scrap cut at 3 1/2″ long.
Draw the grid using the dimensions below, dimensions are the same both vertical and horizontal.
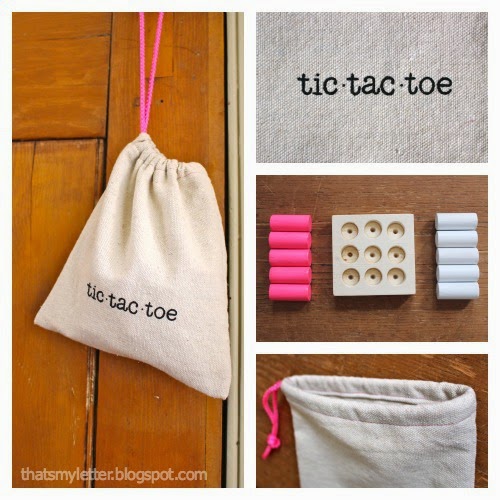
Use a 3/4″ spade bit and make a hole at the center of each box:
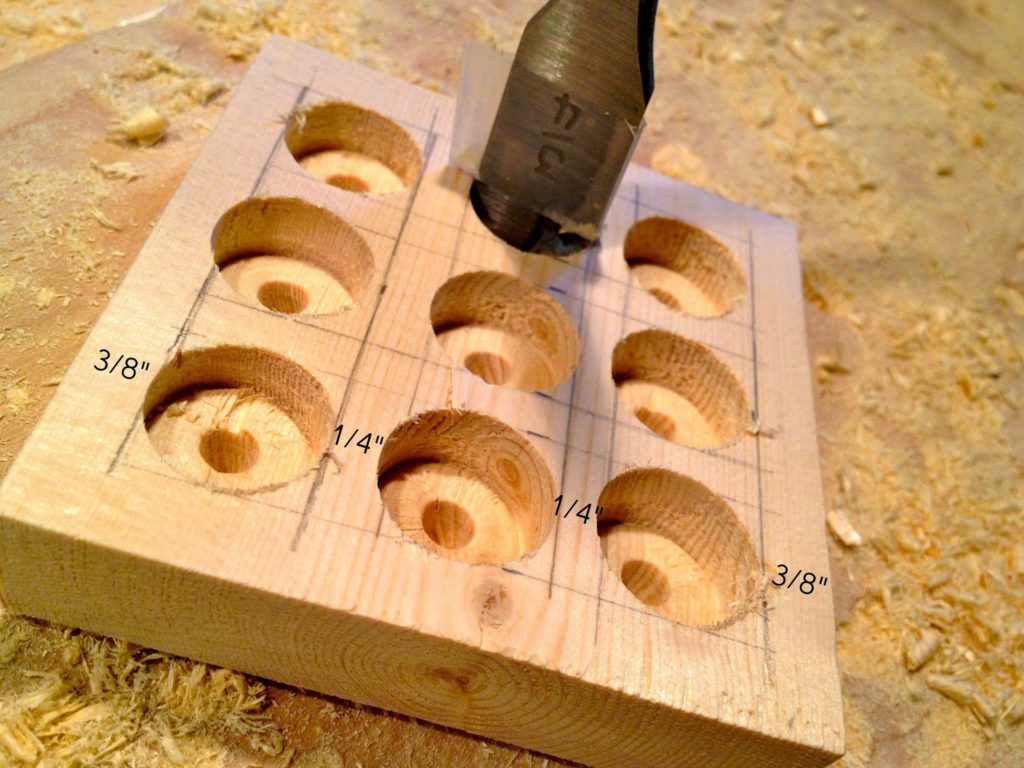
2. Mark the spade bit with tape as a stopper to prevent you from drilling all the way through the wood:

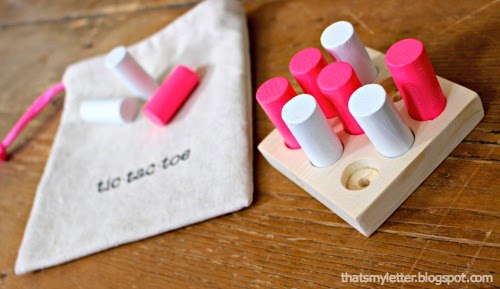
3. Cut 10 – 3/4″ dowel pieces at 2 1/2″ long:

Spray paint 5 pieces one color and 5 pieces another color.
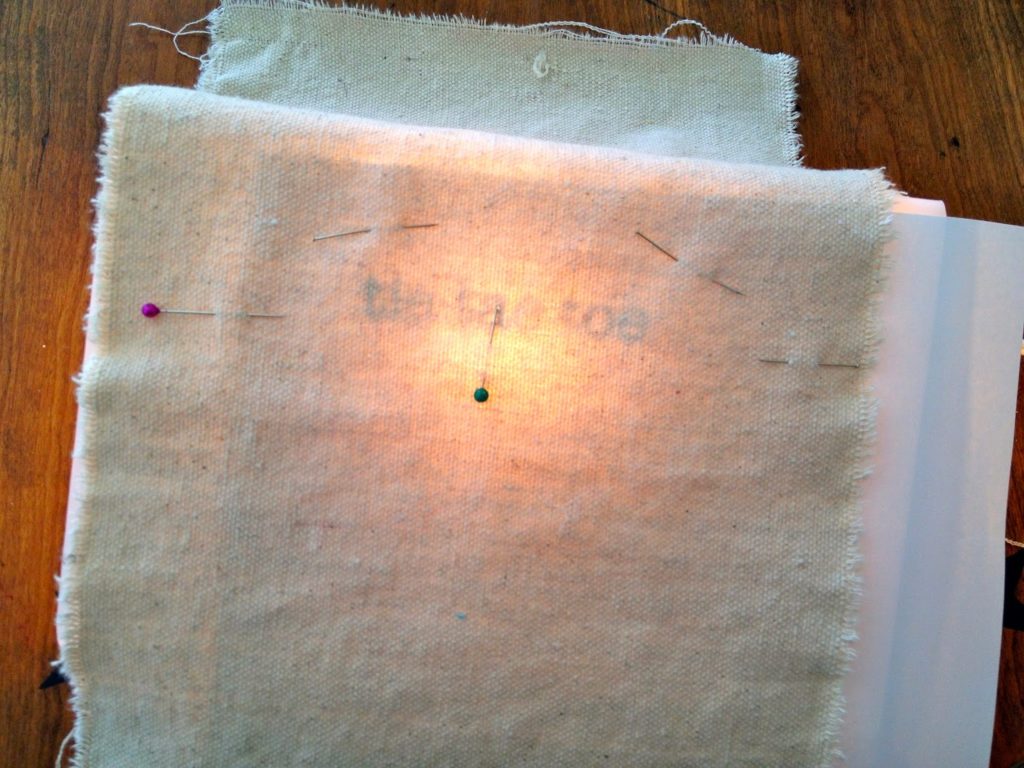
4. To make the storage bag cut a piece of drop cloth 8″w x 18″l. Print out the lettering (I used American Typewriter font). Fold drop cloth in half and determine where you want lettering, mark with pins:
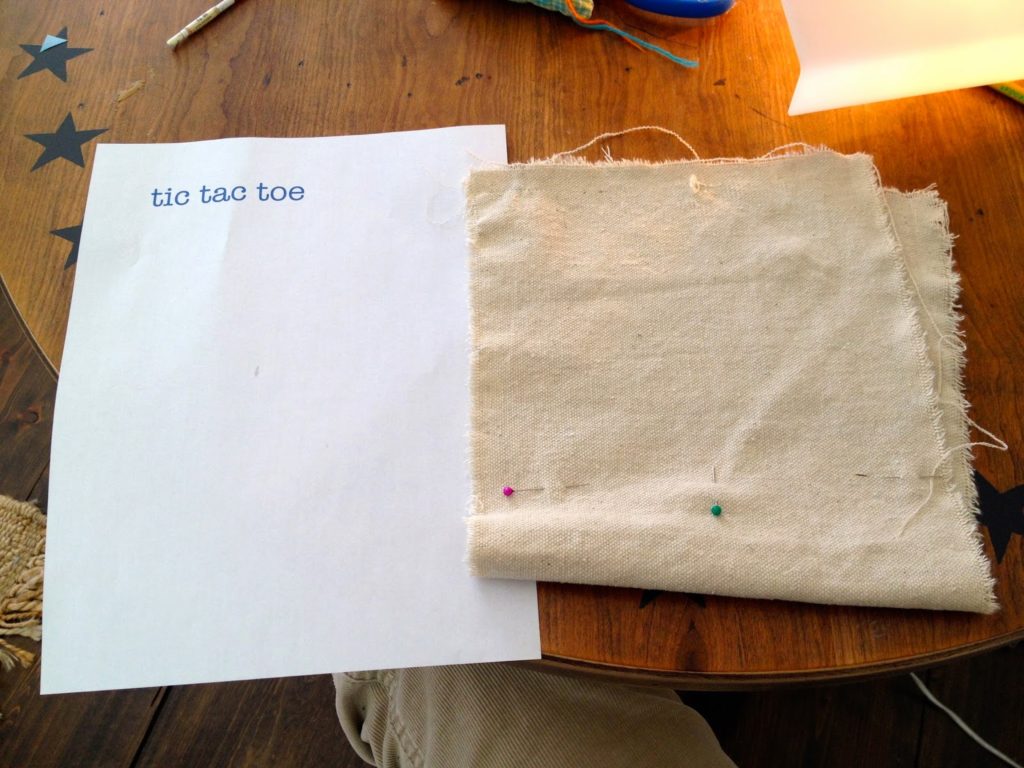
5. Pin the print out behind the drop cloth and line up to your pins.
Place everything on top of a lightbox:
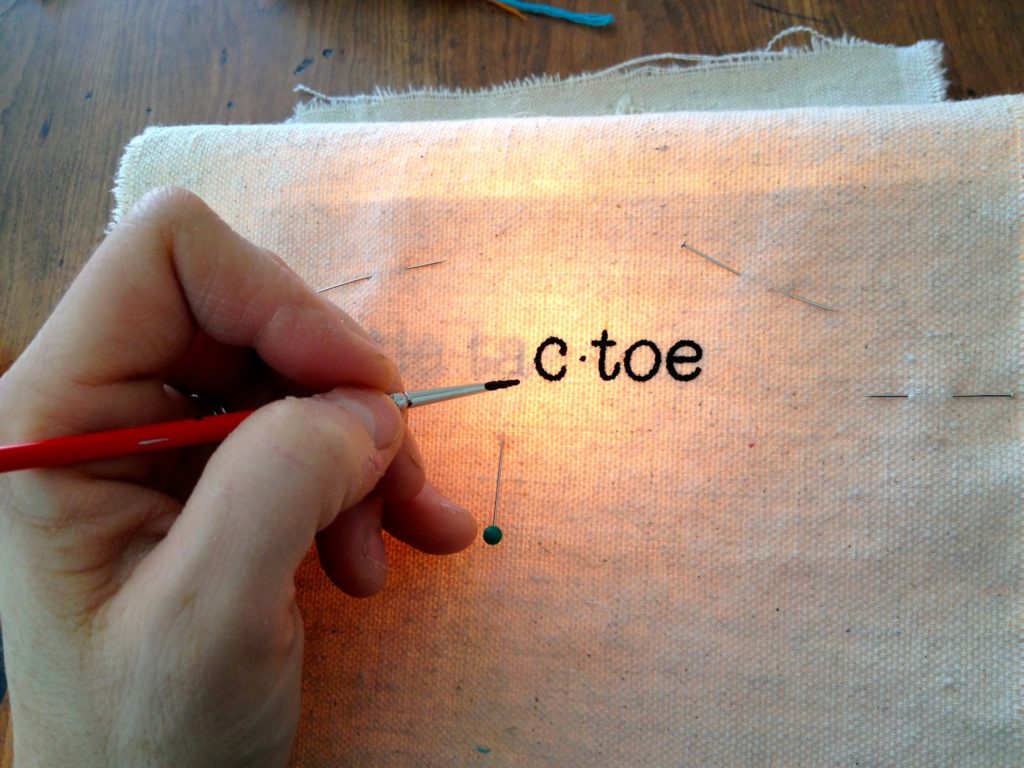
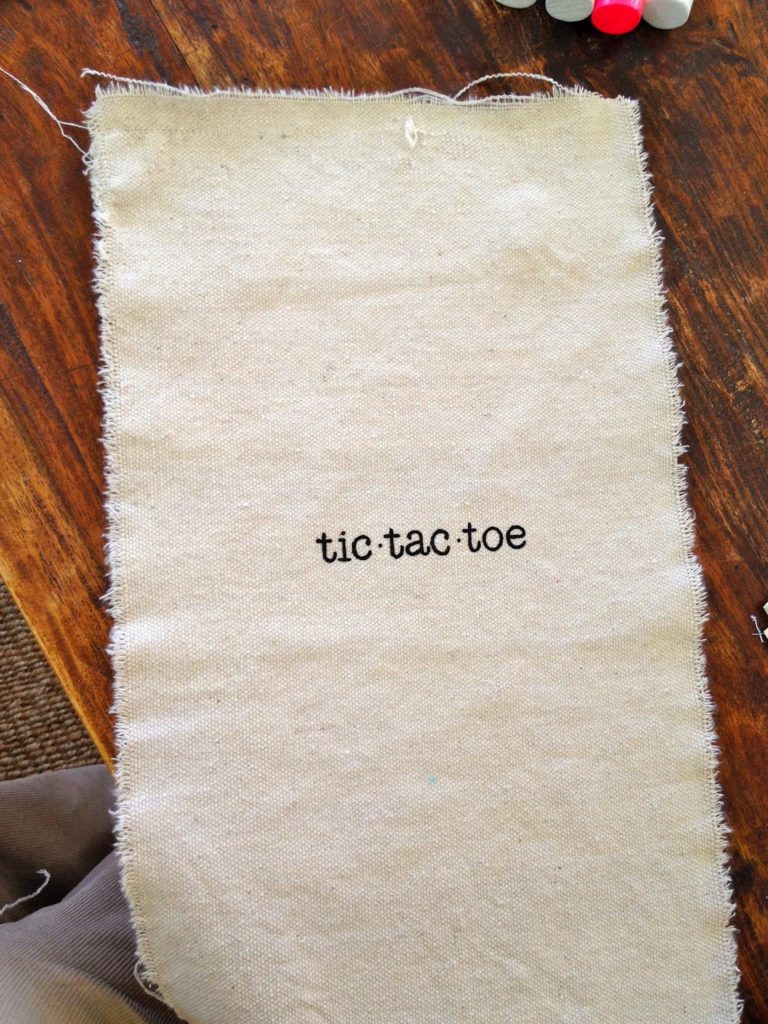
6. Using black acrylic craft paint and a small brush paint the lettering:
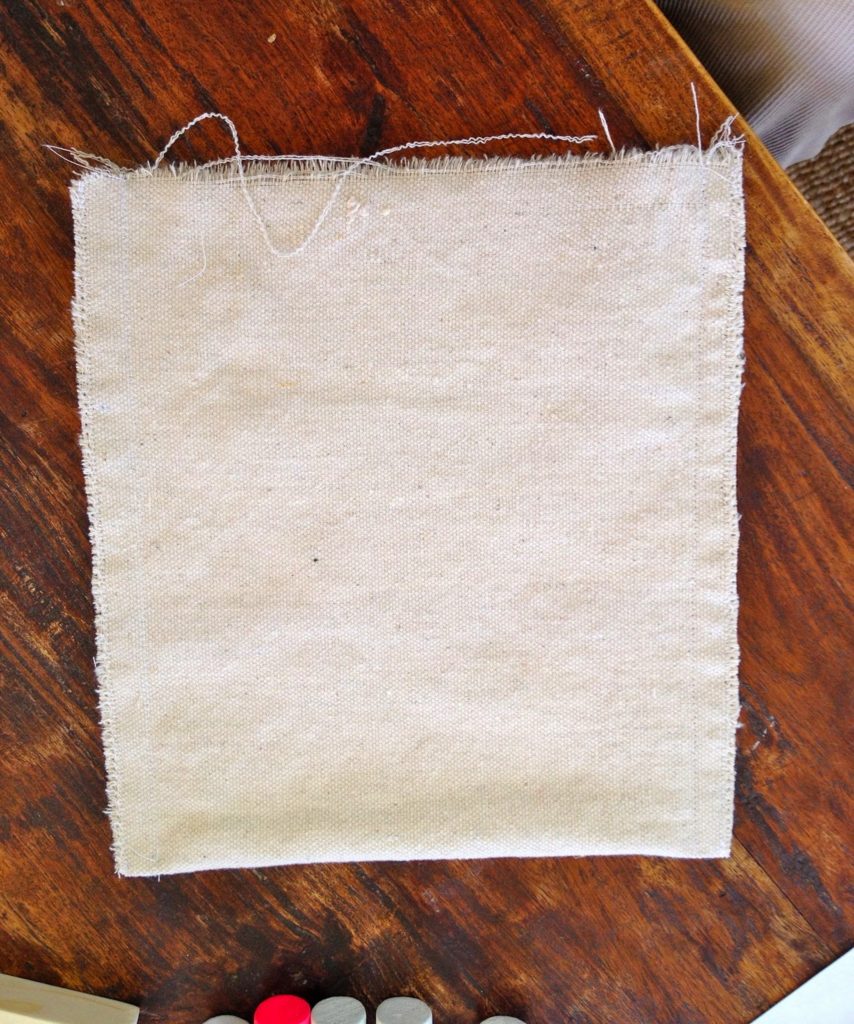
7. Fold drop cloth in half right sides together and sew sides seams closed (I also zig zag stitched the raw edges to prevent fraying.):
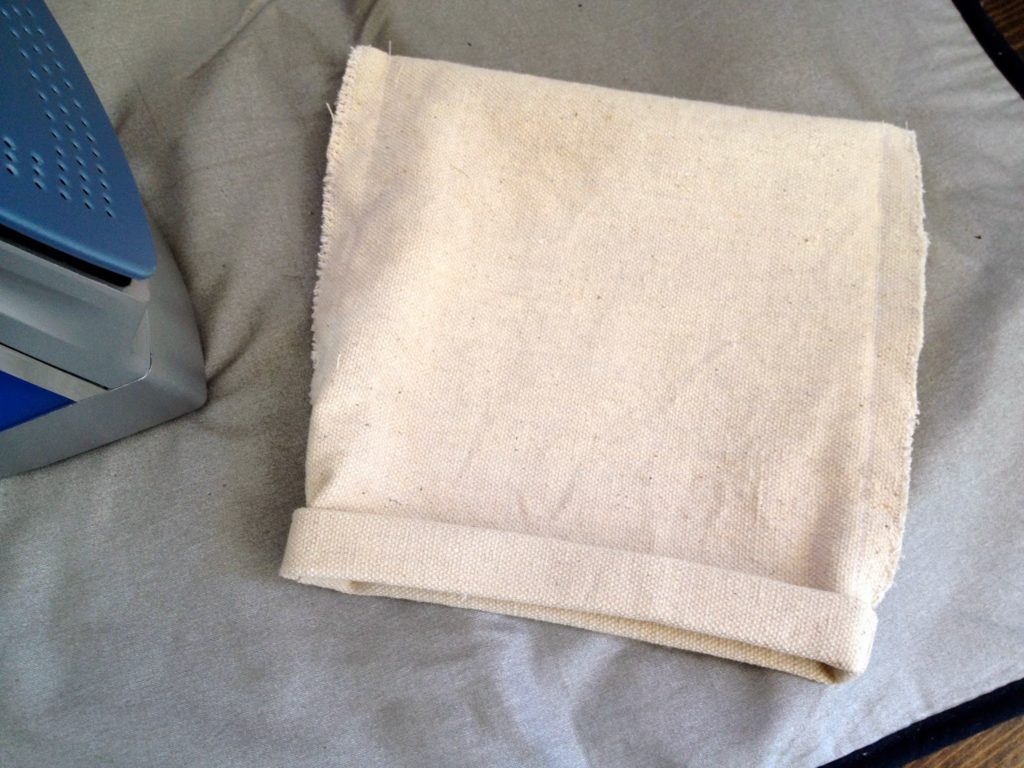
8. Turn down raw edge of opening 1/2″ and press:
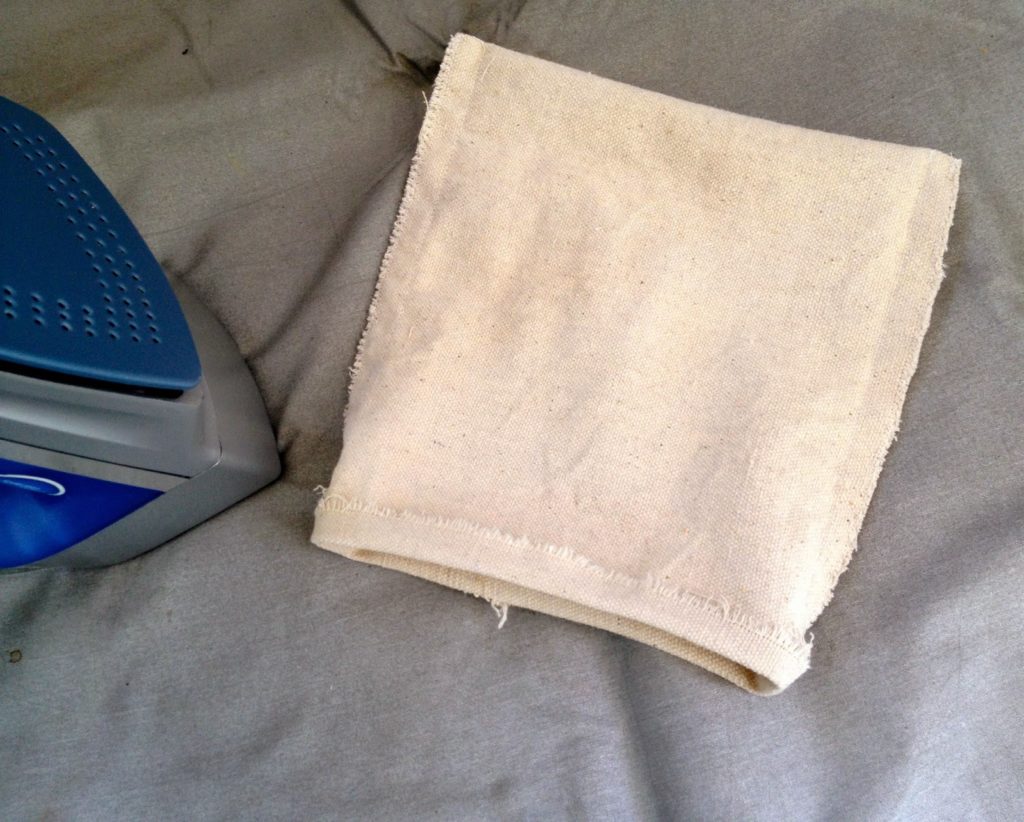
9. Turn down opening generous 1/2″ again and press:
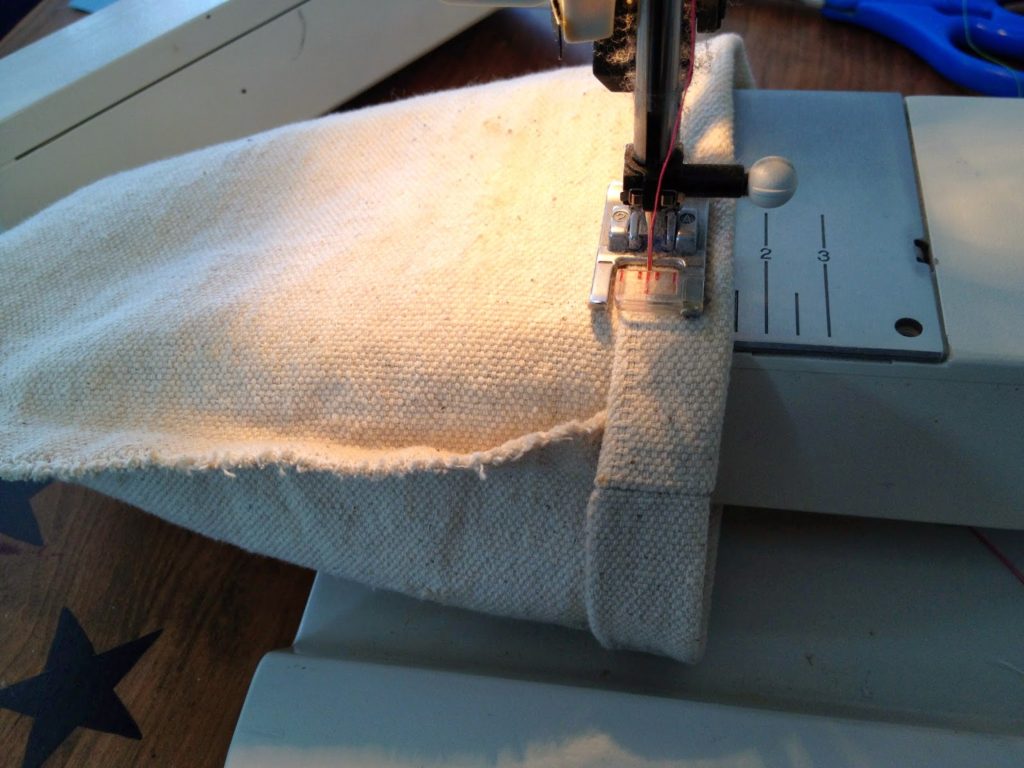
10. Sew turned down edge scant 1/2″ from finished opening:
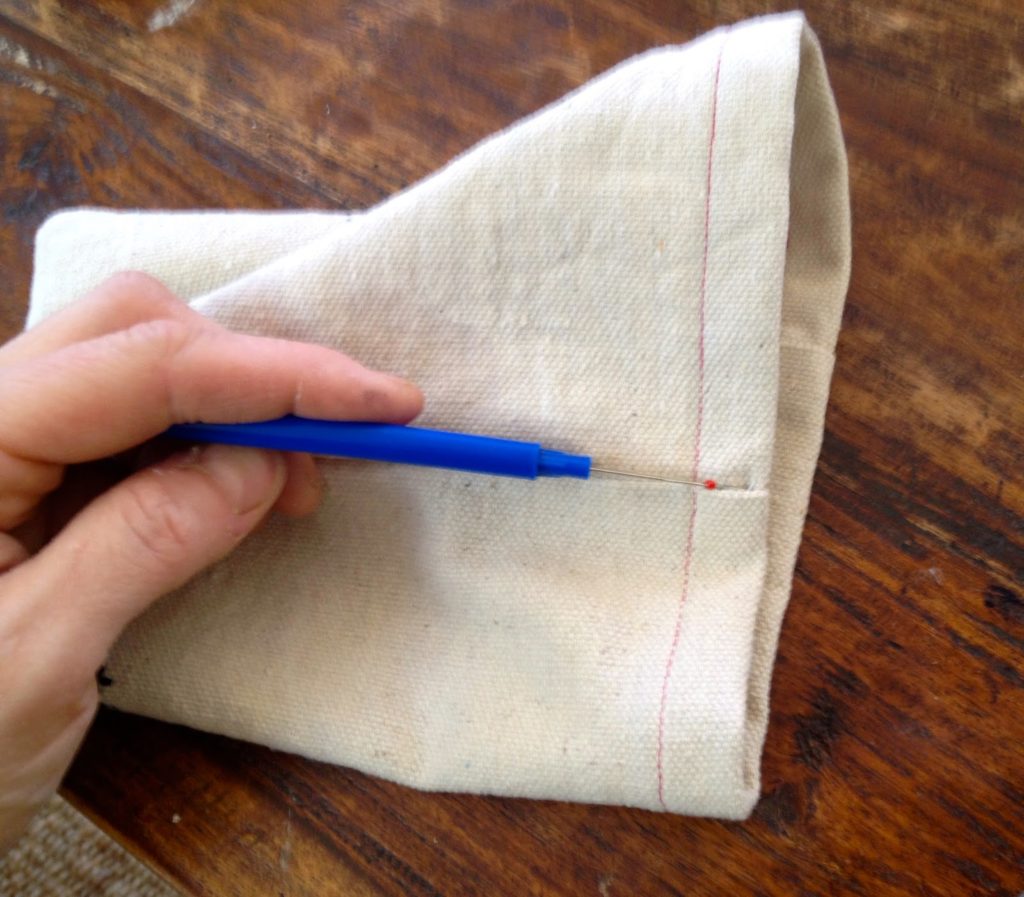
11. Use a seam ripper to make hole for string:
12. Zig zag stitch tightly at top and bottom of cord opening.
Attach safety pin to end of cording:
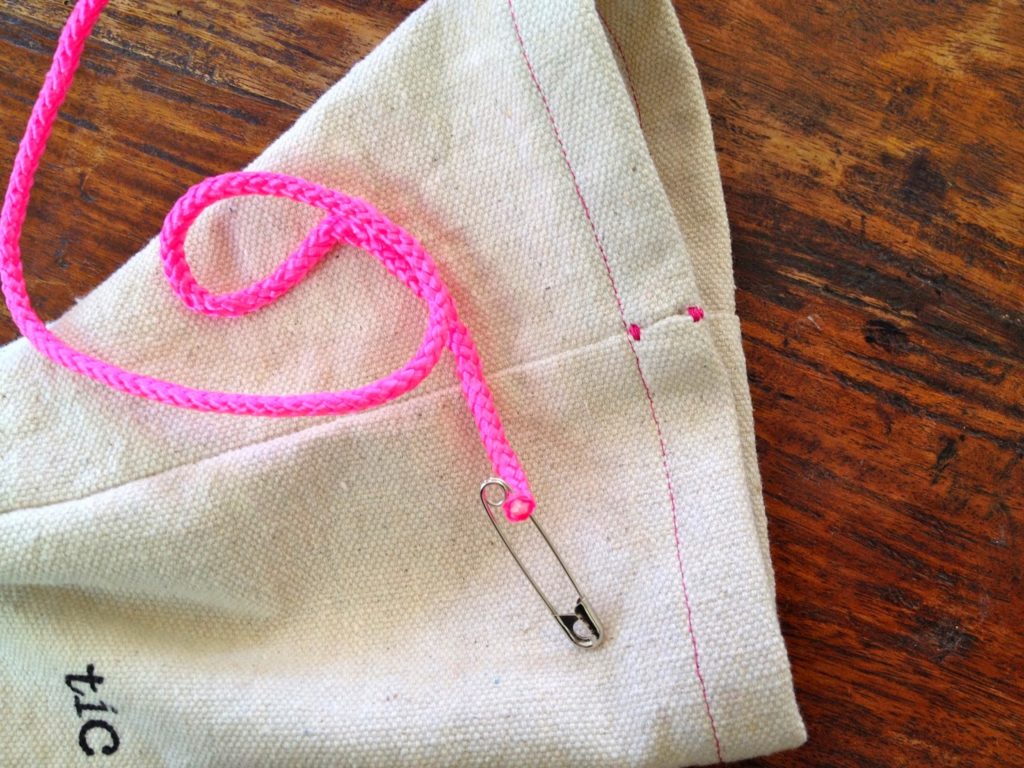
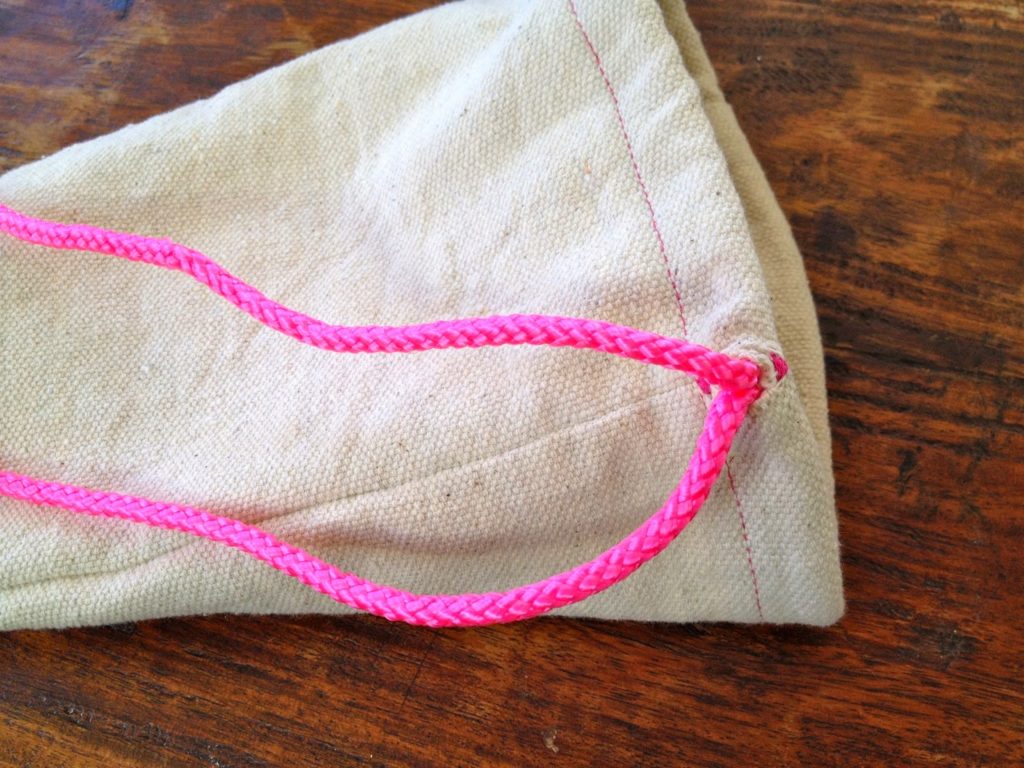
13. Thread cording around and back out same opening.
Tie ends together and knot, melt cut ends of cording.
I’m linking up to:

That DIY Party @ The DIY Showoff
Tutorials & Tips Tuesday @ Home Stories A to Z
Share Awesomeness Thur @ The 36th Avenue
Pretty Things Thursday @ Scissors & Spatulas
Flaunt it Friday @ Chic on a Shoestring
Frugal Friday @ The Shabby Nest
Furniture Feature Friday @ Miss Mustard Seed
SAS @ Just a Girl
Remodelaholics Anonymous @ Remodelaholic
inspiration board @ Carolyns Homework
Sunday Showcase Party @ Under the Table & Dreaming


I love this idea! 🙂
What a darling idea! All the details are perfect. I love the games, and the bag is so, so cute. Thanks so much for sharing! Enjoy your day!
Thank you for the great post! For my drawstring bags, I used muslin (as it was something I had on hand already). I cut my bags to be 8 1/2" X 16". That way I could scotch tape the cut fabric (along the top and side edges) to a piece of cardstock & feed it through my inkjet printer, for the words to print directly onto the cloth. I also didn't have enough various paints for the 6 sets we were making, so I just used 10-14 drops of food coloring in 1 TBS of rubbing alcohol to paint my wood with a sponge brush (rinsing in-between color changes). In a short amount of time, I was able to paint them several coats to the desired color, as the alcohol evaporates quickly. Then I placed everything on top of several layers of newspaper with a paper towel on top to dry/set the paint all night. The finished product had a translucent look….like watercolors. They looked great! Then I sprayed clear coat on them to set them in case they came in contact with moisture later and I didn't want the food coloring to rub off on anything.
This is simply adorable and I will definitely do this with the kids.