• Home
  • Blog
  • About
  • Contact
    • Disclosure
    • Privacy Policy
  • SHOP
  • Widget area for main menu

    • Email
    • Facebook
    • Instagram
    • Pinterest
    • Twitter
    • YouTube
  • Skip to primary navigation
  • Skip to main content
  • Skip to primary sidebar

Jaime Costiglio

build - paint - sew

  • BUILD
    • BEDS
    • BENCHES
    • DESKS
    • DRESSERS
    • GAMES & TOYS
    • SCRAP WOOD
    • SHELVES
    • STORAGE
    • TABLES
  • TOOLS
  • PAINT
    • CRAFTS
    • FURNITURE
    • HOME DECOR
  • SEW
    • GIFTS
    • HOME DECOR
    • POUCHES
  • HANDBUILT HOLIDAY
    • 2021
    • 2019
    • 2018
    • 2017
    • 2016
    • 2015
    • 2014
    • 2013
  • GIFTS
    • BABIES
    • KIDS
    • FOR HER
    • FOR HIM
    • TEACHERS
    • WEDDINGS
  • SEASONAL
    • 4TH OF JULY
    • FALL
    • HALLOWEEN
    • CHRISTMAS
    • SUMMER
    • SPRING
    • ST. PATRICK’S DAY
    • THANKSGIVING
    • VALENTINE’S DAY
    • WINTER
  • SALTBOX PROJECT
    • BATHROOMS
    • DINING ROOM
    • EXTERIOR
    • FAMILY ROOM
    • FOYER / MUDROOM
    • KIDS BEDROOMS
    • KITCHEN
    • LIVING ROOM
    • MASTER BEDROOM
    • PLAYROOM
  • SCROLL SAW

DIY Tabletop Chalkboard Easel

February 7, 2013

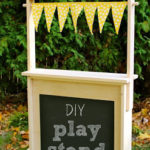
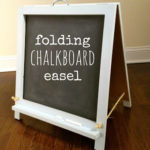
Build: tabletop chalkboard easel
 
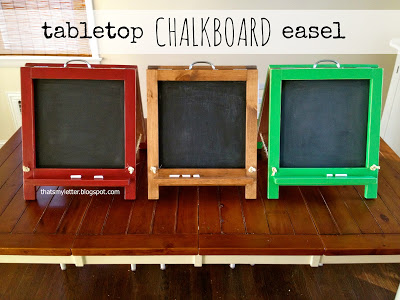
I modified plans from Ana White here to make portable tabletop size chalkboard easels.

This smaller version of the original has a 13″ x 13″ chalk space:
Versus the original folding chalkboard easel with an 18″ x 18″ chalk space:
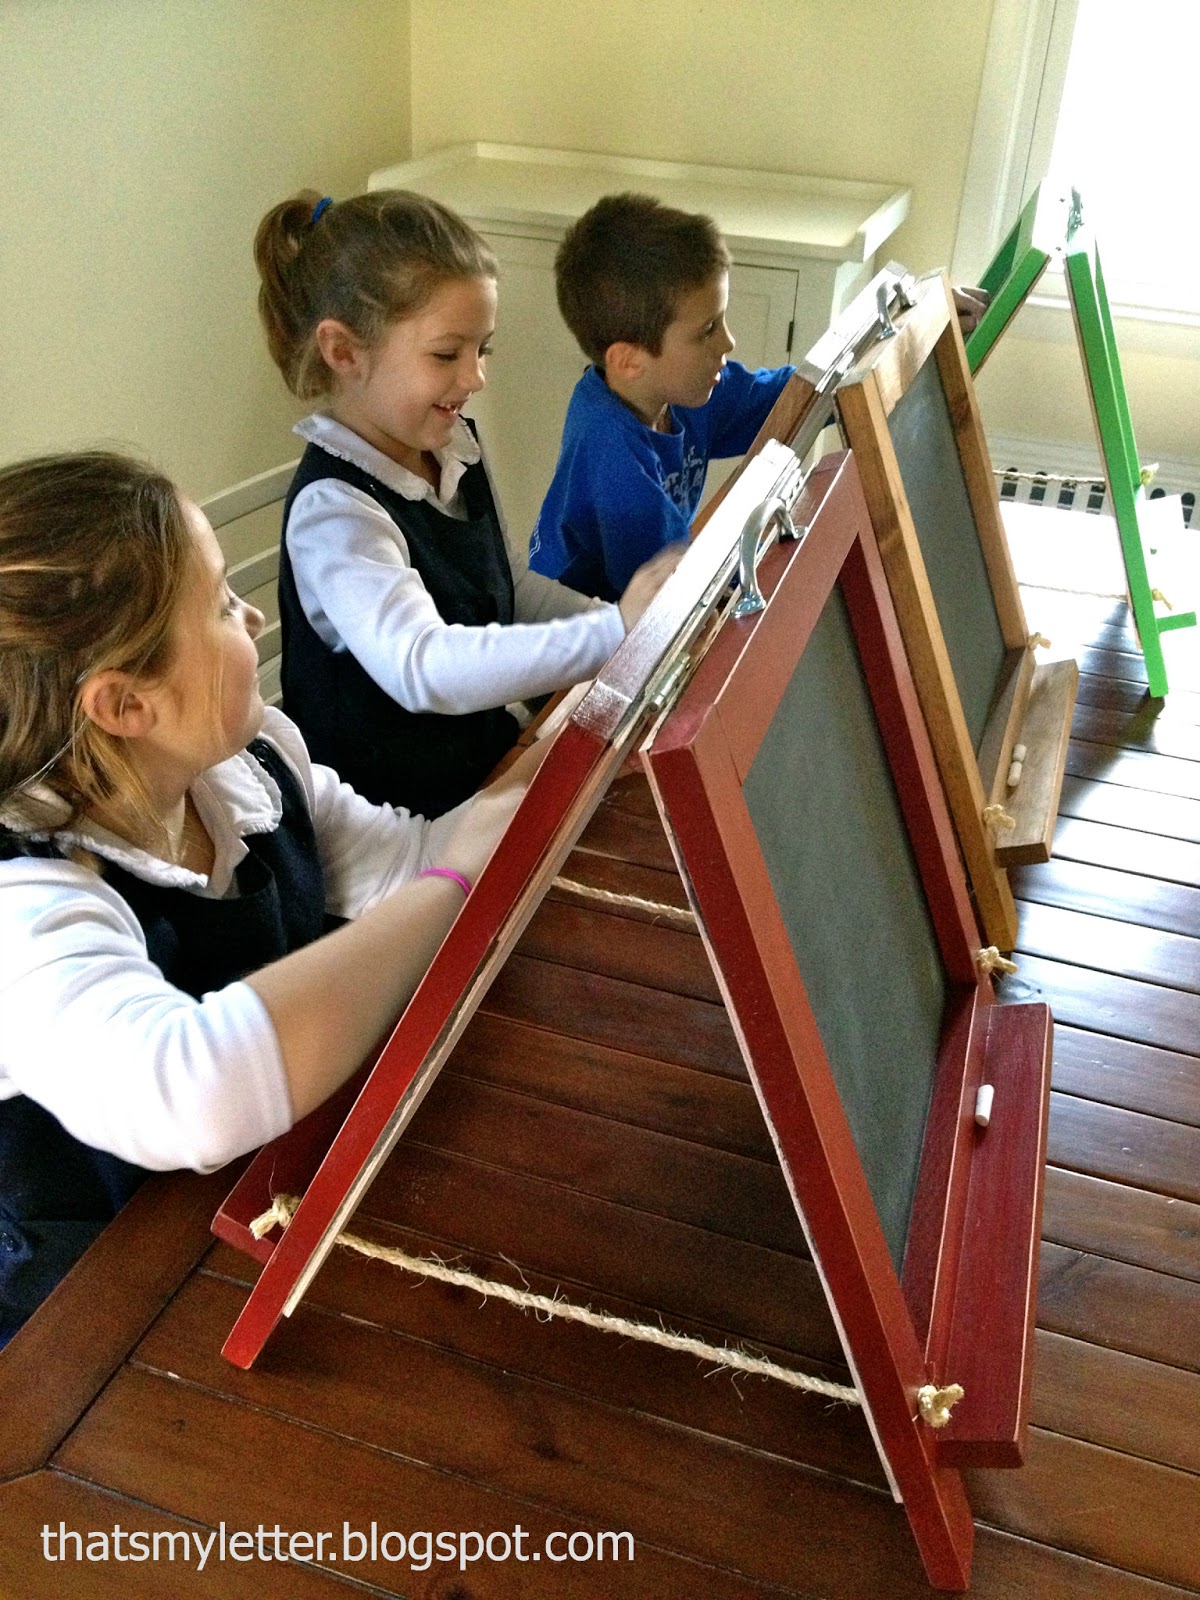
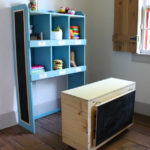
This smaller size is just the right for kids sitting at the table:
 
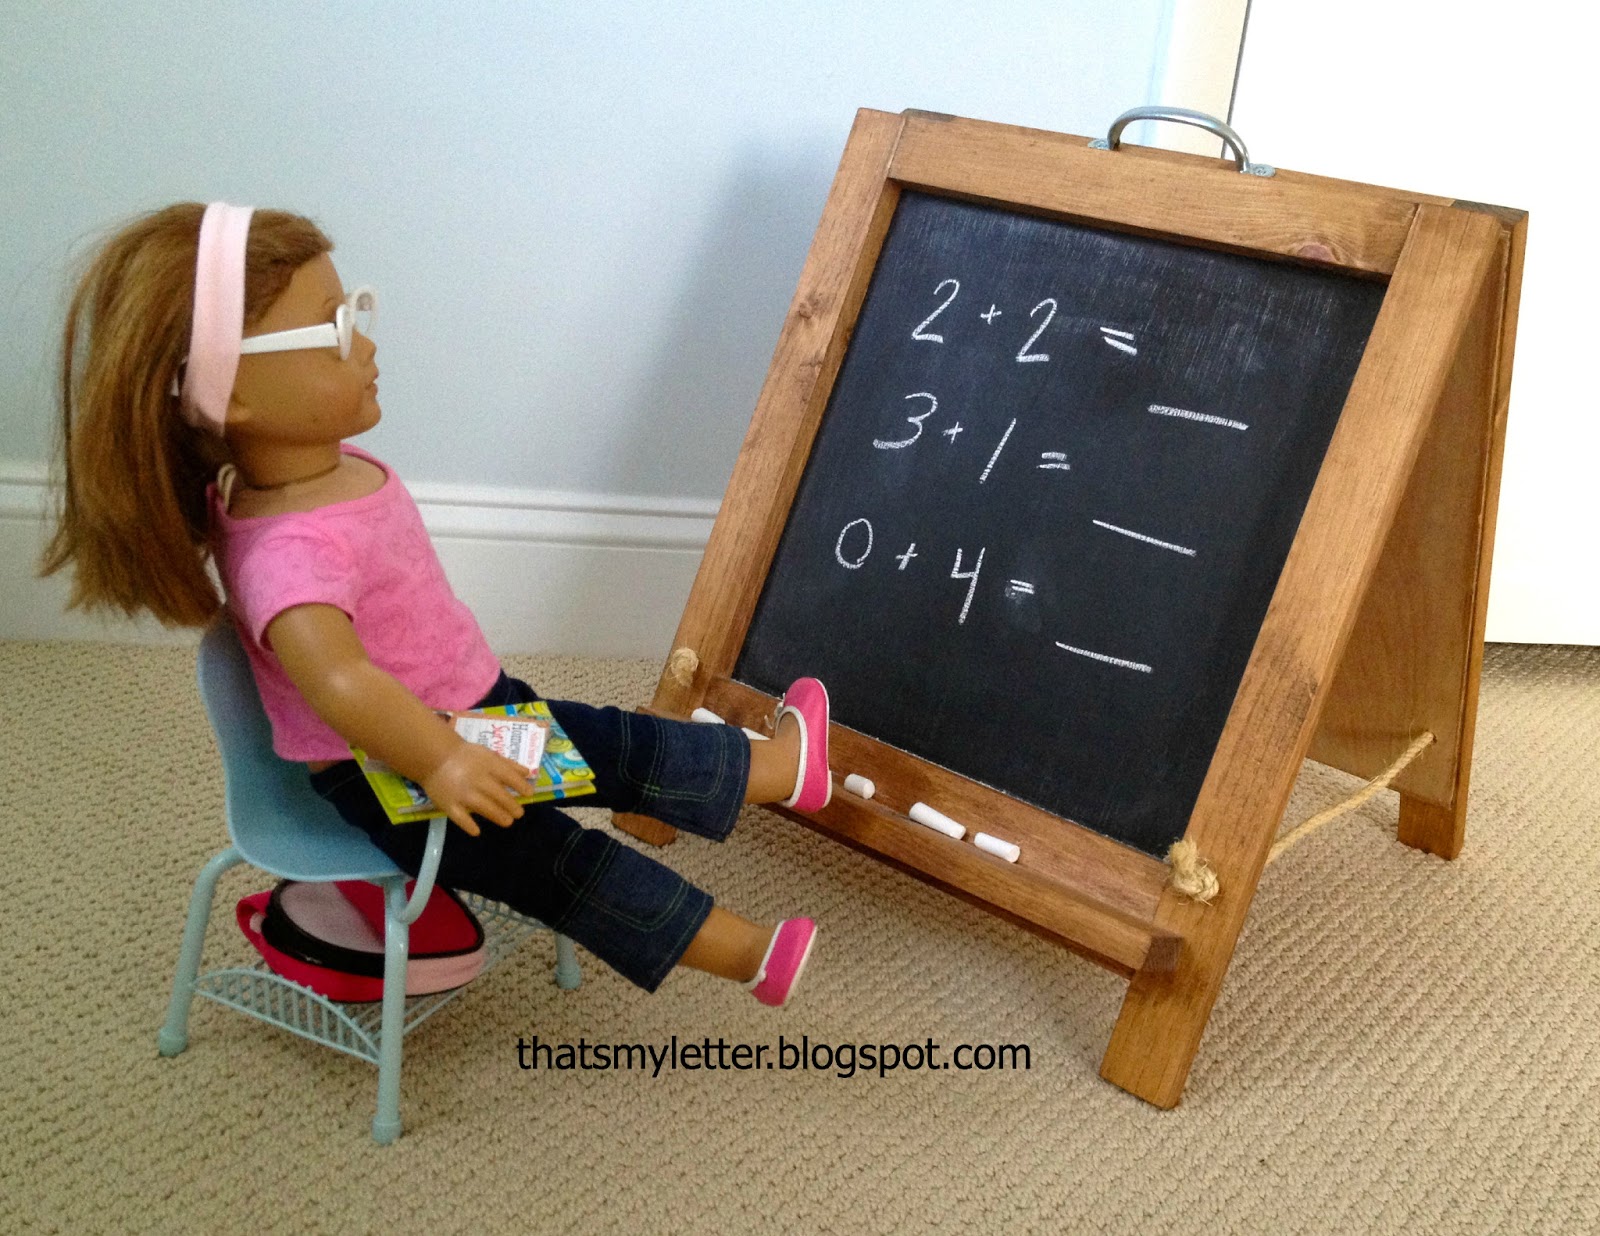
Or playing school with an American Girl doll:
 
An of course it folds and is easily portable just like the original:
Don’t forget to make the zippered chalk pouch to store all those pieces of chalk:
Here’s how to build the tabletop chalkboard easel:

1. Use Ana’s plans as a guide and modify the cut list:
2 – 1×2 @ 13″
2 – 1×3 @ 13″
4 – 1×2 @ 19″
2 – 1×2 @14 1/2″
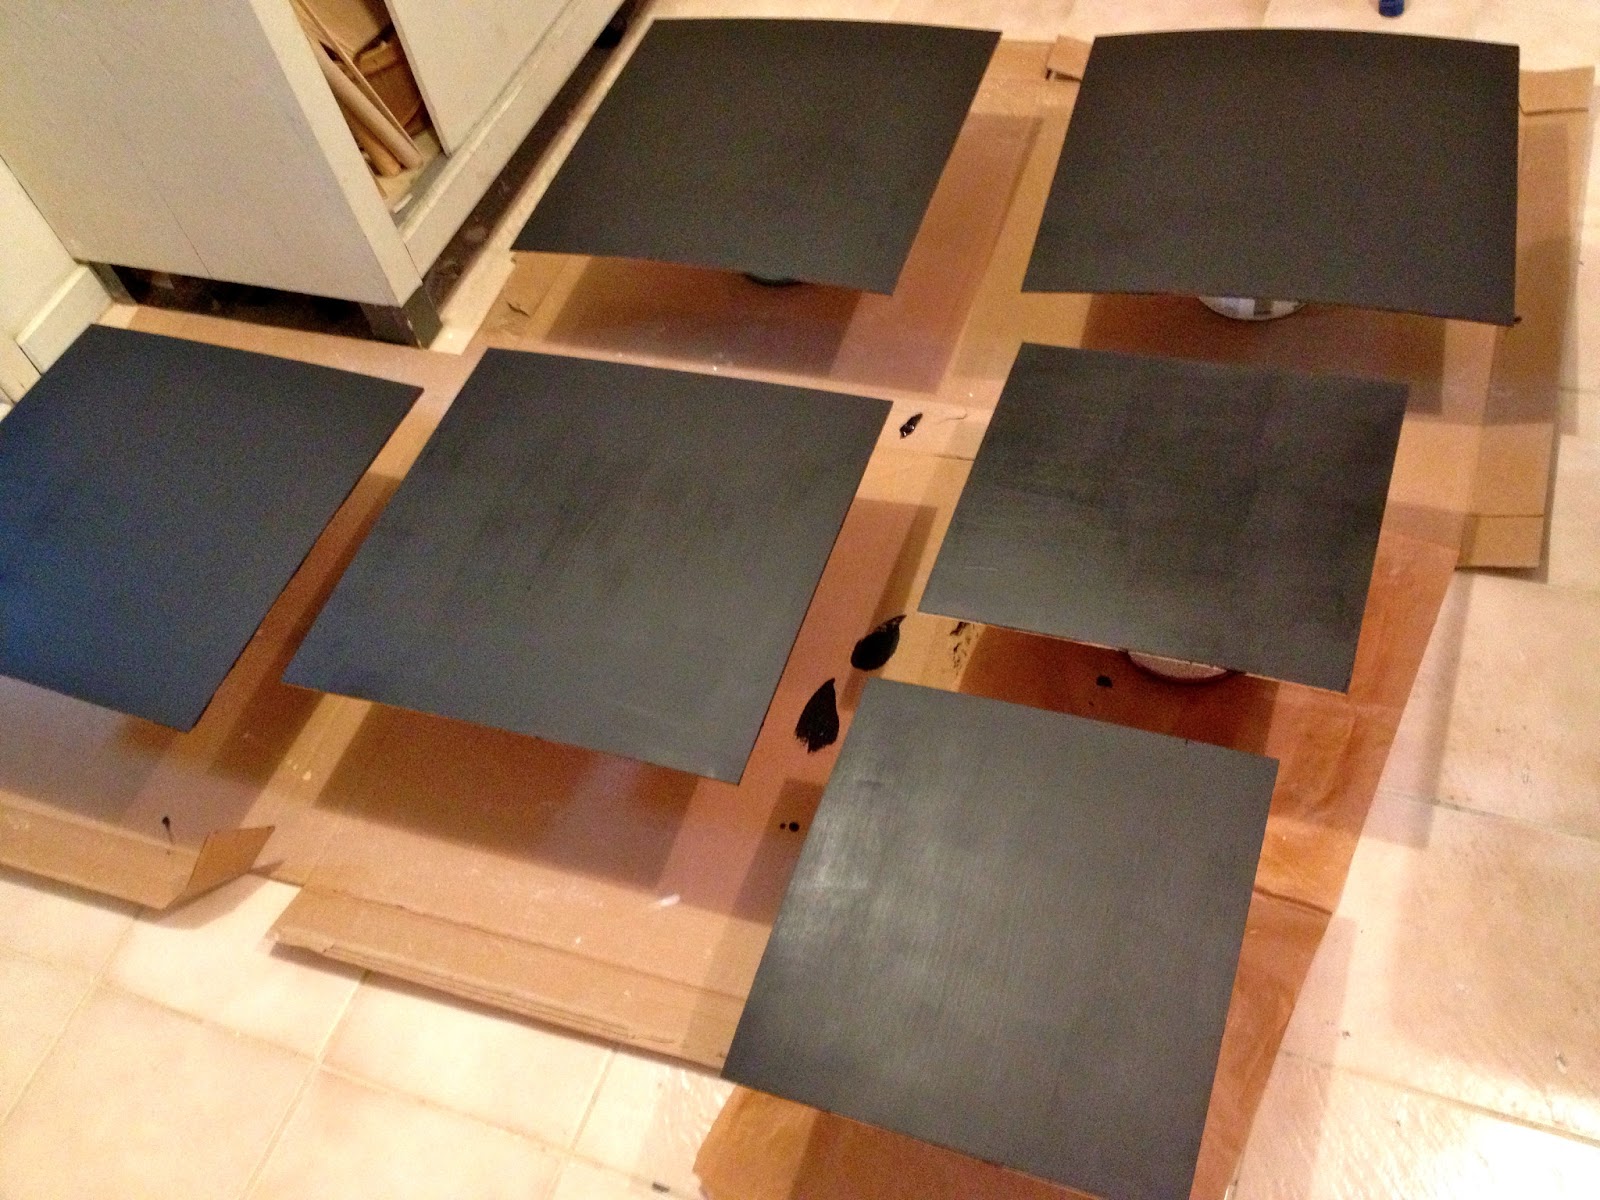
2 – 1/8″ hardboard @ 16″ x 17″
2. Paint hardboard with black chalkboard paint:


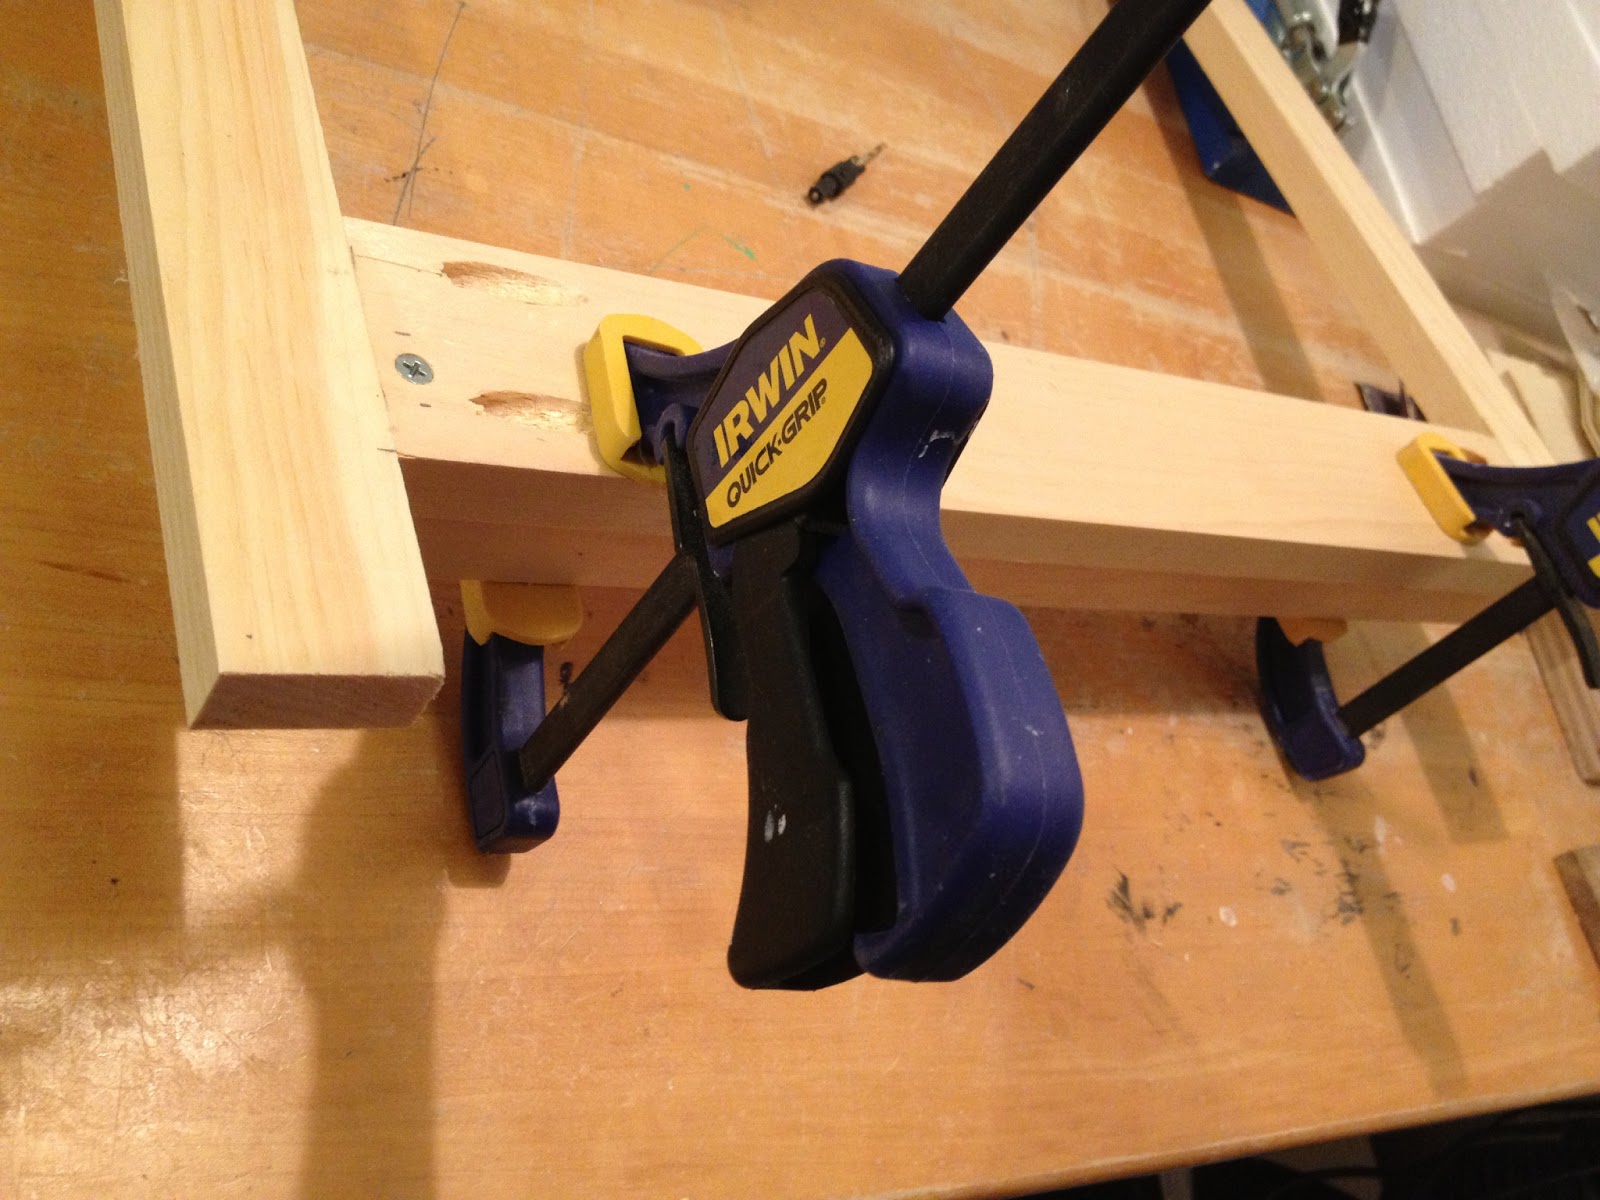
 3. Build frames using pocket holes on backside:
4. Attach chalk ledge with countersunk 2″ #8 wood screw from the back.
Glue and clamp in place then attach screw:

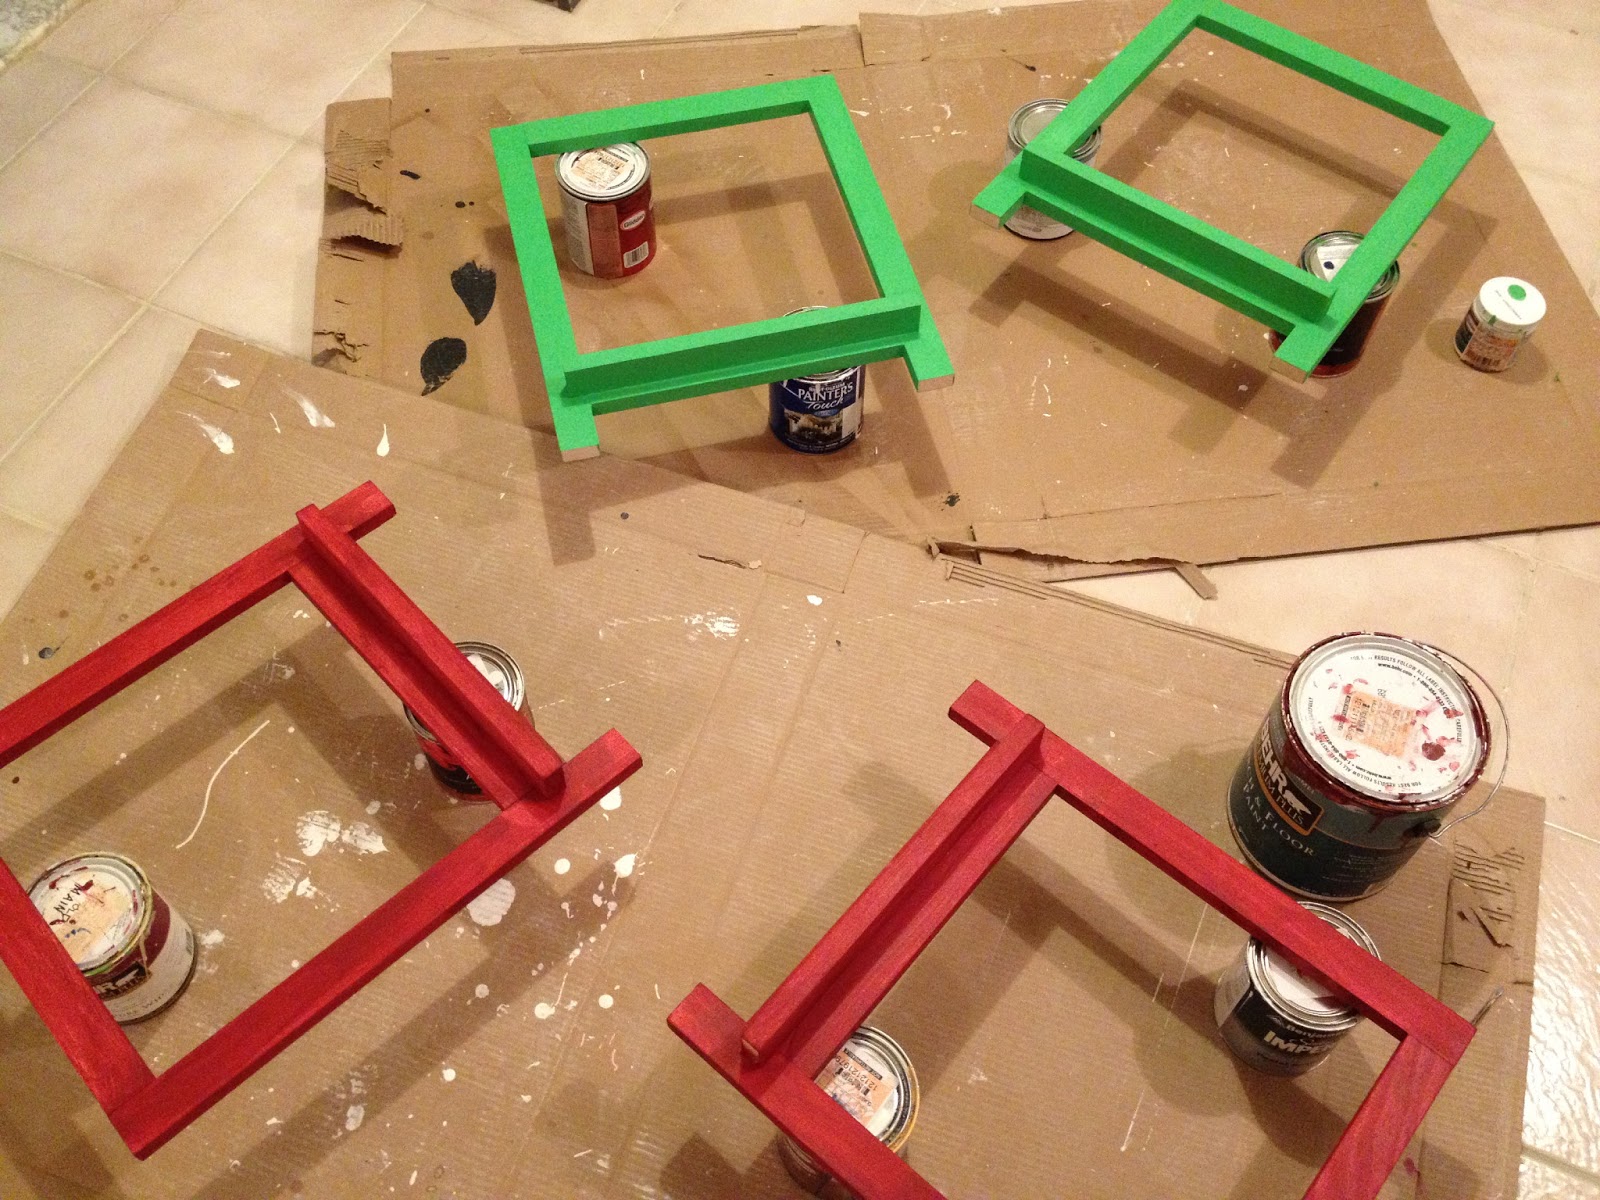
5. Paint frames two coats (or stain) and seal with clear satin poly:
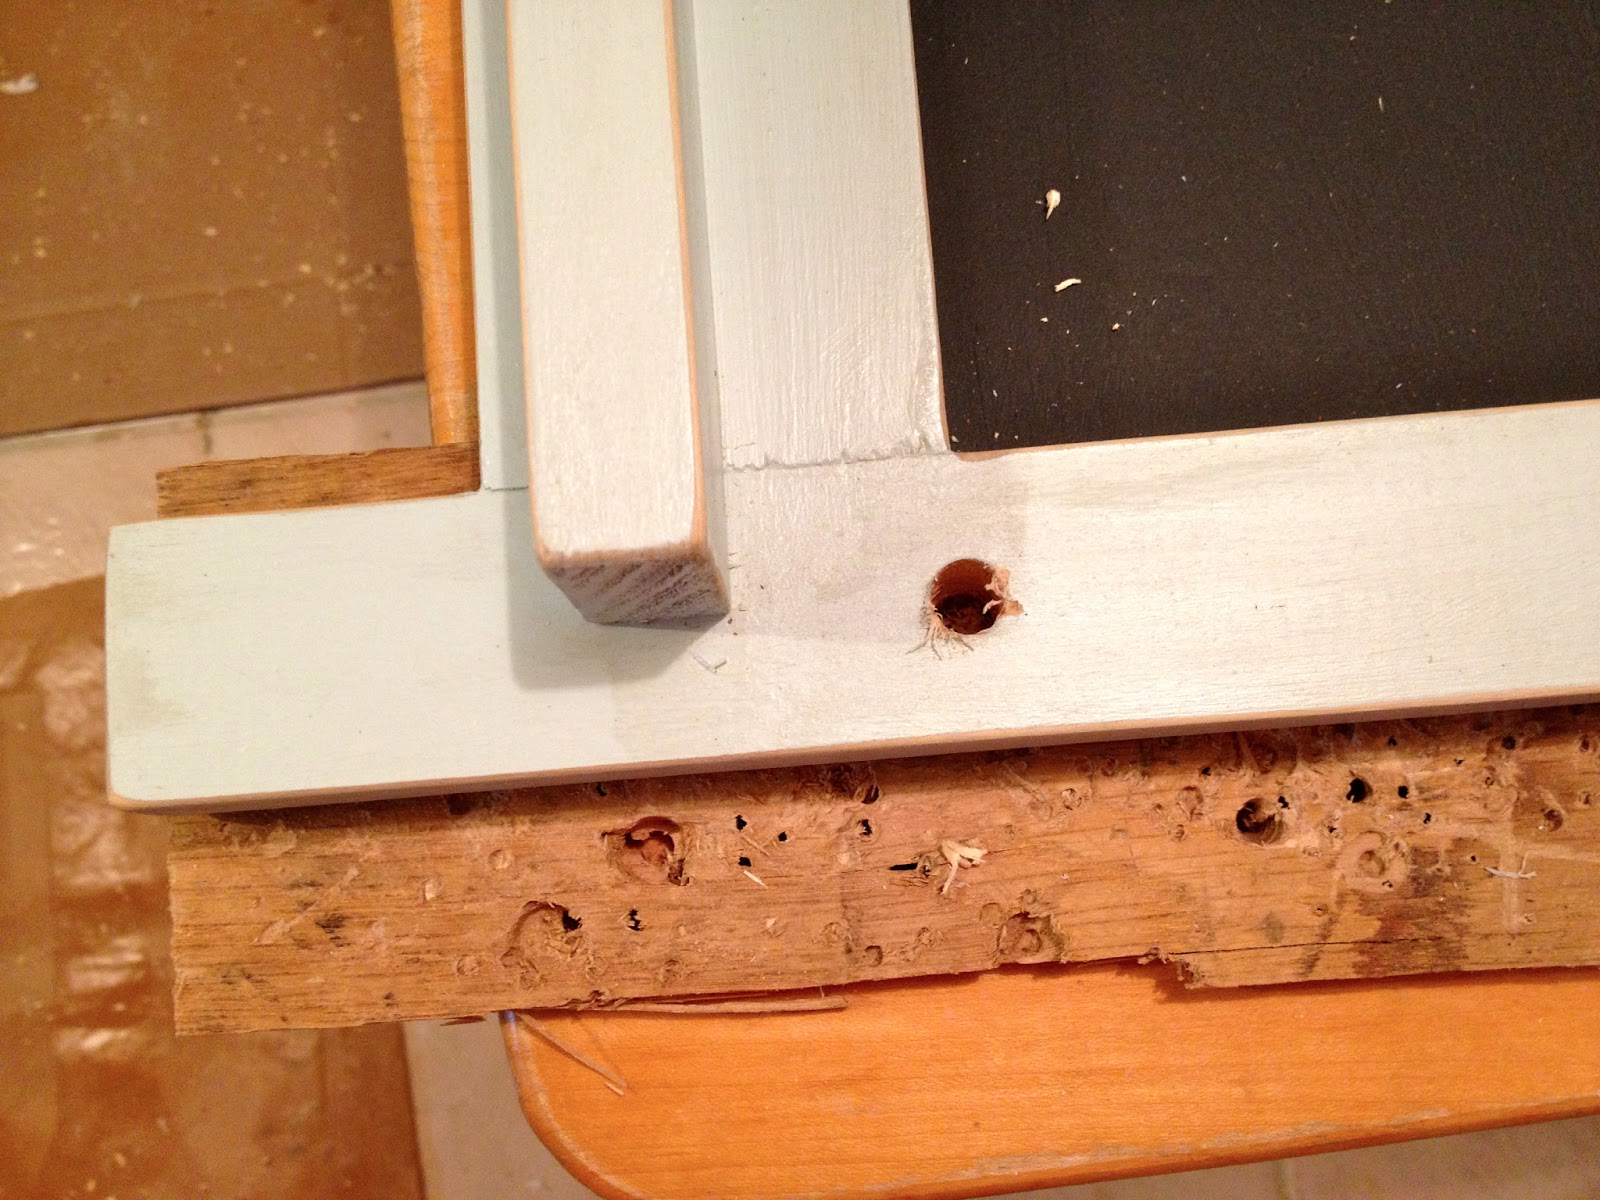
6. Attach hardboard by placing frame facedown, chalk ledge flush up against edge of table:

7. Drill holes for rope:
8. Attach hinges, rope and handle.

You may also like...

  • DIY Pretend Play MarketDIY Pretend Play Market
  • DIY Play Table (24″ x 36″) with Storage Bins Free PlansDIY Play Table (24″ x 36″) with Storage Bins Free Plans
  • DIY Kids Play StandDIY Kids Play Stand
  • DIY Folding Chalkboard EaselDIY Folding Chalkboard Easel
Share this post:

Filed Under: BUILD, DIY, GAMES & TOYS, GIFTS, HOME DECOR, KIDS, PAINT6 Comments

Reader Interactions

Comments

  1. Our Pinteresting Family says

    February 7, 2013 at 1:00 PM

    So cute! I hope to try this idea out soon. Thanks for sharing. Megan

    Reply
  2. [email protected] says

    February 7, 2013 at 2:17 PM

    These are so cute lined up in all the different colors!

    Reply
  3. Trish - Mom On Timeout says

    February 7, 2013 at 5:39 PM

    Umm…adorable! Pinned!

    Reply
  4. WhisperWood Cottage says

    February 8, 2013 at 12:51 AM

    Super cute, Jaime!

    Reply
  5. Cathy Trochelman says

    February 8, 2013 at 2:50 AM

    I love these! My kids would too! Thanks for the tutorial!
    [email protected]

    Reply
  6. Rachele Funk says

    August 26, 2013 at 7:31 PM

    Super cute! Thanks for sharing!

    Reply

Leave a Reply Cancel reply

Your email address will not be published. Required fields are marked *

Primary Sidebar

Hi! I’m Jaime

Jaime Costiglio

Hello!

Thank you for stopping by.
Join me for lots of DIY.

Read more

Get new posts via email

Handbuilt Holiday: Gift Project Plans

handbuilt holiday gift project plans

Collection of DIY gift project plans to build.

The Home Depot Tool Prospective

THD Prospective

Tools to consider for the DIYer.

Archives

The Home Depot Logo
Copyright © 2023 Jaime Costiglio · Custom site by Moonsteam Design

Privacy Policy