A simple media cabinet for my friend to house her tv and component parts.


I started with the plans from Ana White’s website here and modified the size and shelves to fit the space.
(The measurements of this cabinet are 50″l x 19″d x 30″h.)
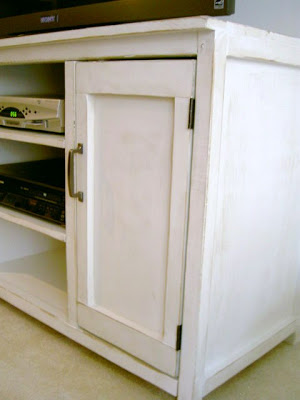
(The measurements of this cabinet are 50″l x 19″d x 30″h.)


This piece is 19″ deep so reaching to the back to paint would’ve been very difficult but smart me kept the back off so I had access on both sides.
My best tips learned from this build:
1. Drill your cord holes while the back is still off the piece.
2. Put the back on after all the painting and finish work is done.
Here’s the cabinet ready for paint:


To finish the wood I used:
1. one coat primer
2. two coats Behr off white, satin finish
3. distressed with 120 grit sandpaper on mouse sander
4. stain Minwax special walnut
5. two coats Minwax clear satin poly
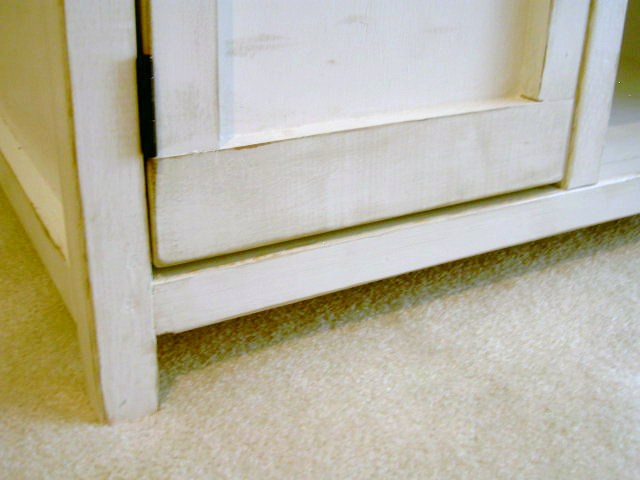
Here’s some close shots of the finish:


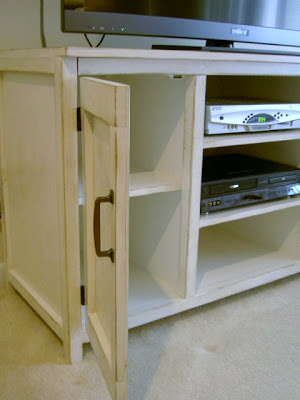
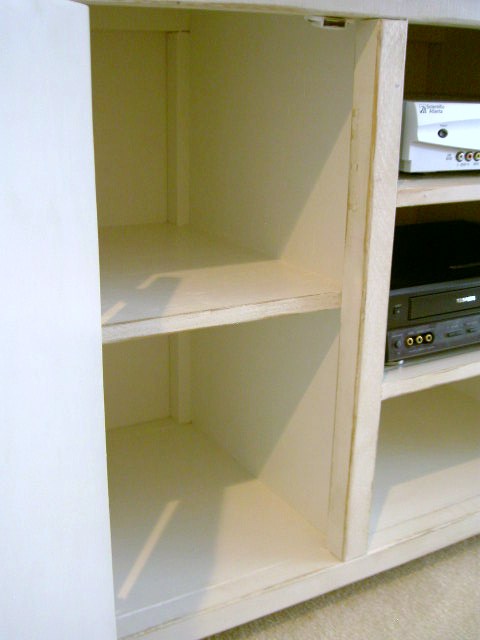
I also modified Ana’s plans to include a shelf inside the door sections:
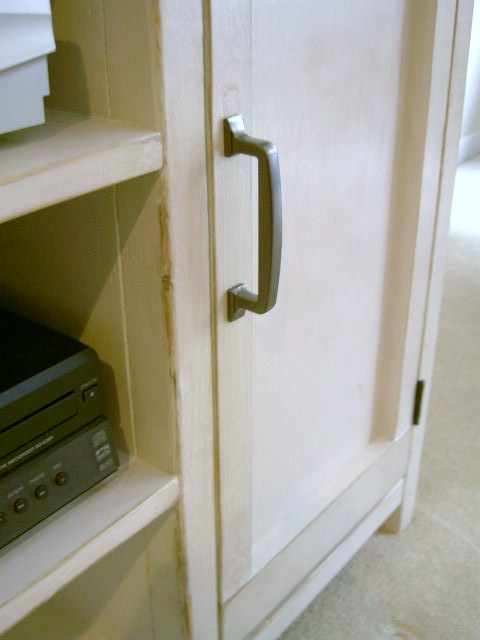
And I modified the middle section, Ana’s plans call for two drawers, I made three shelves instead:

Total cost spent on lumber, hardware and paint: $140.
I know Debra appreciates this piece and I really enjoyed making it for her.


You have some great skills! I would so love to have a handy friend like you! I have visions of doing things like that, but am too easily intimidated at the process-the measuring and the cutting and the nailing!! Yikes! You did an outstanding job! Keep sharing!
WoW! You did a wonderful job…You are very talented. I Love the color and how you distressed it. Thanks for sharing!
[email protected]
M is for Marvelous!
Thank you for posting this!! My husband and I are thinking about tackling this piece from Ana's website after our 7 year old sat on our current flimsy IKEA piece and broke it.
Any more advice? This will only be my 2nd piece and I am worried about the Advanced label Ana gave it. Fingers crossed our will turn out as nicely as yours!
WOW! You really are good at building furniture! Love the shelf inside…great idea! The handles look awesome!
Wow, that's awesome!
If you would make it possible to get an email subscription to your blog? That'd be awesome!
great job!!!
i am so impressed, it looks awesome!! You did a fantastic job!
I was thinking for a first foray into building furniture, Ana's site is a good place to start. But I still haven't gotten up the energy to try. I like the way you finished it with the stain, too
Great piece. I can't believe you didn't even use cab grade ply. I'm going to have to consider that next time I'm doing a painted piece! Fabulous tip!
looks amazing and clearly you rock! i'm off to become your newest follower!
Great job! I am going to build one of Ana whites media centers for our home this summer! Thanks for sharing!
Ahhh I'm kicking myself! This is so darn close to the cabinet I just bought from target! I wanted to build my own but Hubby was impatient. Grrr.. This is a FANTASTIC project. Great idea! I would be delighted if you would link this to my VIP party today! http://designergarden.blogspot.com/2011/03/vip-party-6.html
Cheers!
Sommer
You did a fantastic job on this piece! I just had to link it to my media solutions project post too, well done!
Ok, that's it, I am in total awe of you, and this doesn't happen often, lol! We are in need of something very similar, and to know I could make it myself and so affordably, now that's a bonus! It is beautiful!