• Home
  • Blog
  • About
  • Contact
    • Disclosure
    • Privacy Policy
  • SHOP
  • Widget area for main menu

    • Email
    • Facebook
    • Instagram
    • Pinterest
    • Twitter
    • YouTube
  • Skip to primary navigation
  • Skip to main content
  • Skip to primary sidebar

Jaime Costiglio

build - paint - sew

  • BUILD
    • BEDS
    • BENCHES
    • DESKS
    • DRESSERS
    • GAMES & TOYS
    • SCRAP WOOD
    • SHELVES
    • STORAGE
    • TABLES
  • TOOLS
  • PAINT
    • CRAFTS
    • FURNITURE
    • HOME DECOR
  • SEW
    • GIFTS
    • HOME DECOR
    • POUCHES
  • HANDBUILT HOLIDAY
    • 2021
    • 2019
    • 2018
    • 2017
    • 2016
    • 2015
    • 2014
    • 2013
  • GIFTS
    • BABIES
    • KIDS
    • FOR HER
    • FOR HIM
    • TEACHERS
    • WEDDINGS
  • SEASONAL
    • 4TH OF JULY
    • FALL
    • HALLOWEEN
    • CHRISTMAS
    • SUMMER
    • SPRING
    • ST. PATRICK’S DAY
    • THANKSGIVING
    • VALENTINE’S DAY
    • WINTER
  • SALTBOX PROJECT
    • BATHROOMS
    • DINING ROOM
    • EXTERIOR
    • FAMILY ROOM
    • FOYER / MUDROOM
    • KIDS BEDROOMS
    • KITCHEN
    • LIVING ROOM
    • MASTER BEDROOM
    • PLAYROOM
  • SCROLL SAW

DIY Ipad Stand

December 3, 2013

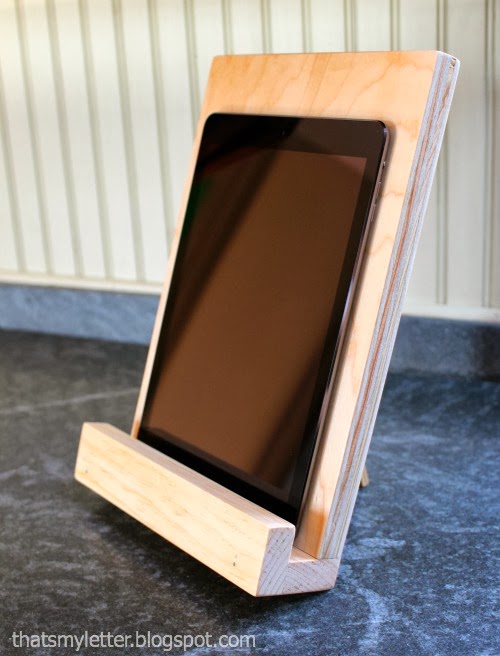
Build: diy personalized ipad stand
I combined the Shanty girls ipad stand with Angie’s Roost ipad stand to make this personalized ipad stand.
It’s a fast and easy build using minimal supplies that makes a great holiday gift.

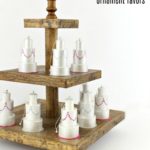
You know I didn’t make just one:

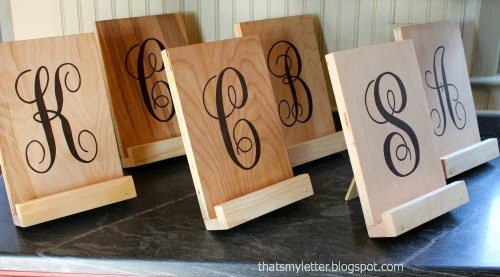
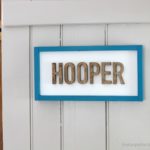
I handpainted the letters and sealed everything with clear satin poly.
I purposely choose to keep the plywood edges visible, I actually like the look of the plywood ‘stripes’ all sandwiched together:
The slot for the ipad is a generous 3/4″ wide:

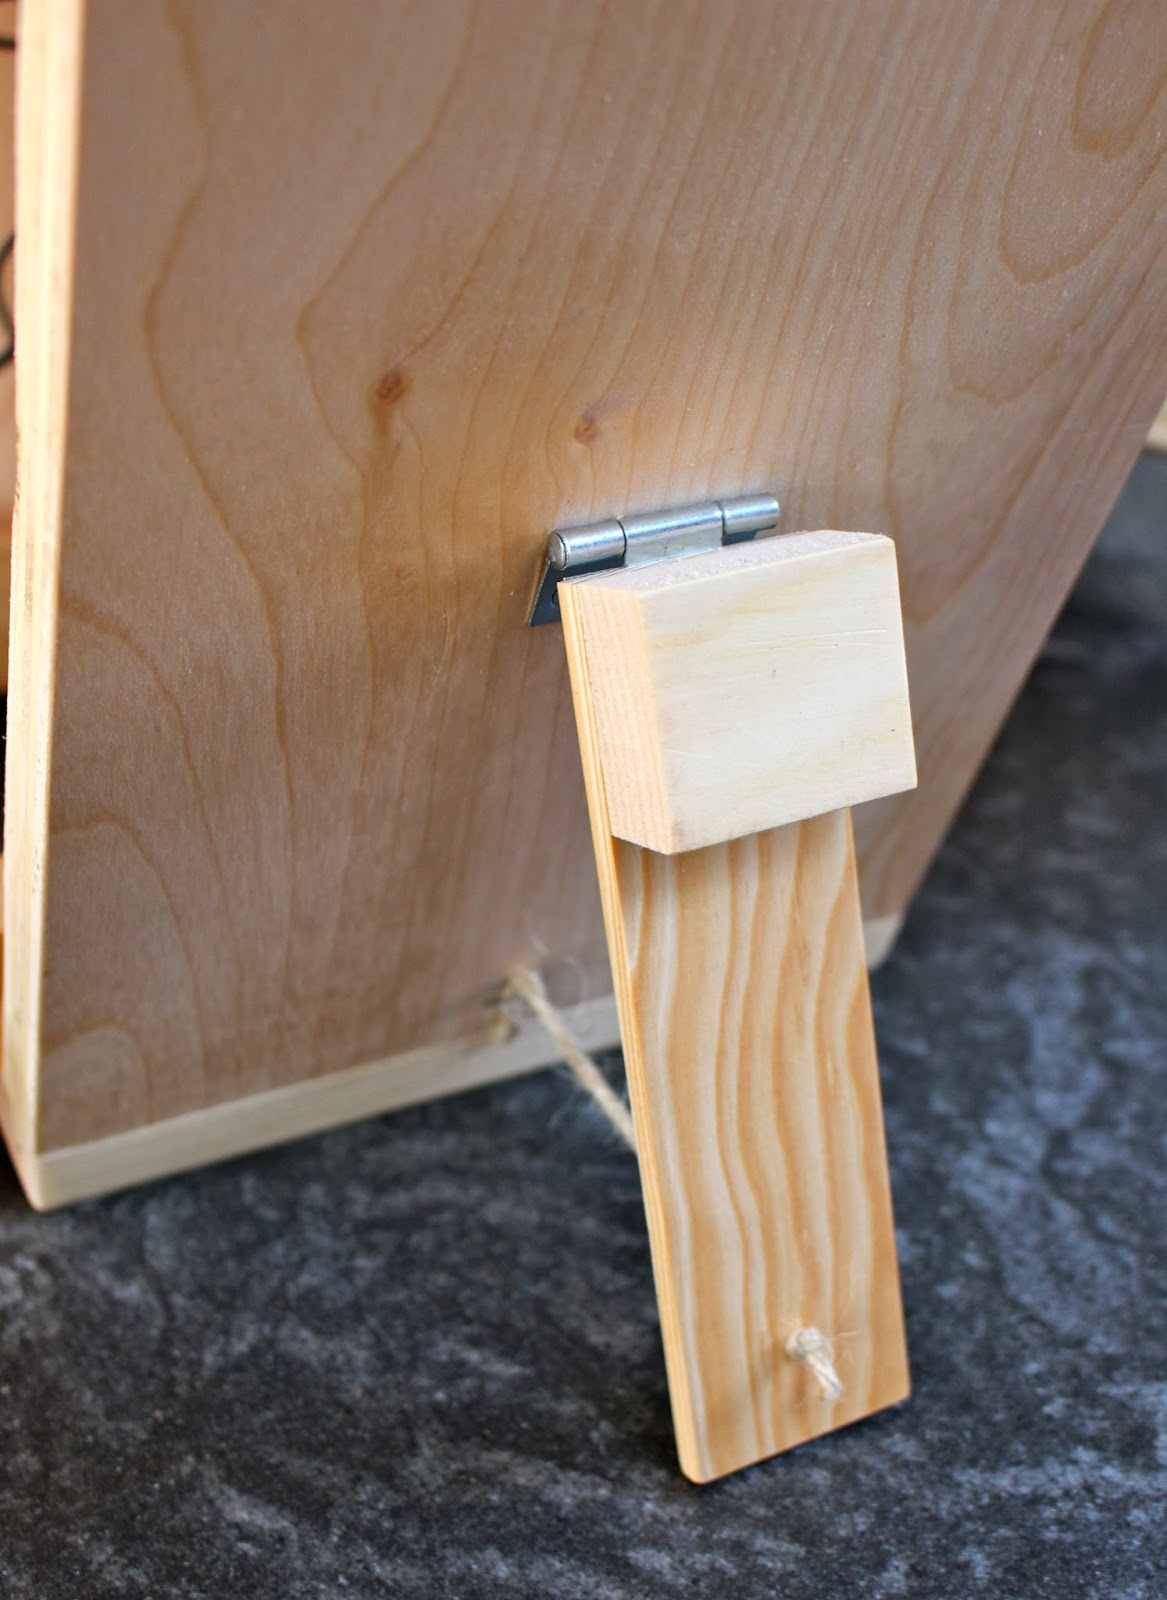
That extra piece of wood at the top of the stand flap is necessary to hide the end of the screws holding the hinge in place.

How to make a personalized ipad stand:

1. Cut wood pieces:
1 – 3/4″ plywood @ 11″ x 8″ (back)
2 – 1×2 @ 8″ (base & front edge)
1 – 1 5/8″ x 1/4″thick moulding @ 6″ (stand flap)
1 – 1×2 @ 1 5/8″ (hides screws)
2. Construct using glue and finish nails:
3. Let dry and sand everything smooth.
4. Print out letter for personalization:
I used monogram KK font at 550 point.
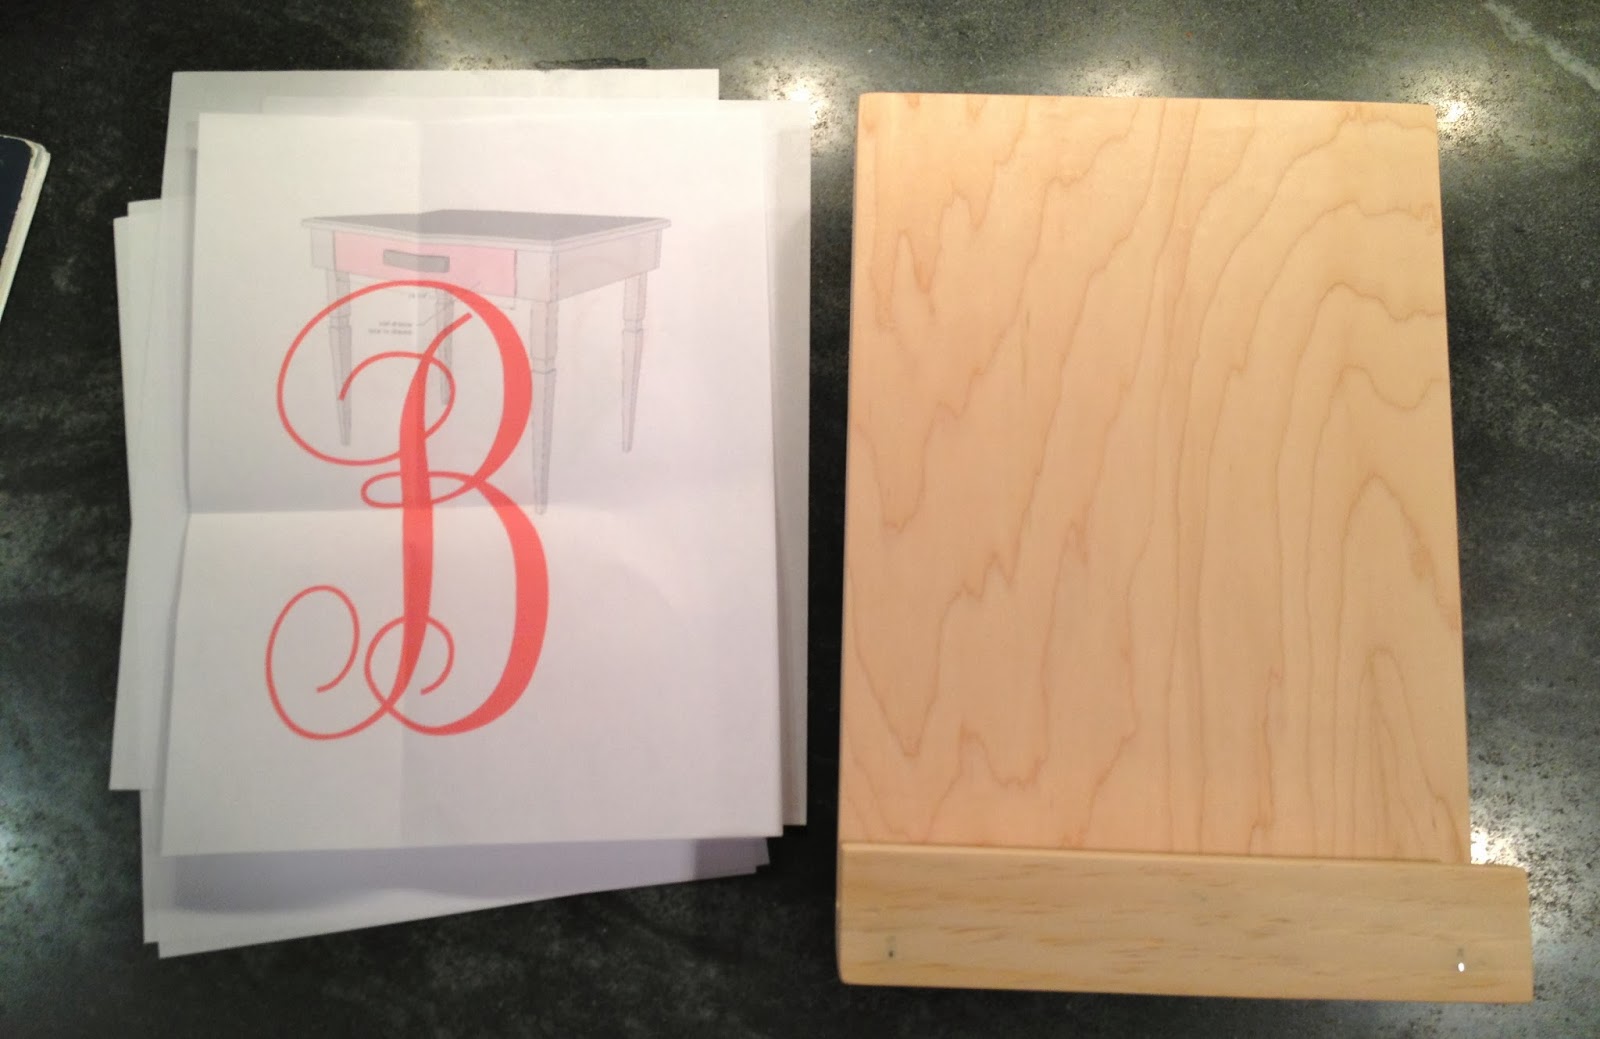
5. Center letter print out on wood back and using ballpoint pen trace around letter outline with heavy pressure:

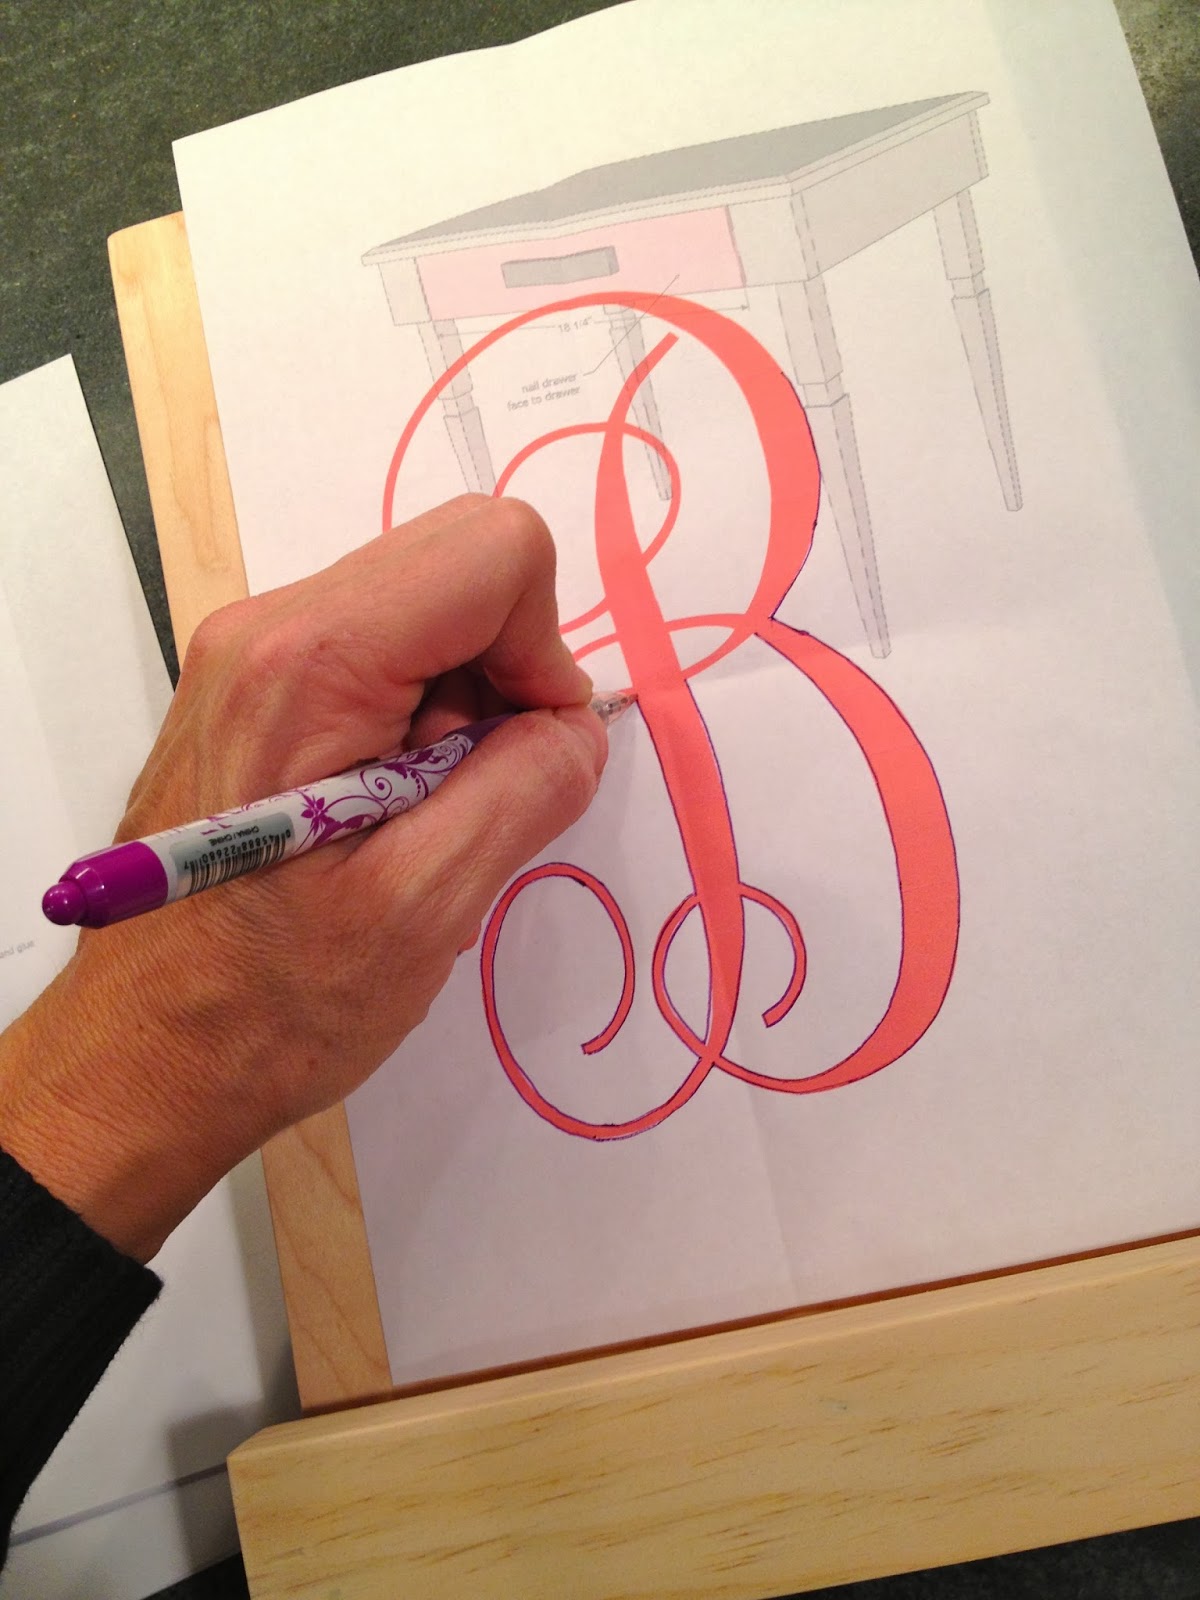
6. The pressure of the ballpoint pen leaves a slight indent in the wood:

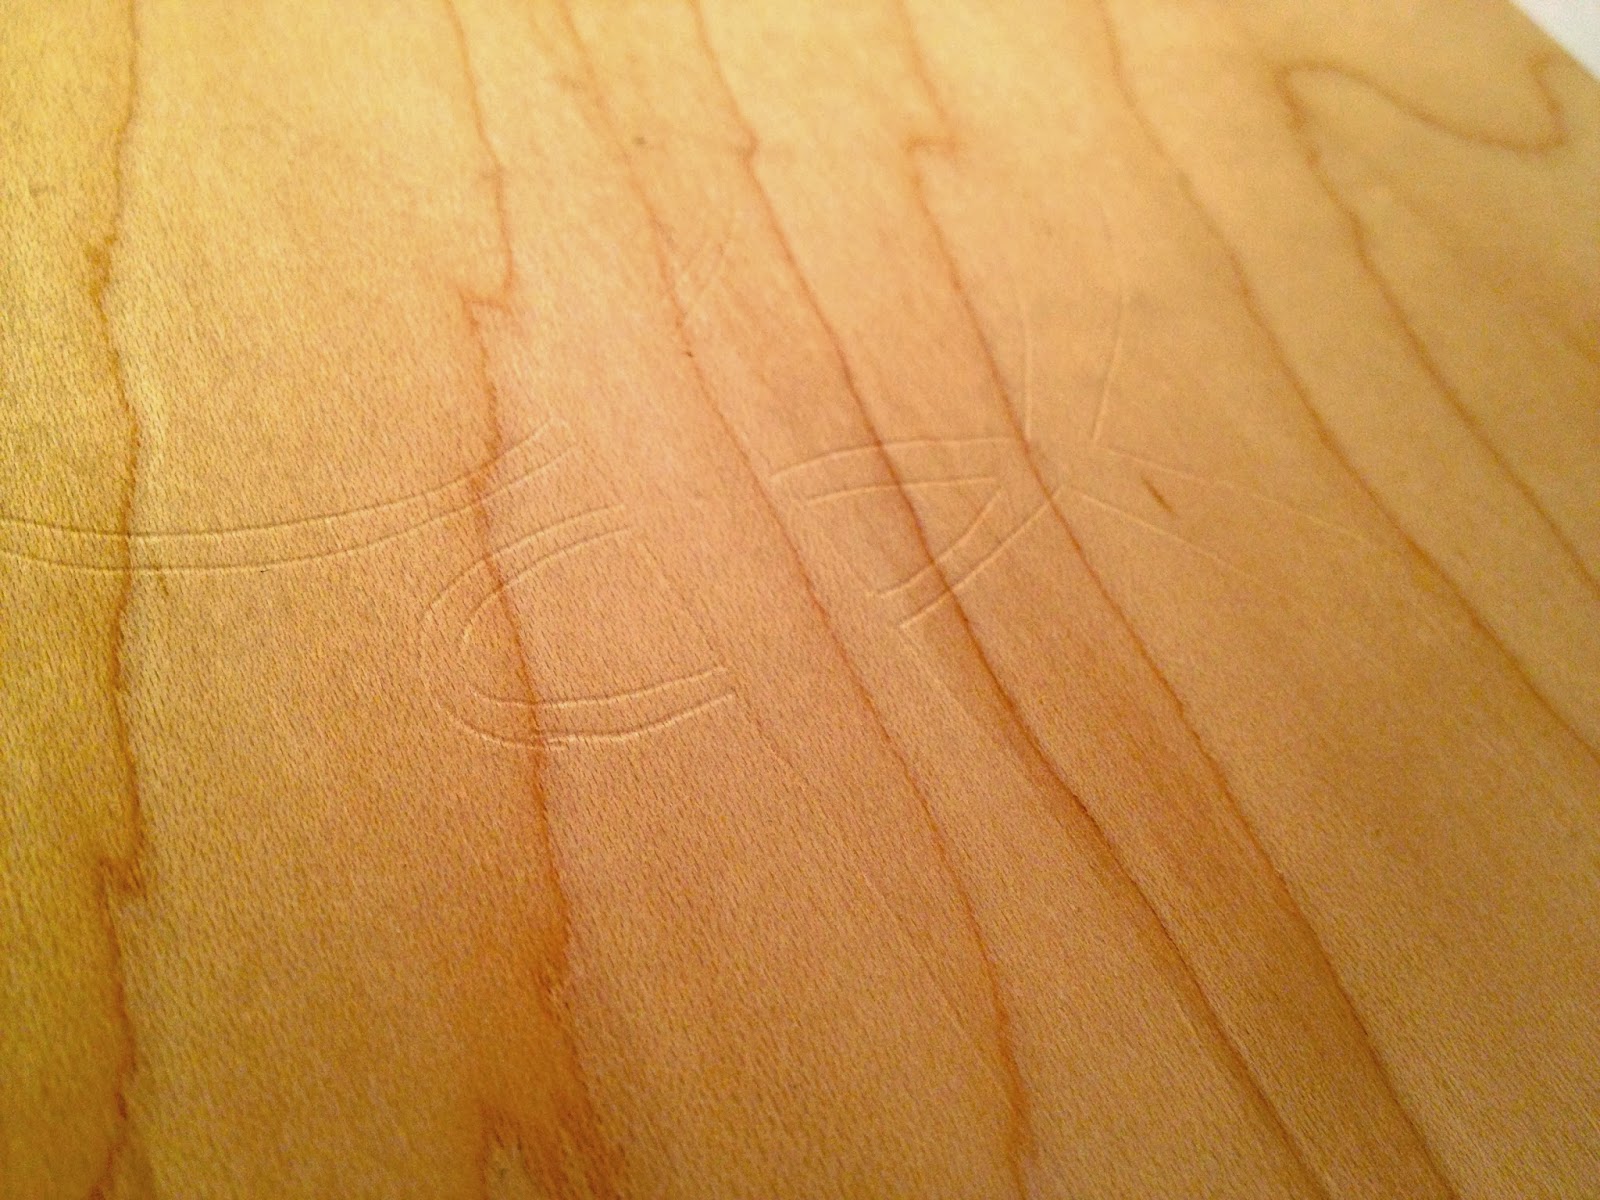
7. Paint on and inside the indent using acrylic craft paint:

8. Attach the back stand flap:
** Do not add string until after sprayed with poly.**
9. Spray both sides with clear satin poly to seal:
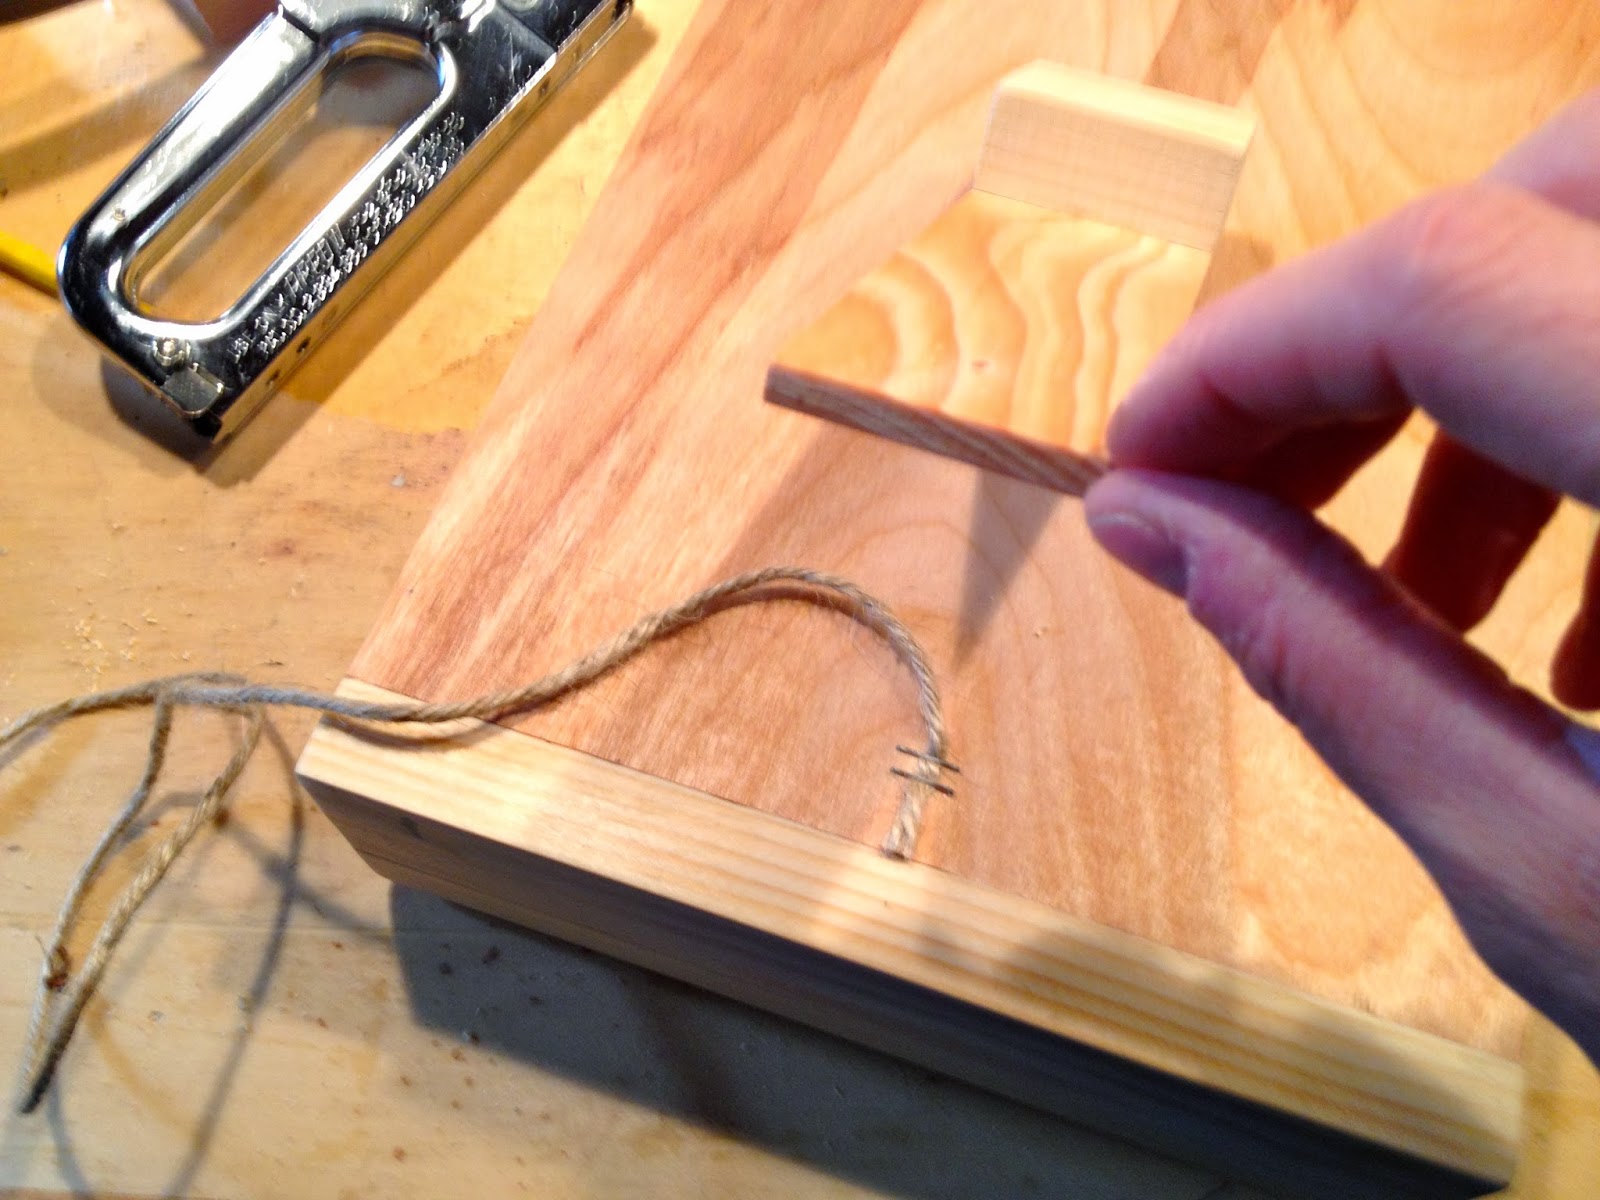
10.  Staple the end of the jute string to the back and then slide through predrilled hole in flap:

You may also like...

  • Cross Stitch Monogram Ornament PlacecardCross Stitch Monogram Ornament Placecard
  • DIY Desktop TrayDIY Desktop Tray
  • DIY Wedding Cake Ornament FavorsDIY Wedding Cake Ornament Favors
  • DIY Wood Cut Out Name PlaqueDIY Wood Cut Out Name Plaque
Share this post:

Filed Under: BUILD, DIY, FOR HER, FOR HIM, GIFTS, HOME DECOR, HOME DECOR, ORGANIZATION, PAINT, SCRAP WOOD, TEACHERS8 Comments

Reader Interactions

Comments

  1. Dee @ A Lapin Life says

    December 3, 2013 at 9:05 PM

    This project is wonderful! I can't wait to make some too.

    Reply
  2. Pippi21 says

    October 15, 2014 at 9:41 AM

    Your Ipad stand gave me an idea..I could use that idea to built a trough for holding markers and eraser for my dry erase calendar. I knew how it should look but didn't know how to achieve the look, now by using your idea, I do..Thanks for sharing all your wonderful ideas. I want to go back over them to make sure I didn't miss anymore great ideas.

    Reply
  3. Suheil cr9 says

    November 1, 2018 at 5:48 AM

    Hello! I will definitely make this one !

    Now! I have been bother with this in my head for quite so me time más maybe you can helo me.

    How can i know that i am using a font and it’s ok to. What i mean are they all free to use? Or there are certain fonts that you can not use for whatever reason?.

    Thank you!

    Reply
    • Jaime says

      November 1, 2018 at 8:34 AM

      Hi Suheil, regarding the font question. Most fonts that are free to download will say ‘free for personal use only’. Other fonts that you purchase will have specific details regarding usage. Hope that helps.

      Reply
  4. Kathy says

    March 30, 2019 at 5:26 PM

    Curious why you used 3/4 inch plywood?

    Reply
    • Jaime says

      March 31, 2019 at 11:29 AM

      Hi Kathy, I used plywood because I had a bunch of small scrap pieces on hand.

      Reply
  5. Richard Robischon says

    September 26, 2019 at 4:23 PM

    Are you able to e-mail a pattern to make this?

    Reply
    • Jaime says

      September 29, 2019 at 8:26 AM

      Hi Richard, I don’t have a pattern for this project just the tutorial as it’s written above in the blog post.

      Reply

Leave a Reply Cancel reply

Your email address will not be published. Required fields are marked *

Primary Sidebar

Hi! I’m Jaime

Jaime Costiglio

Hello!

Thank you for stopping by.
Join me for lots of DIY.

Read more

Get new posts via email

Handbuilt Holiday: Gift Project Plans

handbuilt holiday gift project plans

Collection of DIY gift project plans to build.

The Home Depot Tool Prospective

THD Prospective

Tools to consider for the DIYer.

Archives

The Home Depot Logo
Copyright © 2023 Jaime Costiglio · Custom site by Moonsteam Design

Privacy Policy