A rocking horse makeover.


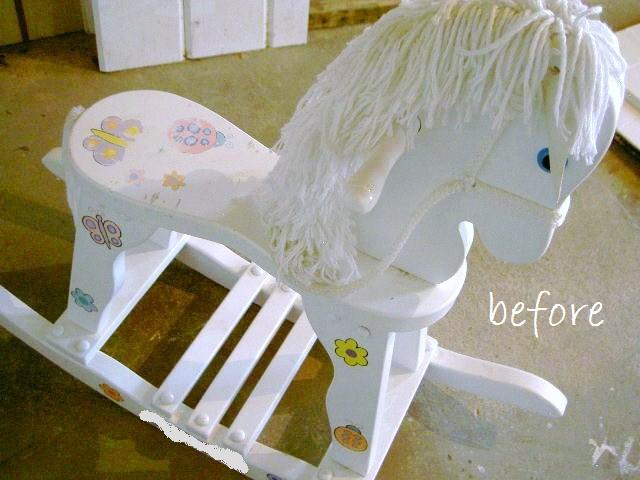
Aunt B had given this rocking horse to girl #1 and #2 for Christmas a few years back:

My girls were little then and loved the rocking horse but now they’re big and the poor horse deserves some attention.
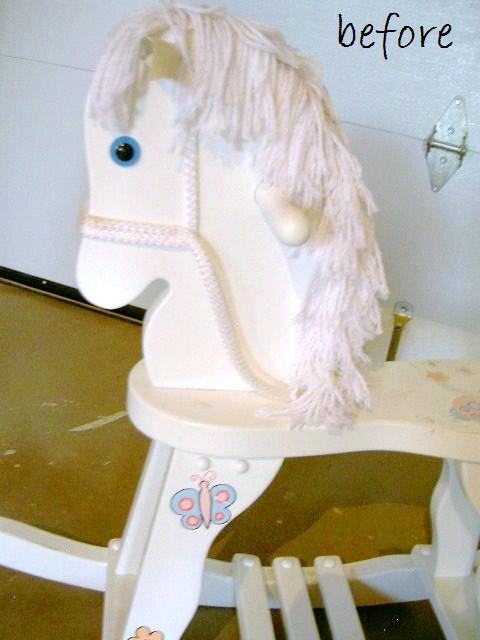
The horse was actually in very good condition but it did have my girls names painted on the rockers.
I decided to give it a makeover so Aunt B can have it for her daughter Lily.
Here’s the process:
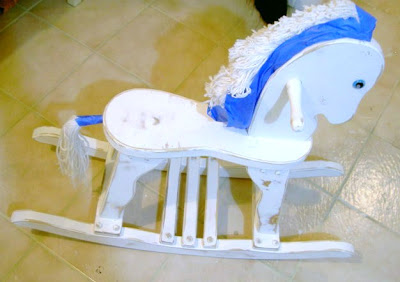
1. Tape back mane and tail, remove ears and rope bridle.
2. Sand.
3. Paint with two coats Behr off white.
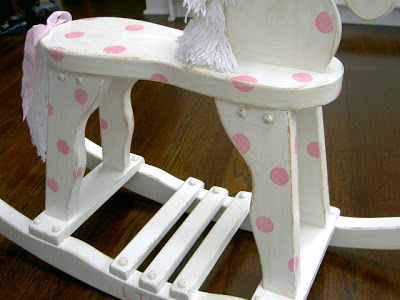
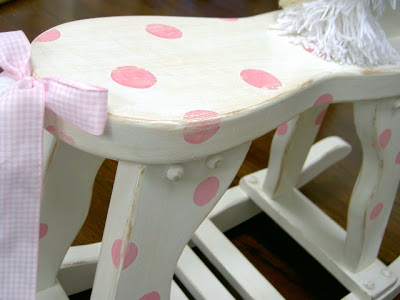
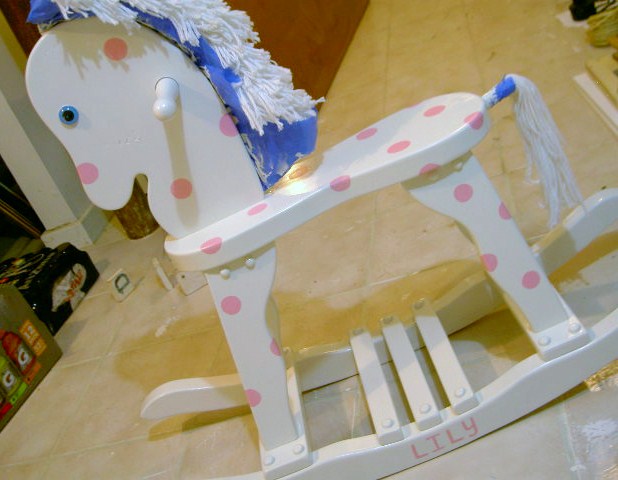
4. Paint pink polka dots and name:
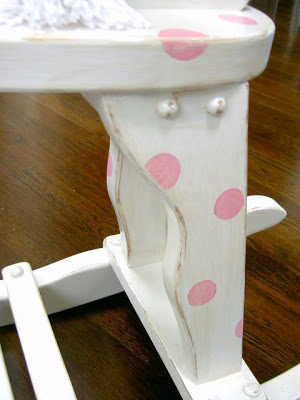
5. Sand again to distress.
6. Stain with Minwax antique brown.
7. Seal with clear satin poly.
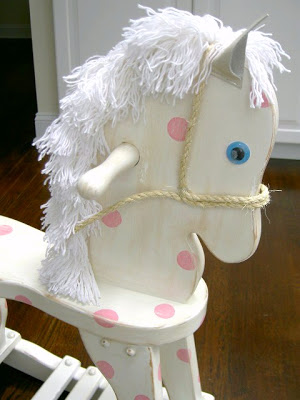
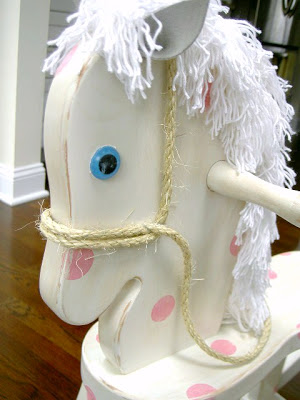
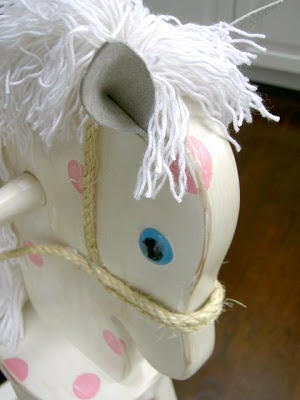
8. Attach new sisal rope for bridle and new leather ears:

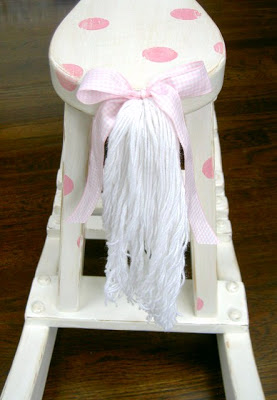
9. Brush out yarn mane and tail, trim and add bow (tied and hot glued) to tail:

Now she’s a show pony!
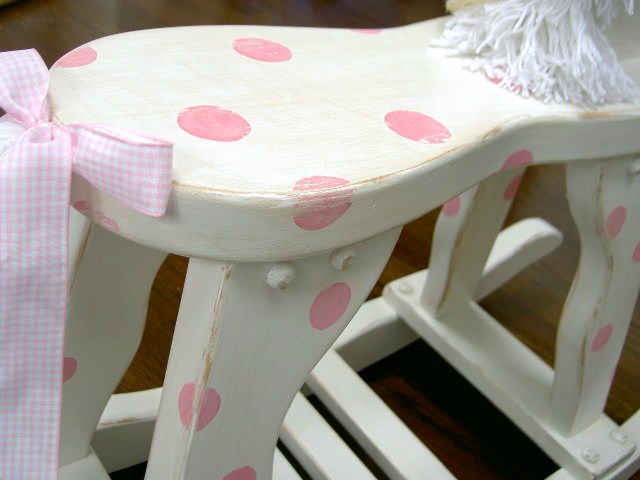
A few detail shots:


One last side by side:
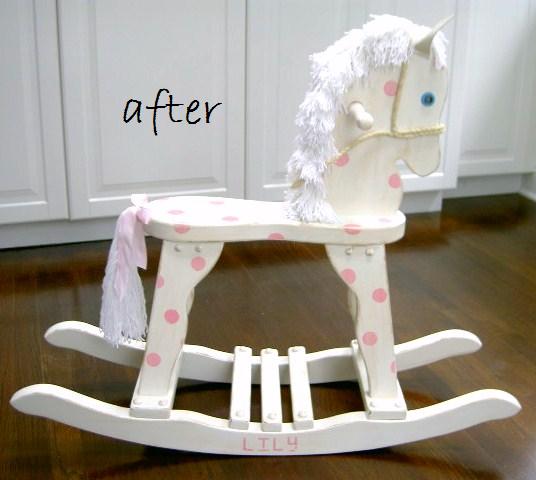
Giddy up Lily!

I’m linking up to:


Love the new look for the rocking horse! The pink polka dots are adorable!
I do like the after! Sweet little polka dots and distressed very nicely, well done!
Gorgeous as always! You never fail to amaze me with your creativity!
Awesome makeover! I love the distressed look!
Found your blog this morning and love the polka dots and your creative use of letters! You are just the kind of creative blog I want to watch..I am your newest follower. I invite you to visit my blog.
What little girl wouldn't love that pony?! Nice job!
I just wanted to let you know I am giving you the Versatile Blogger award. Check out my page to get your award!
love it
I think it is funny you taped the hair up. It makes sense but I wouldn't have thought of it until I was done. Very cute job!
Thanks for stopping by. Back at-cha!
-Bethanie
oh my… too cute!!!!
So cute! I love rocking horses and you made this one just darling! I'm your neighbor over at Chic on a Shoestring!
Jen
Scissors & Spatulas
that is DARLING! 🙂 awesome transformation!
That is just so cute!
Carolyn
Cute, cute, cute! love the polkas! Nice redo – love how you took something old and made it new!
Stacey of Embracing Change
Very cute, lovely tutorial, I love rocking horses, I would have liked one like this when I was young 🙂
This is too cute! Stopping by from the Lettered Cottage DIY party. I would love for you to come link up to my party too, going on all week!
And be sure to enter my giveaway too!
Thanks
~Iffy~
http://www.stayathomenation.blogspot.com
This is precious! It looks so adorable! The pink polka dots totally rock! You are sooo creative!
This is just the sweetest rocking horse!!
I’m getting ready to redo a similar bourse and would love to know how you attached the ears and reins.
Hi Andrea, it’s been a while since I completed this makeover but I believe I stapled the ears on and hot glued the reins. Good luck with your horse!
I’m redoing my grandson rocking horse would love to know how you did the mane & the tail.