Help the kids count down to the most exciting holiday of the year with this simple wood advent calendar. Kids and adults will enjoy the season with a DIY project that celebrates the anticipation and patient waiting for all that is to come.
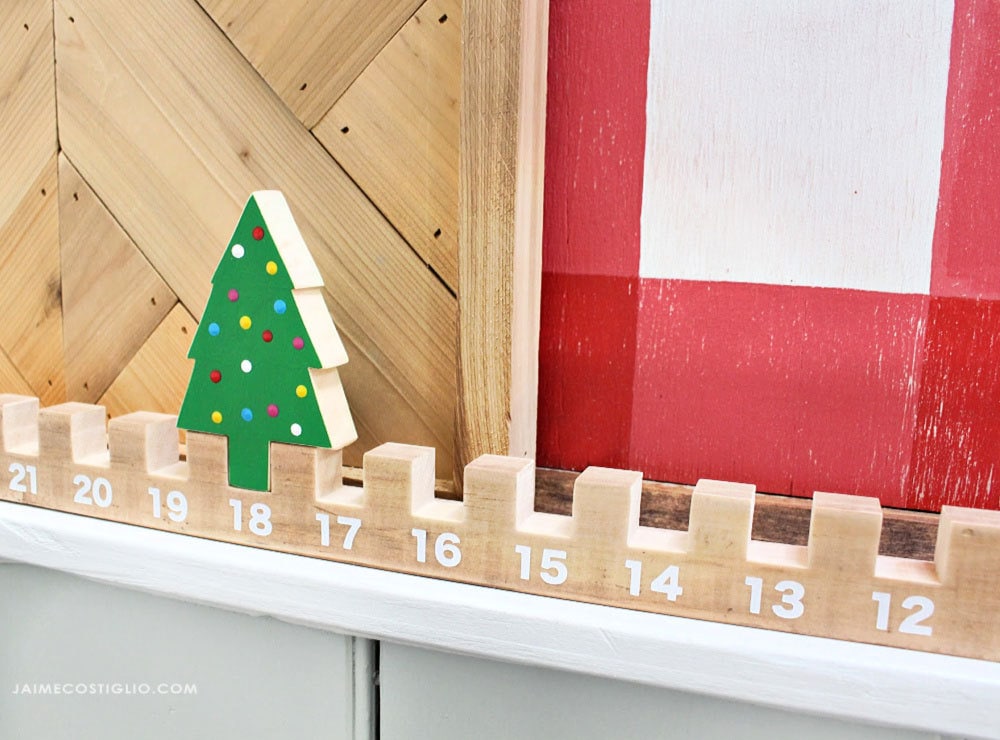
A DIY tutorial to make a wood advent countdown calendar using one board and a cut out tree shape. Kids will love counting down the days by moving the tree.
I’m happy to be participating in the Seasonal Simplicity blog hop with 31 other DIY bloggers sharing our holiday craft project ideas. A special thank you to Kristi at The Happy Housie for organizing this fun series.
Wood Project
I’m sharing a simple advent calendar project idea you can make from wood. Then add the numbers with paint, vinyl or stickers and you have a countdown that’s fun for everyone.
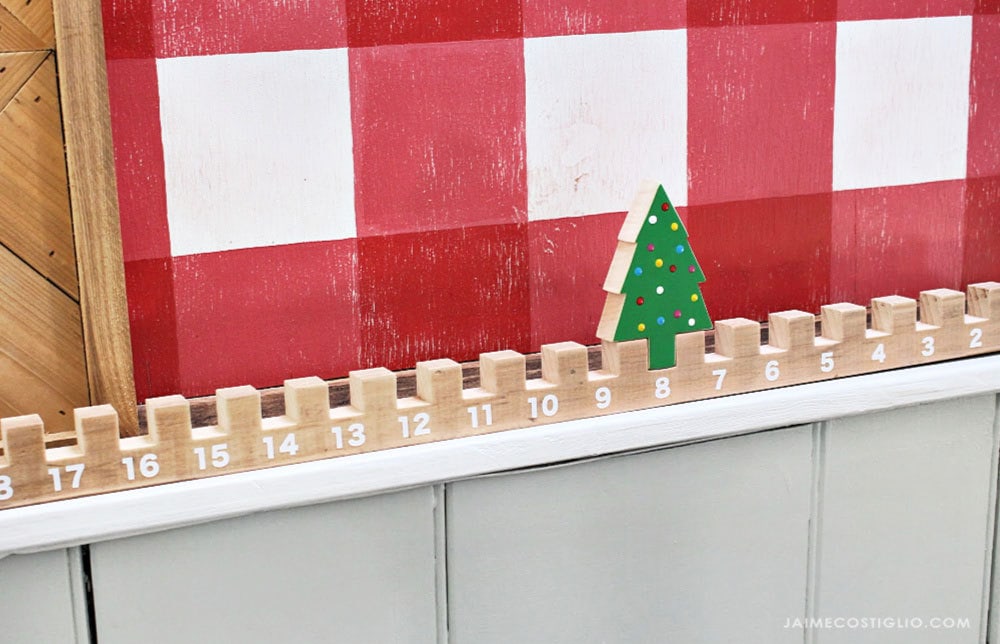
This advent calendar starts at 24 and goes down to 1 because my kids like to count down the number of days until Christmas. We debated about which way the numbers should go (up or down) and in the end decided counting down works best for us. Recently I made another vertical advent calendar and again we had the same debate about counting down or up, to each his own!
Counter Shape
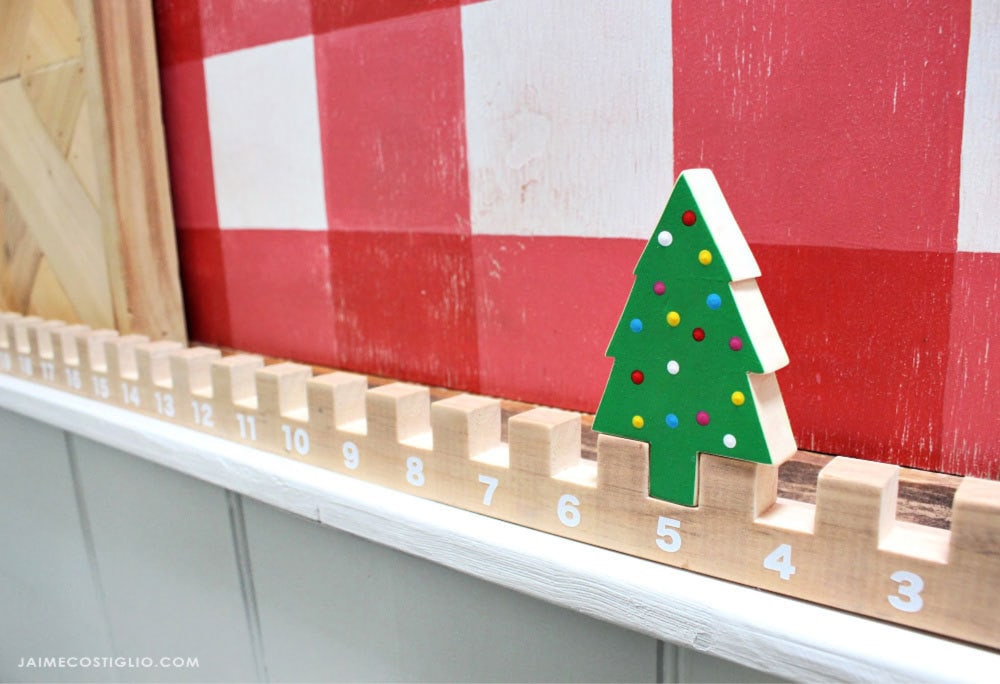
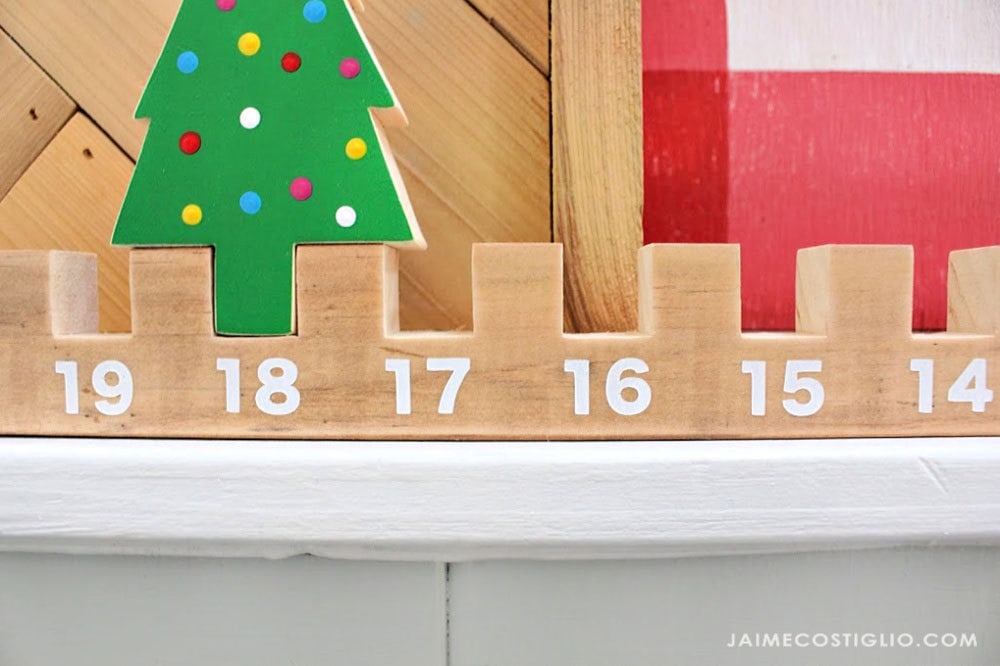
The little wood tree fits perfectly into each numbered slot and rests on its branches until the next day. And you could make any shape you like:
- star
- santa figure
- angel
As long as you keep the base piece to fit into the notches then anything will work.
More Advent Calendars
I’ve made a few advent calendars in the past like this wood tree shape with bins and this scrap wood countdown tree for lollipops but this countdown calendar is interactive and doesn’t require treats or candy.
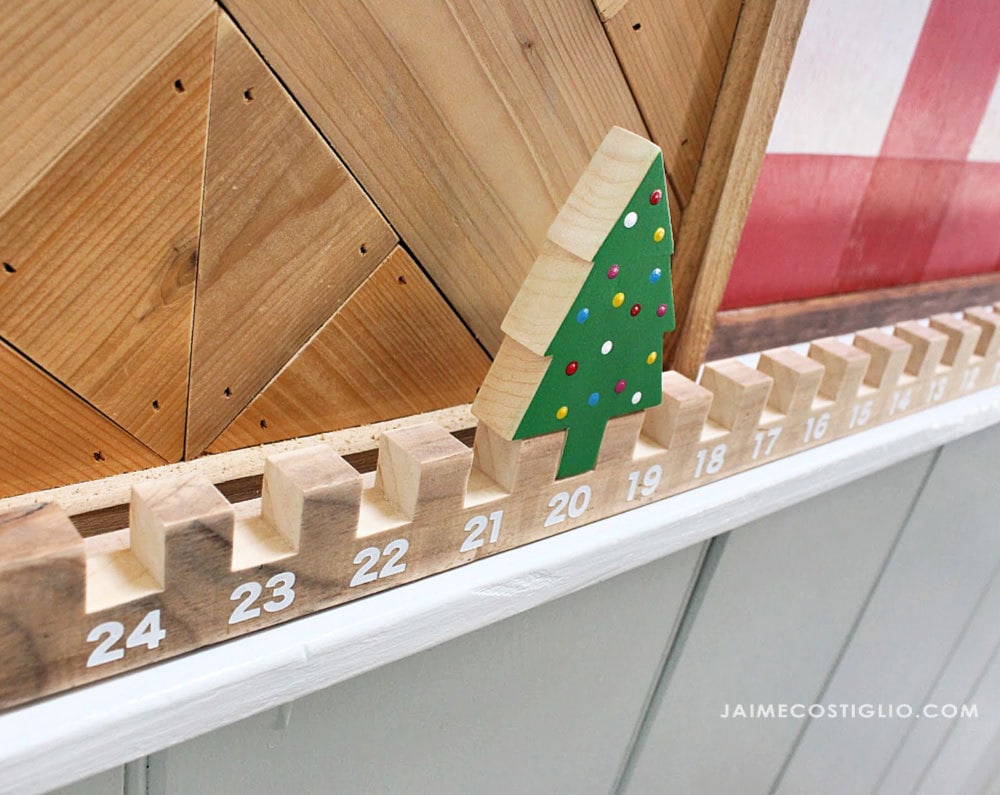
I drew up the sketch below with dimensions for this advent countdown calendar. Be sure to read through all the steps before beginning and leave any questions in the comments.
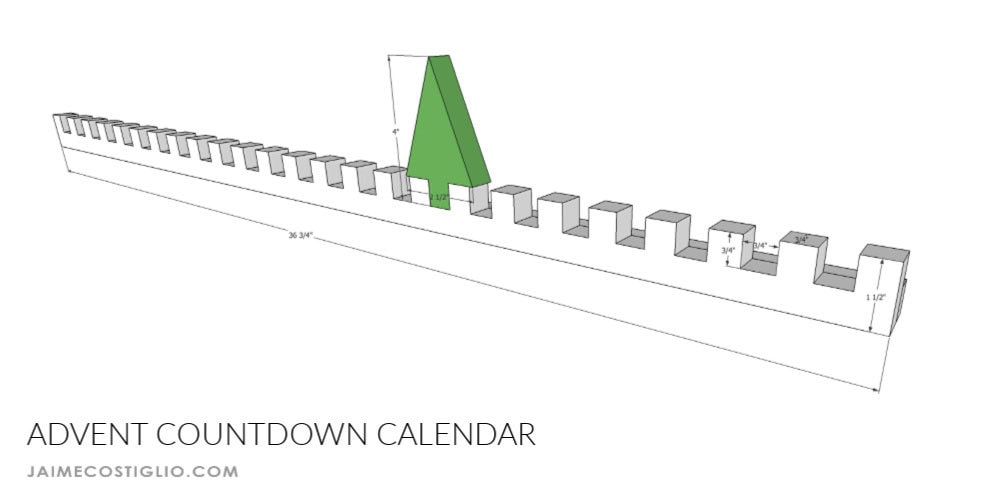
Supplies
- 1 – 1×2 @ 36 3/4″l
- 1 – 1/2″ x 3/4″ flat moulding @ 36 3/4″l
- scroll saw or jig saw
- sandpaper
- ruler or measuring tape
- pencil
- wood glue
- nail gun & 1 1 /4″ finish nails
- vinyl stencil
- white acrylic paint and paintbrush
Step 1:
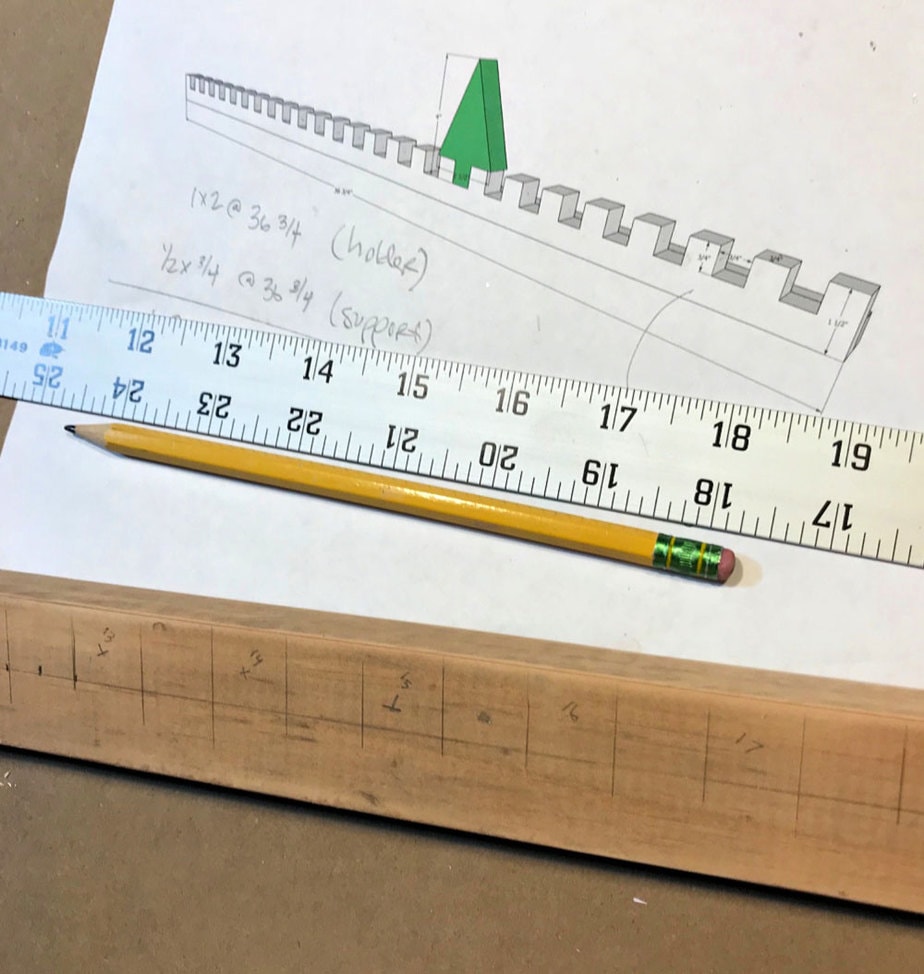
Find the center of the 1×2 board and work out from there to ensure equal spacing. Then mark the dimensions on the board and write the number in each slot to keep track and also so you know where to cut.
Step 2:
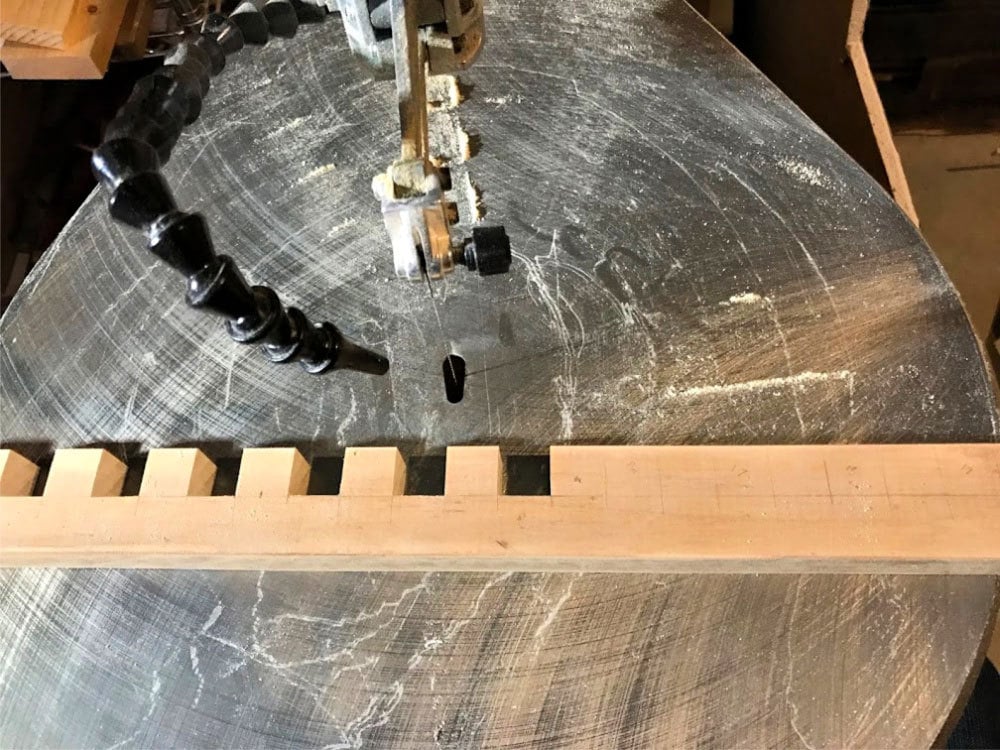
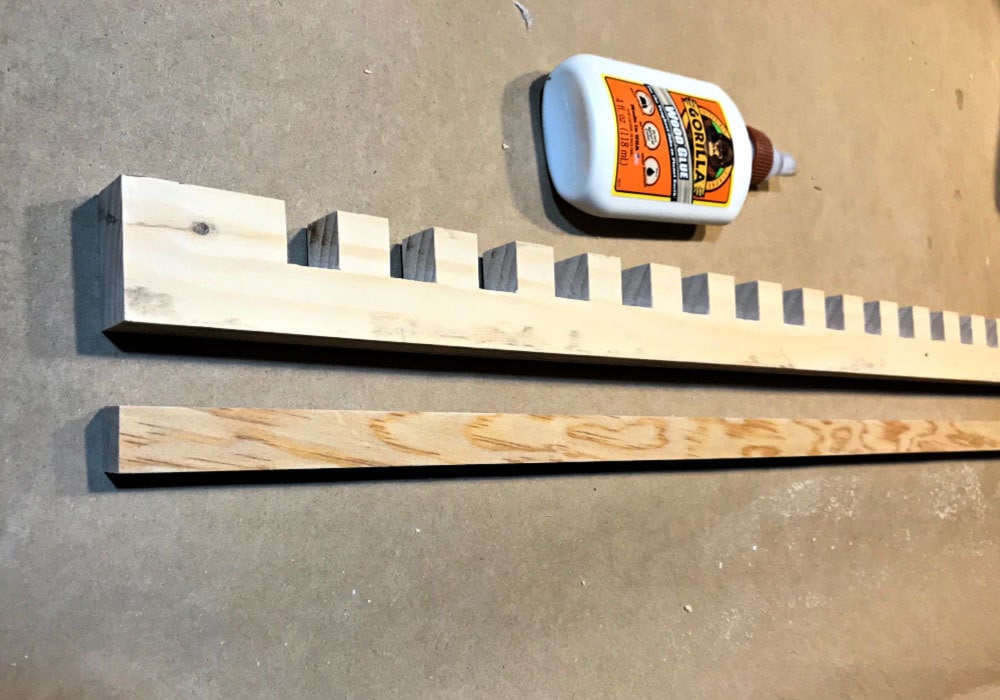
Using a scroll saw or carefully with a jig saw cut out the notches and sand any rough edges.
Step 3:
Use wood glue and finish nails to attach the support piece to the back lower portion. Mostly this prevents the board from tilting and gives it some footing.
Step 4:
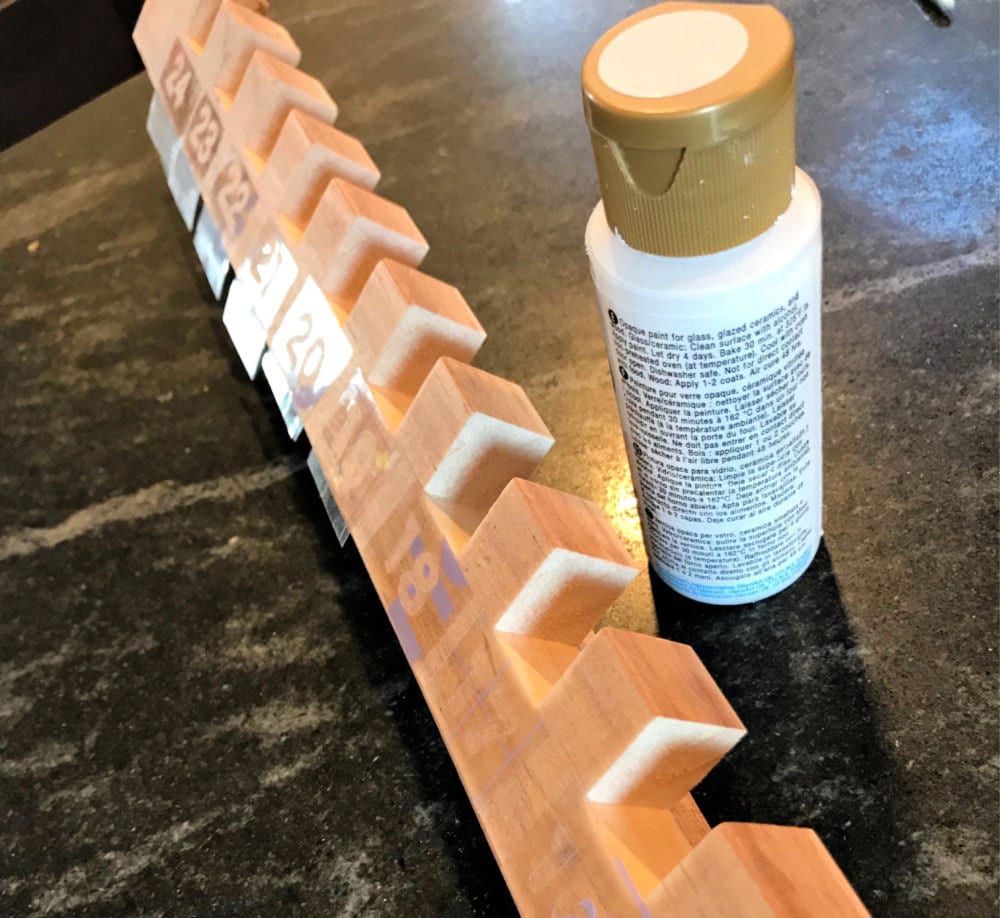
To make the numbers I made a stencil using the Cricut Maker. TIP: Use strong grip transfer tape to make your stencil. This gives a super sharp edge and won’t peel off wood unexpectedly.
Step 5:
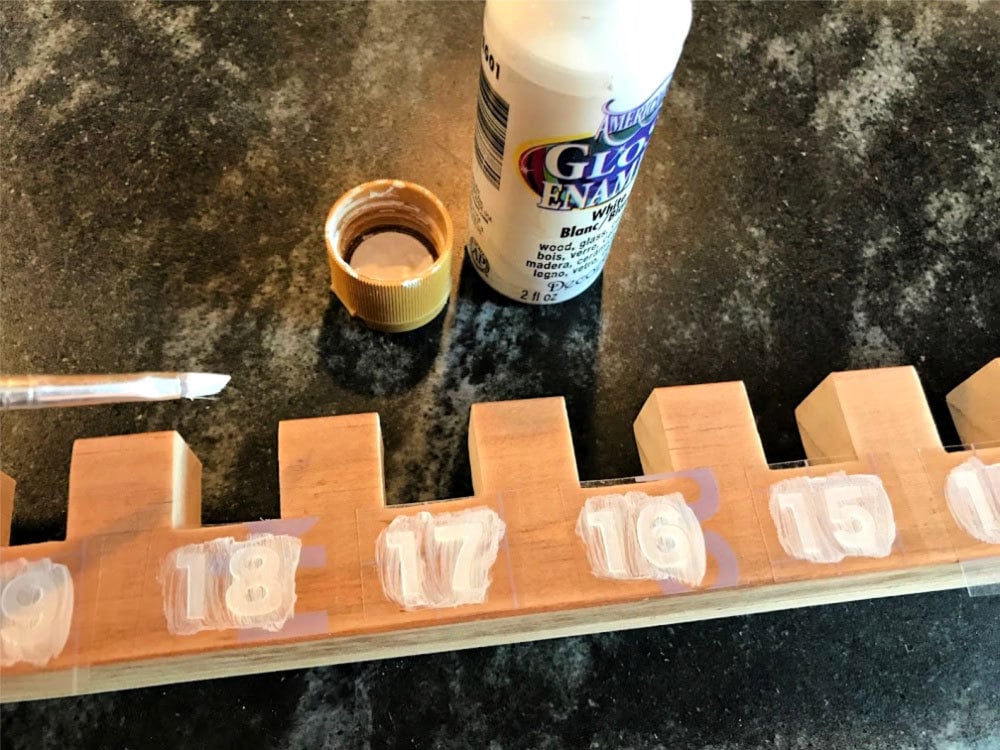
Paint inside the stencil using glossy acrylic paint. Two coats works great.
Step 6:
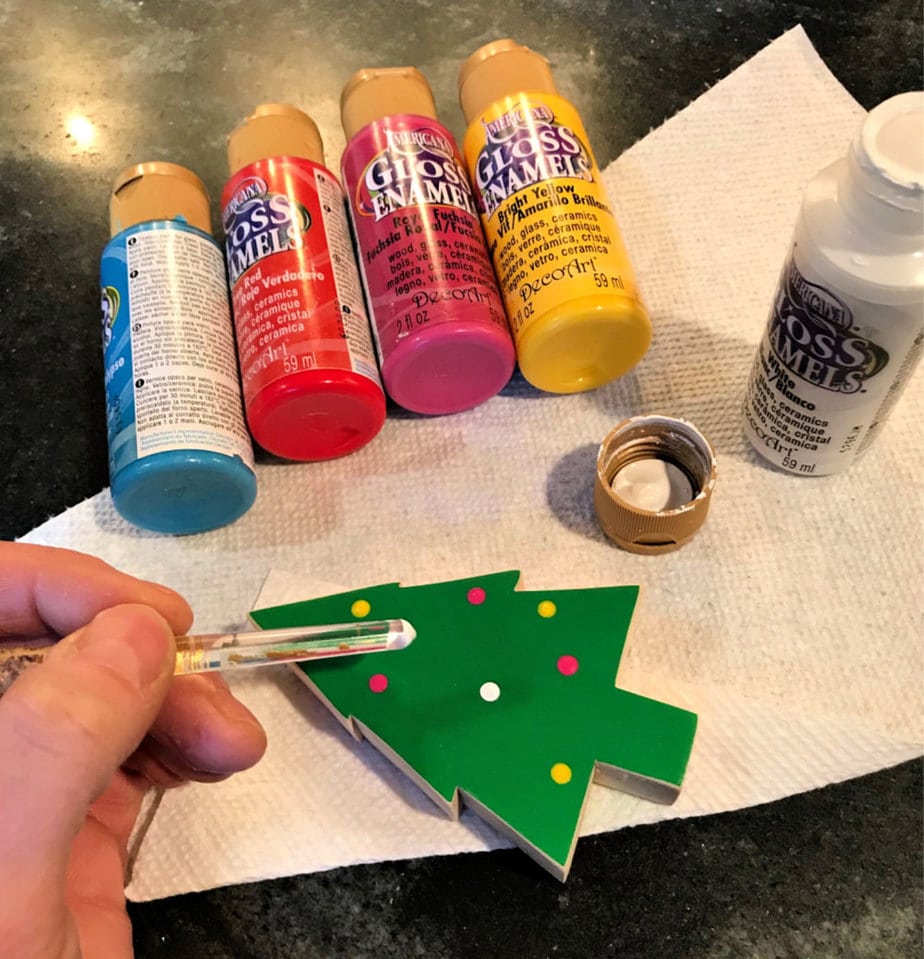
Cut out the tree shape using the dimensions up above in the sketch. Be sure the tree fits into the notches. Lastly paint the tree green and add different colored dots for lights.
Then set up your advent countdown calendar on the mantel, a shelf or ledge, somewhere the kids can reach it to move the tree every day. I hope you enjoyed this project as much as I did creating it and sharing with you!
Be sure to stop by all the wonderful DIY holiday project ideas from my fellow bloggers:


How to Flock a Christmas Tree at The Happy Housie
DIY Asymmetrical Wreath at Rooms FOR Rent
DIY Christmas Countdown at Lolly Jane
Christmas Gingerbread Cookie Wreath at Sincerely Marie, Designs
Clock turned Holiday Shadow Box at Confessions of a Serial DIYer

How to Make a Fleece Cone Christmas Tree at Happy Happy Nester
How to Make a Holiday Scrabble Letter Board at Tatertots & Jello
Simple & Natural Wire Hanger Christmas Wreath at Jenna Kate at Home
Kringle’s Cookie Co Christmas Kitchen Sign at Tauni Everett
Easy Advent Countdown Calendar at Jamie Costiglio

French Country Christmas Wreath Printables at Designthusiasm
Copper And Gold Mason Jars DIY at Shabbyfufu
DIY Christmas Crackers at So Much Better With Age
Star Christmas Tree Garland at On Sutton Place
Easy Fringe Napkins for Your Holiday Table at Satori Design for Living

DIY Real Christmas Wreath at Clean and Scentsible
Birch Candle Holders at Finding Silver Pennies
Homemade Dry Holiday Potpourri at TIDBITS
Modern Traditional Christmas Countdown Calendar at Rambling Renovators
Embroidery Hoop Christmas Wreaths at Town and Country Living

Quick & Easy Floating Candles for Your Christmas Centerpiece at Home.Made.Lovely
Glass Filled Ornaments at My Uncommon Slice of Suburbia
Ombré Bottle Brush Tree DIY at Modern Glam
Modern Boho Christmas Wreath at Life is a Party
How To Easily Make A DIY Eucalyptus Wreath at Inspiration for Moms

String Art Christmas Stocking Holders at The Turquoise Home
DIY Holiday Pennant- Two Ways at Lemon Thistle
Vintage Christmas Bell Garland at Willow Street Interiors
DIY Modern Christmas Sign at Love Create Celebrate
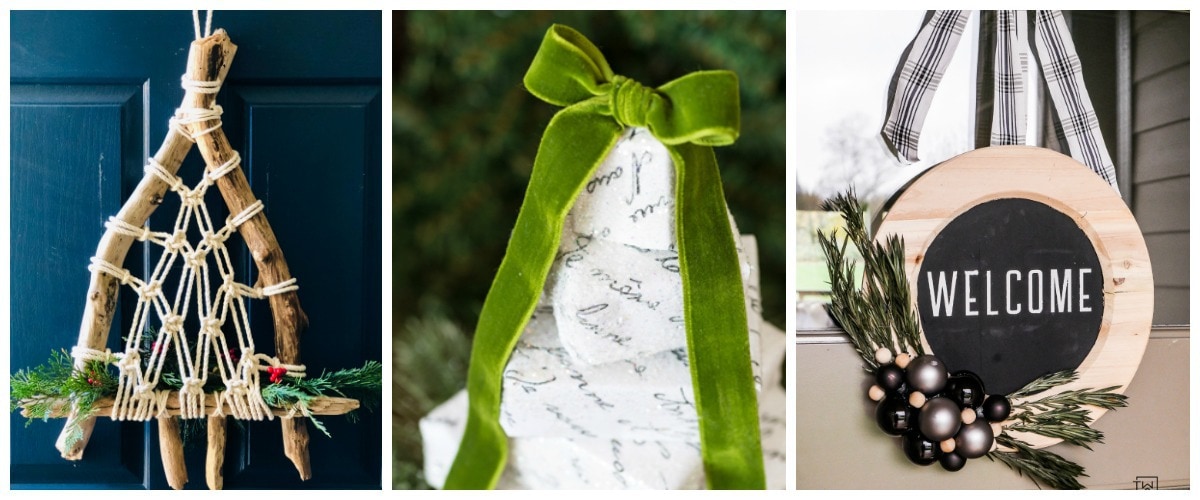
Easy DriftWood Macrame Christmas Wreath at Place of My Taste
Table Top or Mantel Christmas Tree Made Using Boxes at In My Own Style
Natural Wood Plate Charger Wreath at Taryn Whiteaker

Follow me on social media for sneak peeks and up to date project posts:
Instagram / Pinterest / Facebook / Youtube / Twitter


Oh my goodness this is so clever! I love it!!
I pinned it too 🙂
xoxoo
Thanks Jen, my kids will be fighting over it! Thank you for pinning too.
Wow! This is the coolest thing ever, Jaime! Such a great job.
Hugs, Jamie
What an adorable way to countdown the days until Christmas! My kids love doing this each year.
What font did you use for the numbers? Looking forward to making this!
Hi Angela, The font is Hiragino Kaku Gothic Std in 36.05 point on the Cricut Maker. Good luck!
Jamie,
This is the cutest advent calendar! It looks like something you would find in the store! What a clever project!
Thanks Janine, it was so fun to make. Now to keep my kids from fighting over who’s turn it is!
This is so clever Jaime and so perfect for pre-school age kids! My boys would adore this…fingers crossed when I attempt to make it that it looks even half as good as yours!!
Thanks Jenna, you can do it just as good. Slow and steady and it will be awesome!
Wow! This is so creative Jaime. Thank you for sharing and being a part of the blog hop.
This is beyond adorable friend! My son would have a blast with this. Time to bring out the tools. Thanks for the inspiration!
This is so cute, and I love that it doesn’t require treats! XO
Thanks Christy, I agree there’s so many treats that come with the holidays we don’t need more 🙂
Jamie, this project is so clever! I would buy this for my kids! Or make it if I had more time in my life, lol. Such a creative idea!
Thanks Lindi, it really was fun and easy to make. Your kids would love it!
So clever! I love this adorable advent calendar. I bet your kids LOVE it! xx
Hello Jaime, you are so creative. This is such a good way to count down the special day like birthday, Anniversary and Christmas.