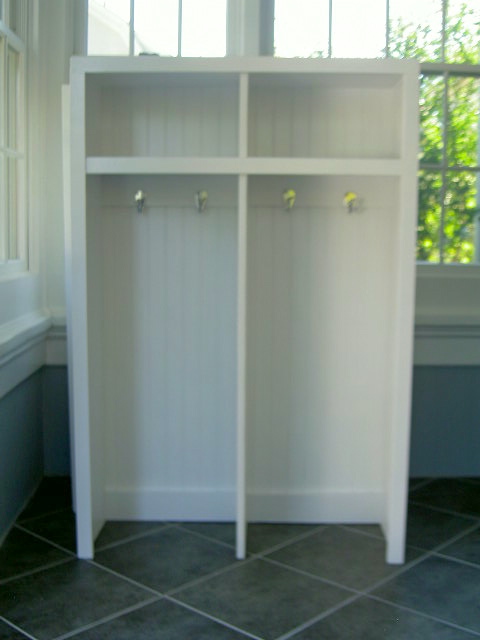
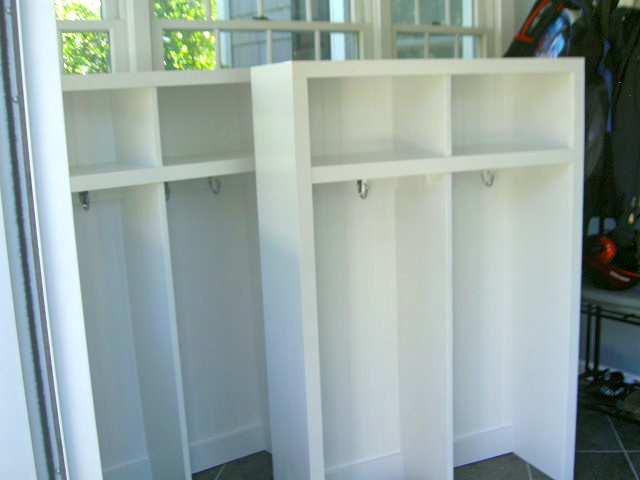
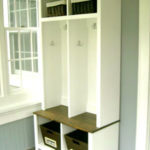
I built entryway locker cubbies with shelves for a beach friend:
Two sets.

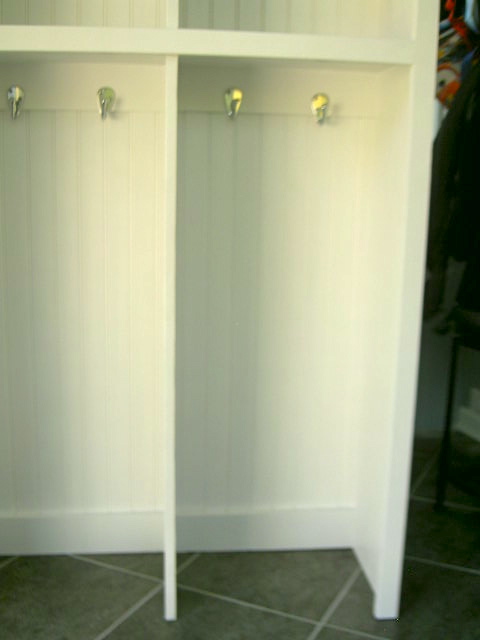
They will be replacing this coat rack:
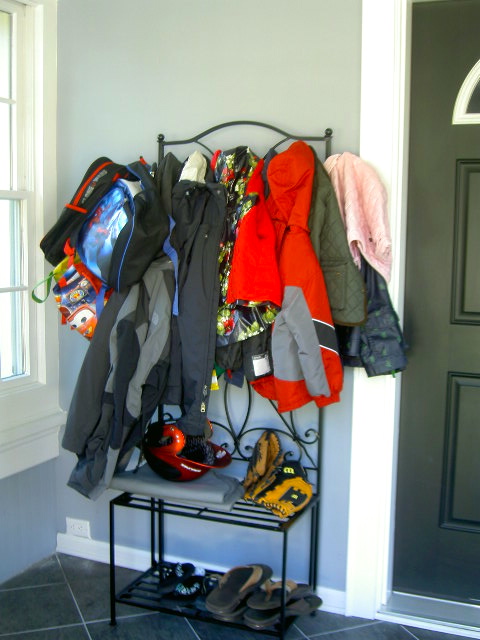
This is a family of five who needs a better coat and entry storage solution.
Based on my friend’s ideas and space I came up with this drawing:

Two units, one on either side of the front door.
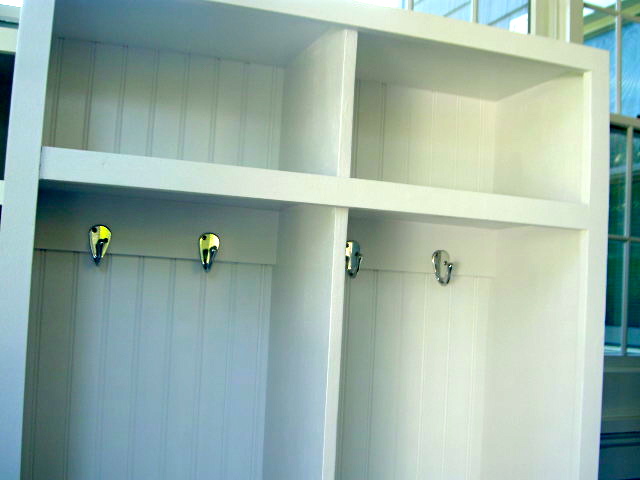
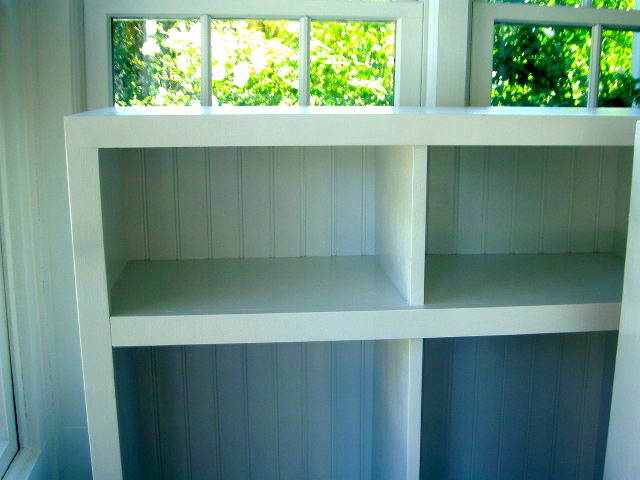
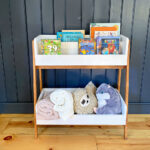
Open locker style hanging section with shelf above and bench area below with space for storage baskets.
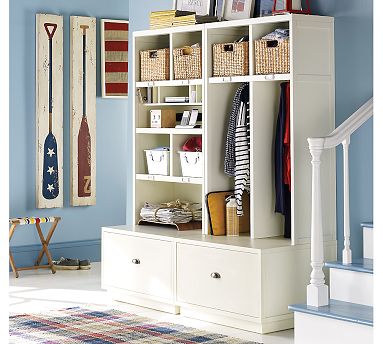
My inspiration came straight from Pottery Barn’s Brady Entryway System:
I delivered the upper locker sections today and the bases will follow next weekend.
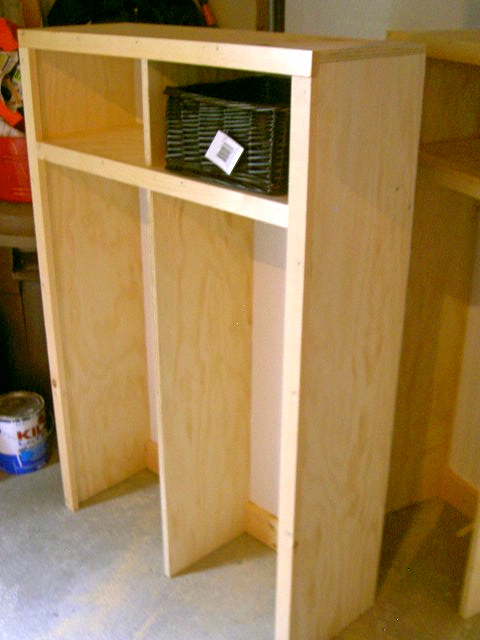
This space up top accommodates a nice wicker basket.
Here’s how I built the pieces:
1. Using plans from Ana White’s site here and the PB inspiration piece I drew up my plans based on the size requested:
each unit measures 34″w x 12″d x 50.5″h
2. Constructed using 3/4″ cabinet grade plywood, 1x2s, 1x4s and beadboard backing.
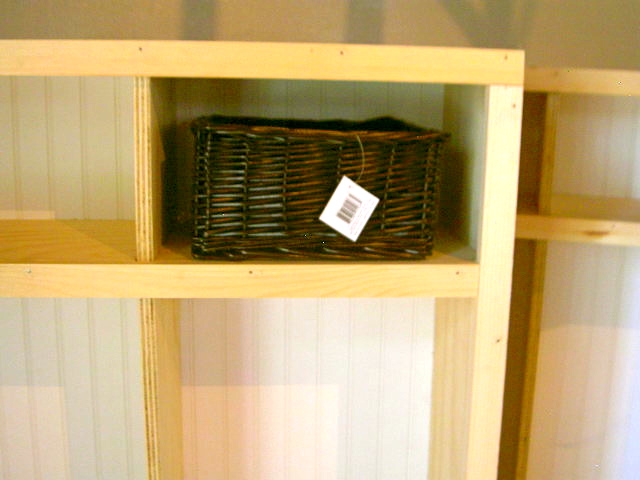
3. I modified not only the width (Ana’s plans are 30.5″w) but also the shelf height (Ana’s shelf is set at 12″) to accommodate the baskets:

Before setting in the shelf I put the basket in place to determine the height, these are set at 9″.
(Don’t worry that gingham liner will be replaced with a neutral.)
4. All constructed and ready for paint:

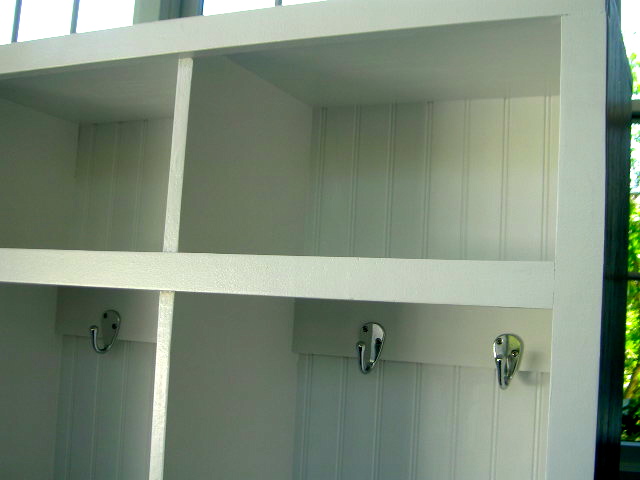
I also added an additional 1×4 just below the shelf to support the hanging hardware.
(Screwing hooks into beadboard backing would provide minimal support.)
The basket fits perfectly now.
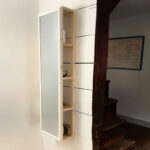
Side view shows 12″ depth.
Primed, painted two coats semi-gloss white.
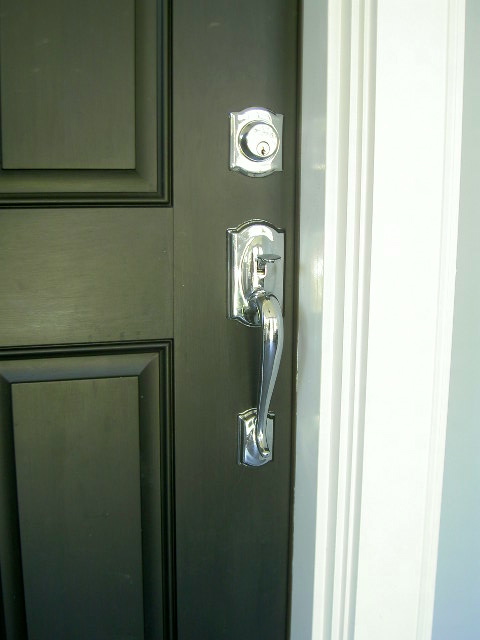
The hardware is polished chrome to tie in with the front door hardware:

I’m still uncertain about adding additional hooks on the inside sides and divider for additional function:
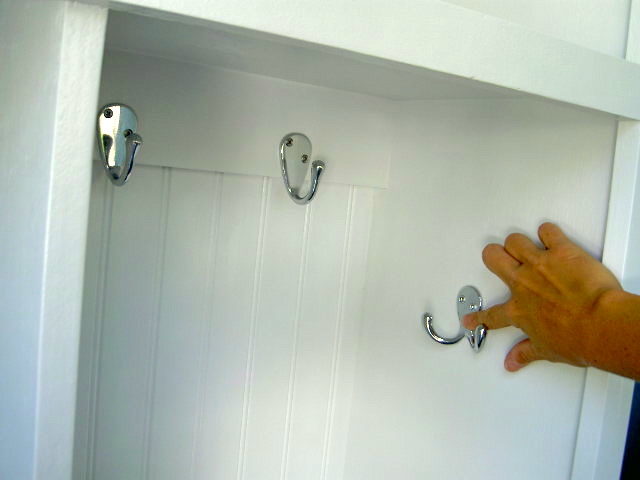
They could be very useful for backpacks, umbrellas, scarves, pocketbooks.
We have until next weekend to decide on the additional hooks.
To see the complete entry system with bases click here.


toooootally awesome. good job, and the paint finish looks so nice too. Do you use a gun? I still use a brush and my paint jobs are pretty sloppy.
Excellent as usual! I had always wanted these in my mud room until I moved into this house have a full sized closet now in my mud room. I love these storage lockers, they are so cute and functional! You have done a great job. I vote for extra hooks btw ;P Would you link this to the VIP party this week? It starts on Thurs nights now at 6pm. Have a great holiday weeked!
http://www.designergarden.com
i need to learn how to build- you make it look so easy! and it gives you so many more options with what to do in your own home. love it!
So good… I love the clean lines, but beachy-feel with the beadboard. Fantastic.
They are amazing! I am just finishing up my mudroom and I wish I had lockers like these for each child. You are so talented.
Wow, what a fabulous project. I love how neat and organized it makes everything. And wicker baskets are always so cute. I wish I had room to put something like this.
Nice!
I love this!You have some fantatsic projects on your blog, I'd love for you to link some of them up to my blog link party this weekend, http://mumofalltrades.blogspot.com. Hope you can make it and thank you!
I'm sure this will be very useful! I say add the hook for the backpack! Good looking piece, definitely an upgrade.
Kristina
@PearlGateway
http://www.pearlgateway.com
I love these Jamie! I wish I had a spot to make them for my house!
Nice, Nice, Nice!
Susan
Jaime! You rock! Those are so cool!
Stunning and functional! Love it!!
You are awesome. These are exactly the cubby locker thingys I have been wanting to make for my mud room. They Look WONDERFUL.
I can't believe you made these??? Wow, too cool girl!! I like the beadboard in the back and that you used wider boards – nice job!
Those turned out lovely! I love the white and the hooks that you picked. They are going to transform that space like crazy – Good job!
Amazing! Can't believe that you built them….they are gorgeous! Your friend is very lucky:)
As for the extra hooks on the side, I really like that idea. That would be great for a purse or umbrella, like you said. I use a hook on my coat rack for my errand bag that I carry (used for to do list, coupons, returns, receipts, etc. when I go shopping so I don't clog up my purse).
I love Ana White- what a great unit! The side hooks are brilliant!
Thanks for sharing with us 🙂 Happy weekend! XO
I am SO impressed! While I consider myself handy, I have yet to actually build something from scratch. Mudrooms are one of my favorite rooms, so I can't wait to see it all finished! Lucky friend! Great job!
Ciao!!
Che bella idea.
Brava!!
Baci
Sabrina
I can't believe you built those! They look so great! I love the sketch you drew, and I bet it will look awesome in your friend's house once it is finished!!
Jaime–they turned out fantastic! Can't wait to see part 2 🙂
This is me…begging you to move here and build these for me! I am ready to dust off my drill and tool box and give this a go!
Kerry at housetalkn.blogspot.com
What a cool idea! I'm looking to make a coat rack of some kind at the moment, I never thought to make a unit!
These are going to be SO great! I love Ana White too!!!
Brilliant !!!!
Brilliant !!!!