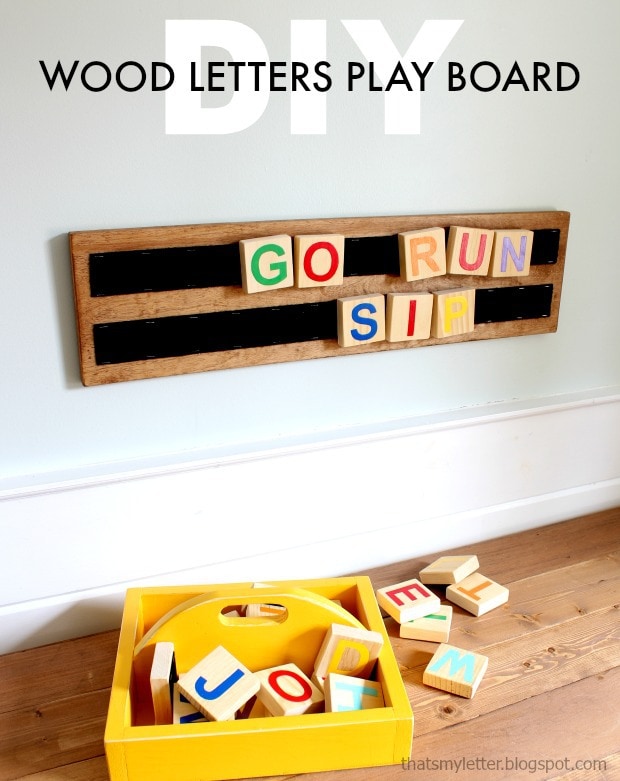
Scrap wood lovers I’ve got another project for you that makes a
fun kids learning toy: wood letters play board.
Gather up all your 1×3 pieces to make the wood letters and paint them
fun colors or use vinyl cutouts if you’re fancy!
fun kids learning toy: wood letters play board.
Gather up all your 1×3 pieces to make the wood letters and paint them
fun colors or use vinyl cutouts if you’re fancy!
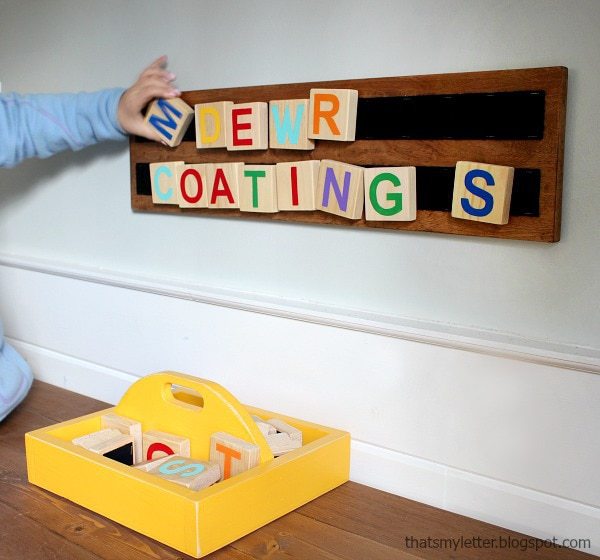
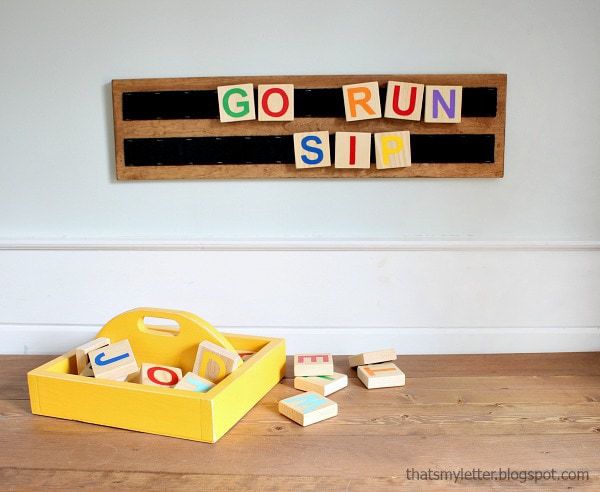
Kids can easily move the letters around making
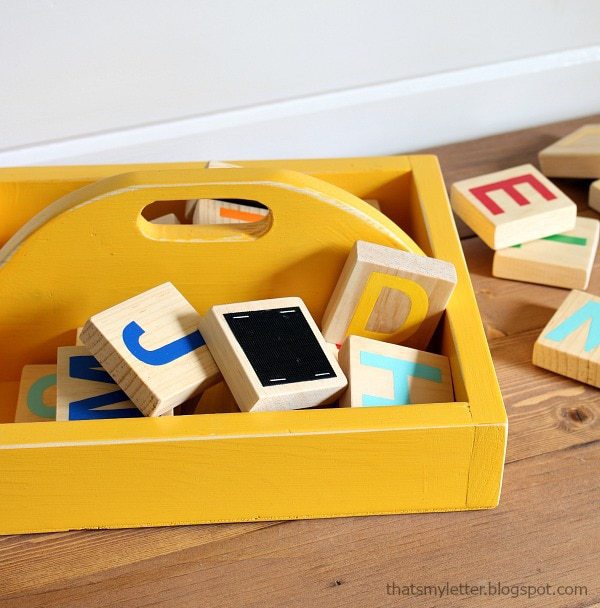
different words. I store the extra
letters in this yellow diy art caddy (tutorial and plans here) but any bin will work.
different words. I store the extra
letters in this yellow diy art caddy (tutorial and plans here) but any bin will work.
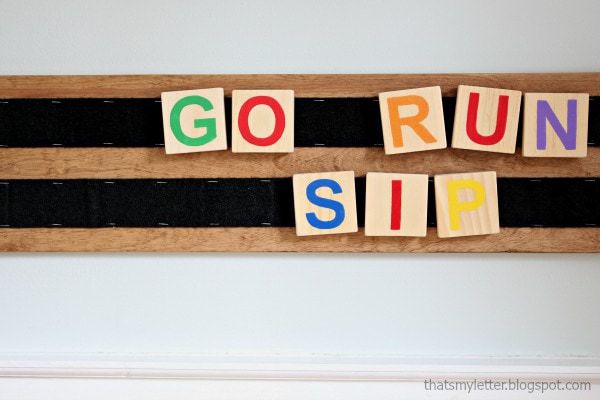
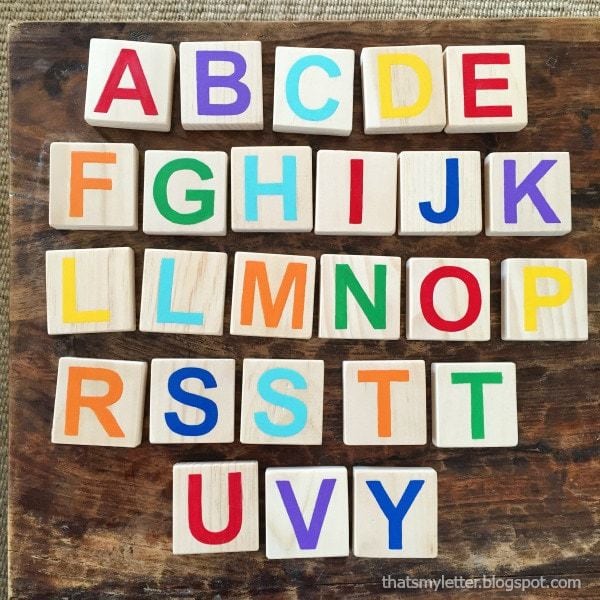
I cut up a bunch of 1×3 scraps into square blocks and then
painted different letters on the front.
Stain a piece of scrap plywood for the play board and then use Velcro®Brand Industrial Strength tape on the board and backs of each block. Now the blocks are repositionable on the
board and stay put until the kids are ready to rearrange the letters to make new
words.
Below is a quick step by step tutorial on how
to make the wood letters play board.
to make the wood letters play board.
* This post contains affiliate links below, by clicking on an affiliate link and making a purchase I may receive a tiny commission. This small commission helps me keep this site full of free content so I thank you for your support. *
- 1×3 scrap wood pieces (cut at
2 ½”l) - scrap plywood piece (about 8”
x 20”) - wood stain (Minwax early american)
- computer & printer (or
vinyl cutting machine) - ballpoint pen
- acrylic paints &
paintbrush - clear semi-gloss polycrylic spray
- Velcro® Brand Industrial Strength 2″ tape
scissors
- staple gun
and staples
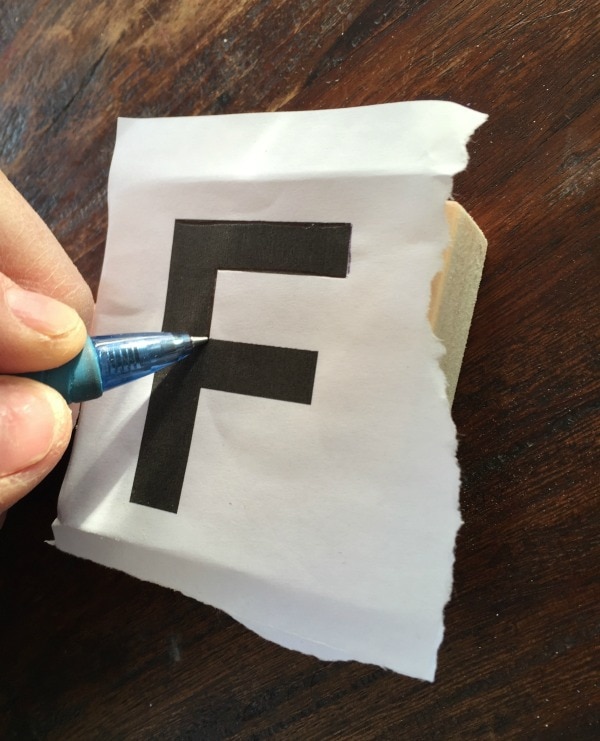
Step 1: Print out the letters (I used Ariel
font at 200 point). Center the printout
over the wood block and trace outline using a ballpoint pen with heavy
pressure.
font at 200 point). Center the printout
over the wood block and trace outline using a ballpoint pen with heavy
pressure.
Step 2: The pen will leave an indent in the
wood. (See example here.) Paint on and inside the indent using acrylic
craft paints and a small paintbrush.
wood. (See example here.) Paint on and inside the indent using acrylic
craft paints and a small paintbrush.
I shared all the painted wood blocks over on Instagram a few days back, be sure to follow me there for project sneak peeks!
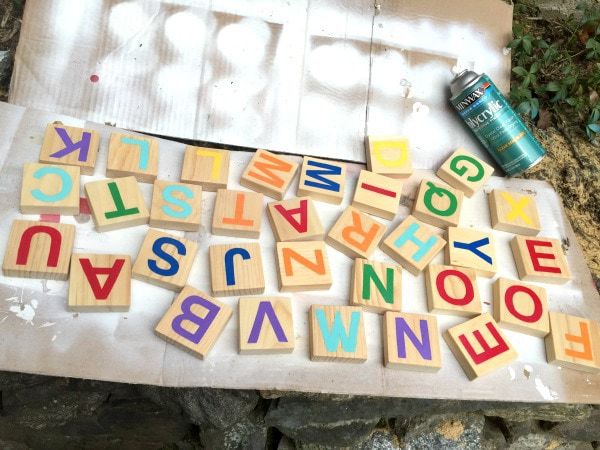
Step 3: Seal the letters with clear semi-gloss
polycrylic spray.
polycrylic spray.
Step 4: Stain the plywood board and let dry.
Step 5:
Cut the Velcro® Brand Industrial Strength tape into 2”
sections. Peel the plastic backing off
and center tape onto back of wood block.
Cut the Velcro® Brand Industrial Strength tape into 2”
sections. Peel the plastic backing off
and center tape onto back of wood block.
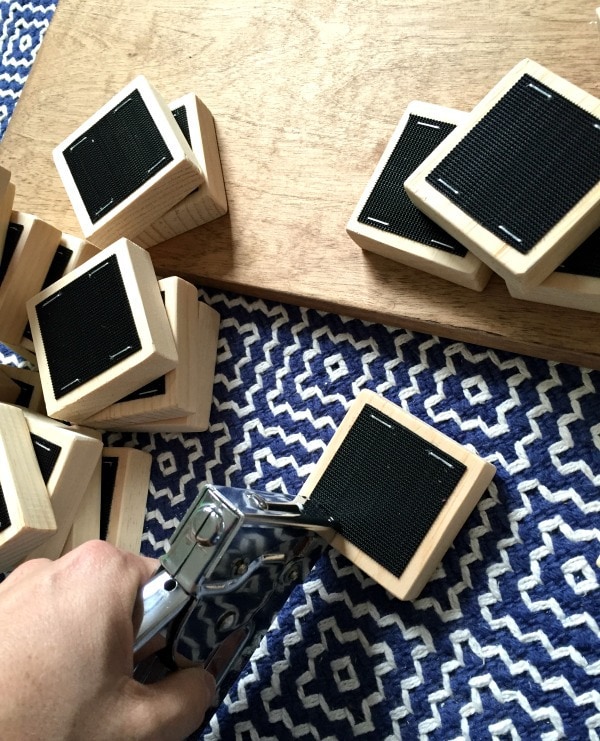
Step 6: Even though the tape
is adhesive on the back you still need to secure the tape to the wood to be
sure it won’t pull off after repeated use.
Using a staple gun insert staples into the four corners.
is adhesive on the back you still need to secure the tape to the wood to be
sure it won’t pull off after repeated use.
Using a staple gun insert staples into the four corners.
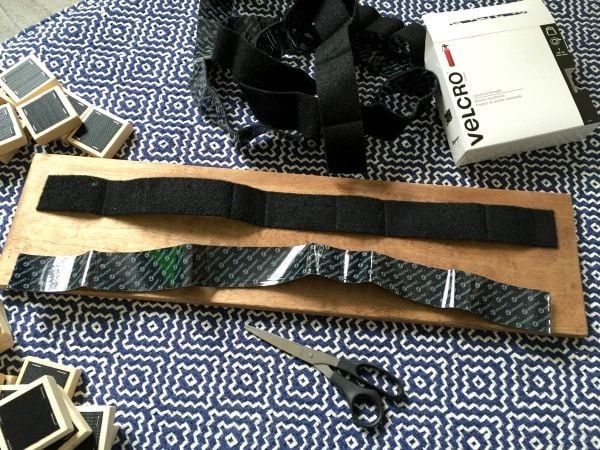
Step 7: Cut two long pieces of the tape about
2” shorter than the plywood board.
2” shorter than the plywood board.
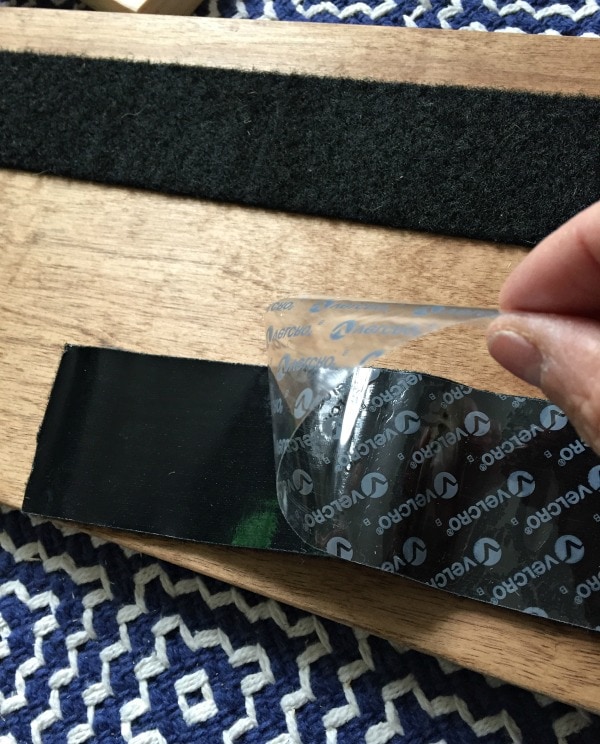
Step 8: Peel back the plastic covering and
apply tape to plywood board.
apply tape to plywood board.
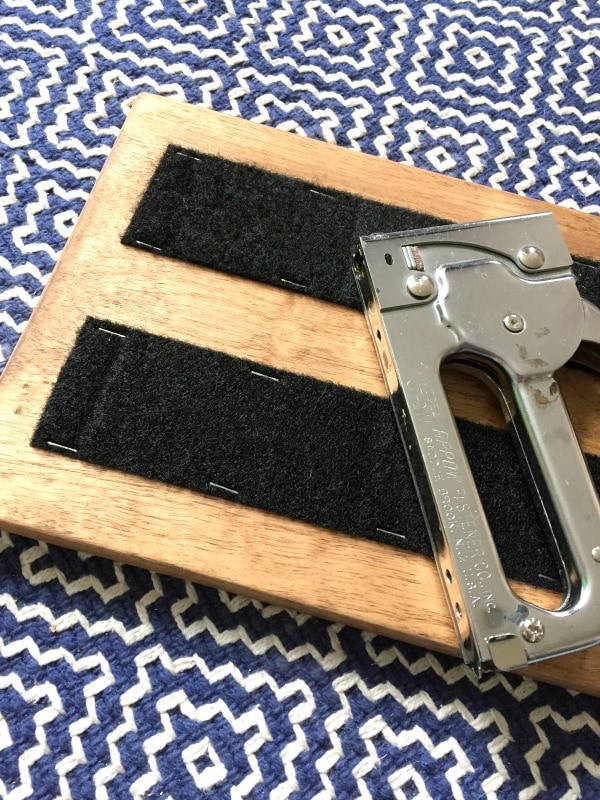
Step 9: Secure the tape in place using the staple
gun placing staples every 2” or so. This
ensures the tape won’t peel off the plywood board.
gun placing staples every 2” or so. This
ensures the tape won’t peel off the plywood board.
Now let the kids make all the fun words they
can using the wood letters play board.
can using the wood letters play board.
Disclaimer: I have partnered
with Velcro® Brand to
bring you this project post. I have
received compensation and / or product in return for this blog post. All thoughts, opinions and creative ideas are
my own.
with Velcro® Brand to
bring you this project post. I have
received compensation and / or product in return for this blog post. All thoughts, opinions and creative ideas are
my own.
SHOP THIS PROJECT:


Cute idea ,my grandkids would love to play with these Thank You for sharing
What a good idea. It is a fun project and you use your scraps as well. I bet the whole enjoys playing with them. I sure would.
This is so so cute! My boys would love this. Thanks for sharing!
Your blog is very impressive and have the useful information it is really caught my attention.
great work
تصميم مواقع
amazing
شركة تنظيف بالرياض
good job Beautiful! 🙂
حراج السيارات