The little things in life sure do make a big difference. And that’s why I absolutely love making projects from scrap wood and this vented monitor stand is no different. It’s a simple solution to a minor problem but makes a vast improvement with minimal effort.
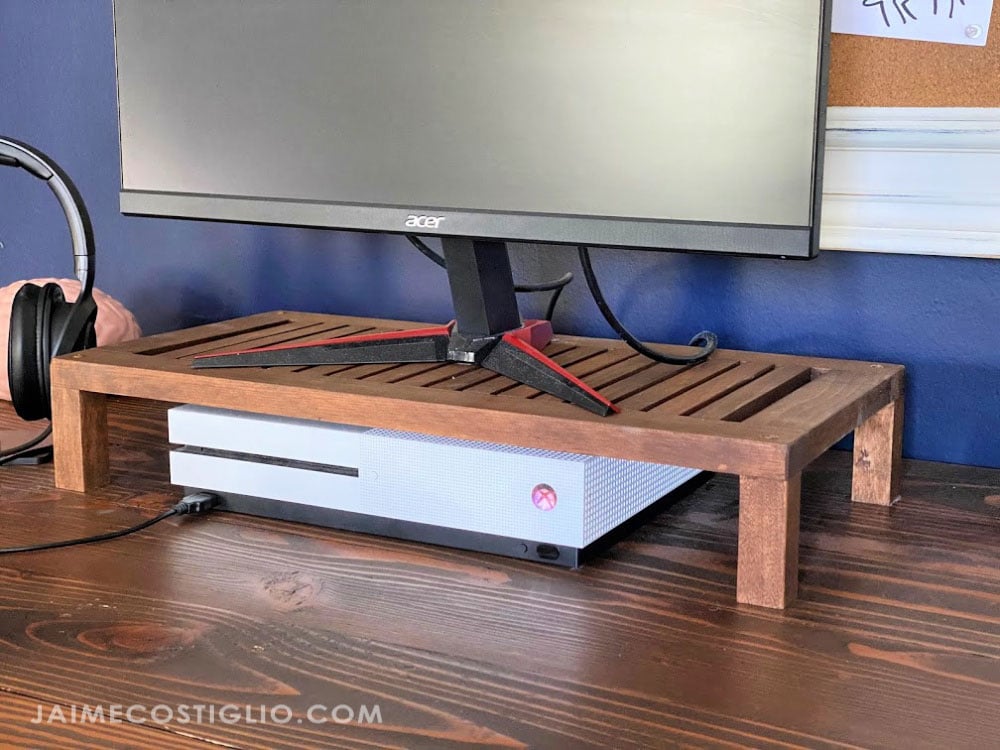
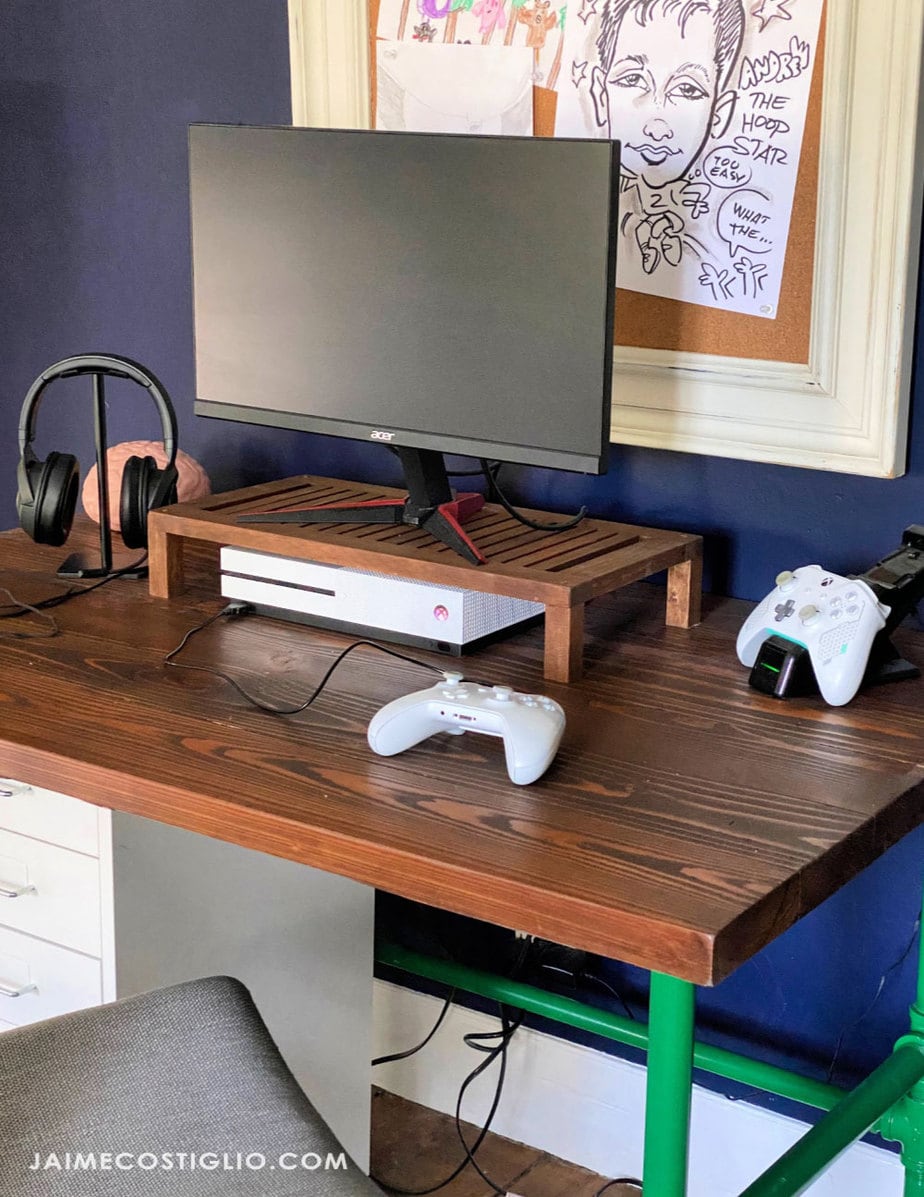
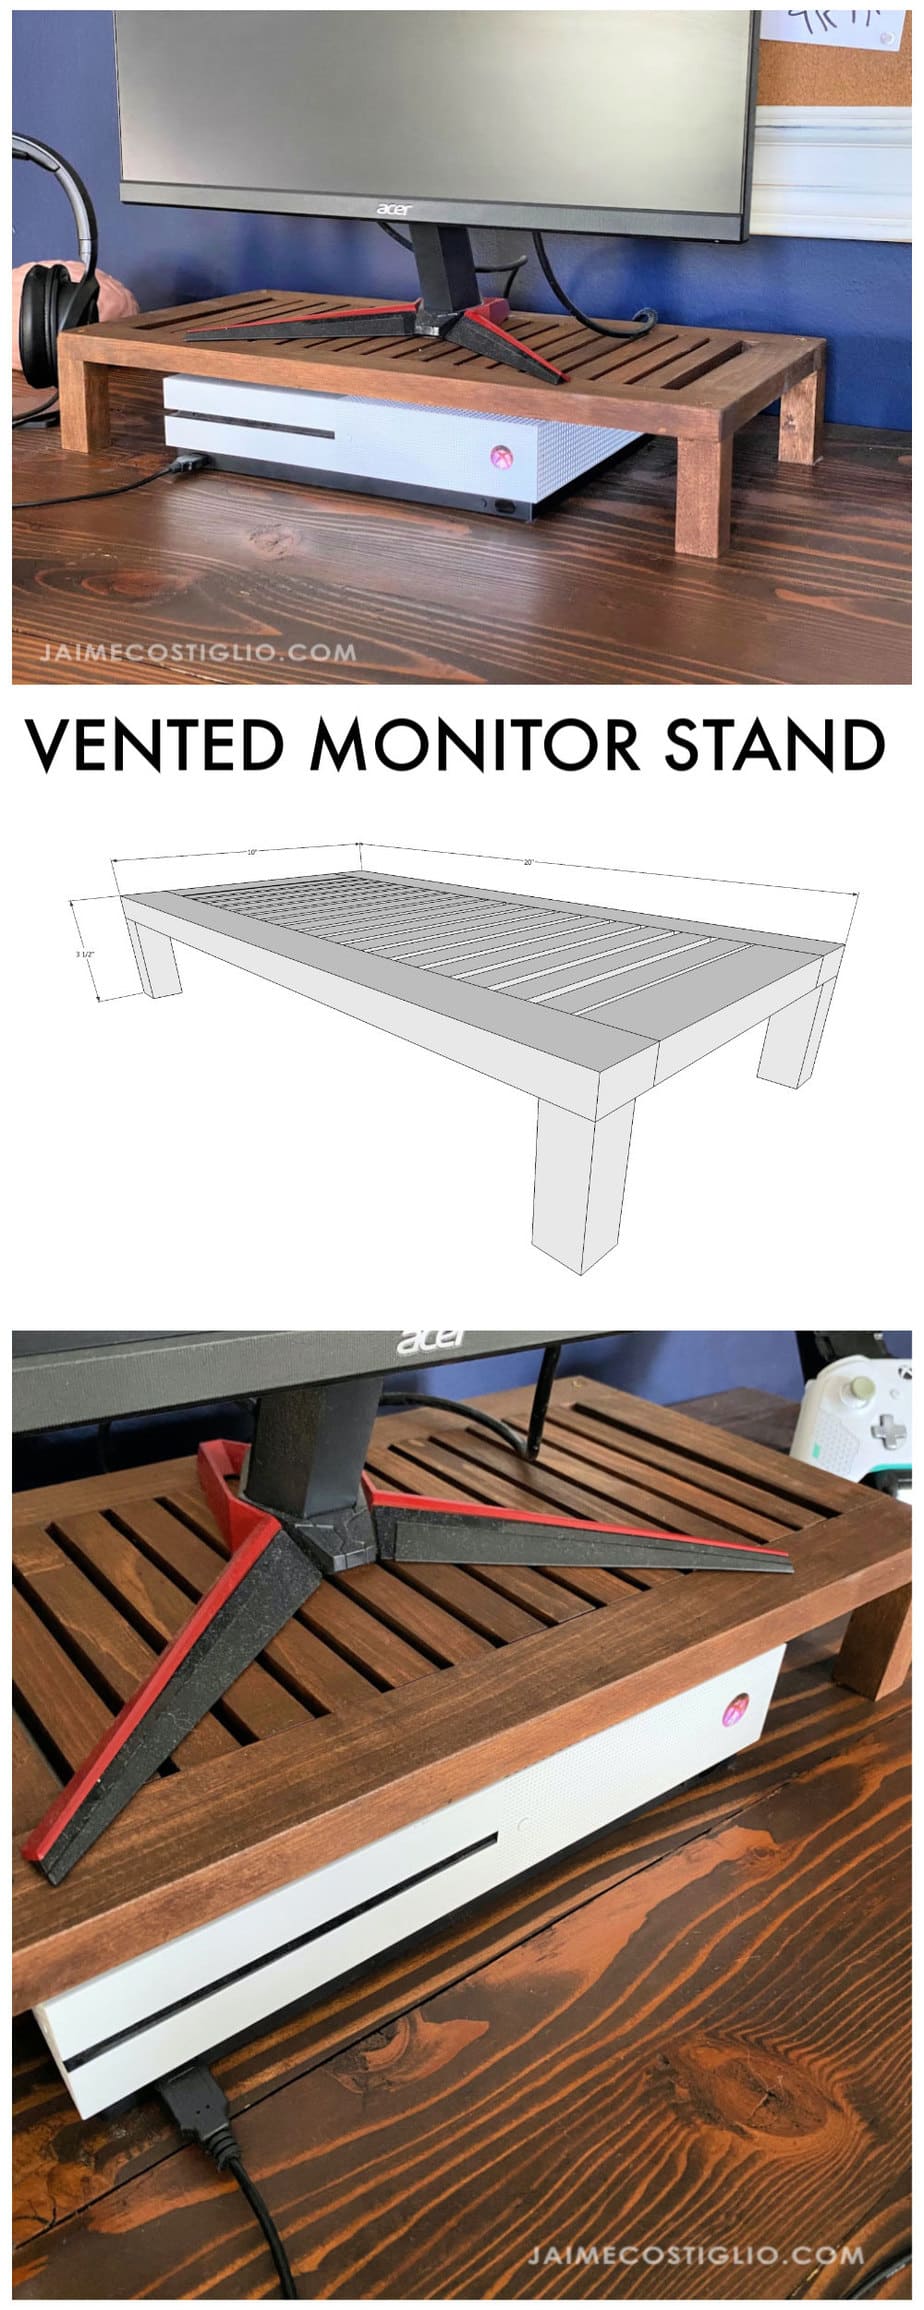
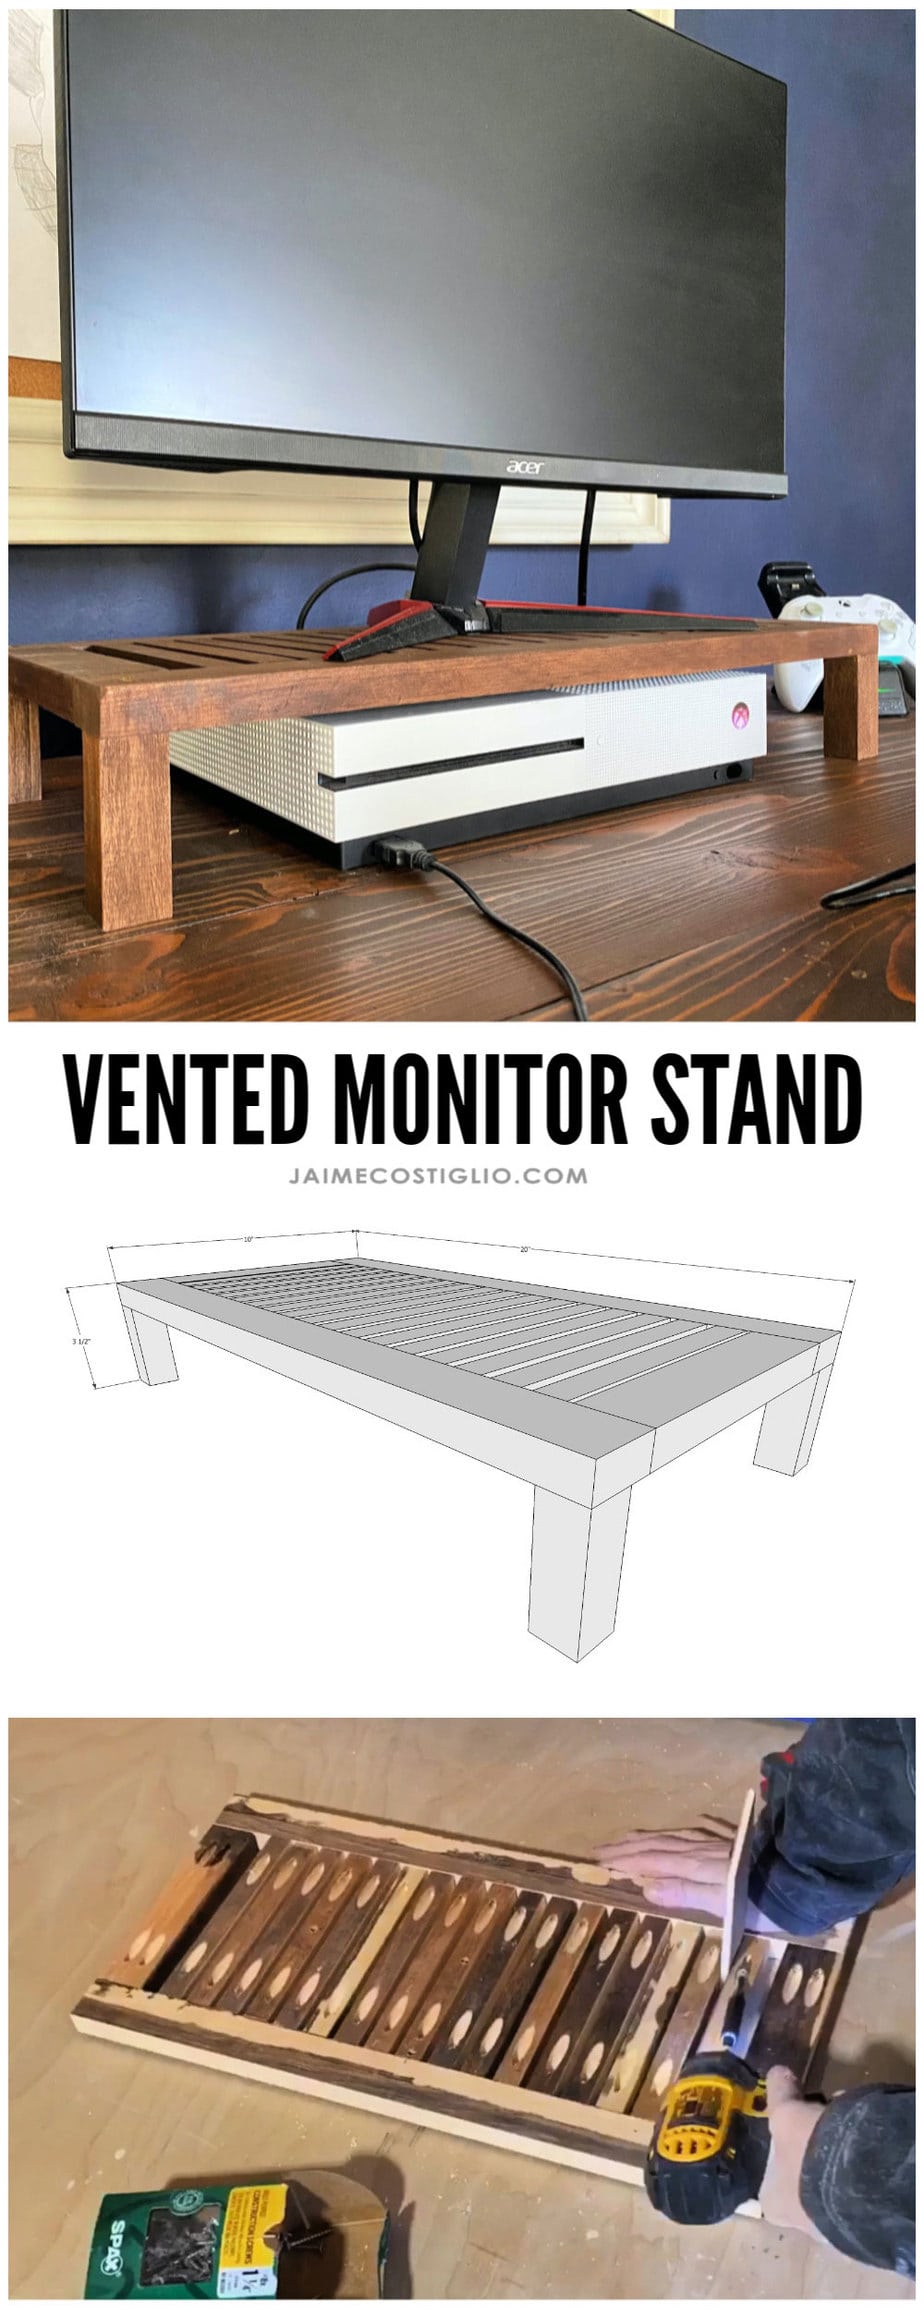
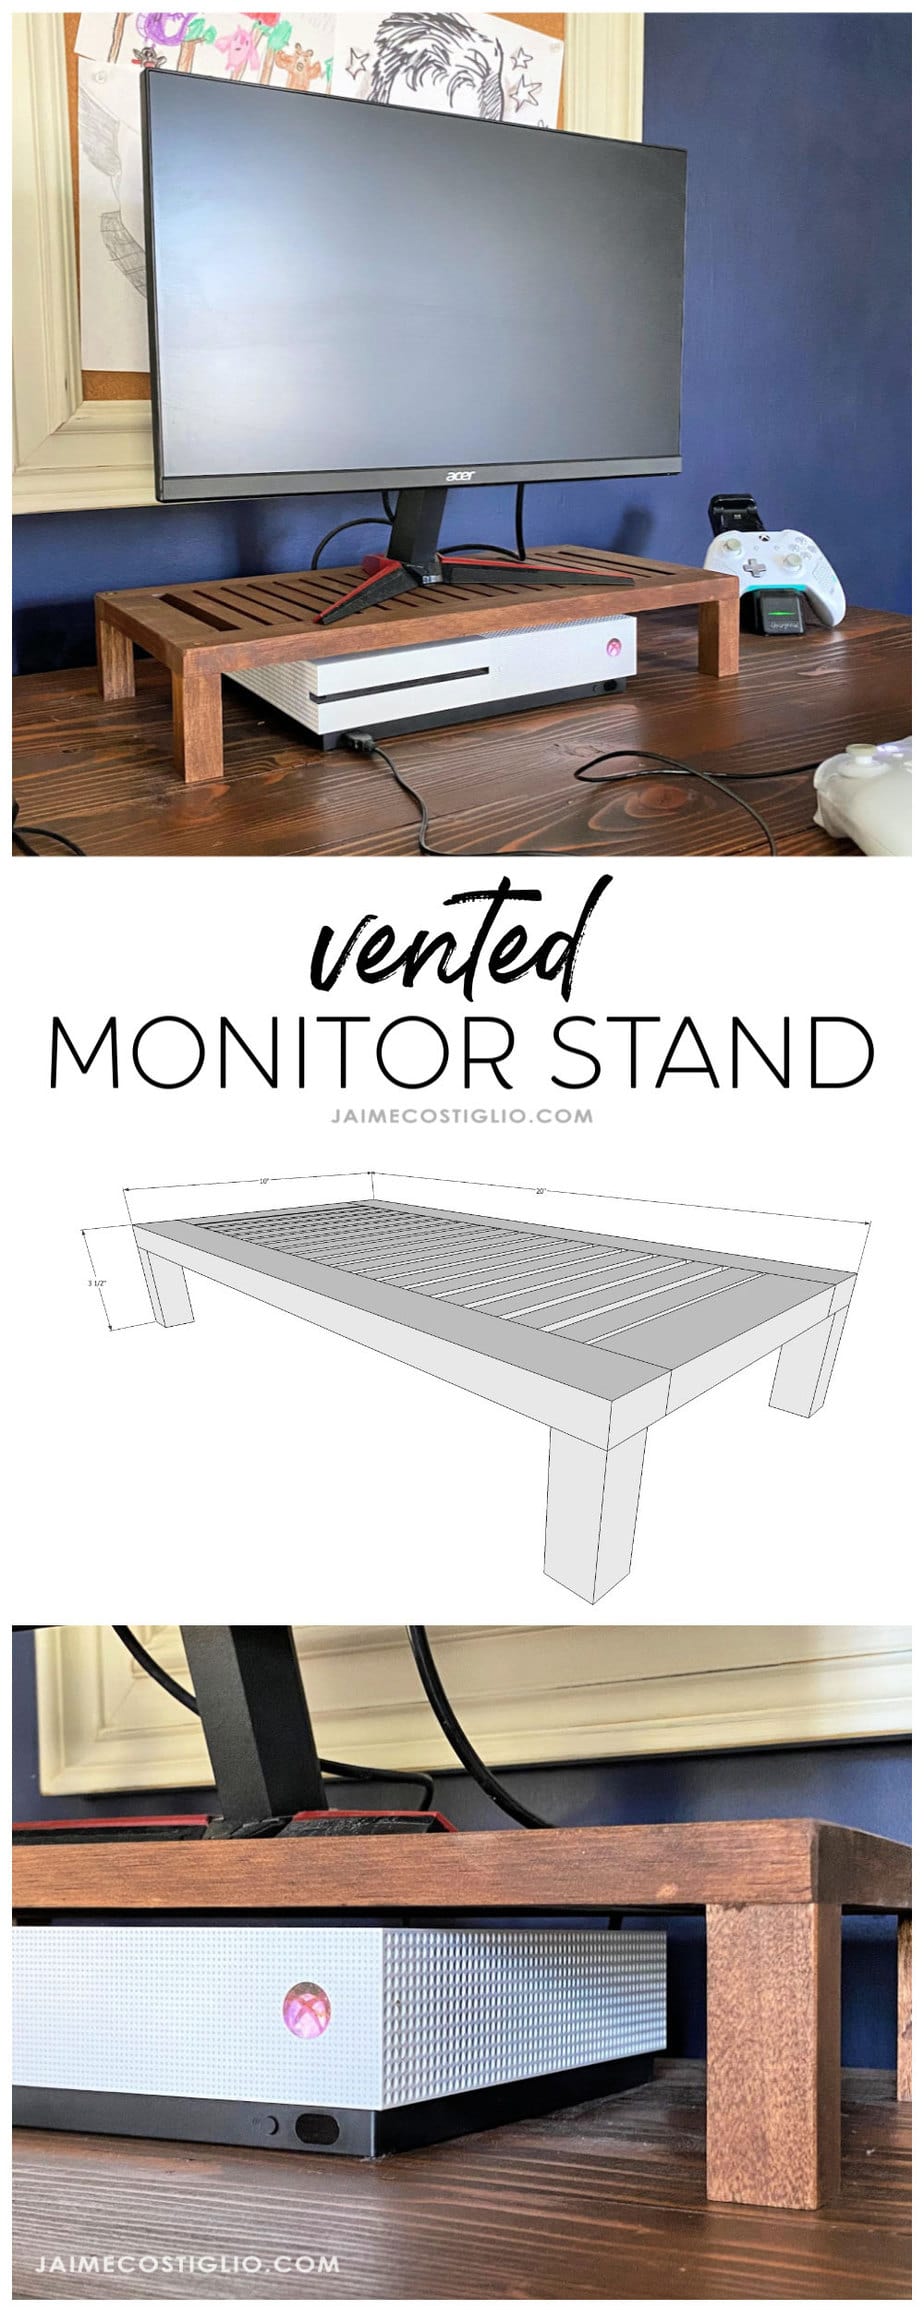
A DIY tutorial to build a vented monitor stand. Make this vented monitor stand to raise the monitor up and fit a gaming console underneath.
Like a lot of teenage boys my son is big into gaming. Having just made the desk shelf topper for my daughter’s desk he quickly realized he too wanted a more organized desk surface as well. So I whipped up this monitor stand with vents for his gaming set up.
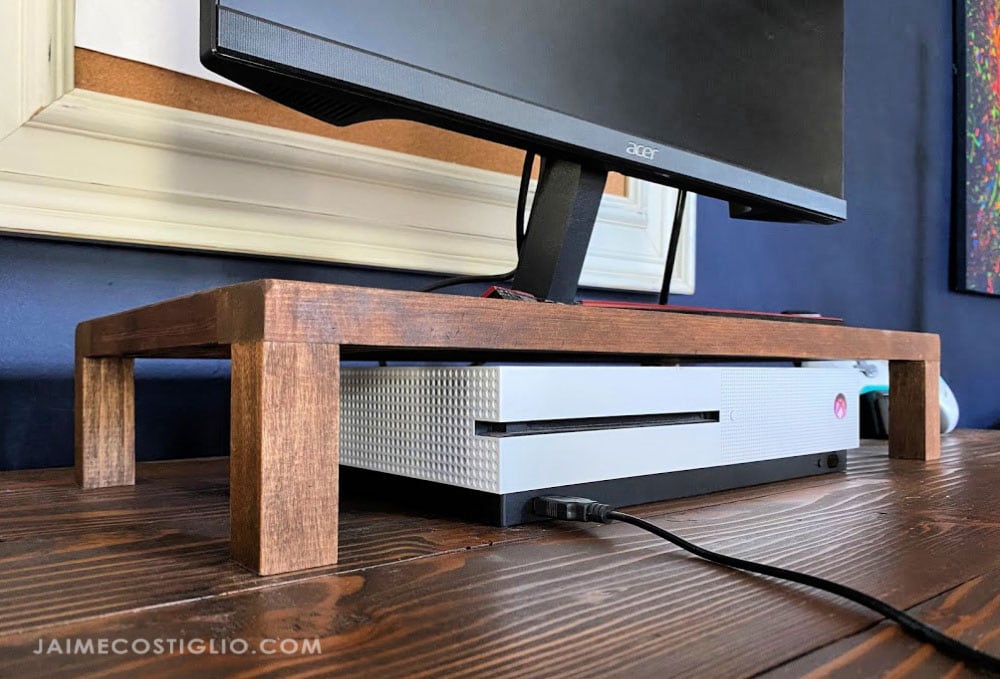
Organized Solution:
- raises monitor sight line
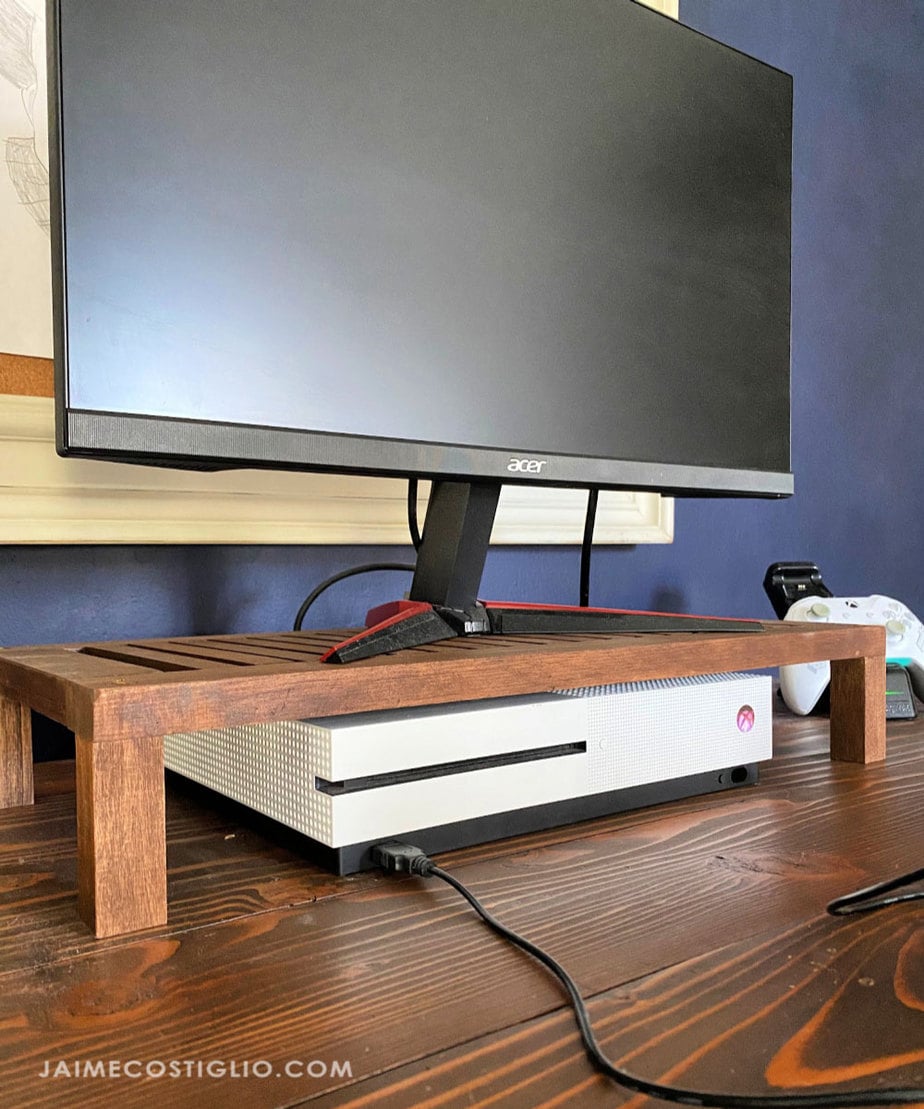
- provides home for gaming console
- vents allow console to breath and not overheat
- keeps desktop organized
His desk space before wasn’t too cluttered but it was definitely lacking any sort of organizational system.
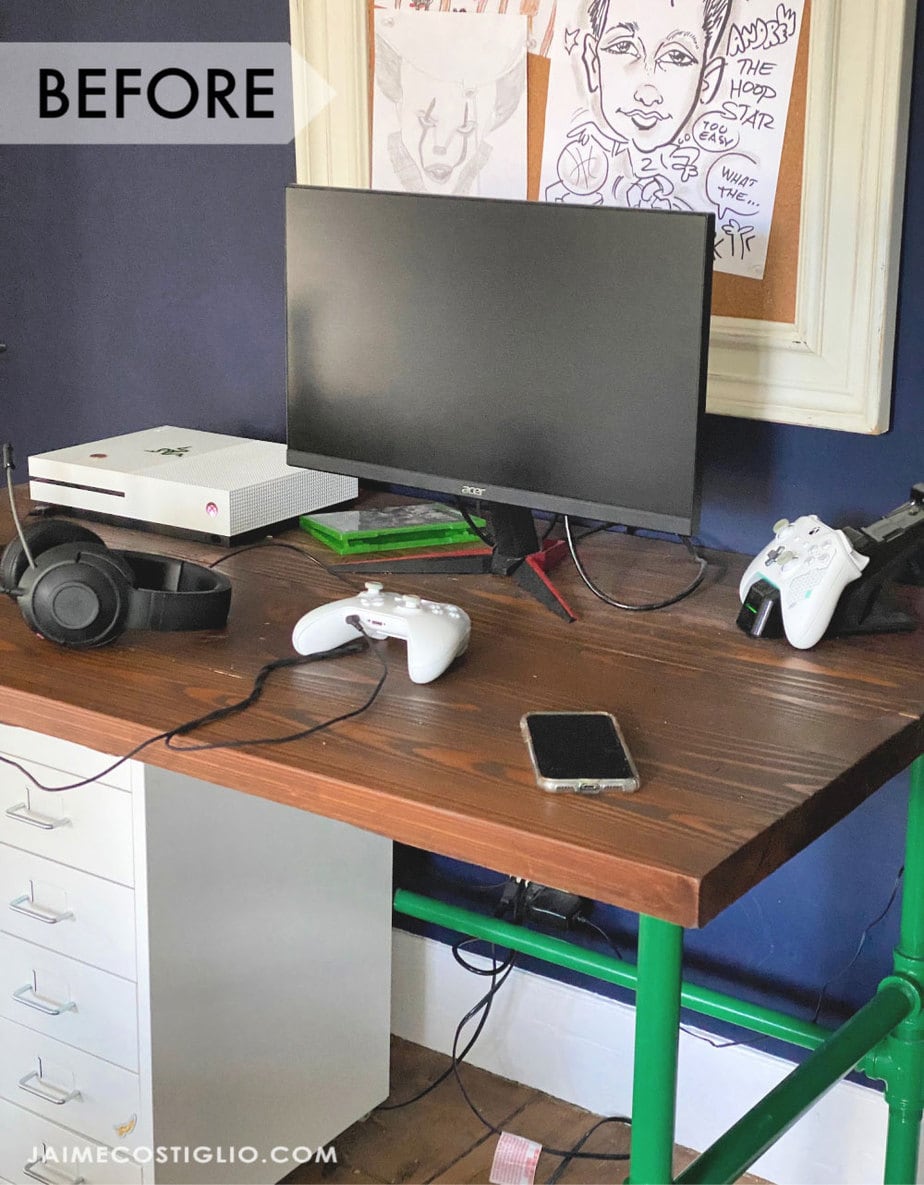
Amazing what one little stand made from scrap wood can do for a space!
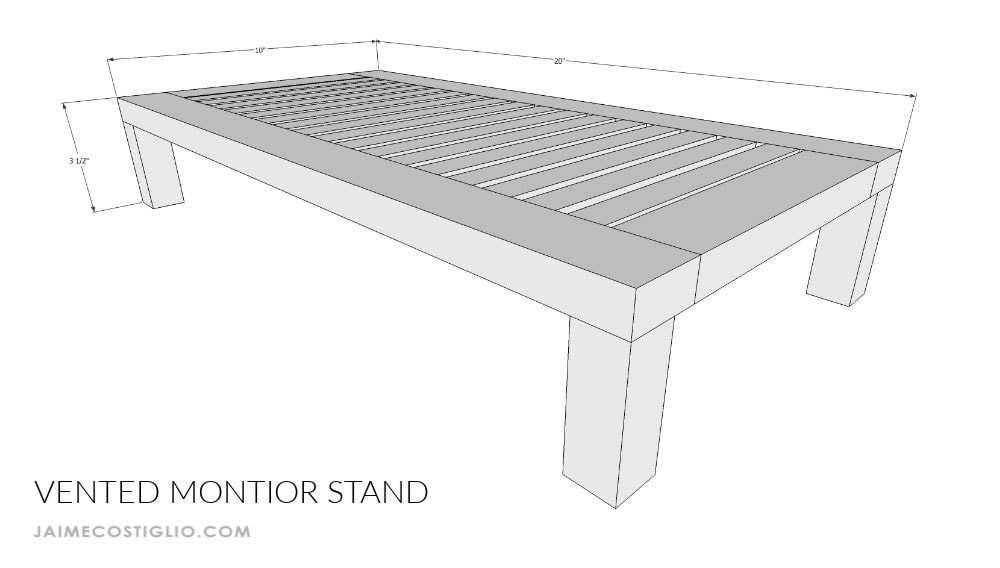
Click here for printable PDF version of plans.
Supplies:
- 1 – 1x2x6
- 4 – ¾” square wood dowels @ 36”l
- 1 – 1” square wood dowel @ 36”l
- 1 ¼” pocket hole screws
- 2” wood screws
- Wood glue
- miter saw
- pocket hole jig
- drill and drill bits
- measuring tape
- sander
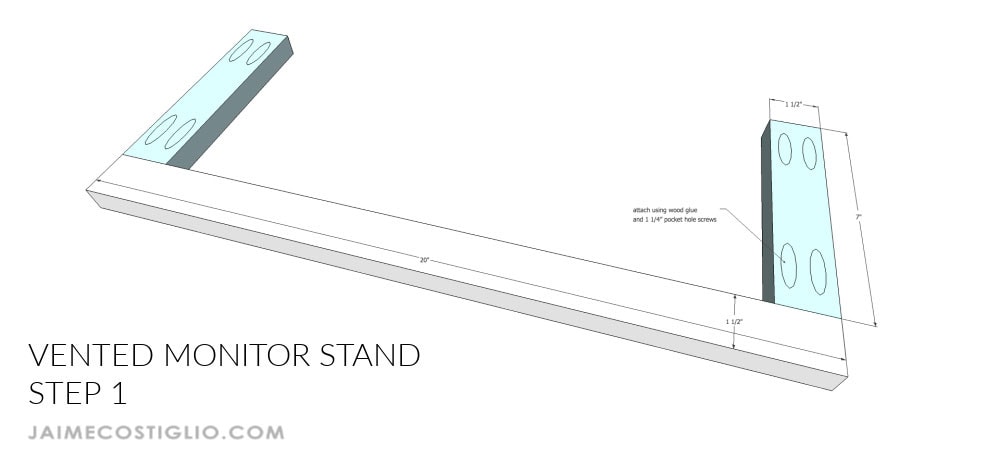
Below are the steps and actual construction process. Be sure to read through for tips and tricks before beginning. Then for the complete cut list and step by step instructions click here.
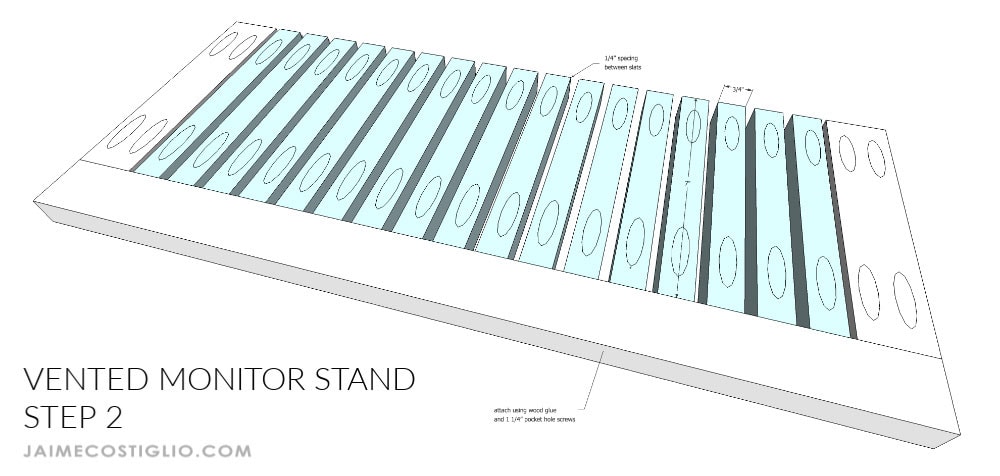
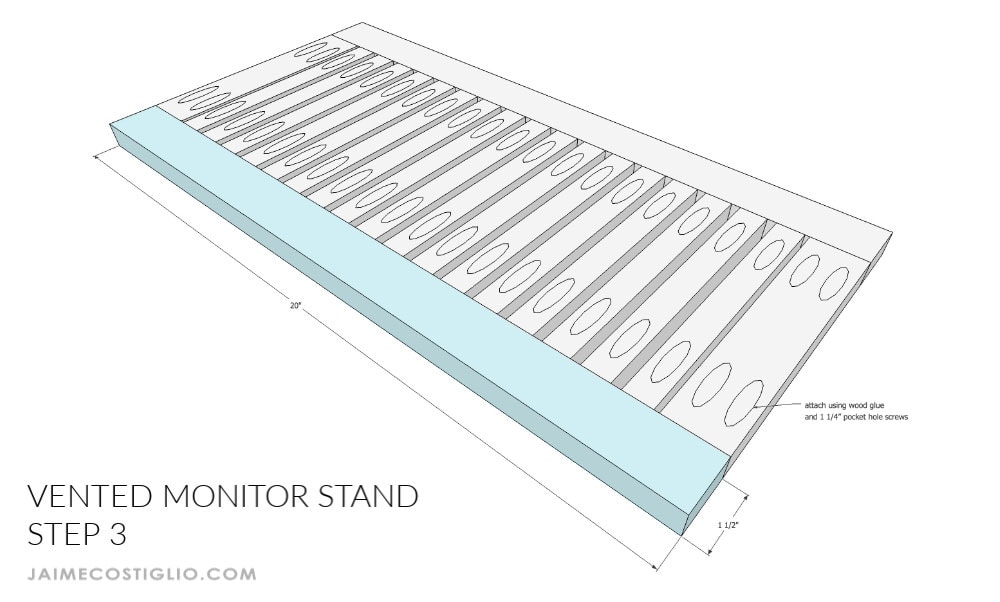
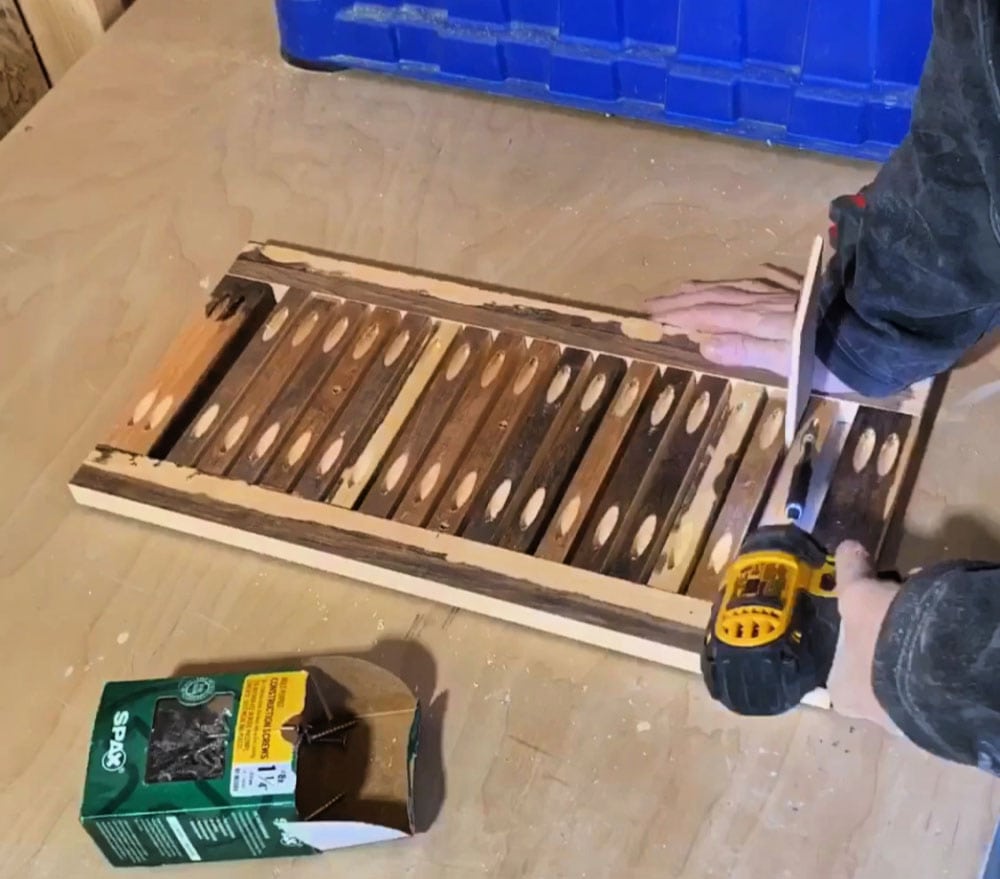
When attaching the slats to the long side I highly recommend starting with the center slat. Then work your way out towards the short ends. Be sure to use a piece of scrap 1/4″ plywood as your spacer to keep even spacing. You can see I have a little extra space near the short ends. I made a mistake with the overall length but the plans are correct and you shouldn’t have this gap.
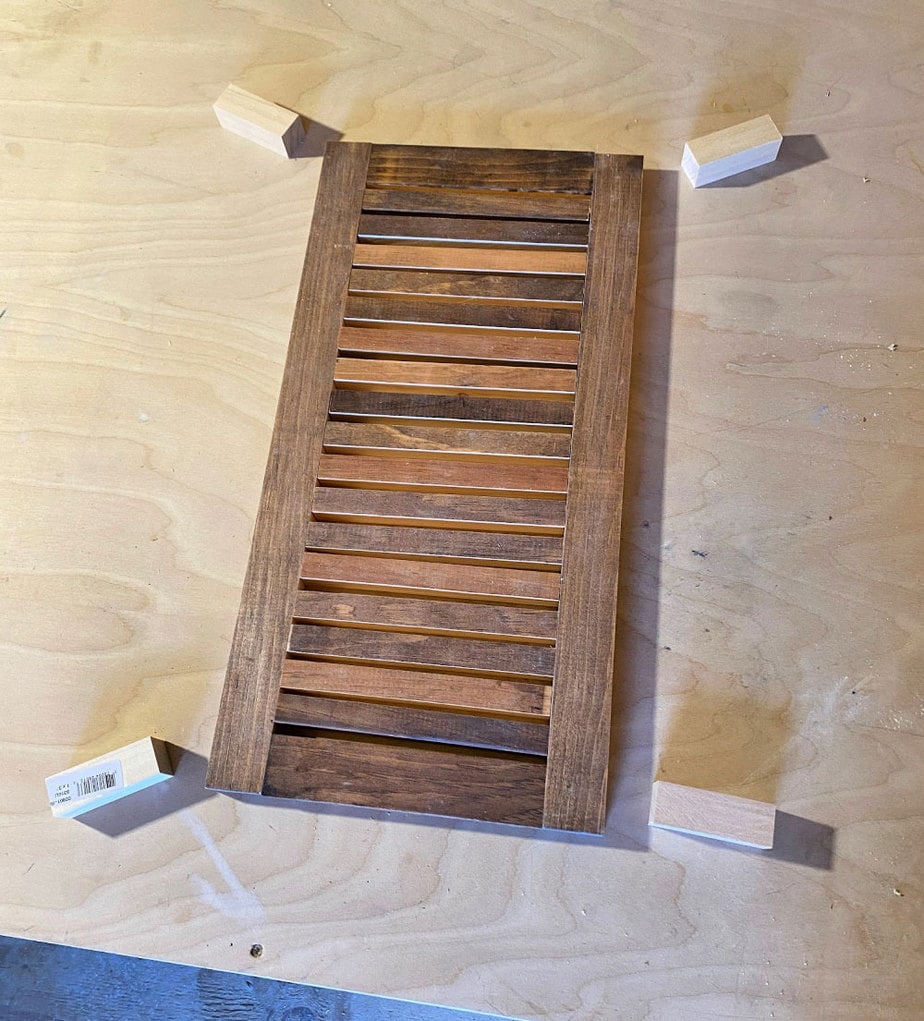
Add the Legs:
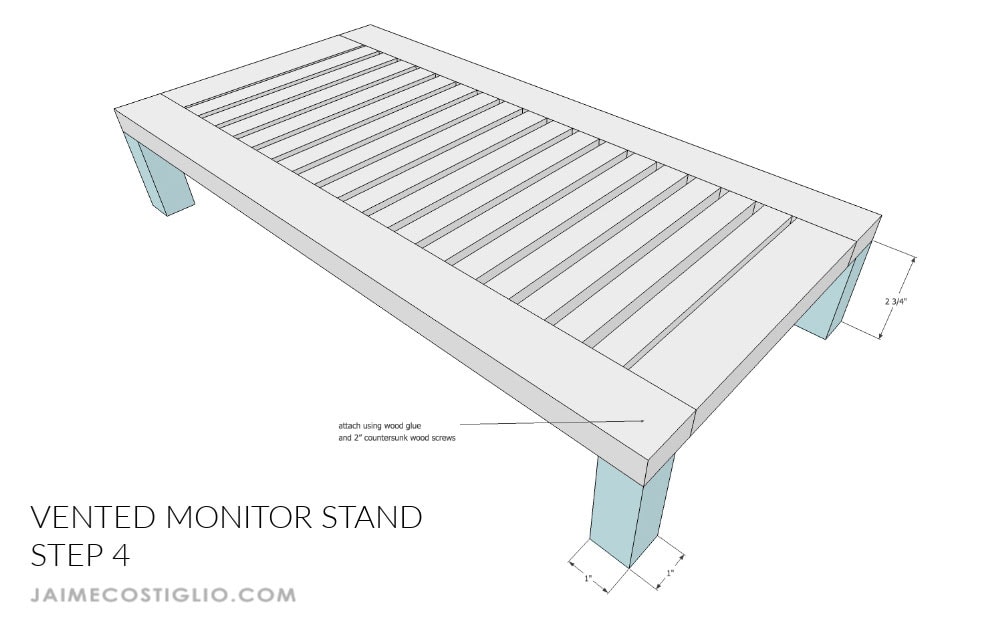
Once the slatted piece is complete it’s time to add the legs. I used 1″ square dowel scraps for the legs but 2×2 or 1×2 scraps would work just as well. Be sure to predrill, use wood glue and countersink the 2″ wood screws.
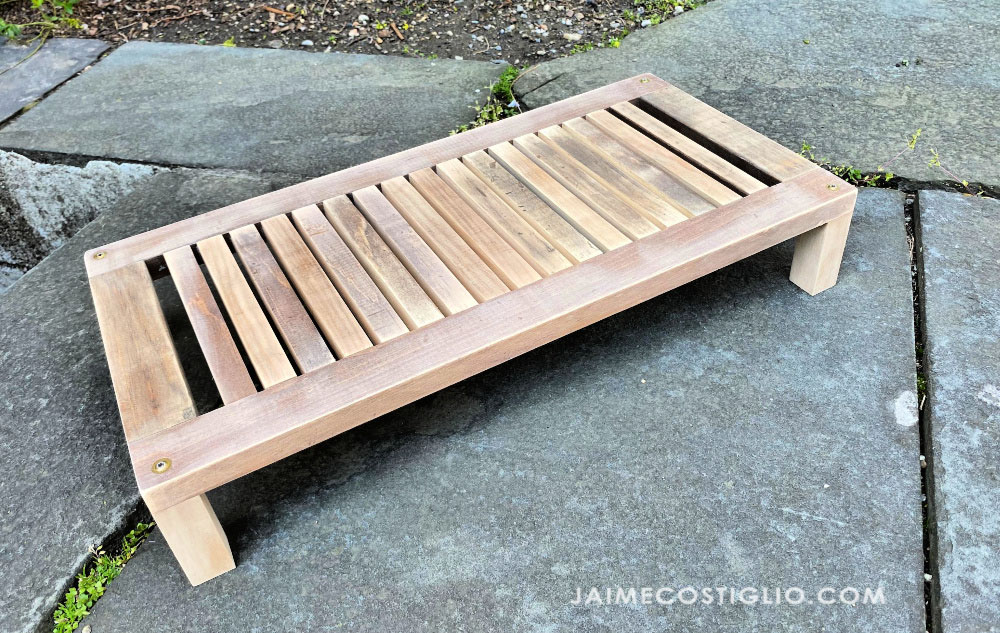
Lastly sand the monitor stand smooth and apply your favorite finish. I used Varathane Dark Walnut stain to coordinate with my son’s desk I made awhile back.
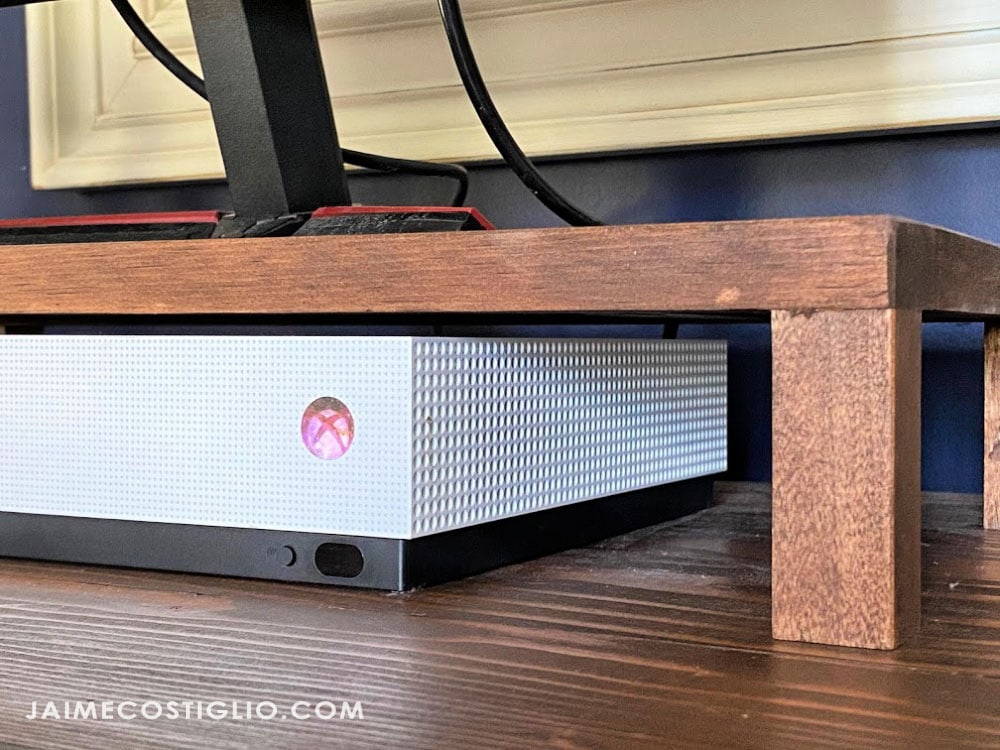
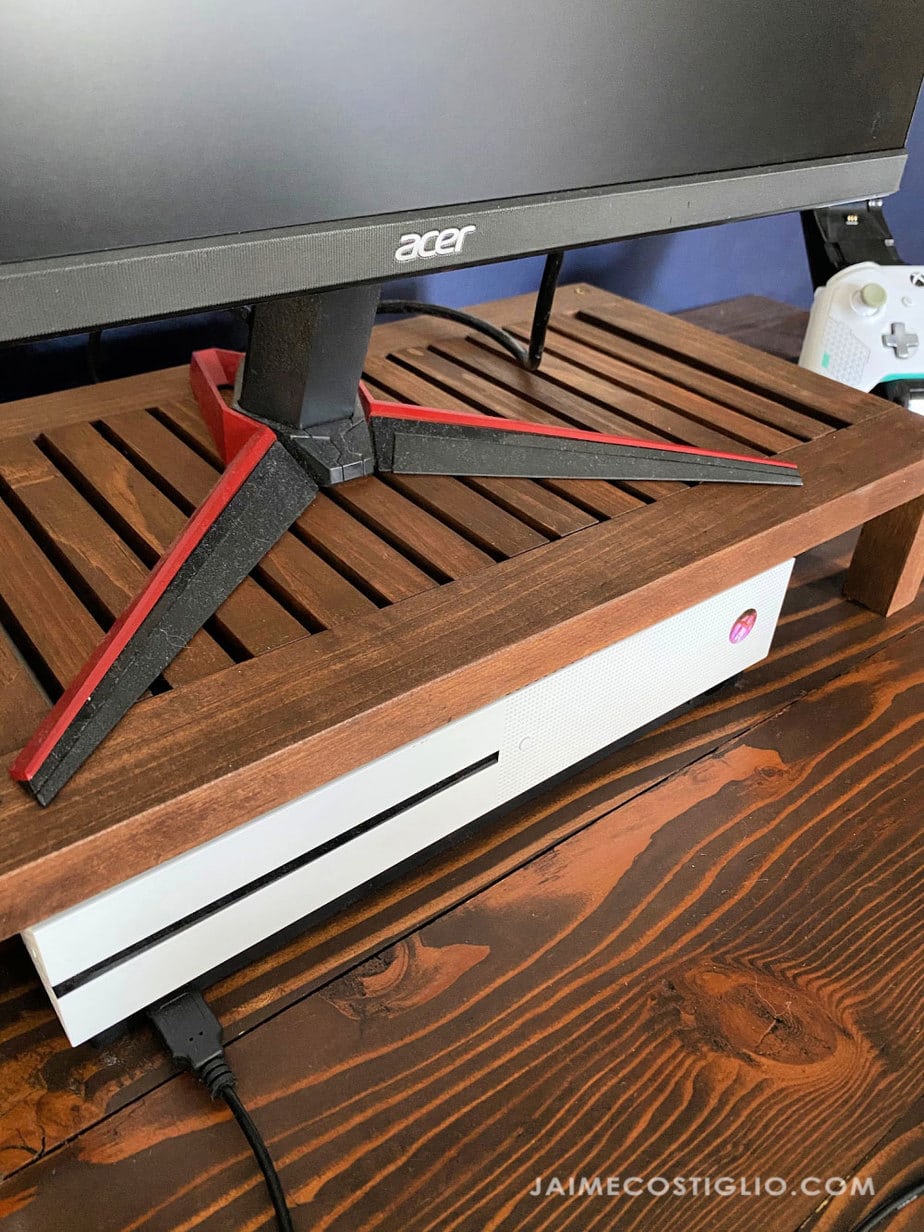
Once the stand is dry you are ready to place on the desk. You can see above the Xbox console fits perfectly underneath with about 1/4″ to spare.
Thanks for joining me for this vented monitor stand project. Please leave any questions in the comments below and be sure to follow me on social media for sneak peeks, tools and project inspiration:
Instagram / Pinterest / Facebook / Youtube / Twitter
SHOP THIS PROJECT:



This is well done! I did something similar to avoid the cat to sleep on the console. I have question. Is the heat of the console is affecting the bottom of your screen? I hope not!