Are you looking for a unique decor feature for your event? Or an Instagram worthy photo backdrop? How about a wall made from hexagons?
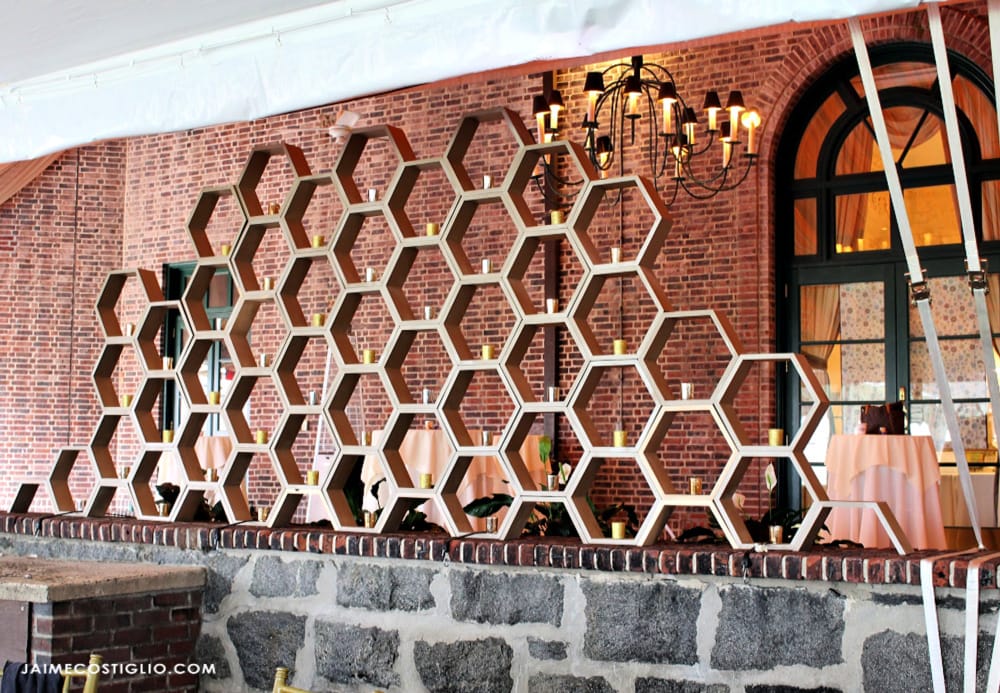
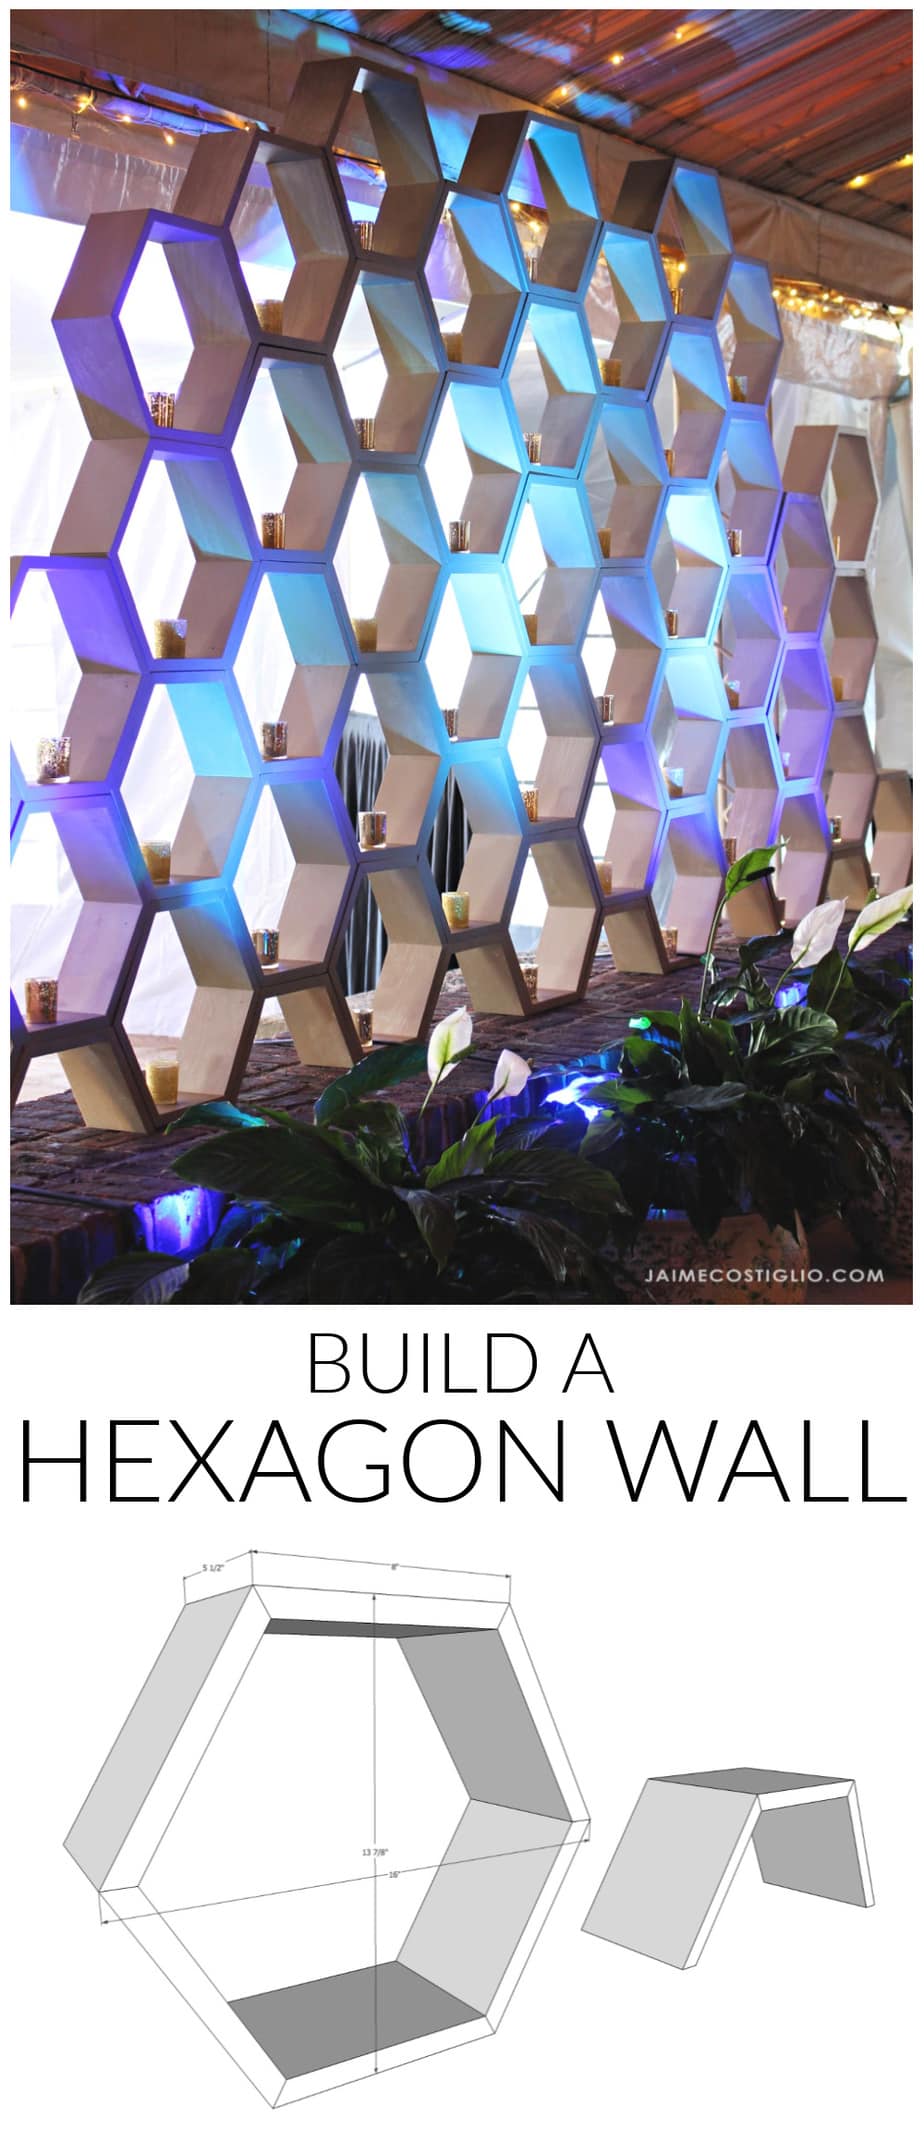
A DIY tutorial to build a hexagon wall. I’ll show you how to make this eye catching feature wall for your next event using hexagons.
If you don’t mind making multiples of the same shape than I promise this project is 100% doable. And you can make a big impact with just one shape by repeating itself many times over.
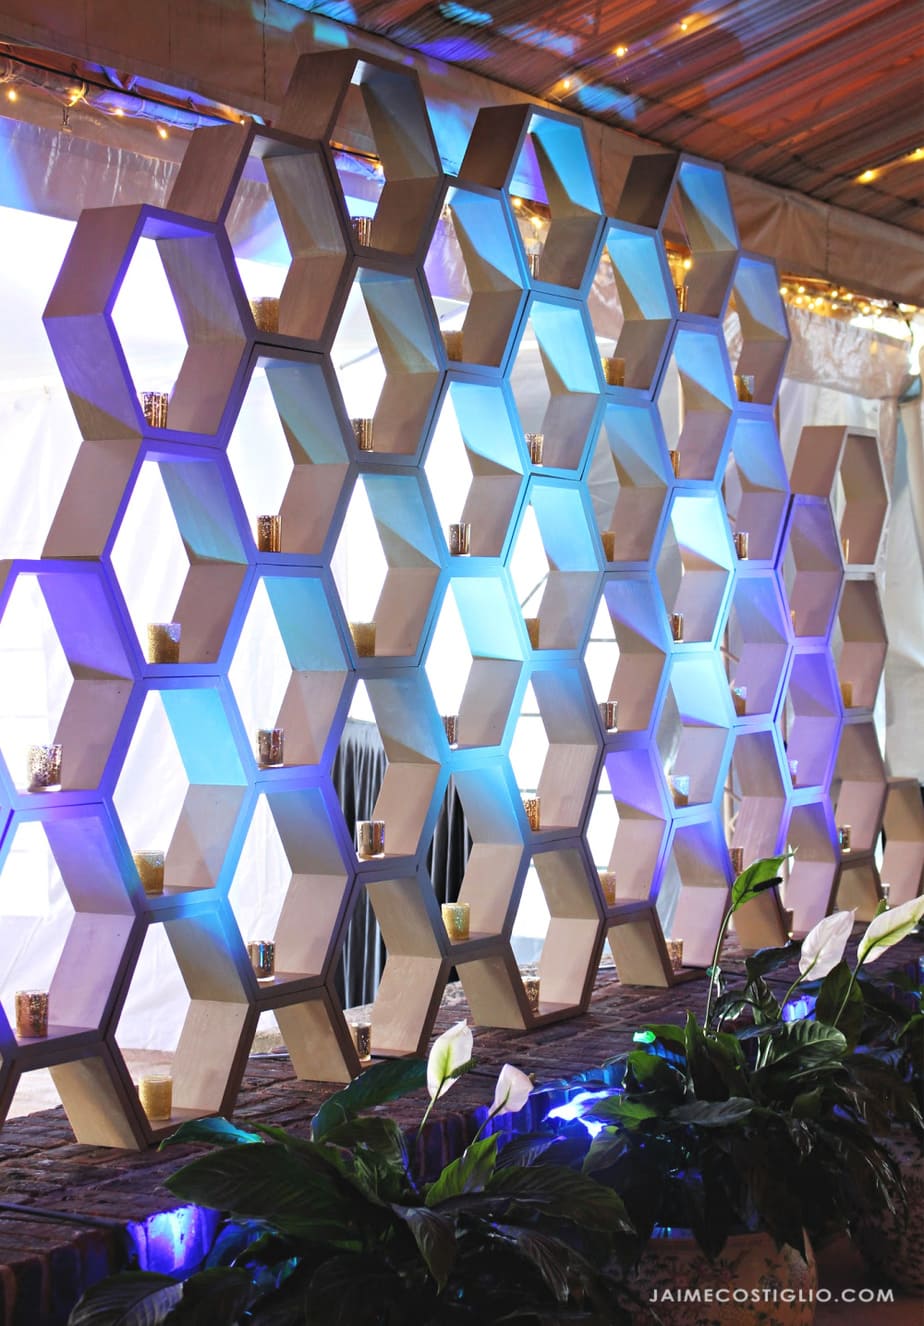
Hexagons on Repeat
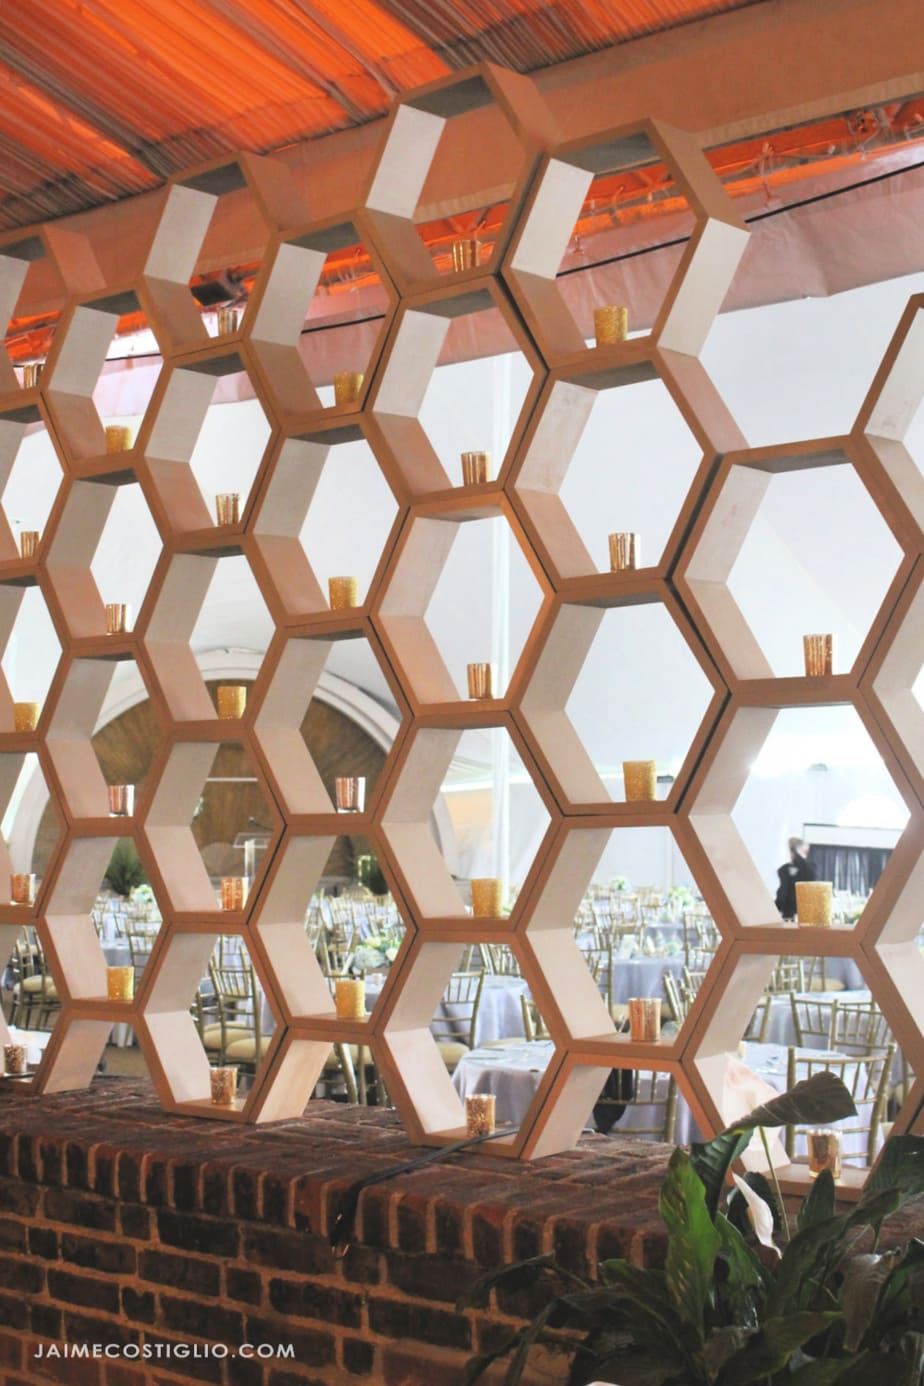
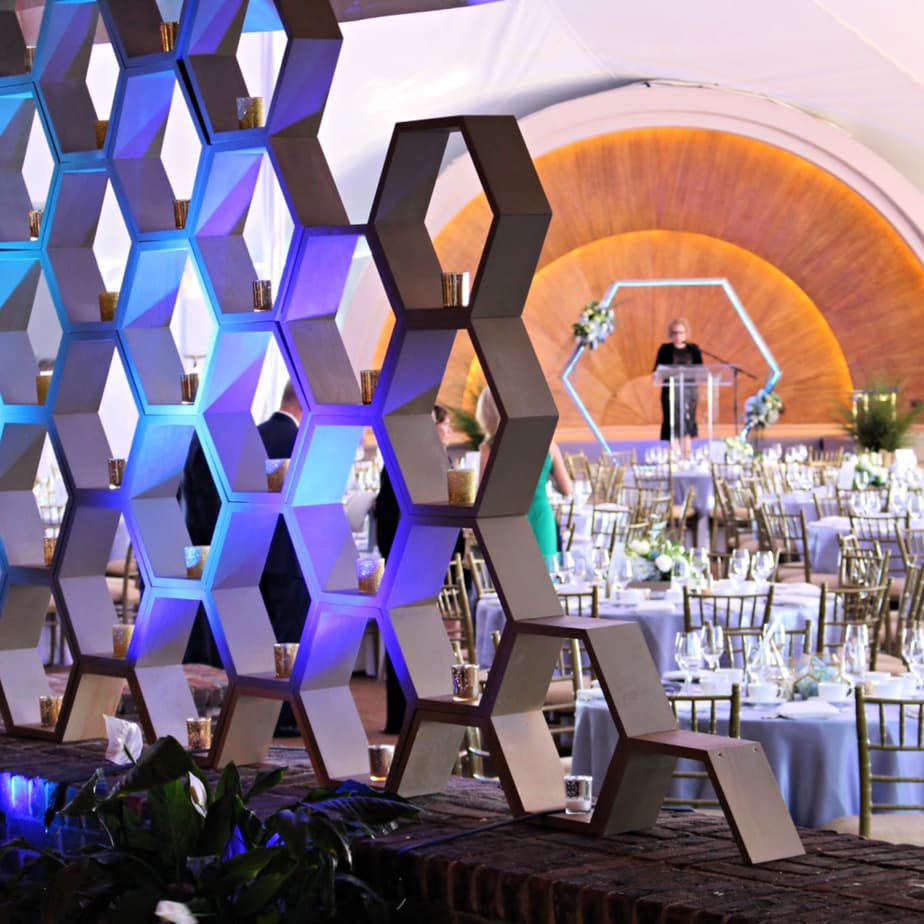
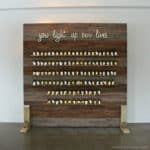
For this event we used the hexagon theme throughout from the invitation and signage and even a giant hexagon for the stage backdrop. But it’s this beautiful honeycomb style hexagon wall that really takes the cake.
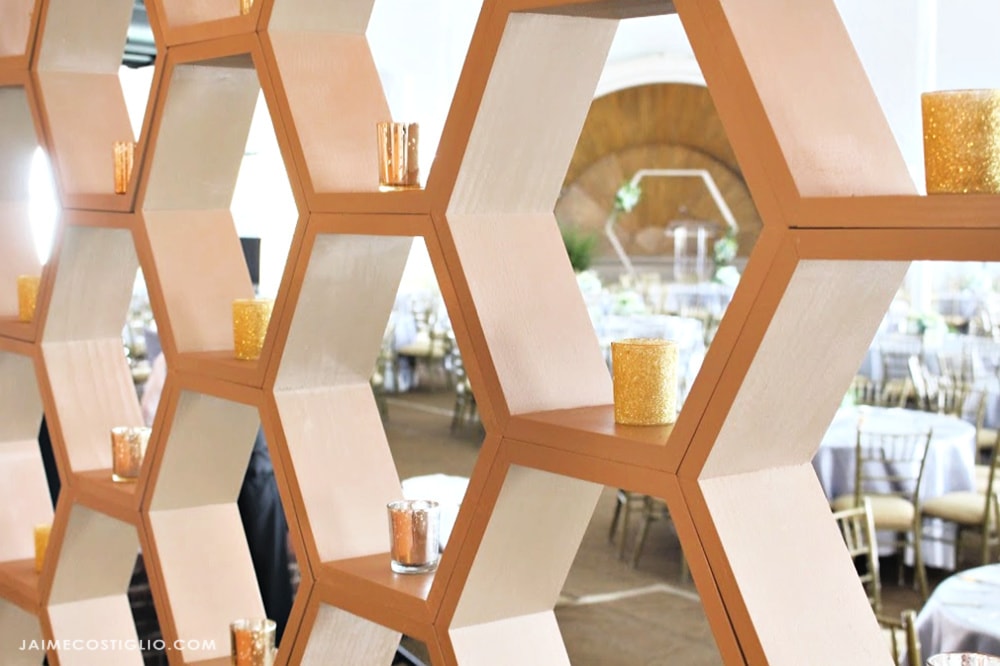
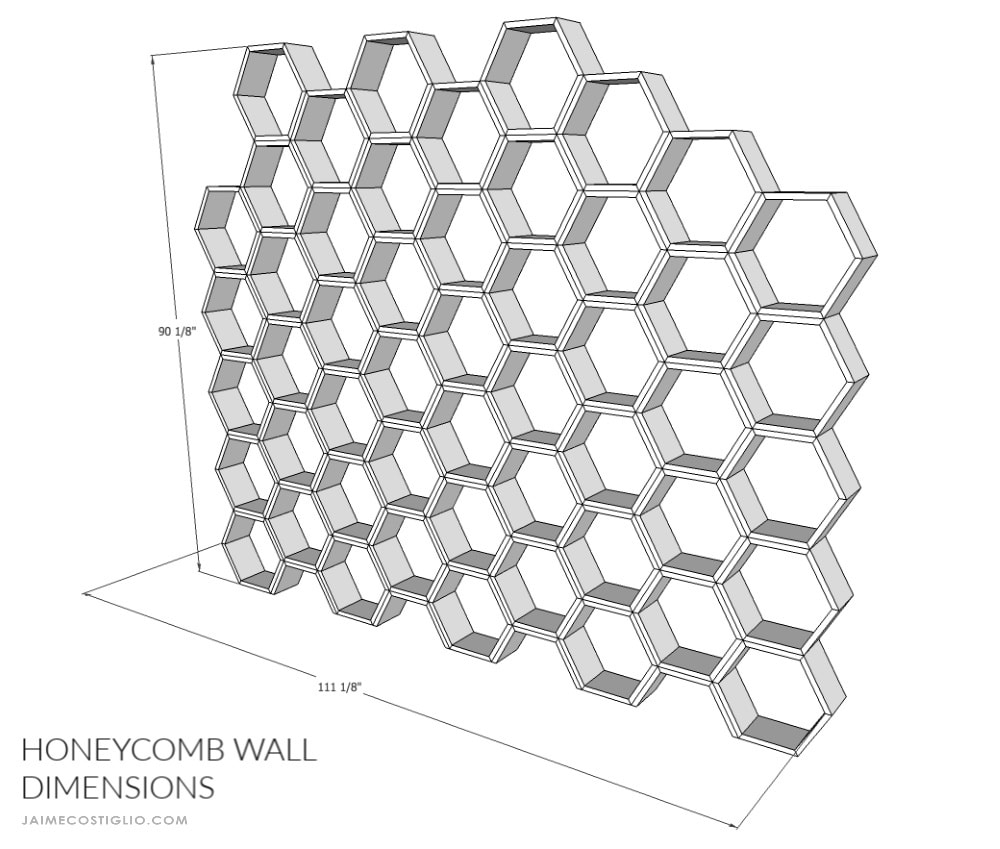
The beauty of this feature wall is you can stack the hexagons to make it for space. It’s extremely forgiving and allows you to design on the spot without having to worry.
Hexagon Plans
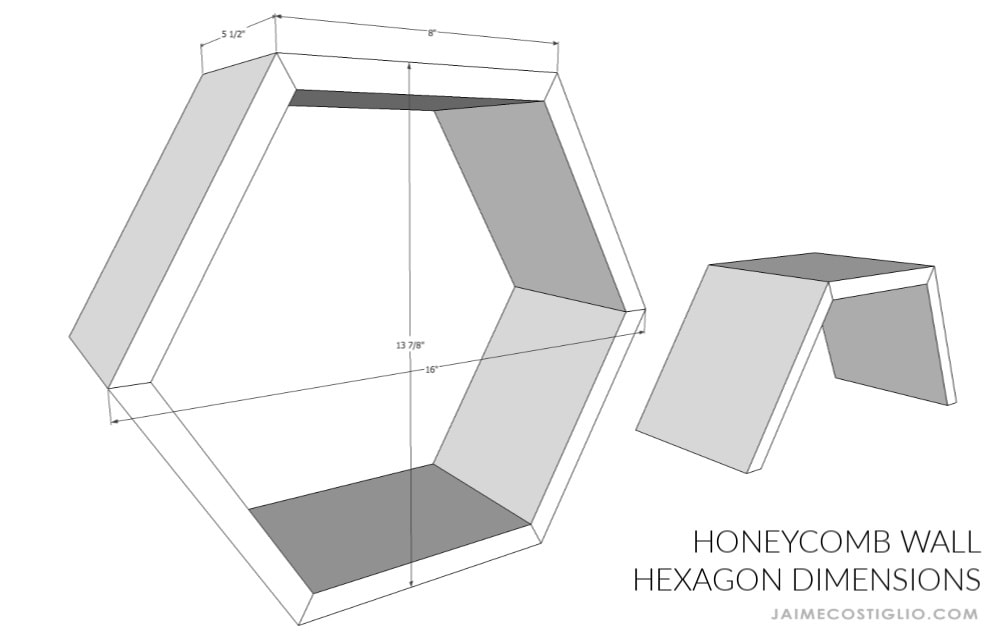
I’m sharing the detailed plans in this post down below. For this hexagon wall I used 1×6 wood boards at 8″ long which gives a 16″ wide hexagon. Feel free to modify the size to fit your needs, just keep in mind each piece needs to be cut with a 30 bevel on both ends not parallel.
Cut your Pieces
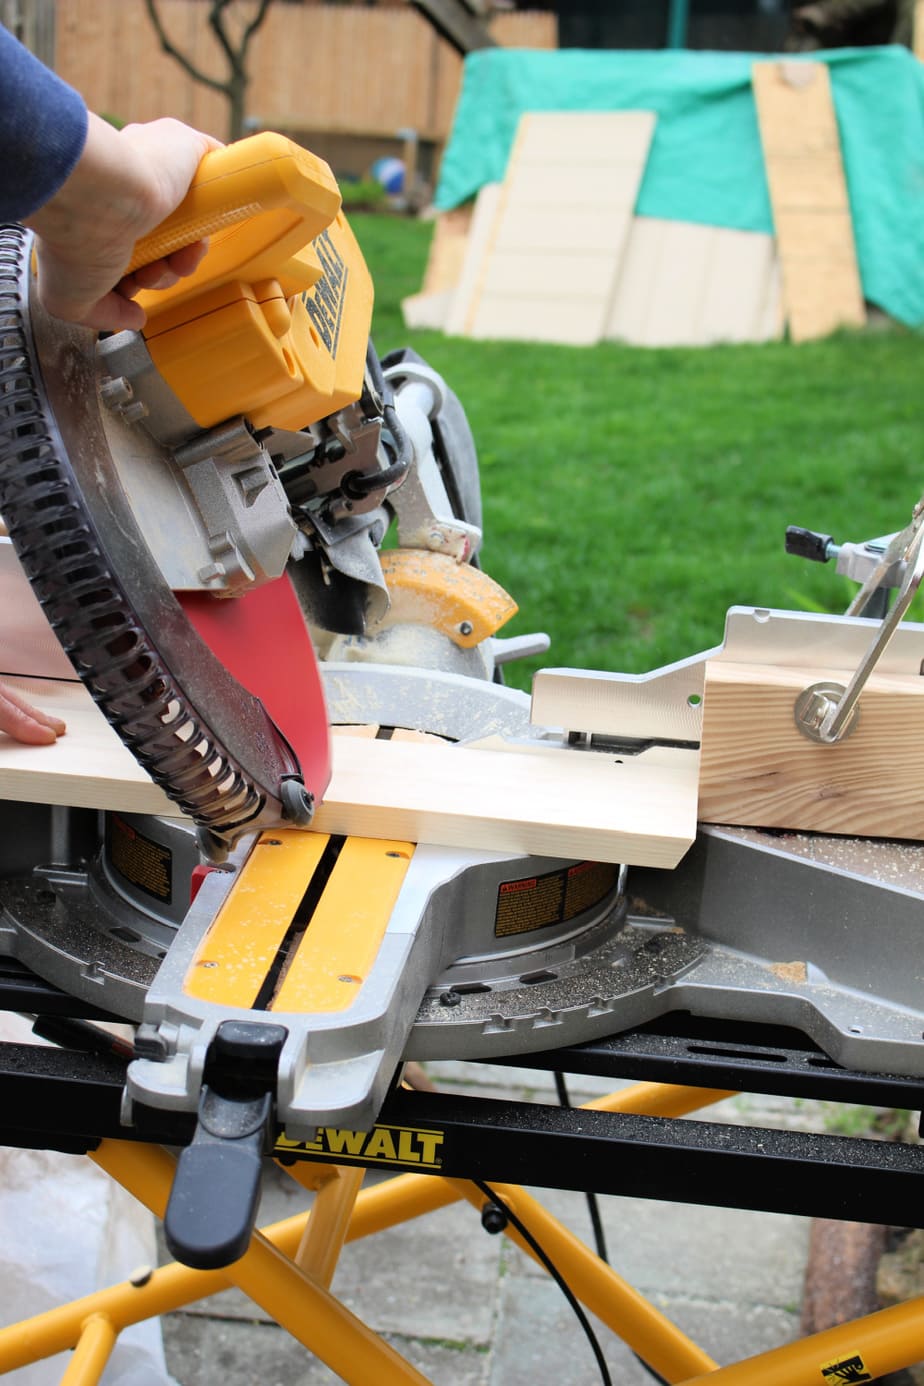
I’m using 1×6 boards cut at 8″ long. You can see above my miter saw is set with a 30 degree bevel. Both ends of each piece need to be cut with a 30 degree bevel not parallel. Cut 6 pieces for each hexagon.
- miter saw at 30 degree bevel
- 1×6 boards
- 8″ long
- both ends 30 degree bevel not parallel
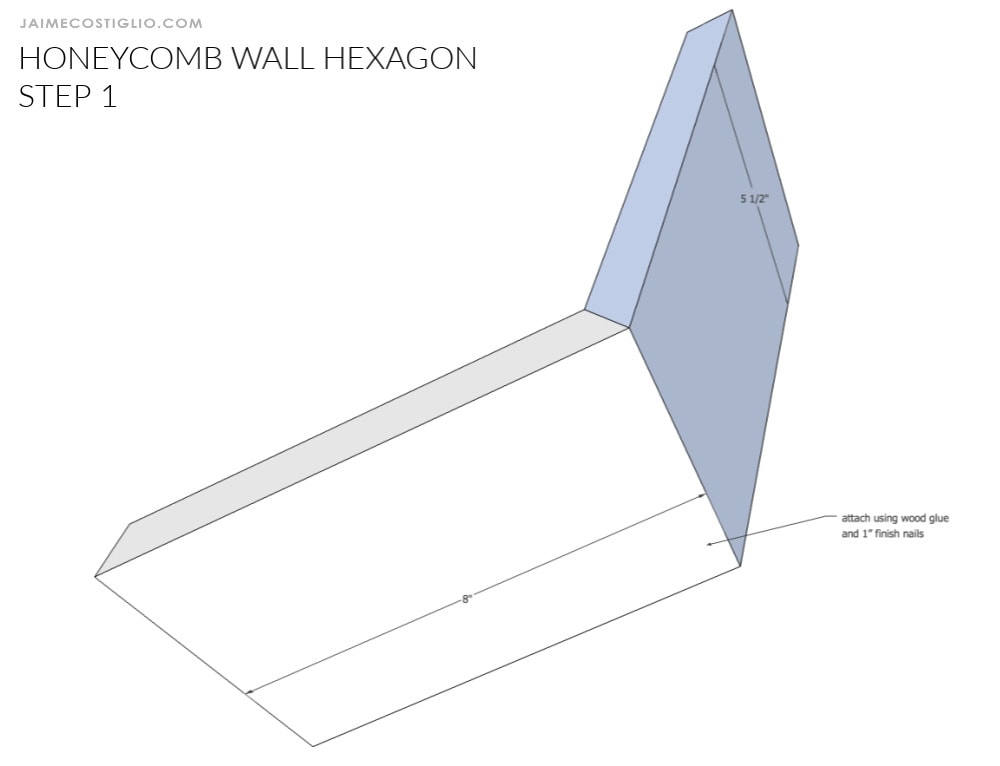
Step 1: Attach two pieces together using wood glue and 1″ finish nails.
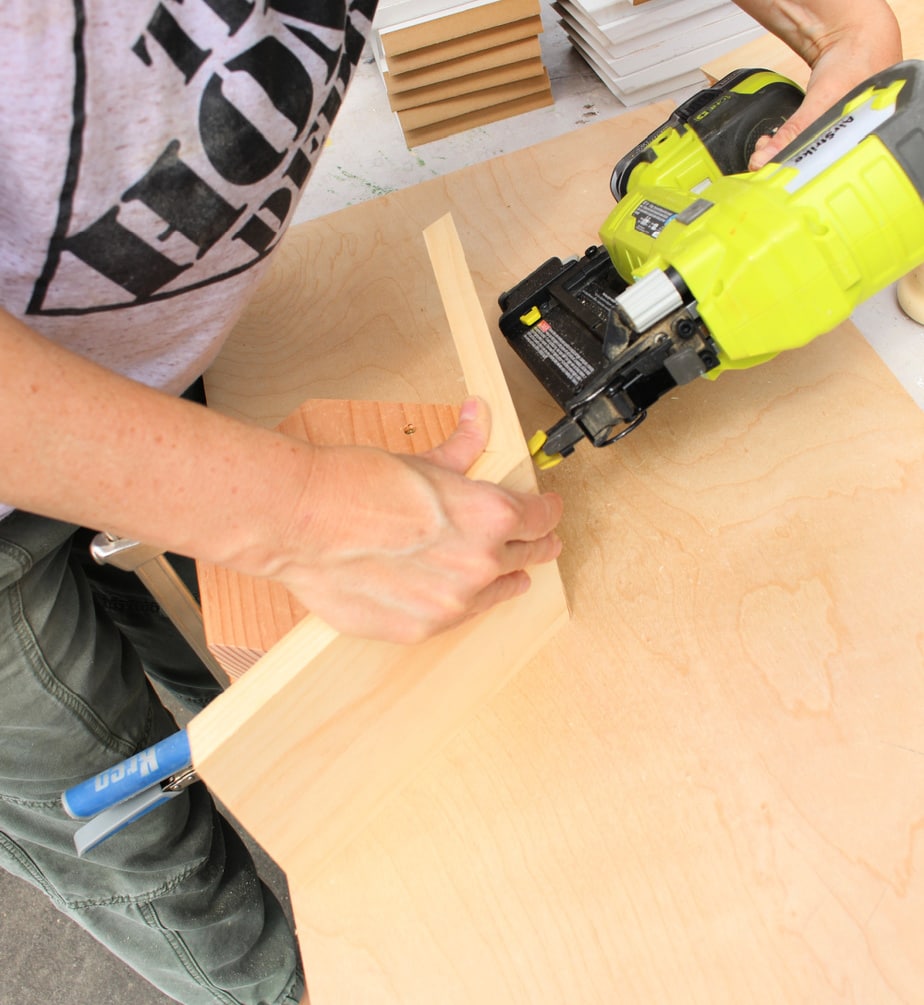
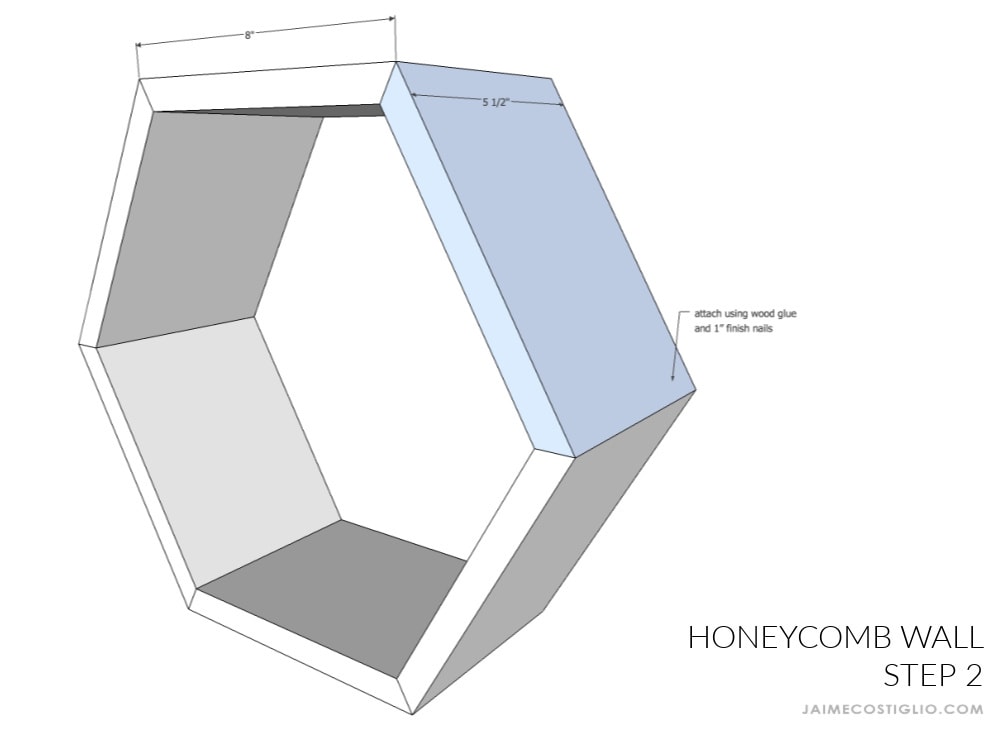
Step 2: Repeat the process attaching all 6 sides together.
If you prefer to see this tutorial in action I’ve got a YouTube video for you:
Thanks for joining me for this hexagon wall project. Please leave any questions in the comments below and be sure to follow me on social media for sneak peeks, tools and project inspiration:


Love this I just don’t have nail gun. But might get one now ! Tytyty!