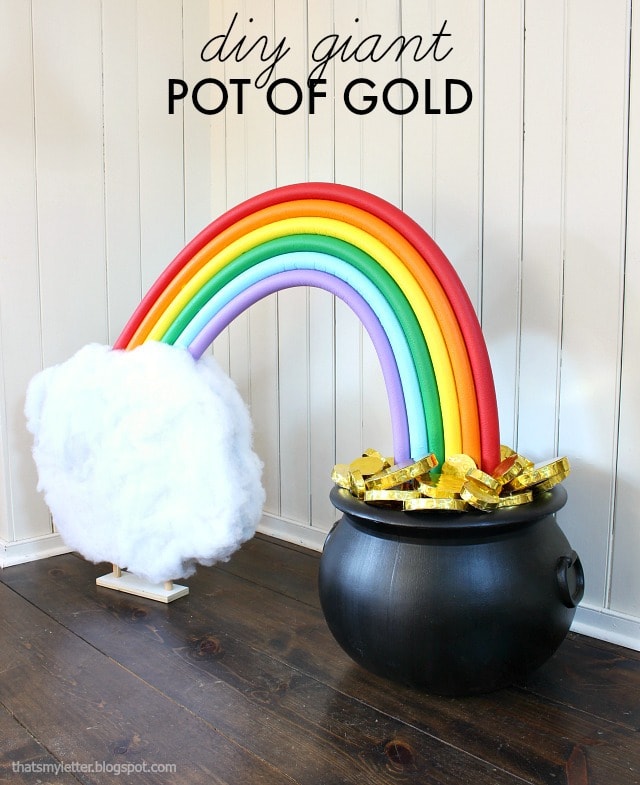
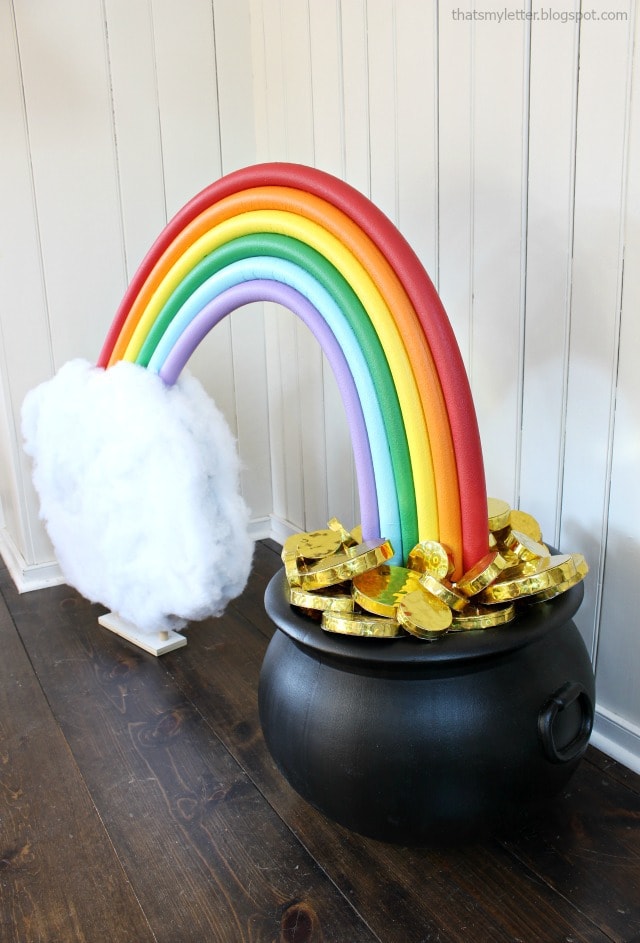
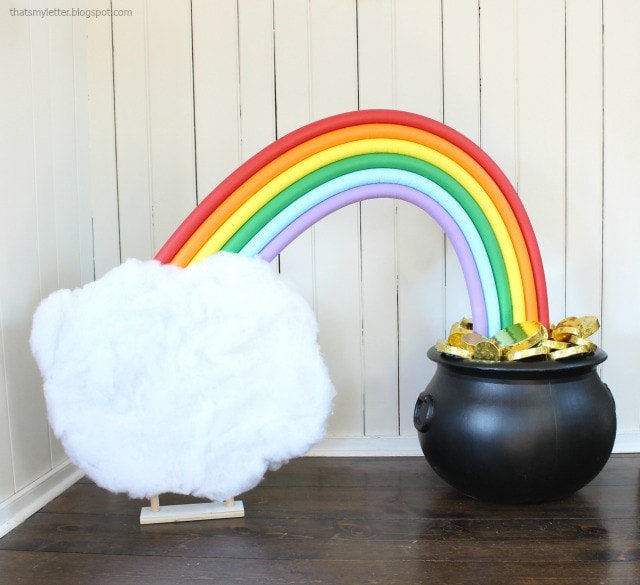
Fitting for the season I’m sharing this giant pot of gold project today because sometimes you need an enormous pot of gold at the end of the rainbow. Perfect for a St. Patrick’s Day party or any rainbow themed party.
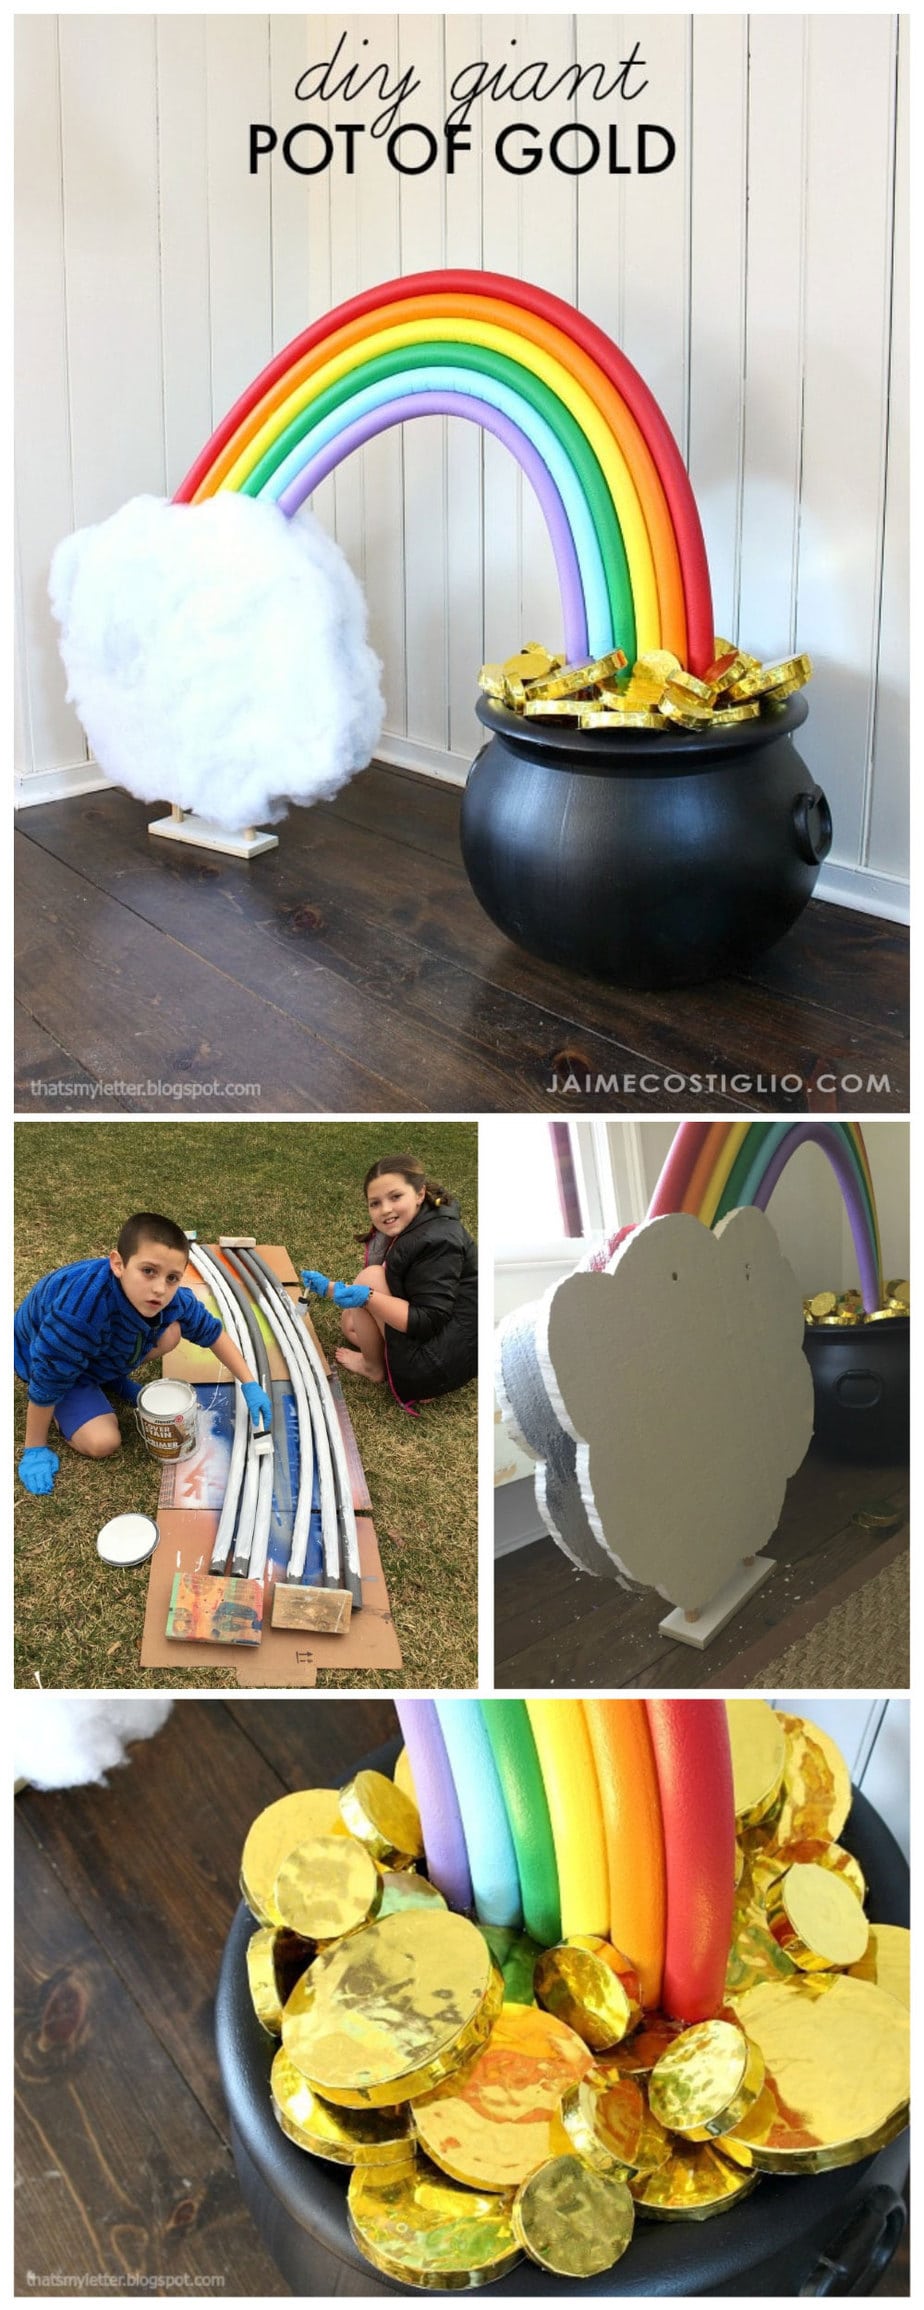
A DIY tutorial to make a giant pot of gold with rainbow. Create this large rainbow with enormous pot of gold for your St. Patrick’s Day themed party.
I actually made this giant pot of gold for the Spring auction at my kids school. We had a shamrock race whereby each class was raising money to move across the rainbow and get to the pot of gold in first place. And we had 24″ large wood shamrocks the kids decorated and hung them in the school. So we added this pot of gold to the shamrocks for the actual auction event for decoration purposes only.
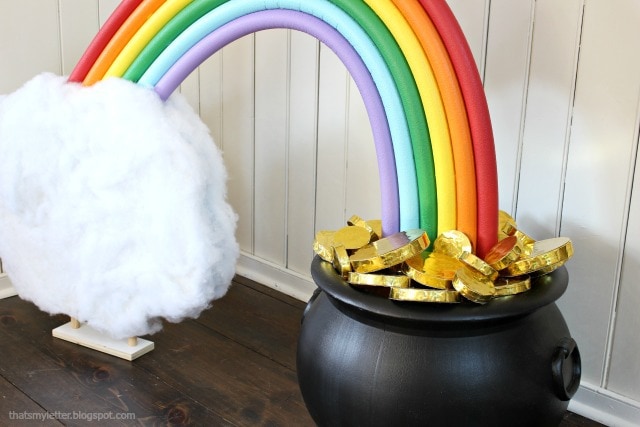
The gold coins are my favorite part and a super simple craft project for you hot glue gun lovers.
*This post contains affiliate links below. I make a small commission from any item purchased through my affiliate link, it’s how I keep my blog full of free tutorials.
Giant Pot of Gold:
- St. Patrick’s Day party
- rainbow theme party
- school play prop
- event decoration
I used a plastic black cauldron for the pot and foam pipe insulation pieces for the rainbow. You could use pool noodles too but they are definitely thicker and stiffer compared to the foam insulation.
Down below I will share the steps to make a giant pot of gold with a rainbow and cloud. As always please follow all safety precautions with power tools and be careful with kids and hot glue.
Supplies:
- black plastic cauldron
- 2×4 scrap wood
- 1/2″ scrap plywood
- 3″ wood screws
- drill & drill bits
- jig saw
- gold gift bag
- scissors
- hot glue gun
& glue sticks
- 6″ craft styrofoam discs & 4″ foam discs
- 6′ foam pipe insulation
- primer & latex paint
- E6000 craft glue
- clamps
- scrap wood (rainbow holder)
- 2″ wood screws
- 3/4″ pvc pipe or wood dowel
- 1″ foam sheathing / underlayment
- foam hot knife
- stuffing
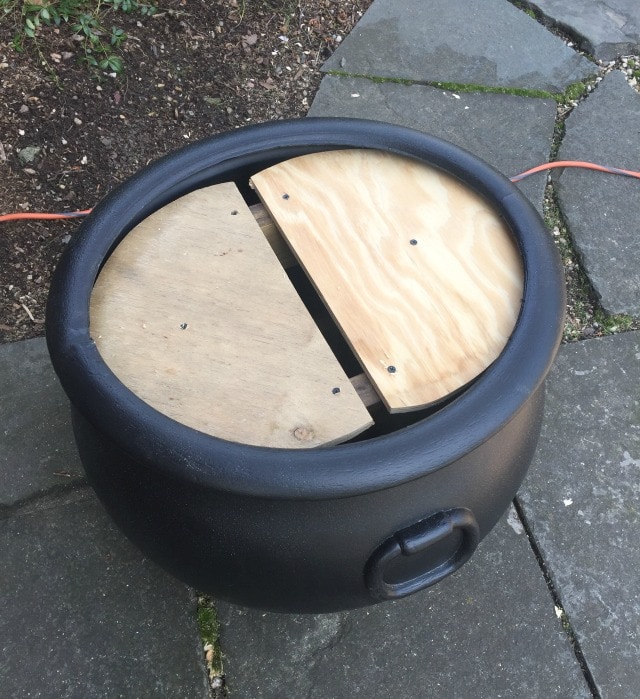
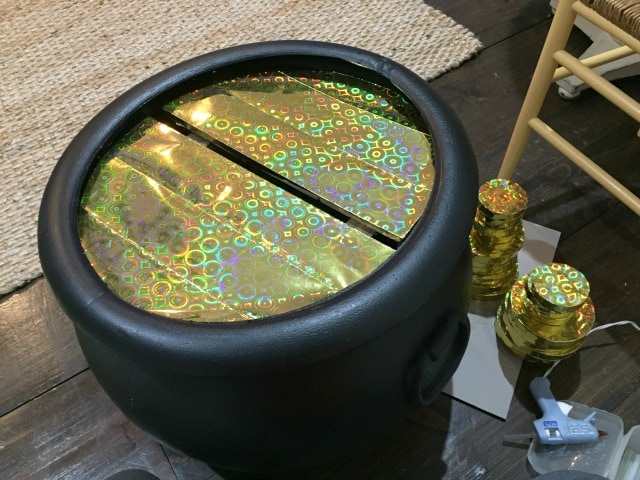
Step 1: Build an open cube out of 2×4 scrap wood to fit inside the plastic cauldron. This provides weight and fills the space. Then cut 2 half circles from 1/2″ plywood and attach to the top of the 2×4 cube leaving a 1″ gap in the middle. This gap is where you’ll shove the rainbow down into the pot.
Gold Coins:
Step 2: Cover the plywood with gold gift bag pieces. This is the false bottom and makes the pot look full of gold.
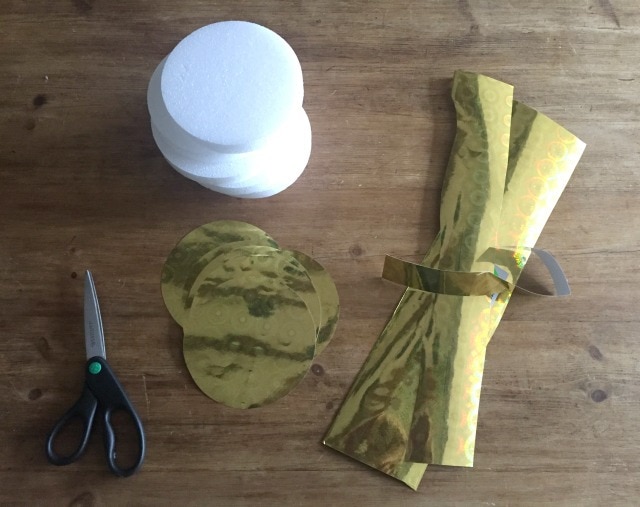
Step 3: To make the gold coins trace the foam circle onto gold paper and cut out a top and bottom piece. Then cut long strips wider than the foam thickness to cover the sides.
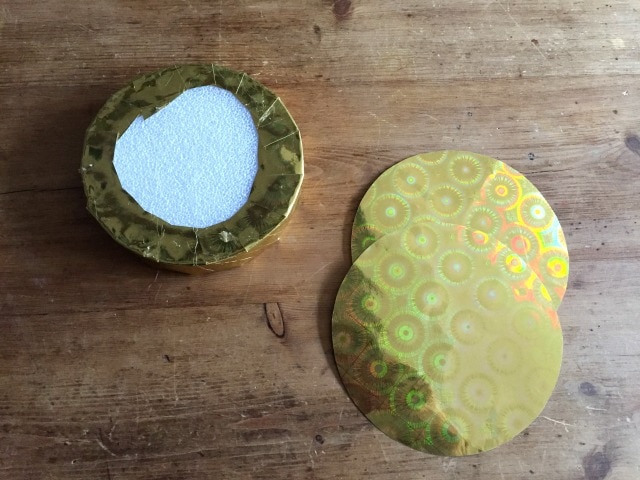
Step 4: Use the long strip to wrap the sides of the foam disc using hot glue to attach. Snip the gold paper then fold down and glue flat. Then attach the top and bottom circles for complete coverage. Pile the gold coins on top of the frame previously built and hot glue them in position, be sure to keep the middle portion clear of coins.
Giant Rainbow:
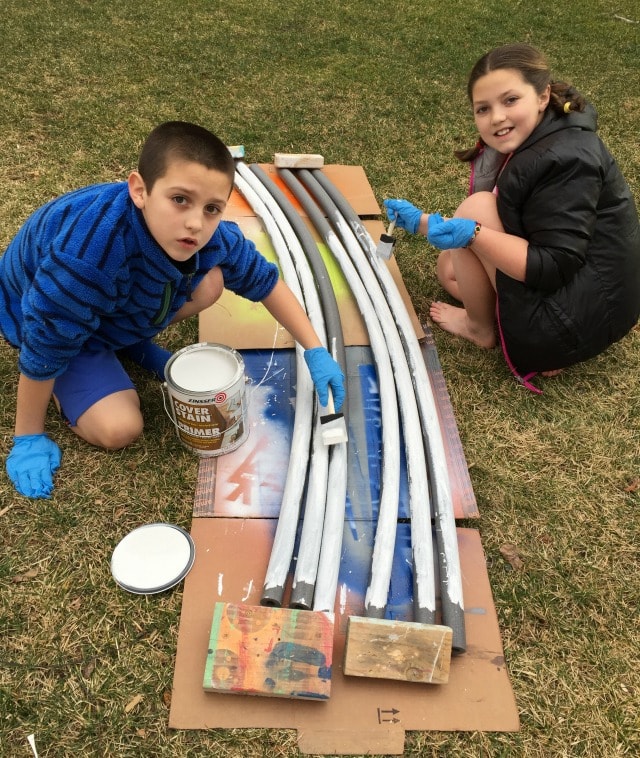
Step 5: To prepare the foam insulation for paint you must use primer. Spray primer is probably easiest but I had some helpers just paint it on with foam brushes. Once the primer is dry then paint each piece a different color to create the rainbow.
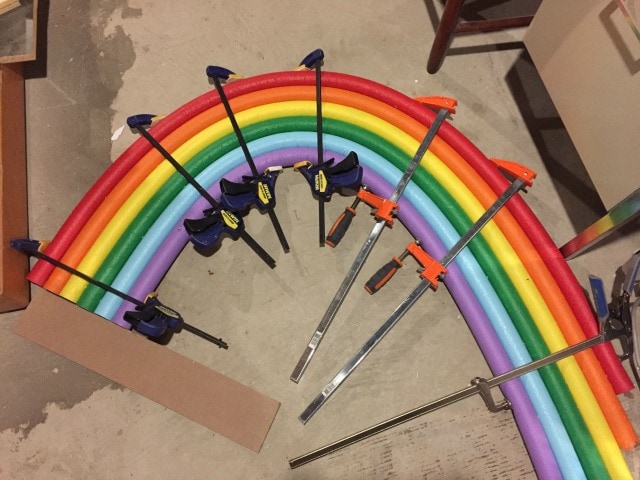
Step 6: Layout the foam pieces in rainbow order and apply E6000 glue in between each piece then form the arch and clamp to hold while glue is drying.
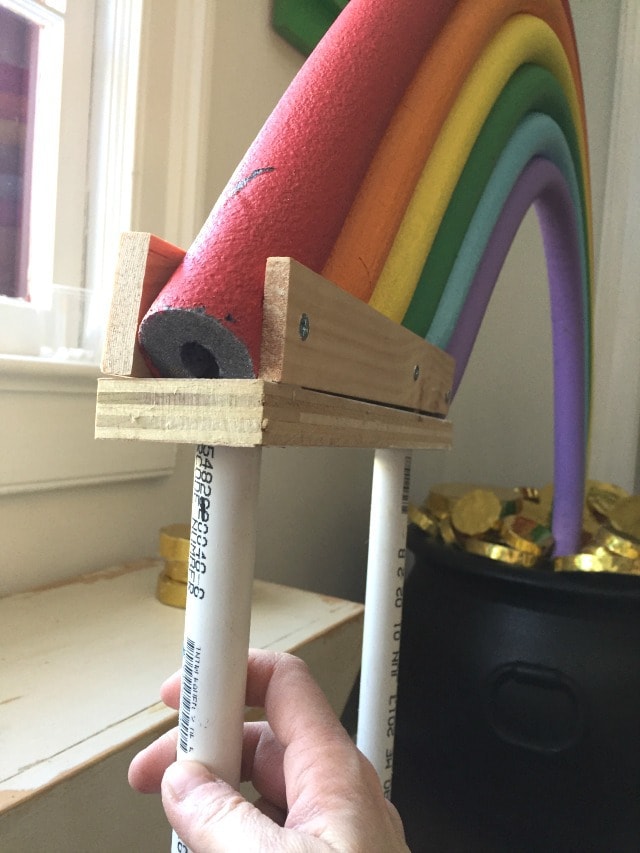
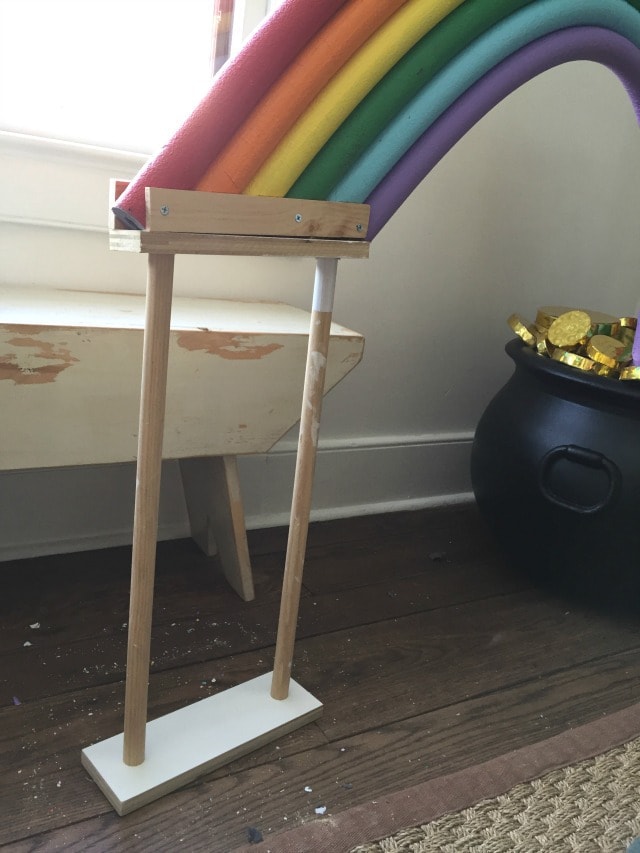
Step 7: To keep the rainbow arch in position build a wood trough for the ends. This trough keeps the ends of the foam together and provides a place to attach the cloud portion.
Step 8: Predrill holes for the wood dowel posts then glue and screw into position. This is the frame for the cloud pieces and holds the rainbow arch.
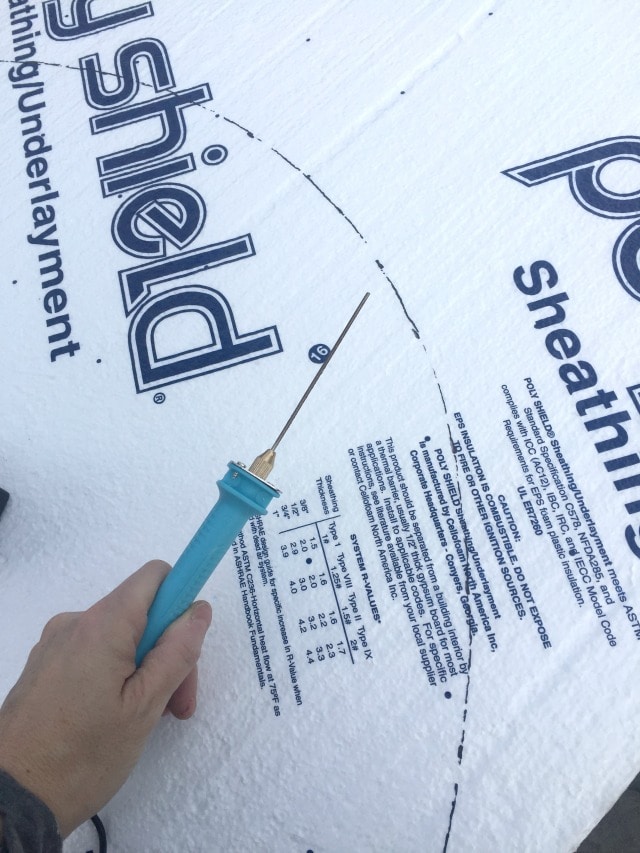
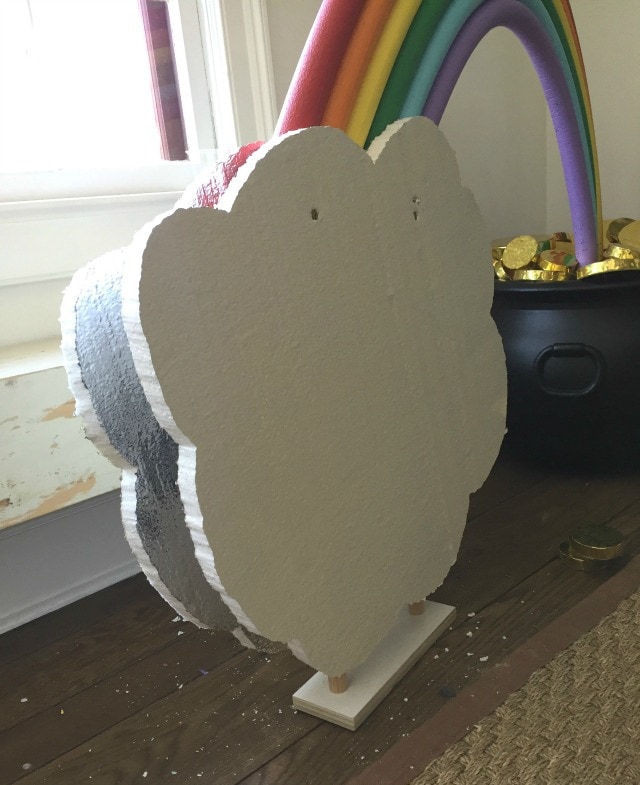
Step 9: Use a hot knife the cut the foam sheathing into a basic cloud shape. Cut 2 identical pieces.
Step 10: Prime the foam pieces to cover any labeling that may show through the batting. Then attach the foam pieces to the wood trough. Lastly use hot glue and attach stuffing to make the cloud fluffy.
Thanks for joining me for this giant pot of gold project. It makes a huge impact and it’s a fun craft project too. Please leave any questions in the comments below and be sure to follow me on social media for sneak peeks, tools and project inspiration:





What an interesting idea! My children will be excited with this. Thank you for sharing!
Thank you for sharing this tutorial. It is almost exactly what I have been searching for for two days!
Where did you find the cauldron?
Amazon
What size is the cauldron
Hi Jennifer, the cauldron is 22″ diameter.
how much do you think you have invested in making this? the end result is fantastic.
What kind of paint did you use for the rainbow? And how much of each color?
Hi Tom, I used acrylic and latex. You don’t need much.