Build: diy bungalow play house

Friends we’re starting of the Handmade Holiday series with a big bang! Ana White and I have selected 12 gift builds for this series and because this one is the biggest we thought it would be best to take the first spot.

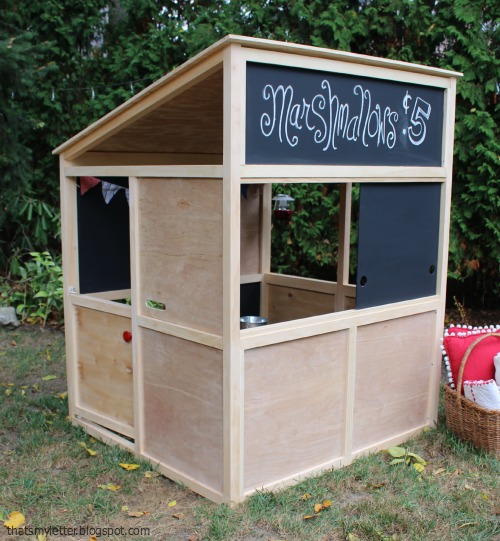
Let’s be honest – every kid wants a playhouse and now you can make their dreams come true!
Ana designed the plans so you can build your own bungalow style playhouse and with a little furniture building skills this is a relatively easy build.

We modeled this bungalow after the Land of Nod bungalow play home:
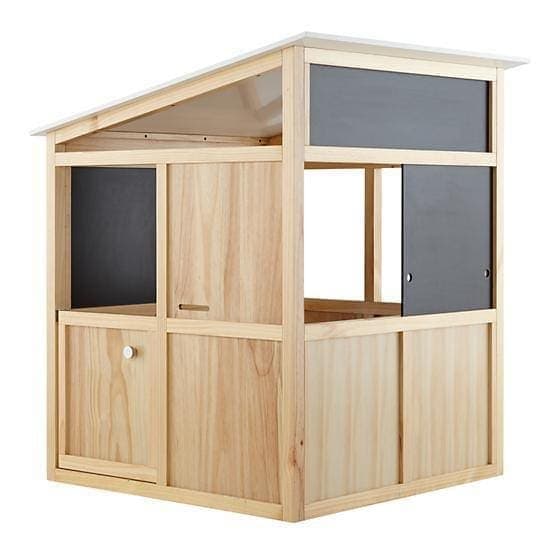
Their retail price is $700.
Our version costs about $250 to build, then you can spend all those savings on accessories!

This bungalow could be anything your child desires: school, home, market, theater, etc.
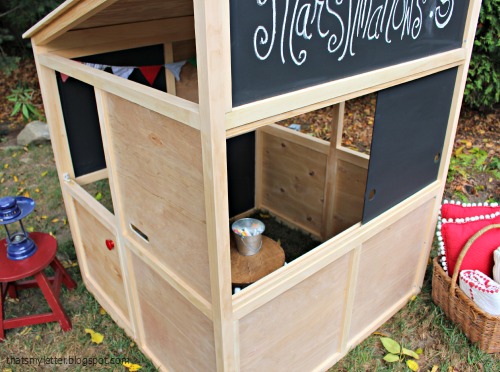
Let’s get to the features.
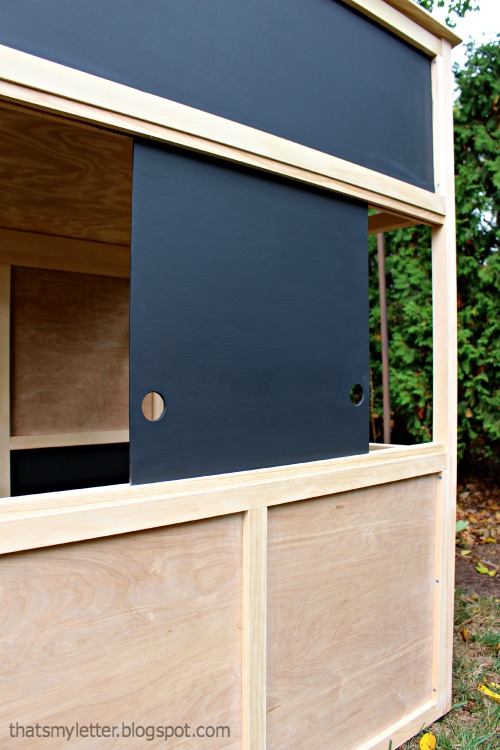
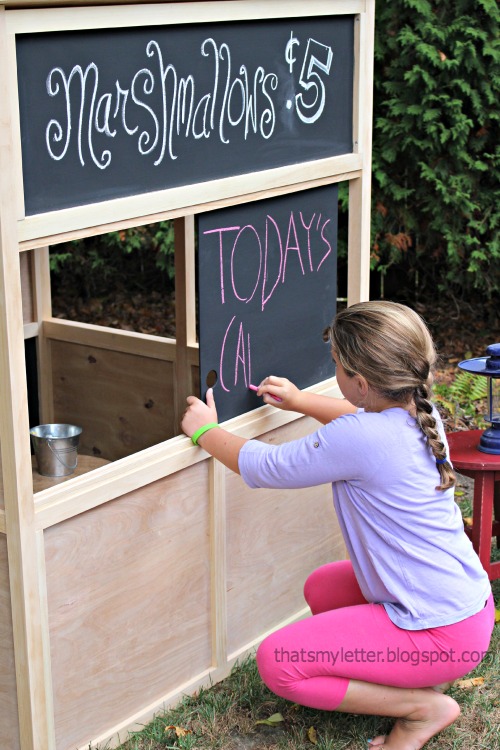
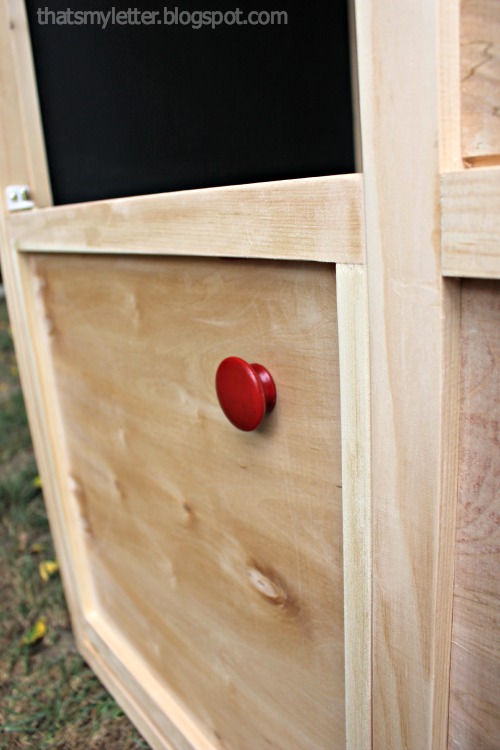
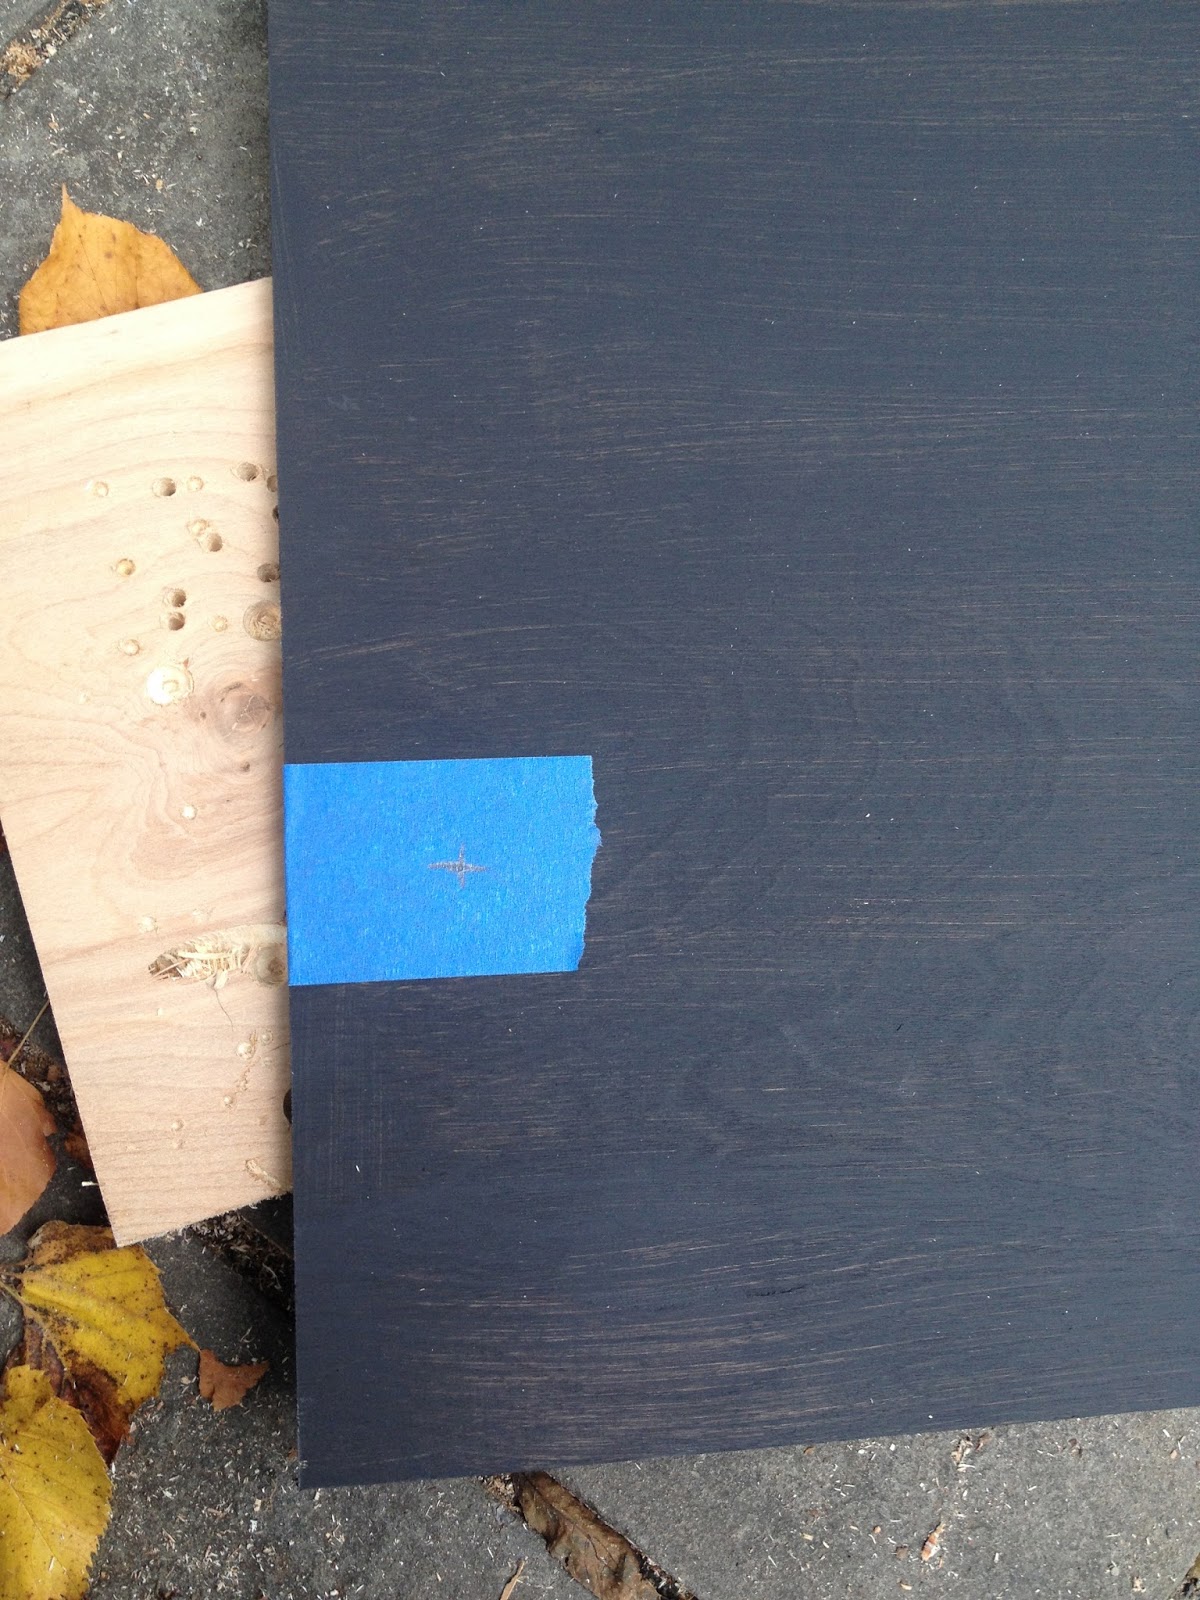
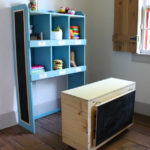
The sliding chalkboard window in front is installed between four pieces of moulding and works like a dream.
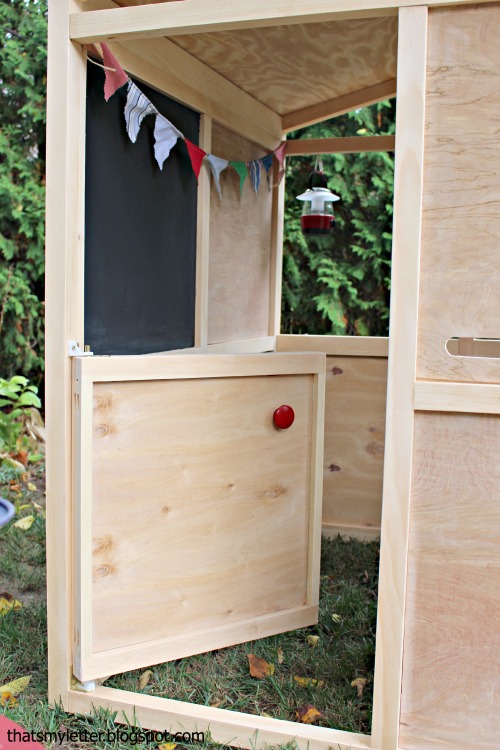
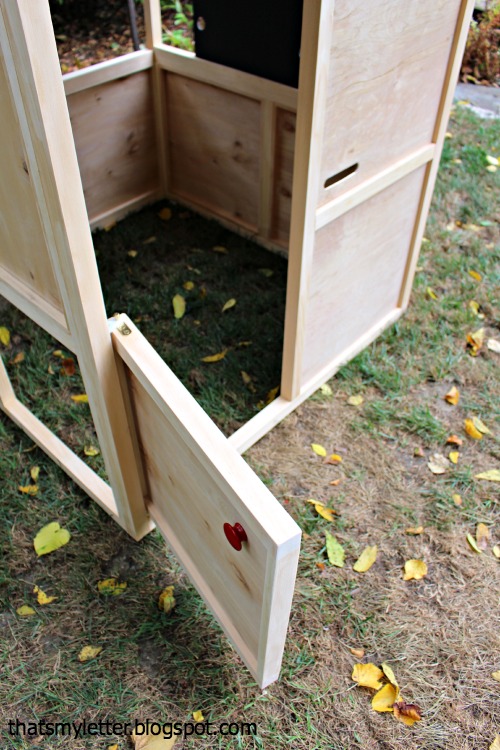
Then there’s the swinging door. I’m seriously in love with this door! I used a cafe pivot door hinge which allows the door to swing both ways.
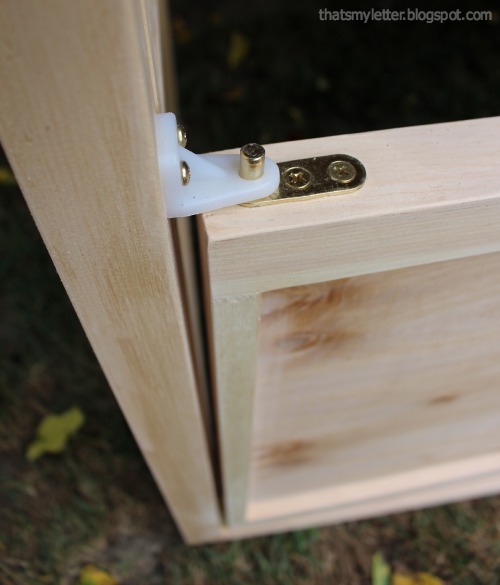
The only downfall to using the cafe pivot hinge is that it is completely visible at the top of the door.
Of course this doesn’t really bother me but for some folks it might.

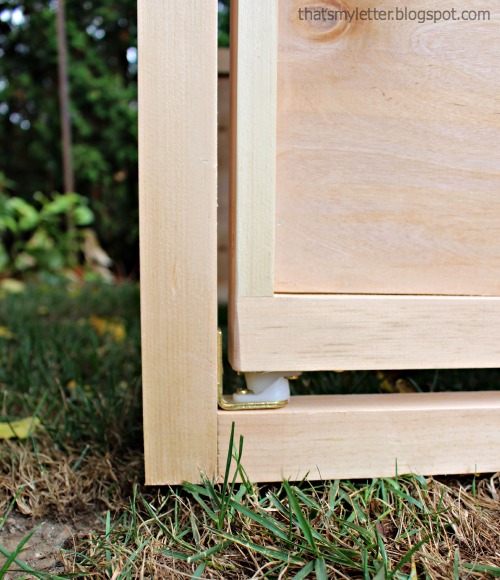
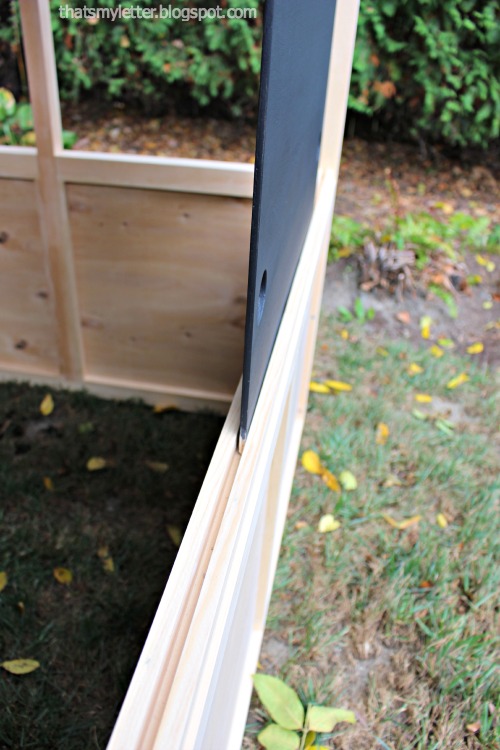
At the bottom I choose to sink the point of the hinge down into that horizontal 2×2. Use a drill bit that matches the point of the hardware and drill a hole for the point.

I do recommend building the door last after you have the whole playhouse assembled and have purchased your hardware. You want the door to fit precisely (mine could be a tiny bit narrower).


The interior is spacious enough for a kids table and chairs.
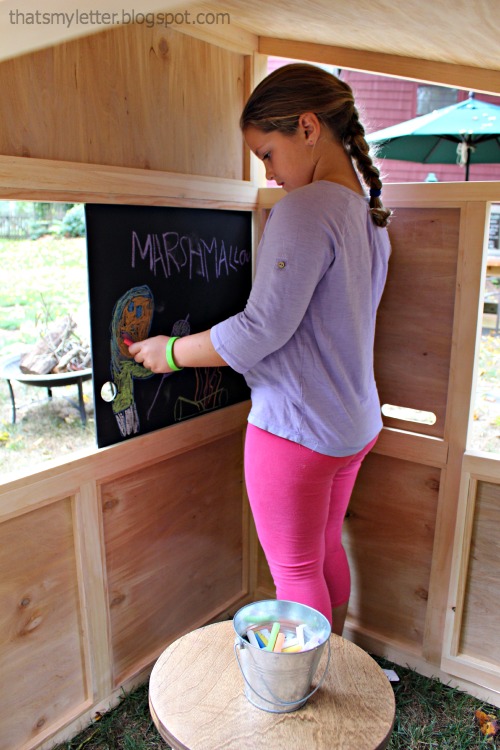
Above my 8 year old is standing inside.
I would say this bungalow style playhouse is best for ages 2 – 6.

How to build the bungalow play house:
Step 1. Follow Ana’s plans here.
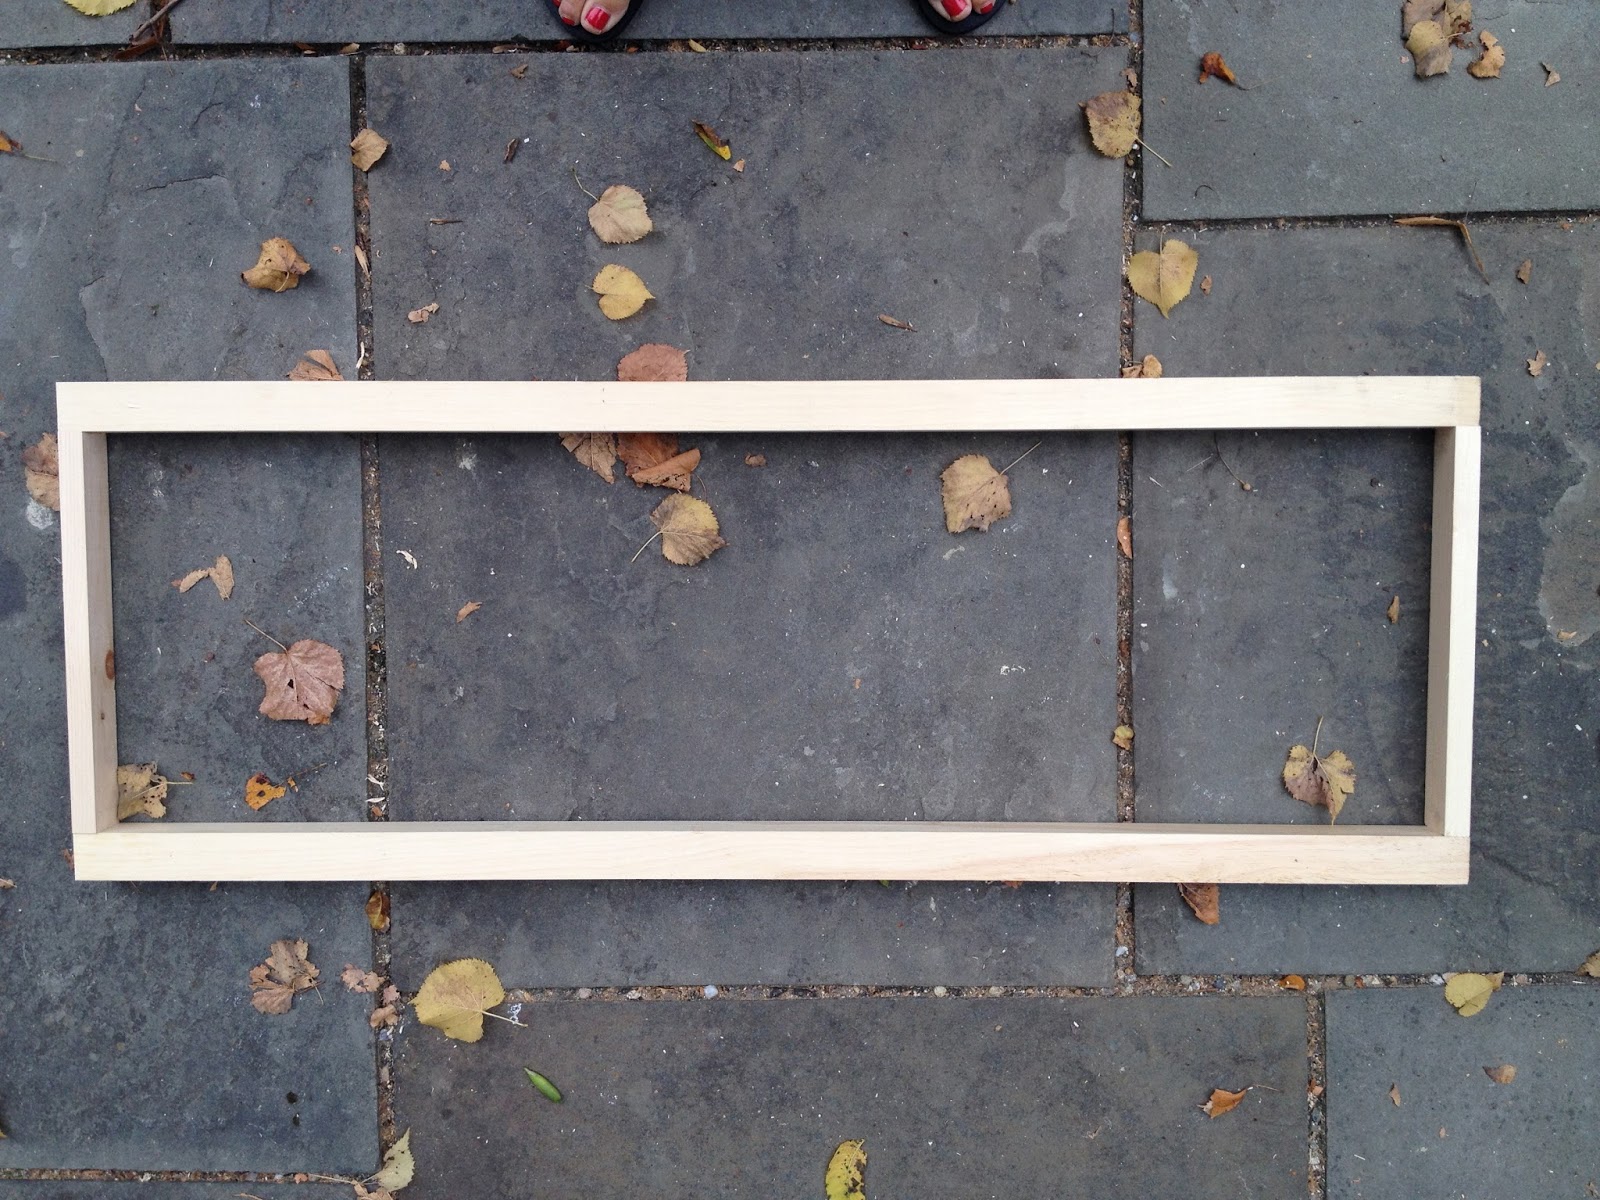
Step 2. Build all the framing using your Kreg pocket hole jig.

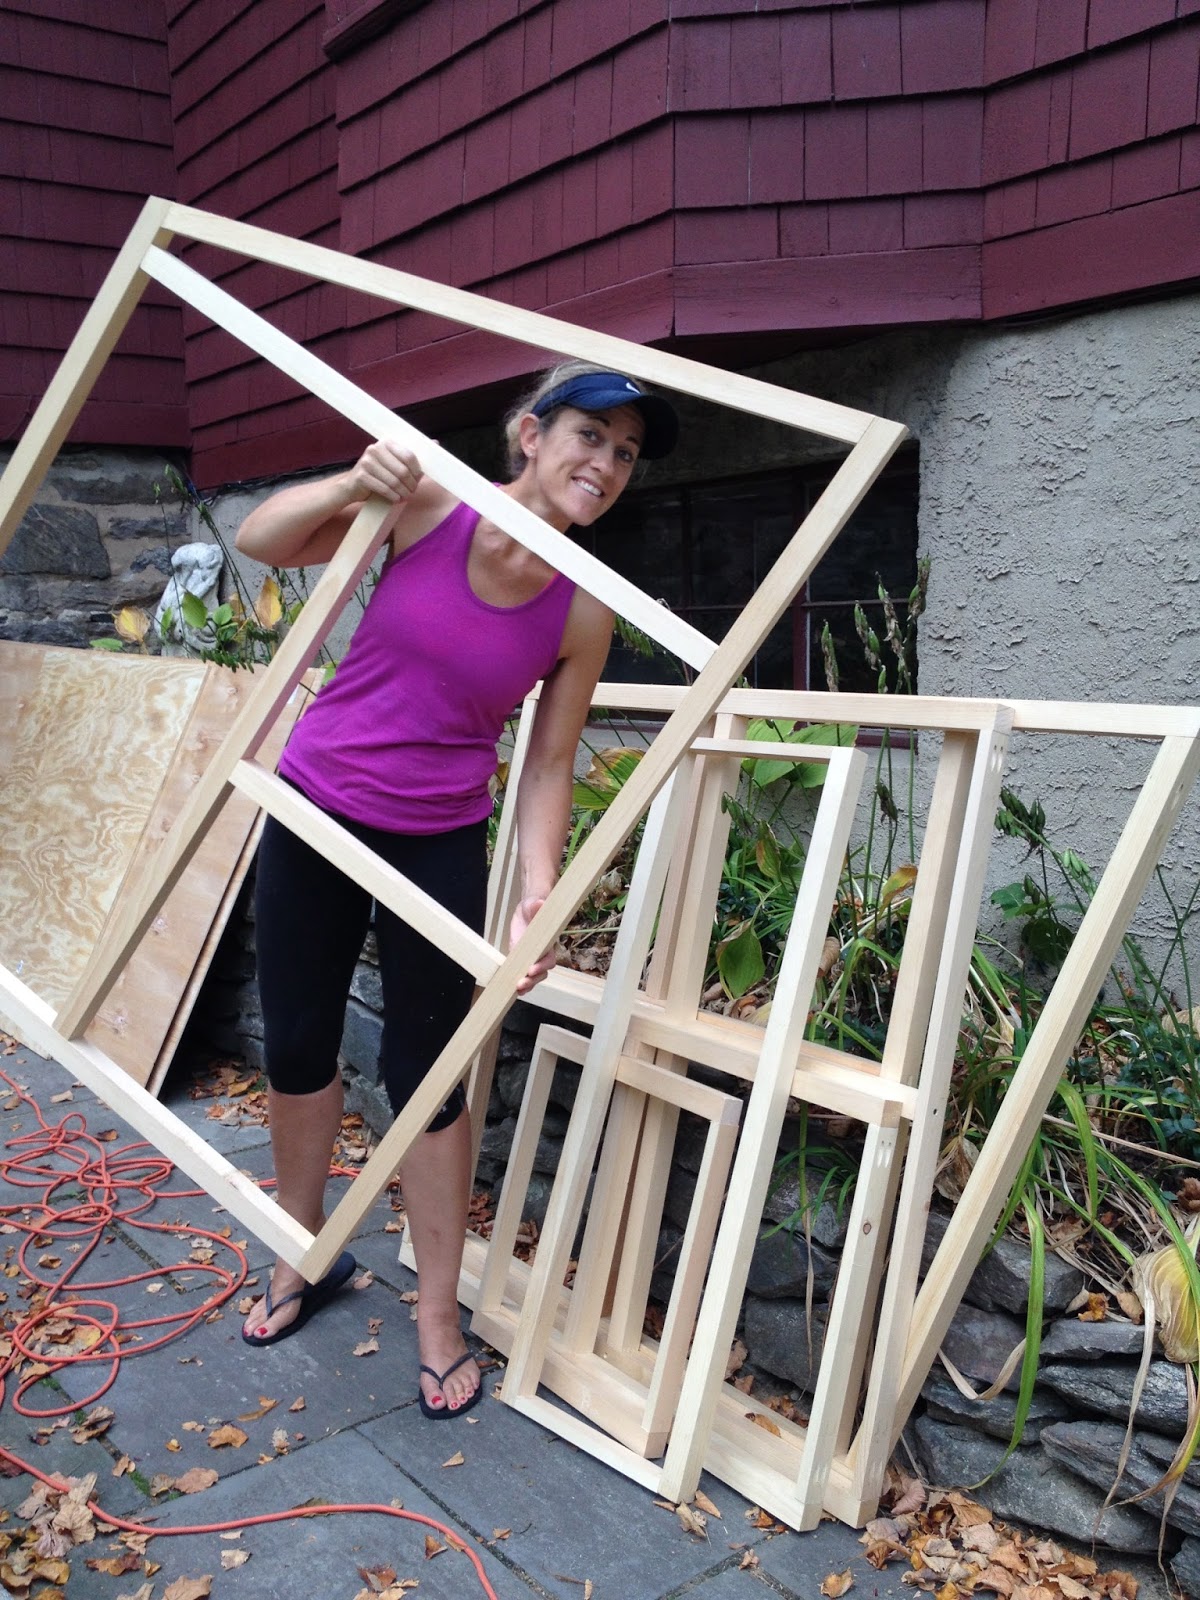
Be sure to hide the pocket holes either on the underside or outside boards that will be covered.
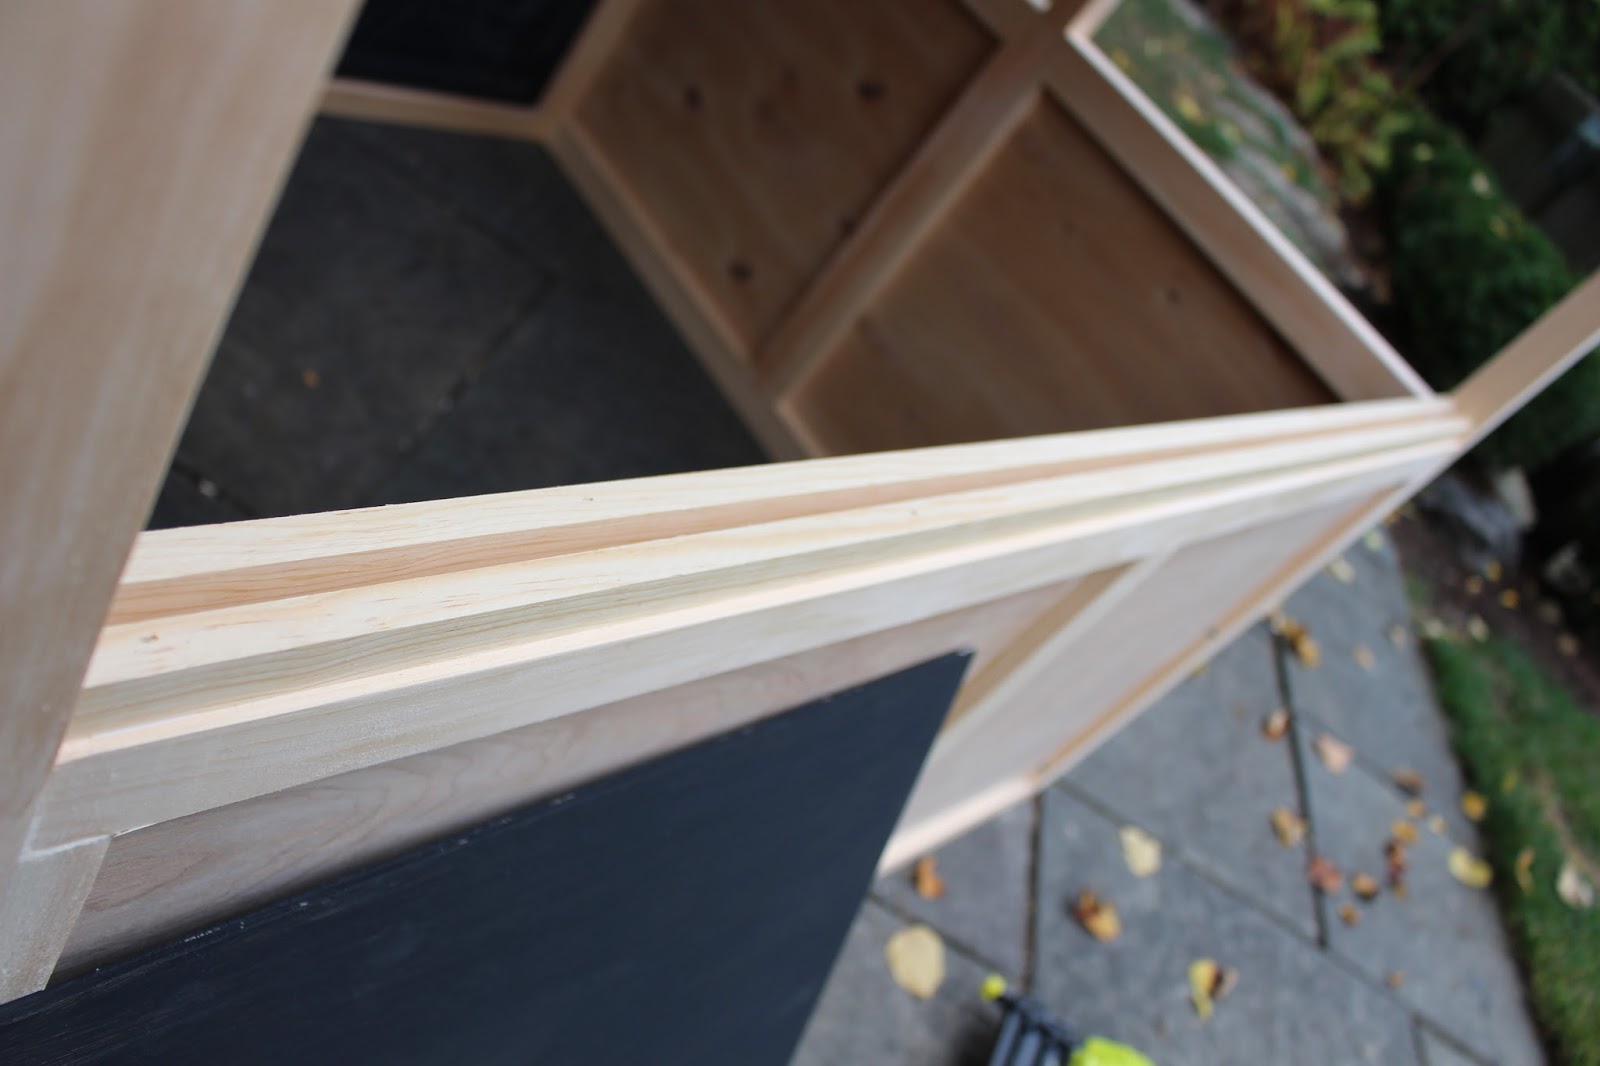
Step 3. Attach moulding flush to the interior of the framing. I used 1/2″ x 3/4″ square moulding.
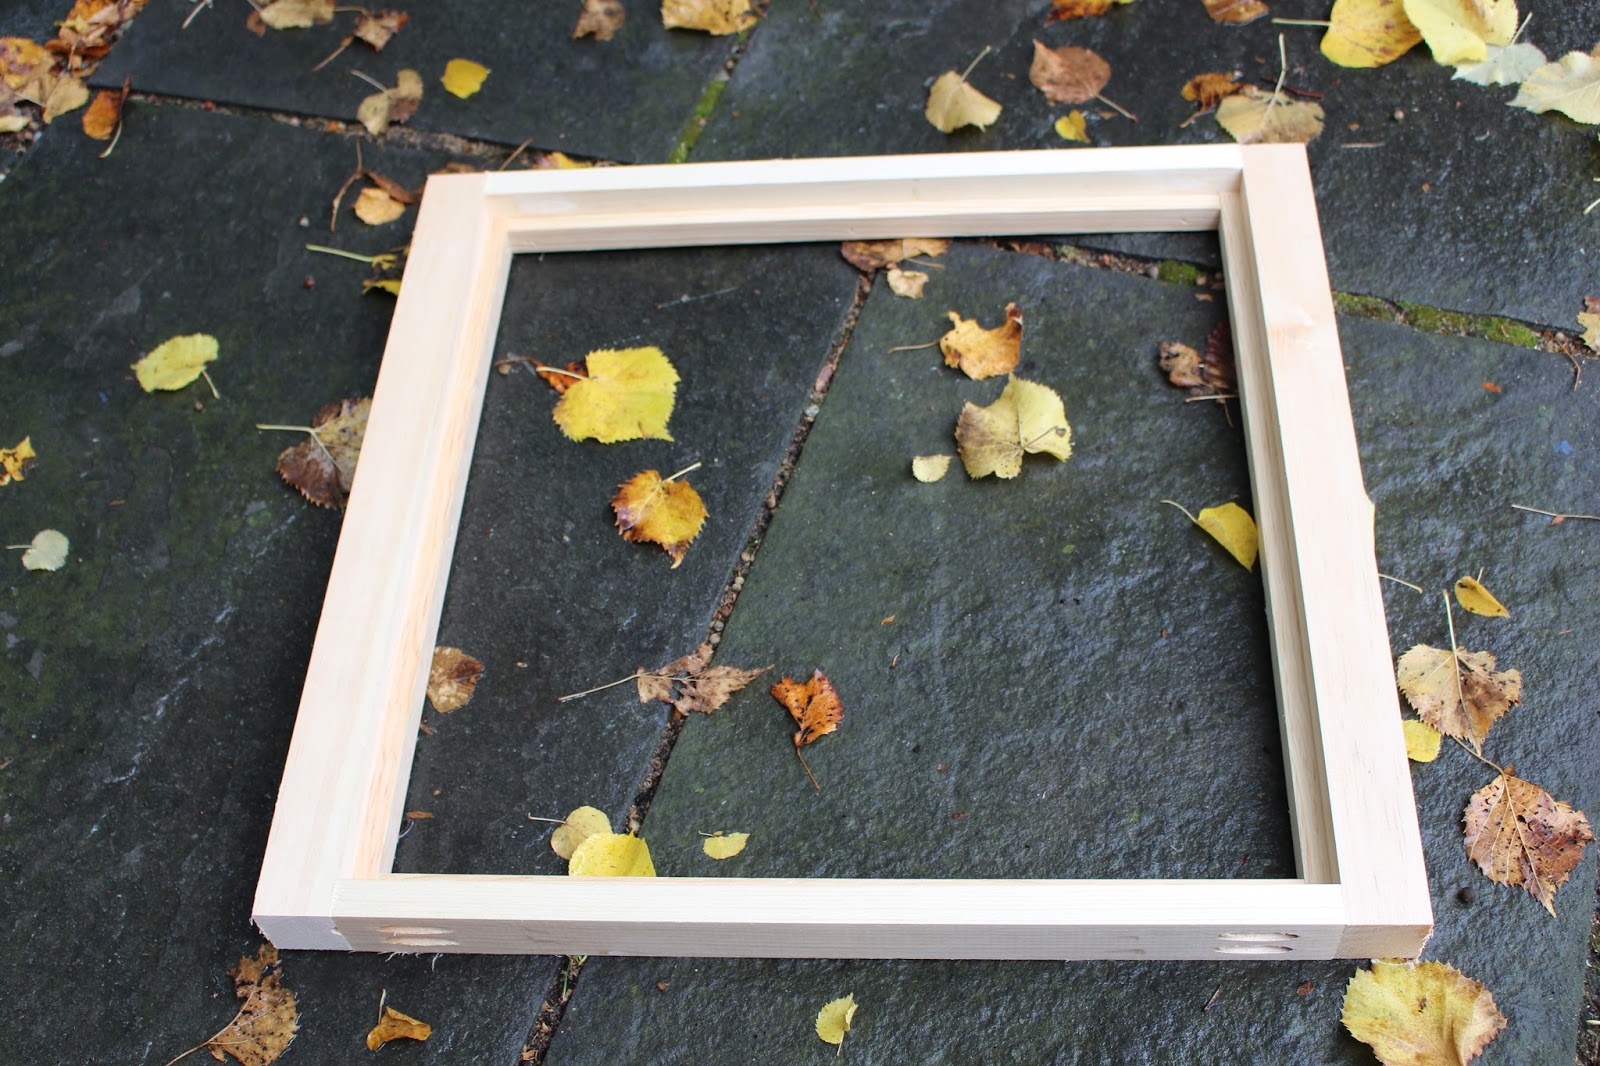
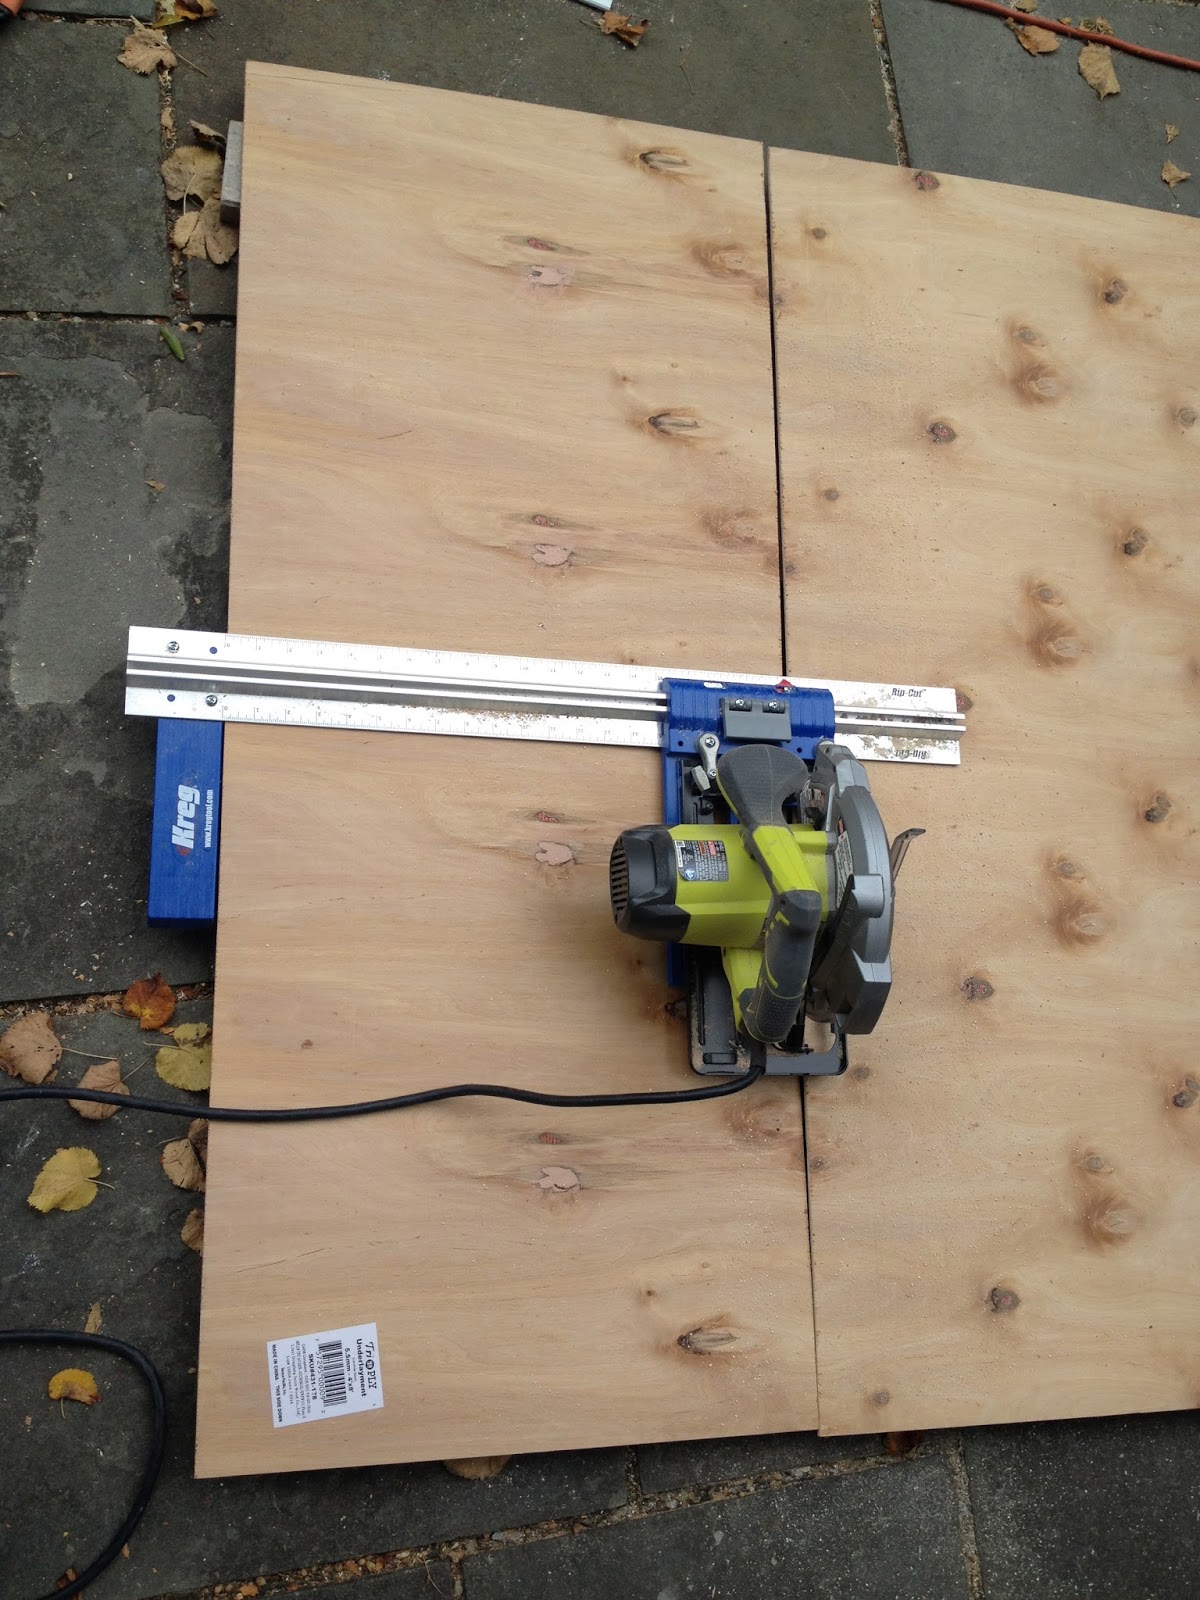
Step 4: Cut plywood panels to fit framing. I used my Kreg rip cut to make all 10 panels the same size without having to measure.
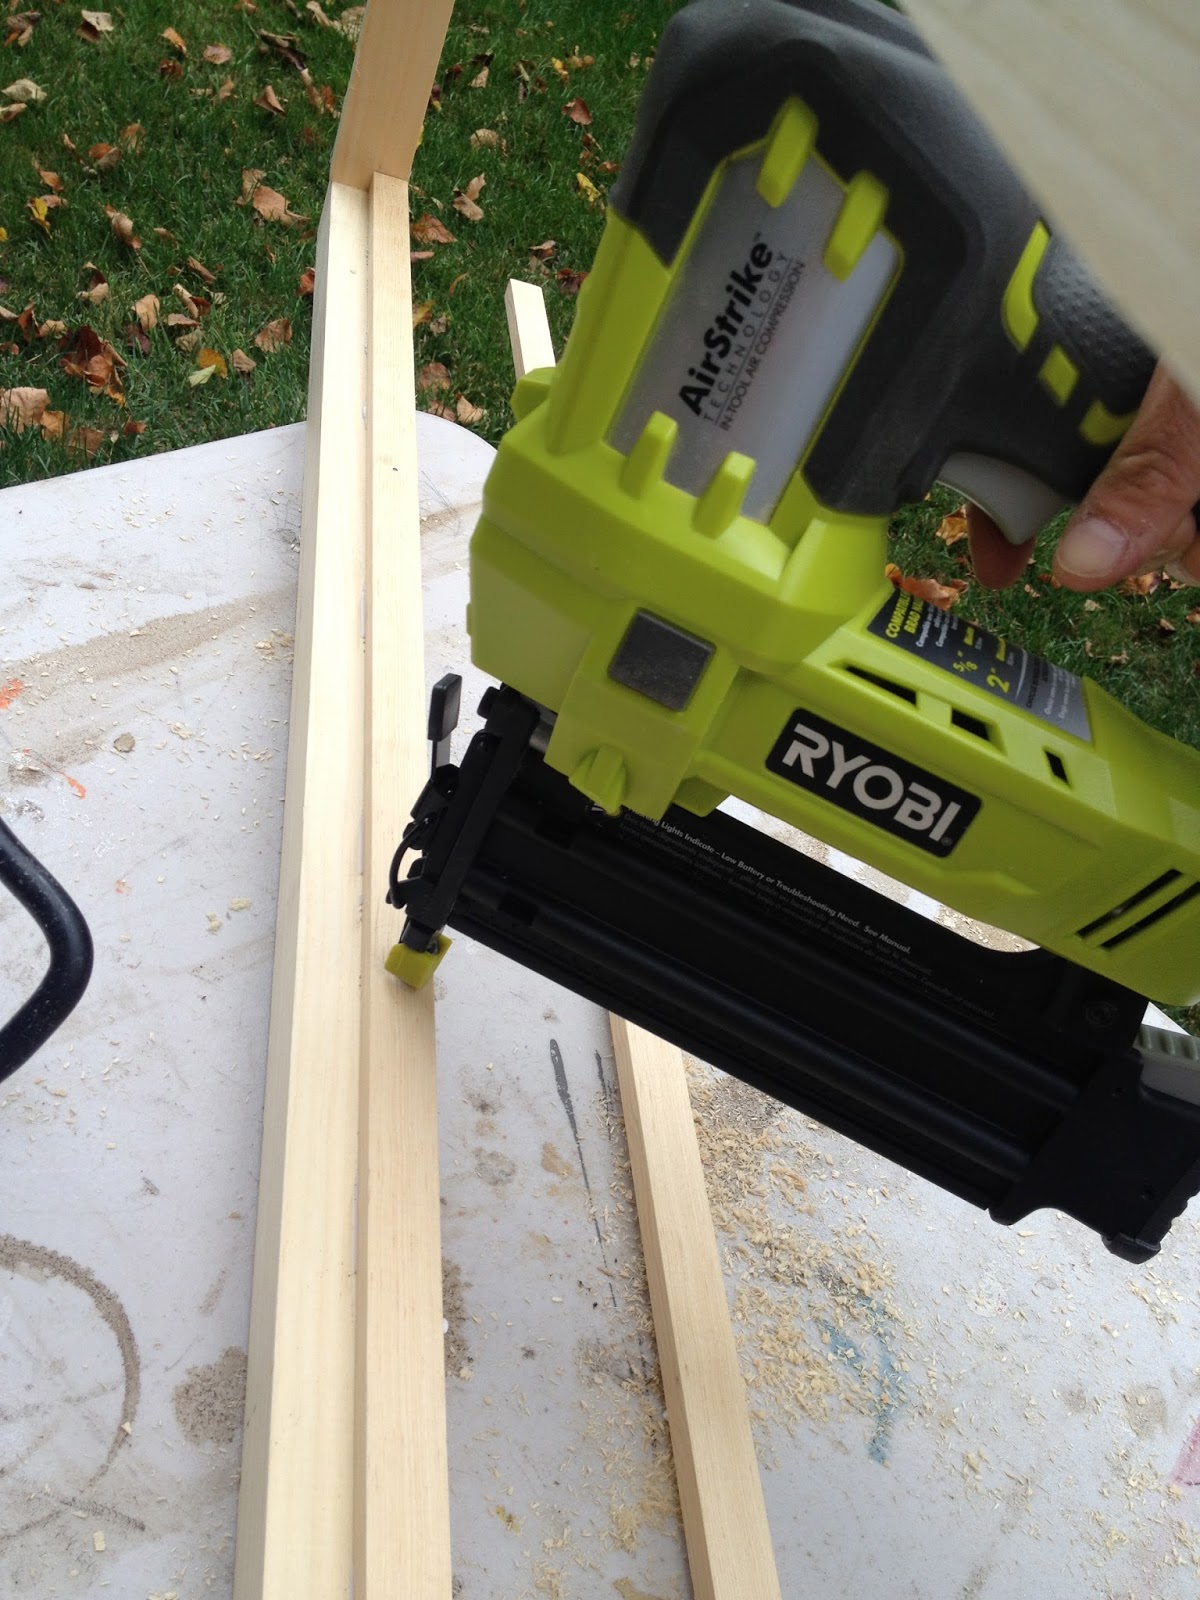
Secure panels to moulding using finish nailer.
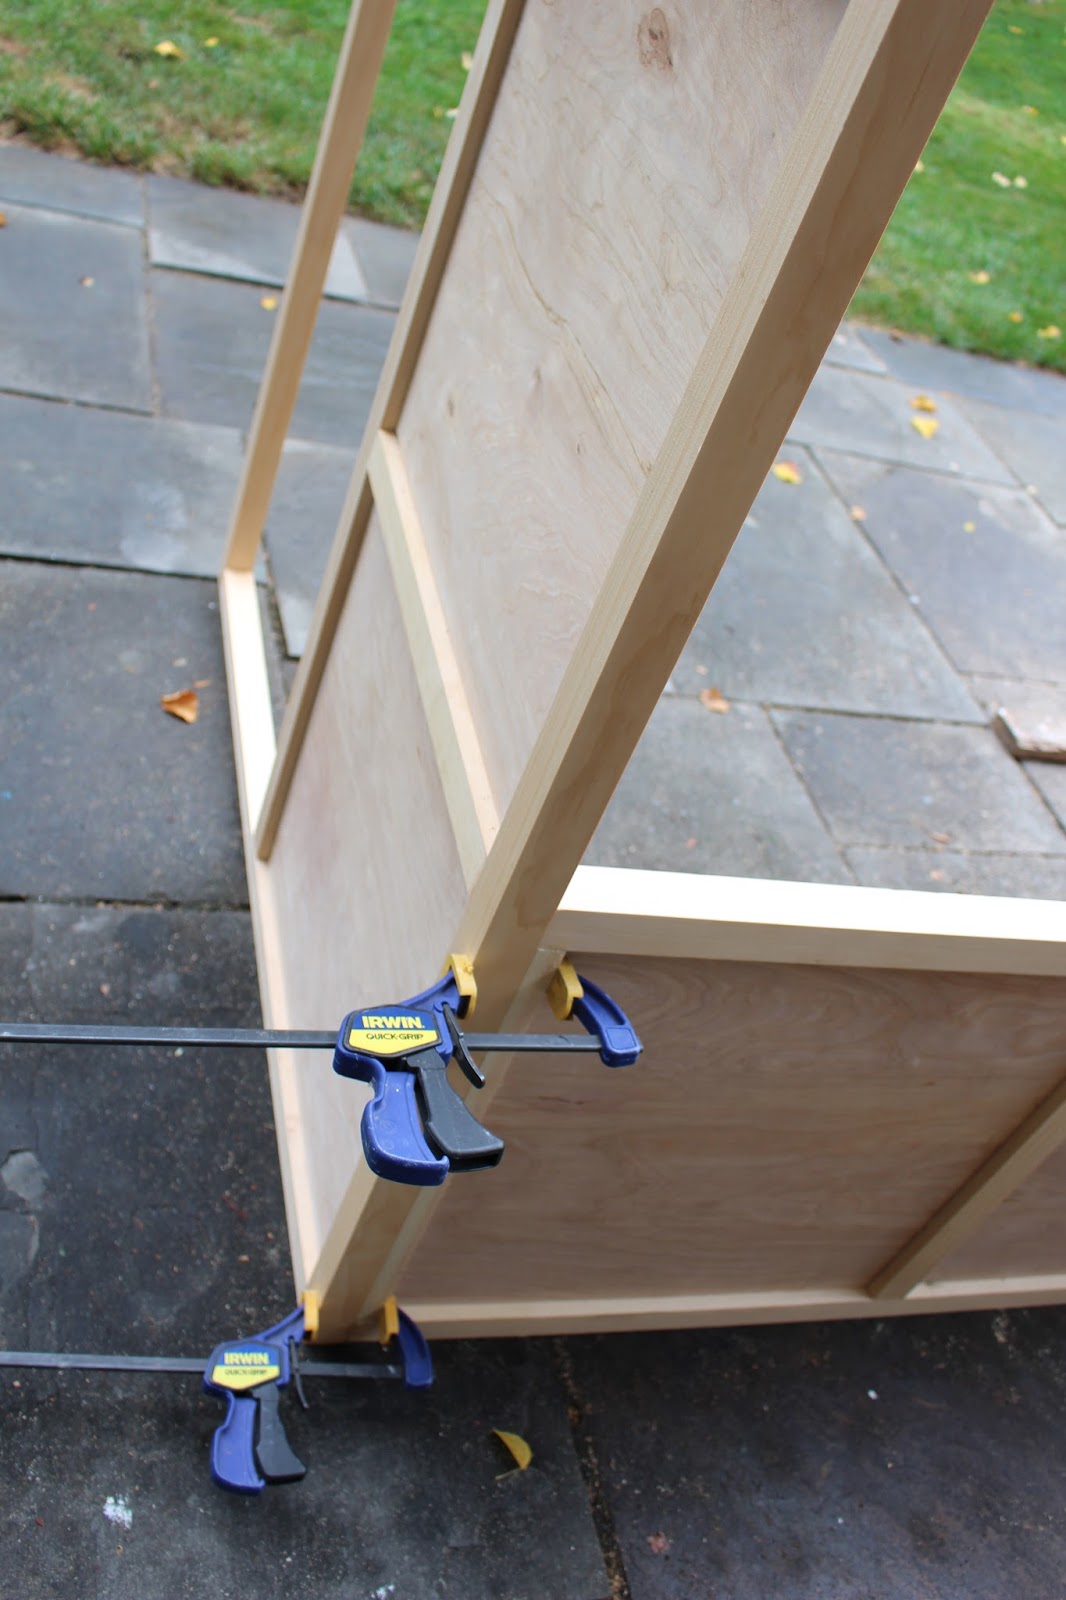
Step 5: Attach walls.
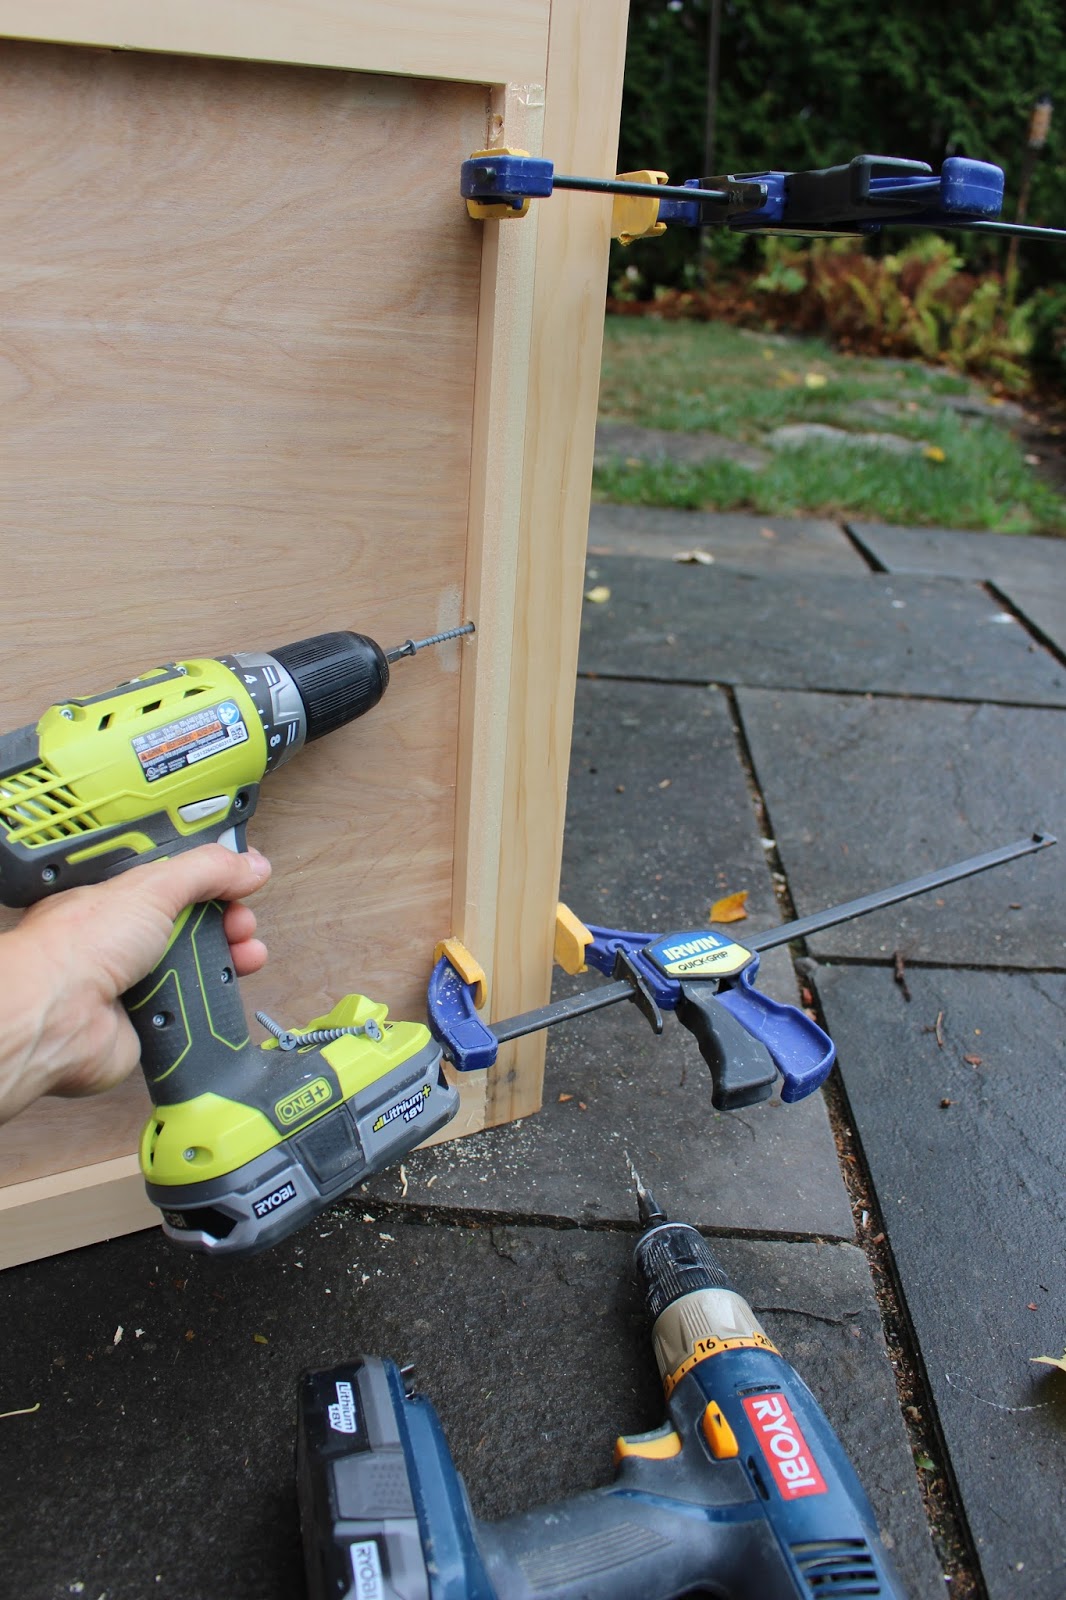
Clamp corners together, predrill and countersink screws here.
Step 6: Attach the roof.
Step 7: Install the sliding chalkboard window. I used the same 1/2″ x 3/4″ moulding here. On the lower portion glue and finish nail both pieces of moulding keeping at least 3/16″ space between the two pieces. Install one piece of moulding at the top, place chalkboard in position and then attach final piece of moulding to hold chalkboard.

To make the pulling holes in the chalkboard window I used a 1 1/2″ circular bit.
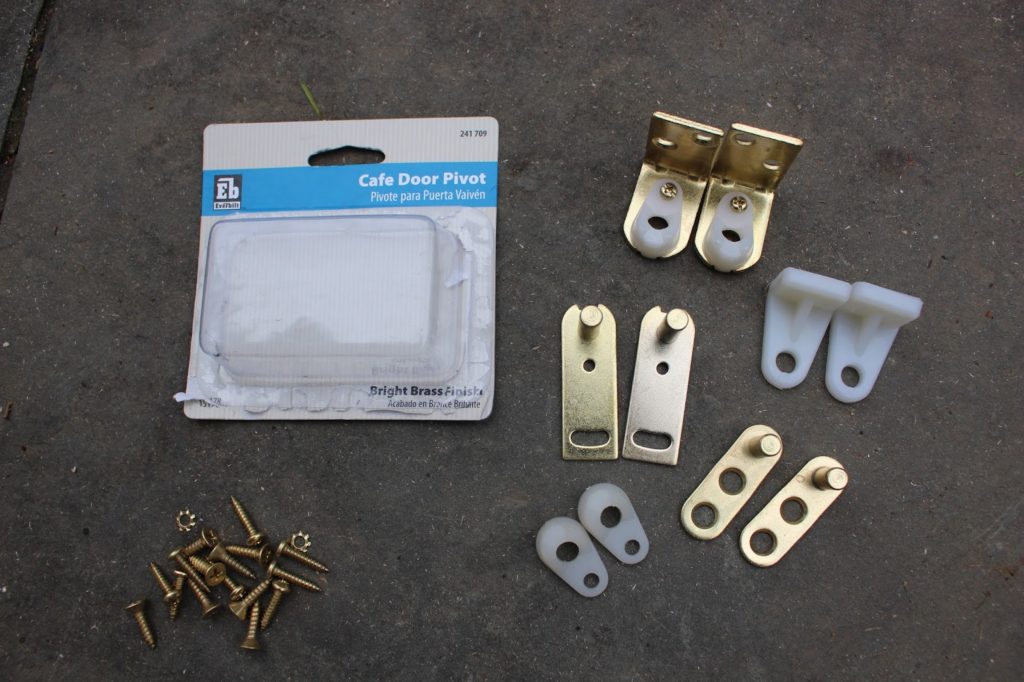
Step 8: Open the door hardware, this pack has 2 sets and we only need one.
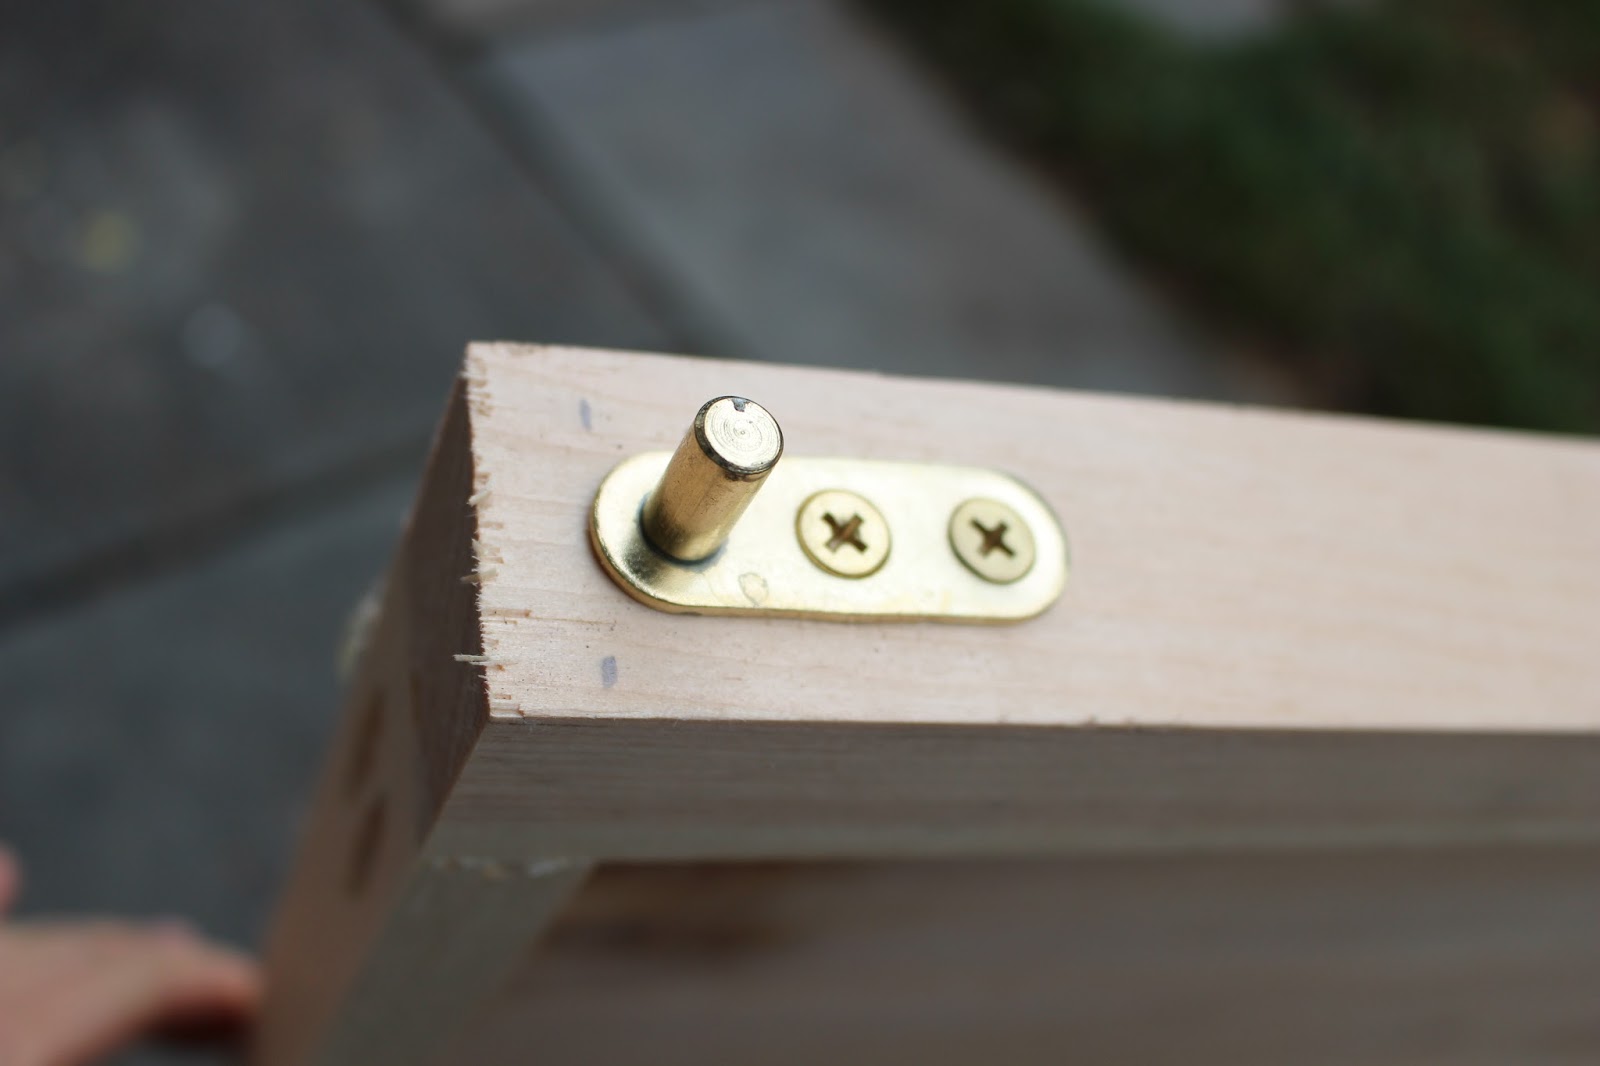
Install the top pivot piece as directed.
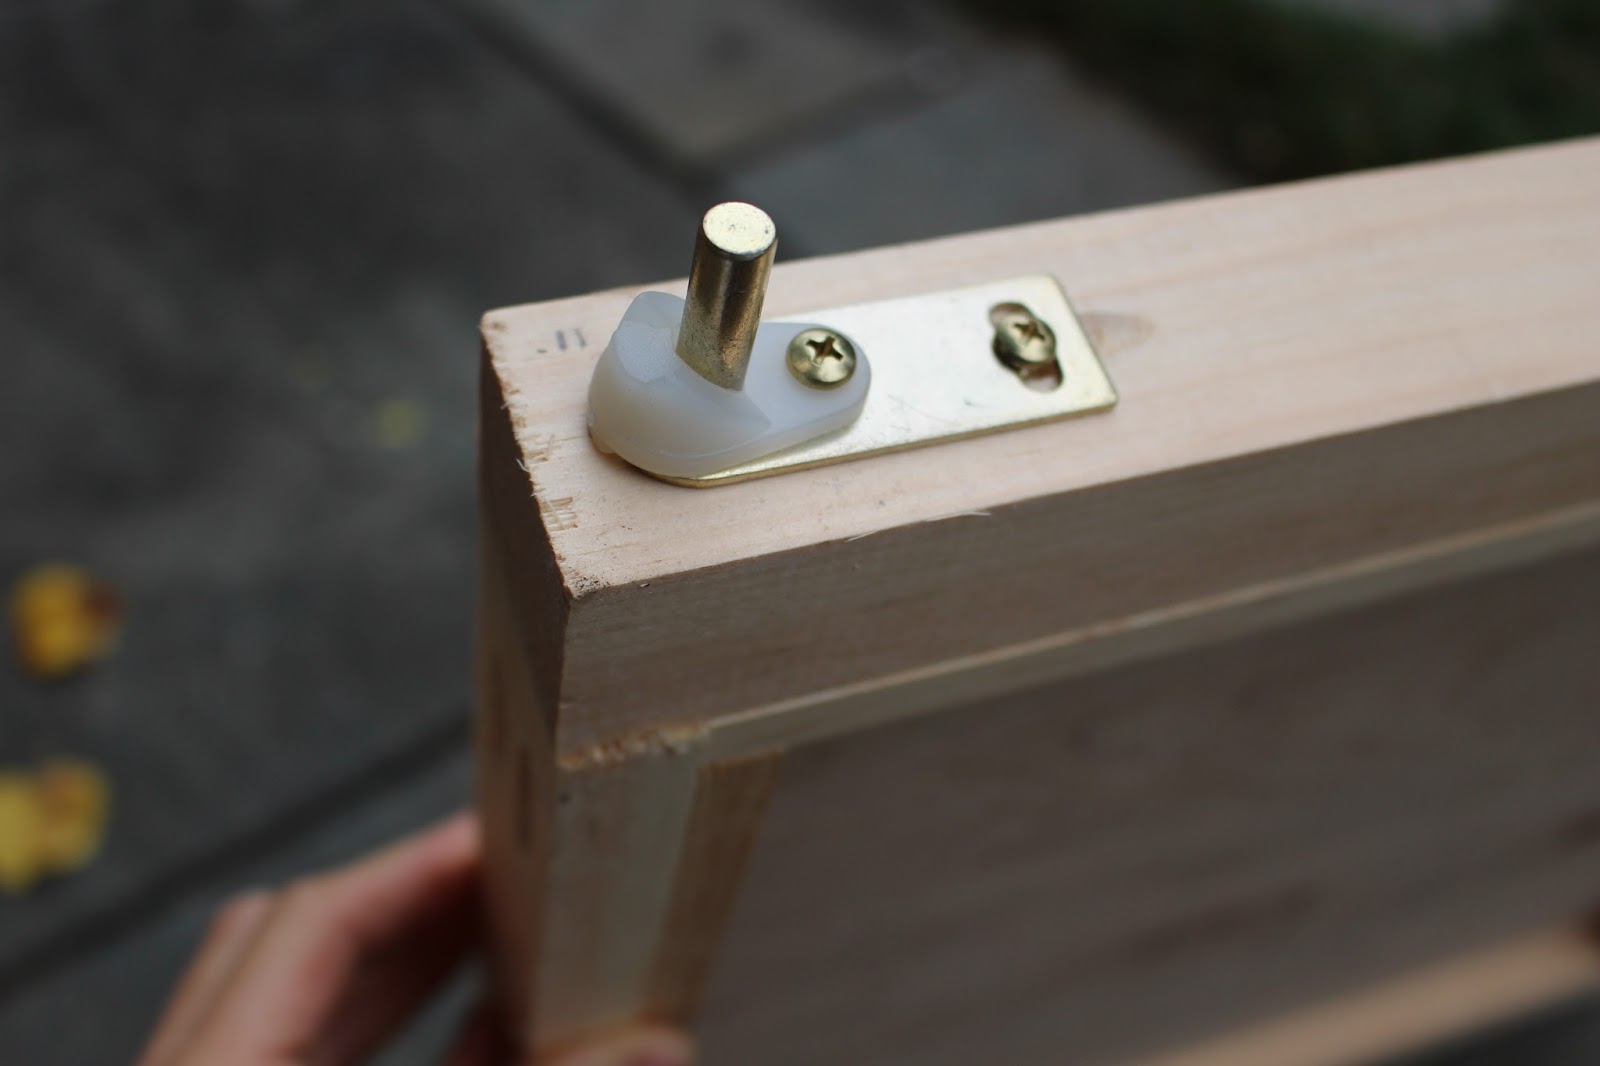
Install the bottom pivot piece as directed.
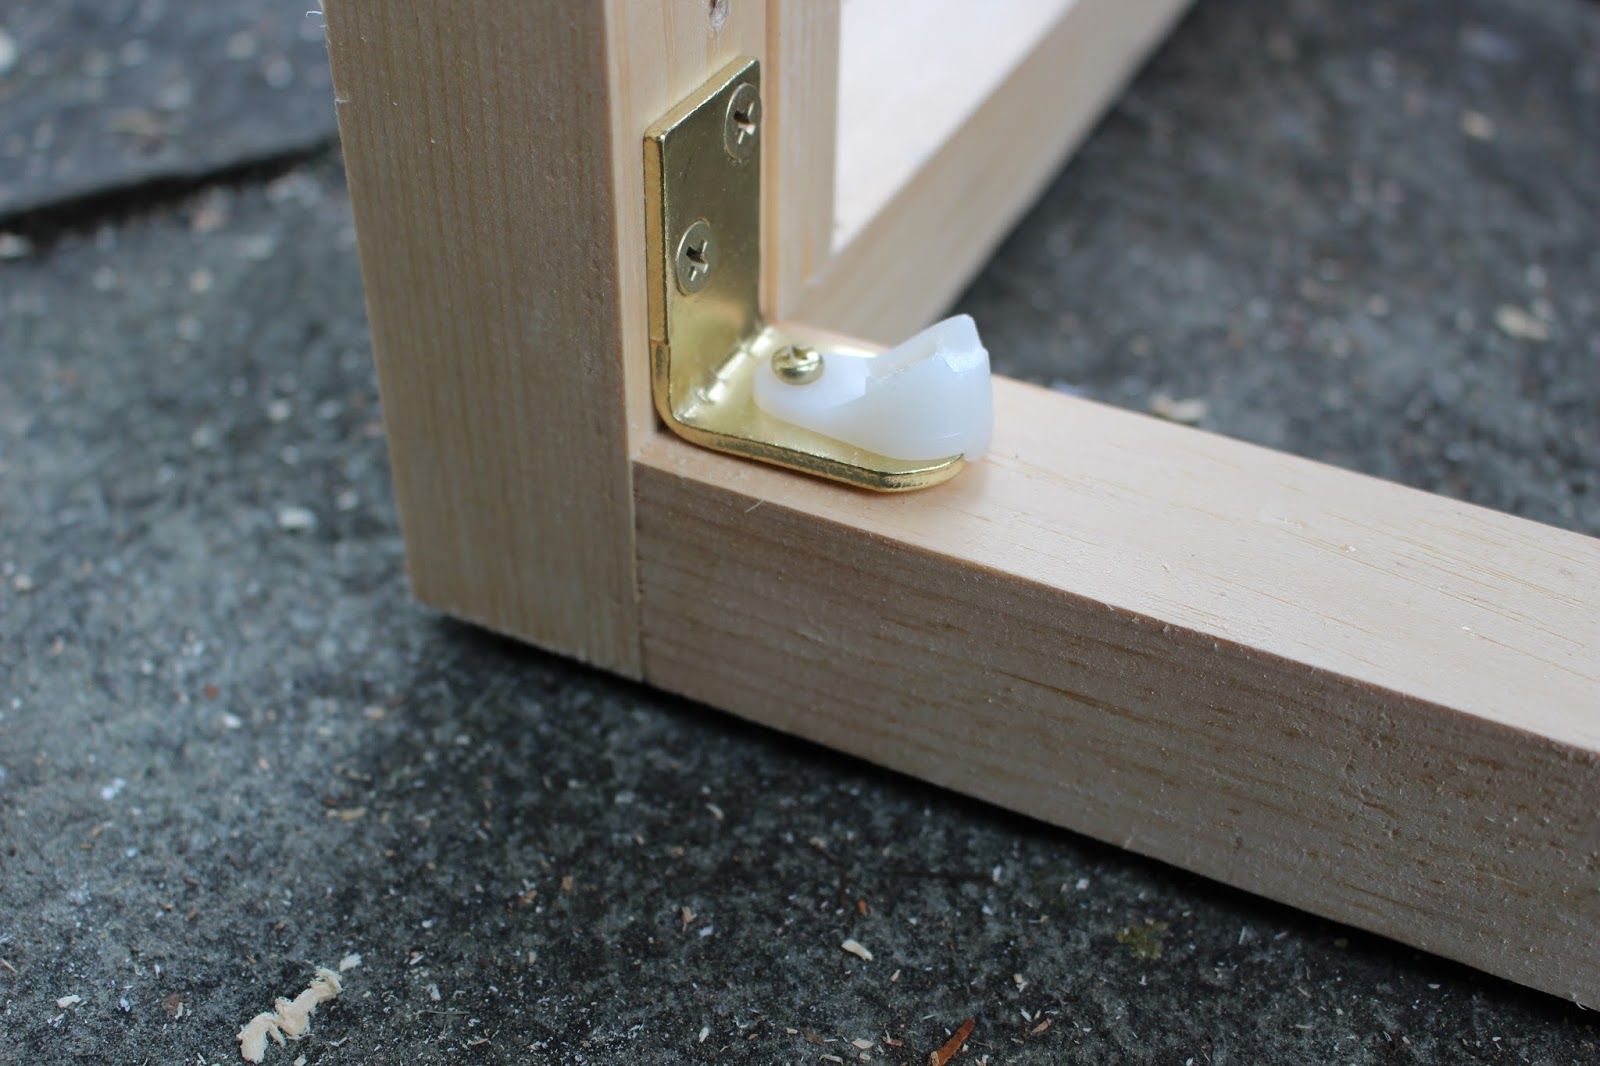
Install the bottom stationary portion. I choose to install this flush to the horizontal 2×2 which requires a hole down the center of the white plastic portion to accommodate the pivot point.
Place the door in position with the bottom pivot point down in the bottom hardware.
Place the top stationary portion onto the top pivot point and secure the stationary portion to the vertical 2×2.
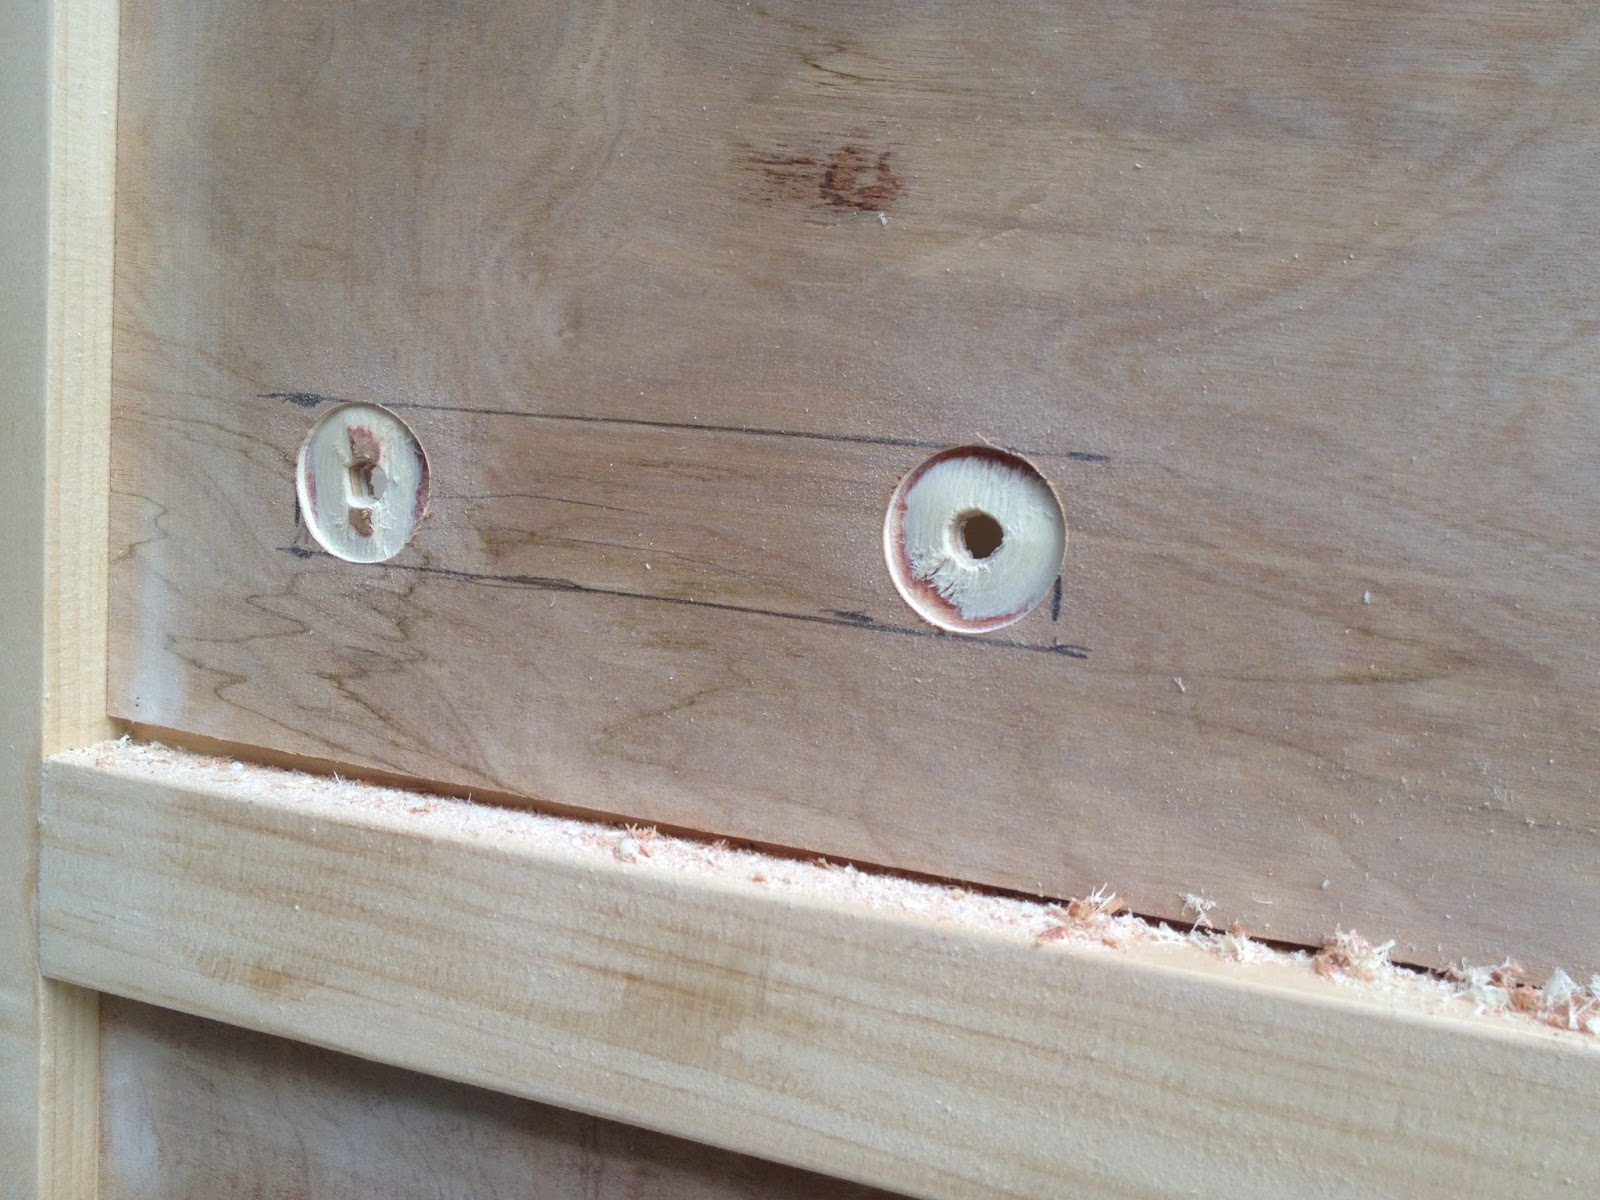
Step 9: Cut out the mail slot. I used a 1″ circular bit here, begin by drilling about halfway through the panel.
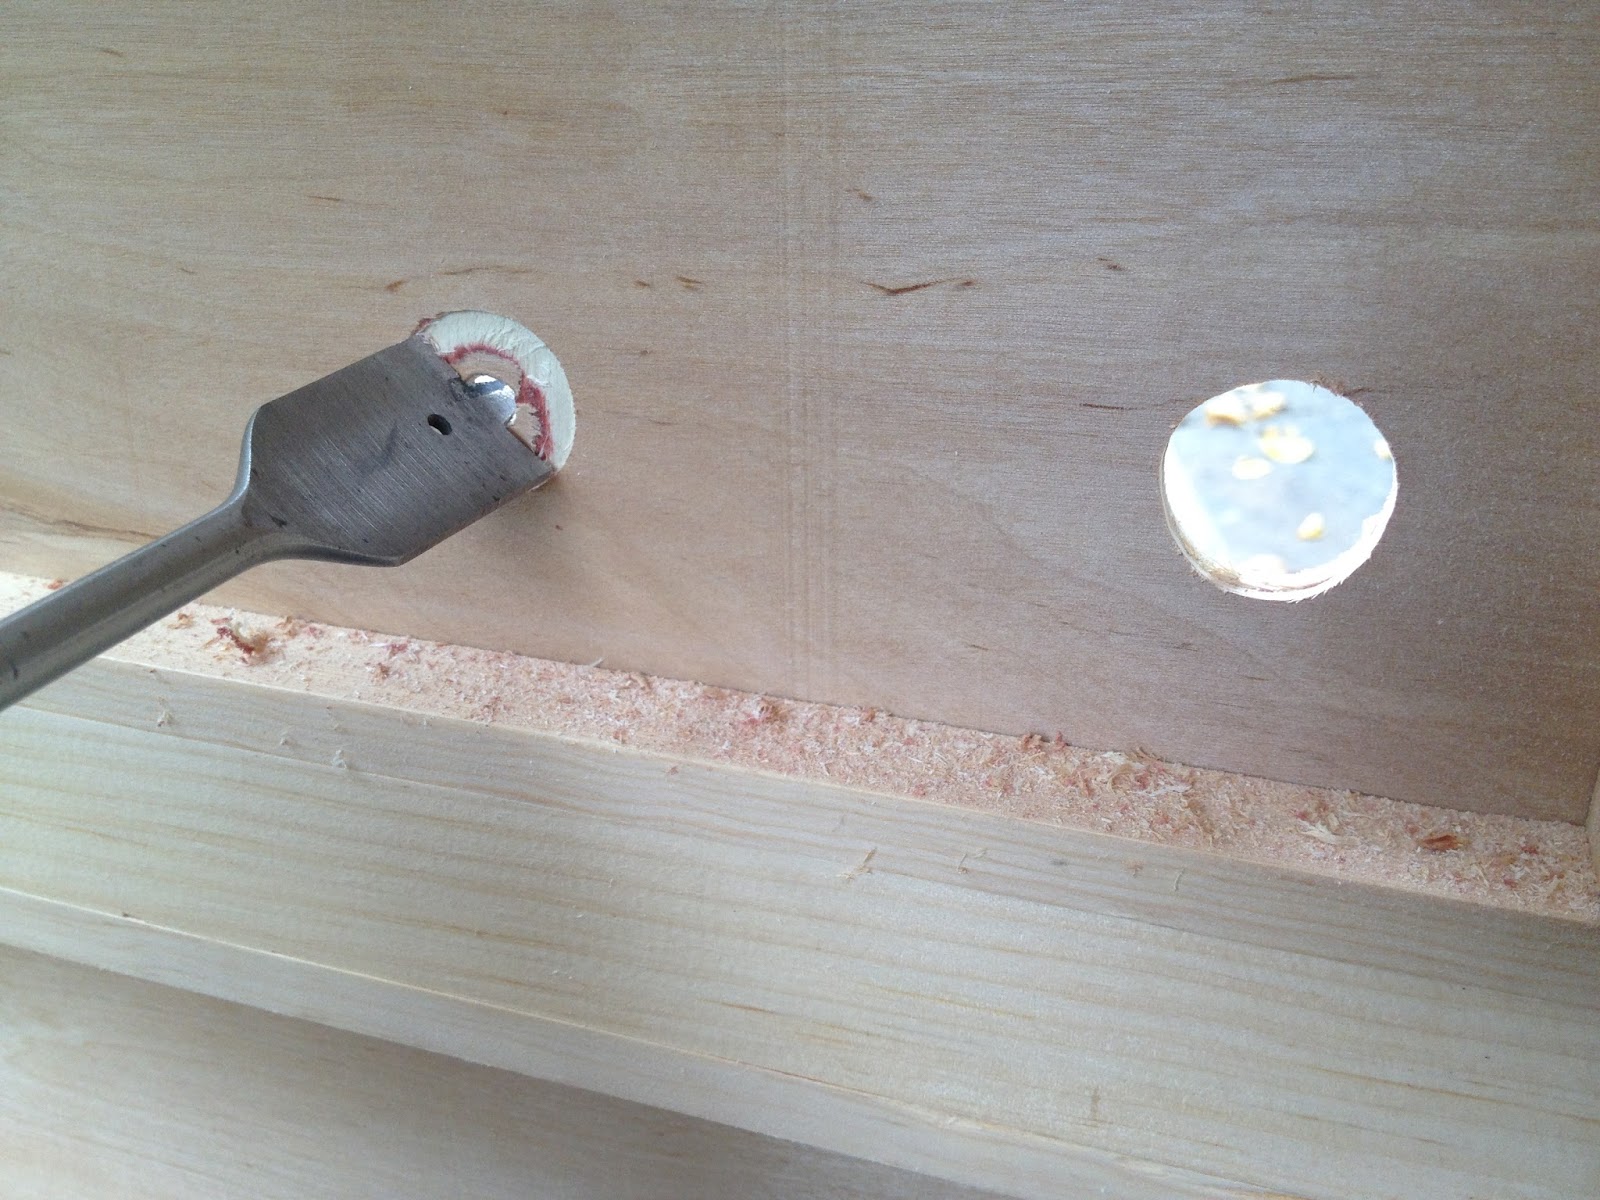
Then move to the interior side of the panel and finish drilling from the other side.
This gives you a clean cut on both sides and minimizes tear out.

Complete the mail slot using a jigsaw then sand everything well.
There’s so many ways to personalize and add all your own details to this bungalow. My kids love all the chalkboard surfaces so I would consider painting even more panels as chalkboards.
Stay tuned next week for another gift to build. If this playhouse seems a bit too much house for you we have a different version you might be interested in for next Friday! Definitely check back.
And don’t forget to enter the Ryobi Tools giveaway going on now!

I’m linking up to:

Creative Collection @ Lolly Jane
Nifty Thrity Sunday @ Nifty Thrifty Things
Inspiration Exchange @ City Farmhouse
SAS @ Funky Junk
That DIY Party @ The DIY Showoff
Tutorials & Tips Tuesday @ Home Stories A to Z
Share Awesomeness Thur @ The 36th Avenue
Pretty Things Thursday @ Scissors & Spatulas
Flaunt it Friday @ Chic on a Shoestring
Frugal Friday @ The Shabby Nest
Furniture Feature Friday @ Miss Mustard Seed
SAS @ Just a Girl
Remodelaholics Anonymous @ Remodelaholic
inspiration board @ Carolyns Homework
Sunday Showcase Party @ Under the Table & Dreaming


Loved your handmade holiday last year. Can't wait to see the new plans! My kids love all the items we have made from your site and Ana's. Thank you both!
Wow…this is awesome! Do you think Rob could whip this up for our kiddos in time for the holidays? 🙂
This is Great. I love the idea of building outdoor furniture projects, it is fun