• Home
  • Blog
  • About
  • Contact
    • Disclosure
    • Privacy Policy
  • SHOP
  • Widget area for main menu

    • Email
    • Facebook
    • Instagram
    • Pinterest
    • Twitter
    • YouTube
  • Skip to primary navigation
  • Skip to main content
  • Skip to primary sidebar

Jaime Costiglio

build - paint - sew

  • BUILD
    • BEDS
    • BENCHES
    • DESKS
    • DRESSERS
    • GAMES & TOYS
    • SCRAP WOOD
    • SHELVES
    • STORAGE
    • TABLES
  • TOOLS
  • PAINT
    • CRAFTS
    • FURNITURE
    • HOME DECOR
  • SEW
    • GIFTS
    • HOME DECOR
    • POUCHES
  • HANDBUILT HOLIDAY
    • 2021
    • 2019
    • 2018
    • 2017
    • 2016
    • 2015
    • 2014
    • 2013
  • GIFTS
    • BABIES
    • KIDS
    • FOR HER
    • FOR HIM
    • TEACHERS
    • WEDDINGS
  • SEASONAL
    • 4TH OF JULY
    • FALL
    • HALLOWEEN
    • CHRISTMAS
    • SUMMER
    • SPRING
    • ST. PATRICK’S DAY
    • THANKSGIVING
    • VALENTINE’S DAY
    • WINTER
  • SALTBOX PROJECT
    • BATHROOMS
    • DINING ROOM
    • EXTERIOR
    • FAMILY ROOM
    • FOYER / MUDROOM
    • KIDS BEDROOMS
    • KITCHEN
    • LIVING ROOM
    • MASTER BEDROOM
    • PLAYROOM
  • SCROLL SAW

DIY Divided Lazy Susan

May 13, 2013

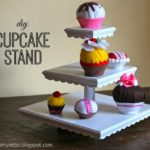
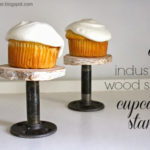
Build: divided lazy susan

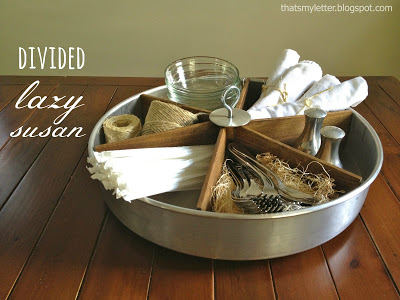
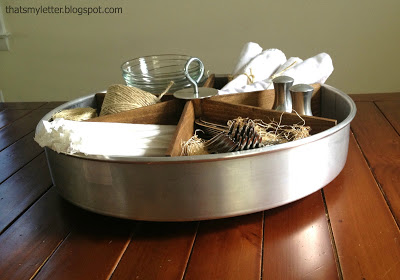
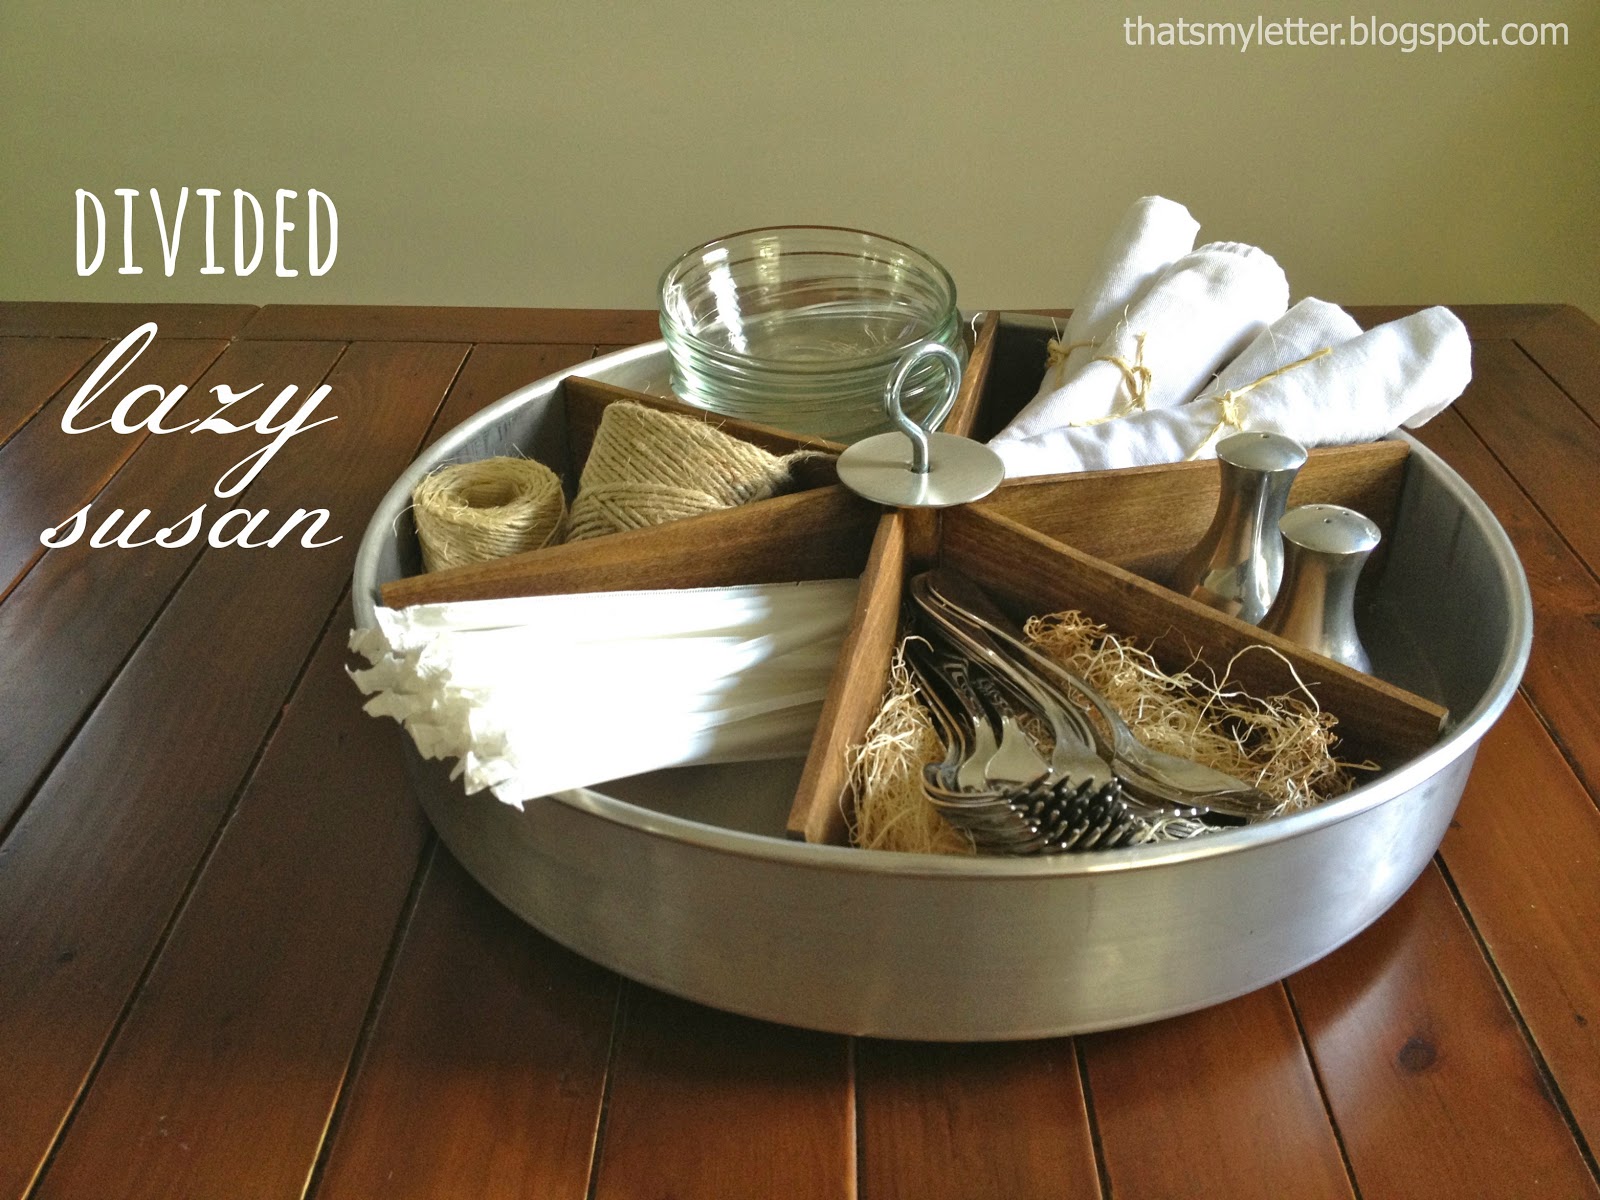
Make a tabletop divided lazy susan for less than one-third the cost of the inspiration version.


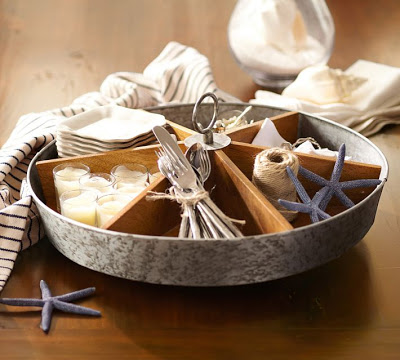
And this is the inspiration:

image from potterybarn.com
It’s a perfect mix of warm wood and shiny metal:
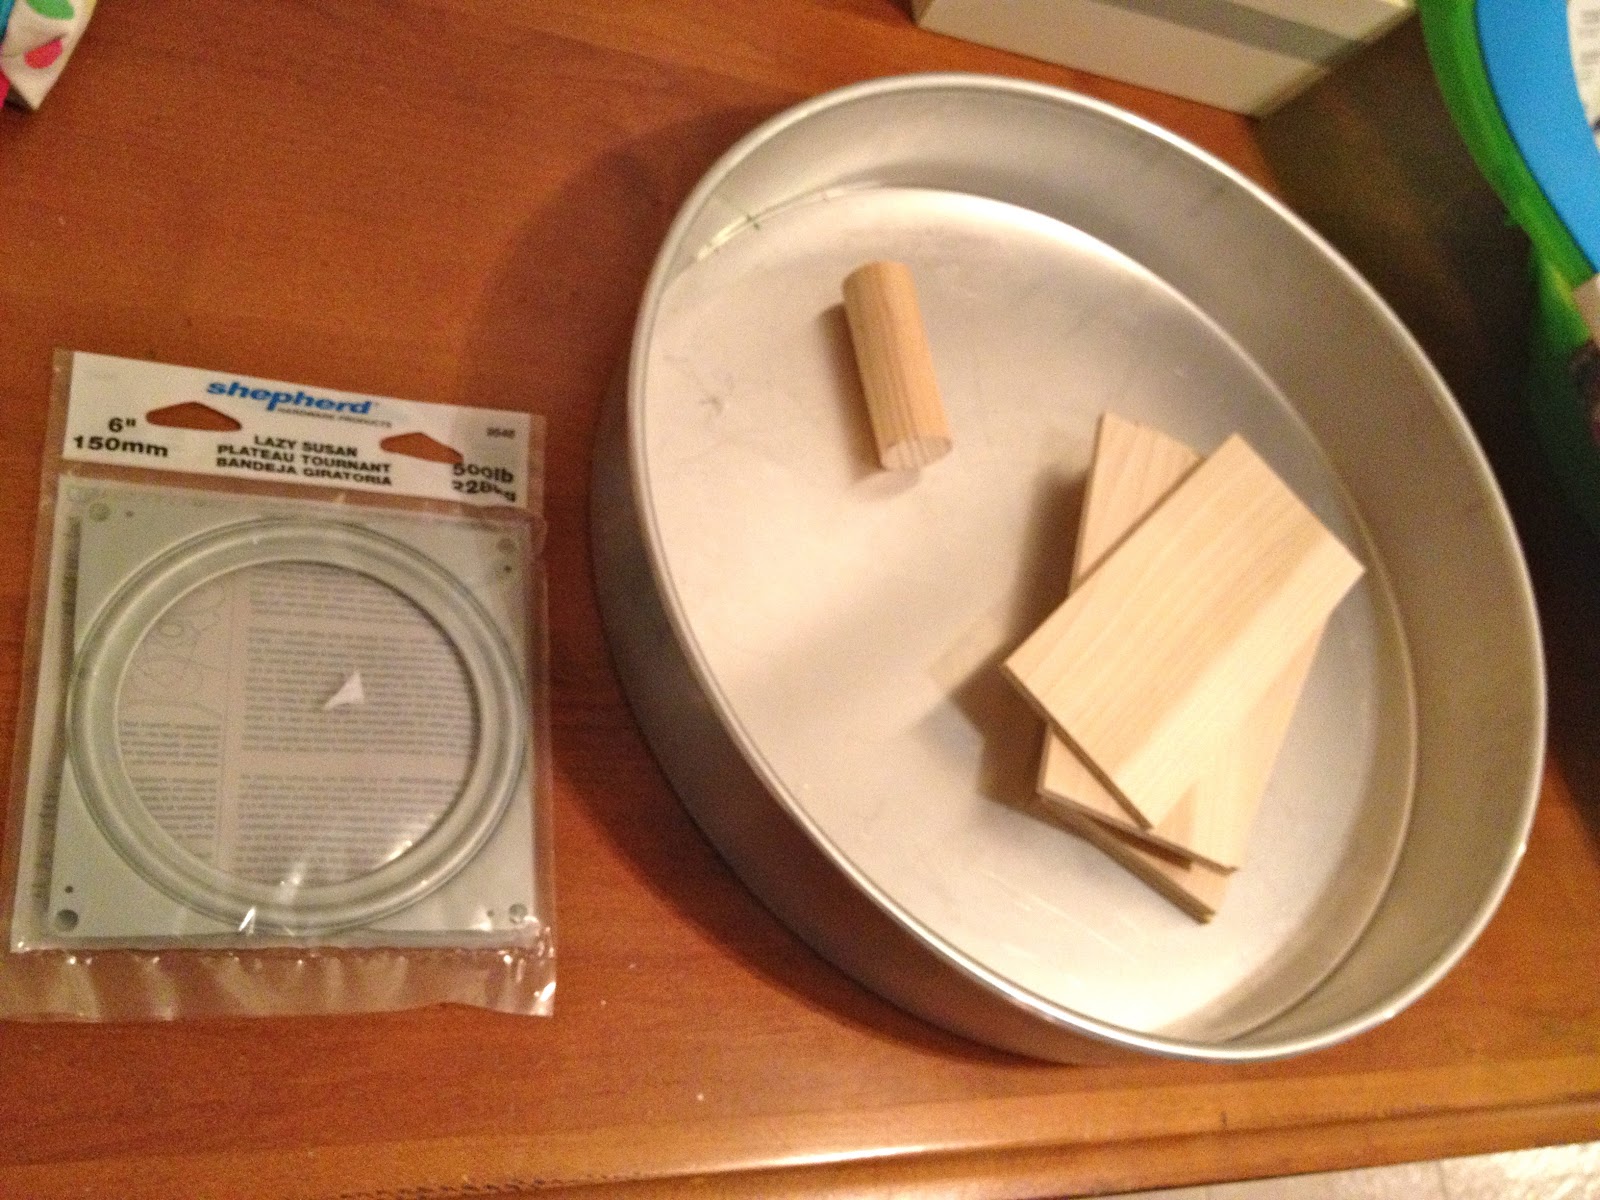


Supplies:
 
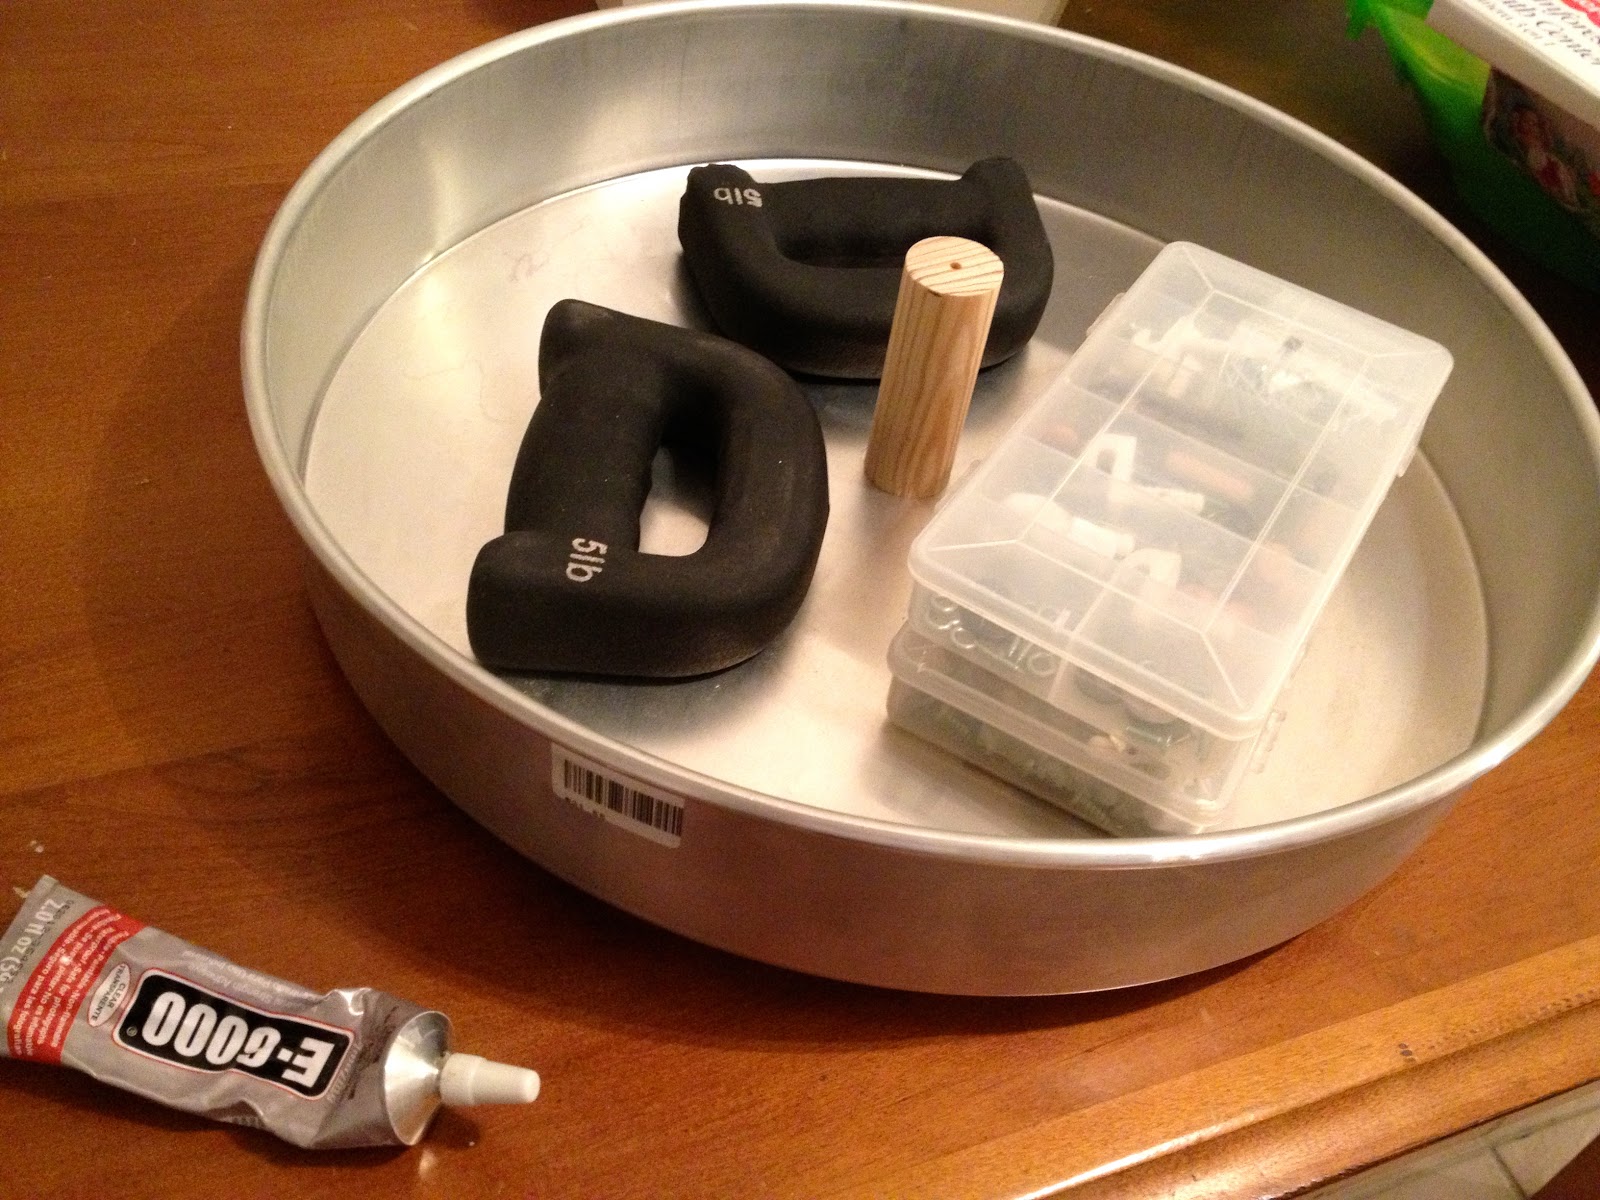
1 – 17″ cake pan ($23) (found at local restaurant supply store)
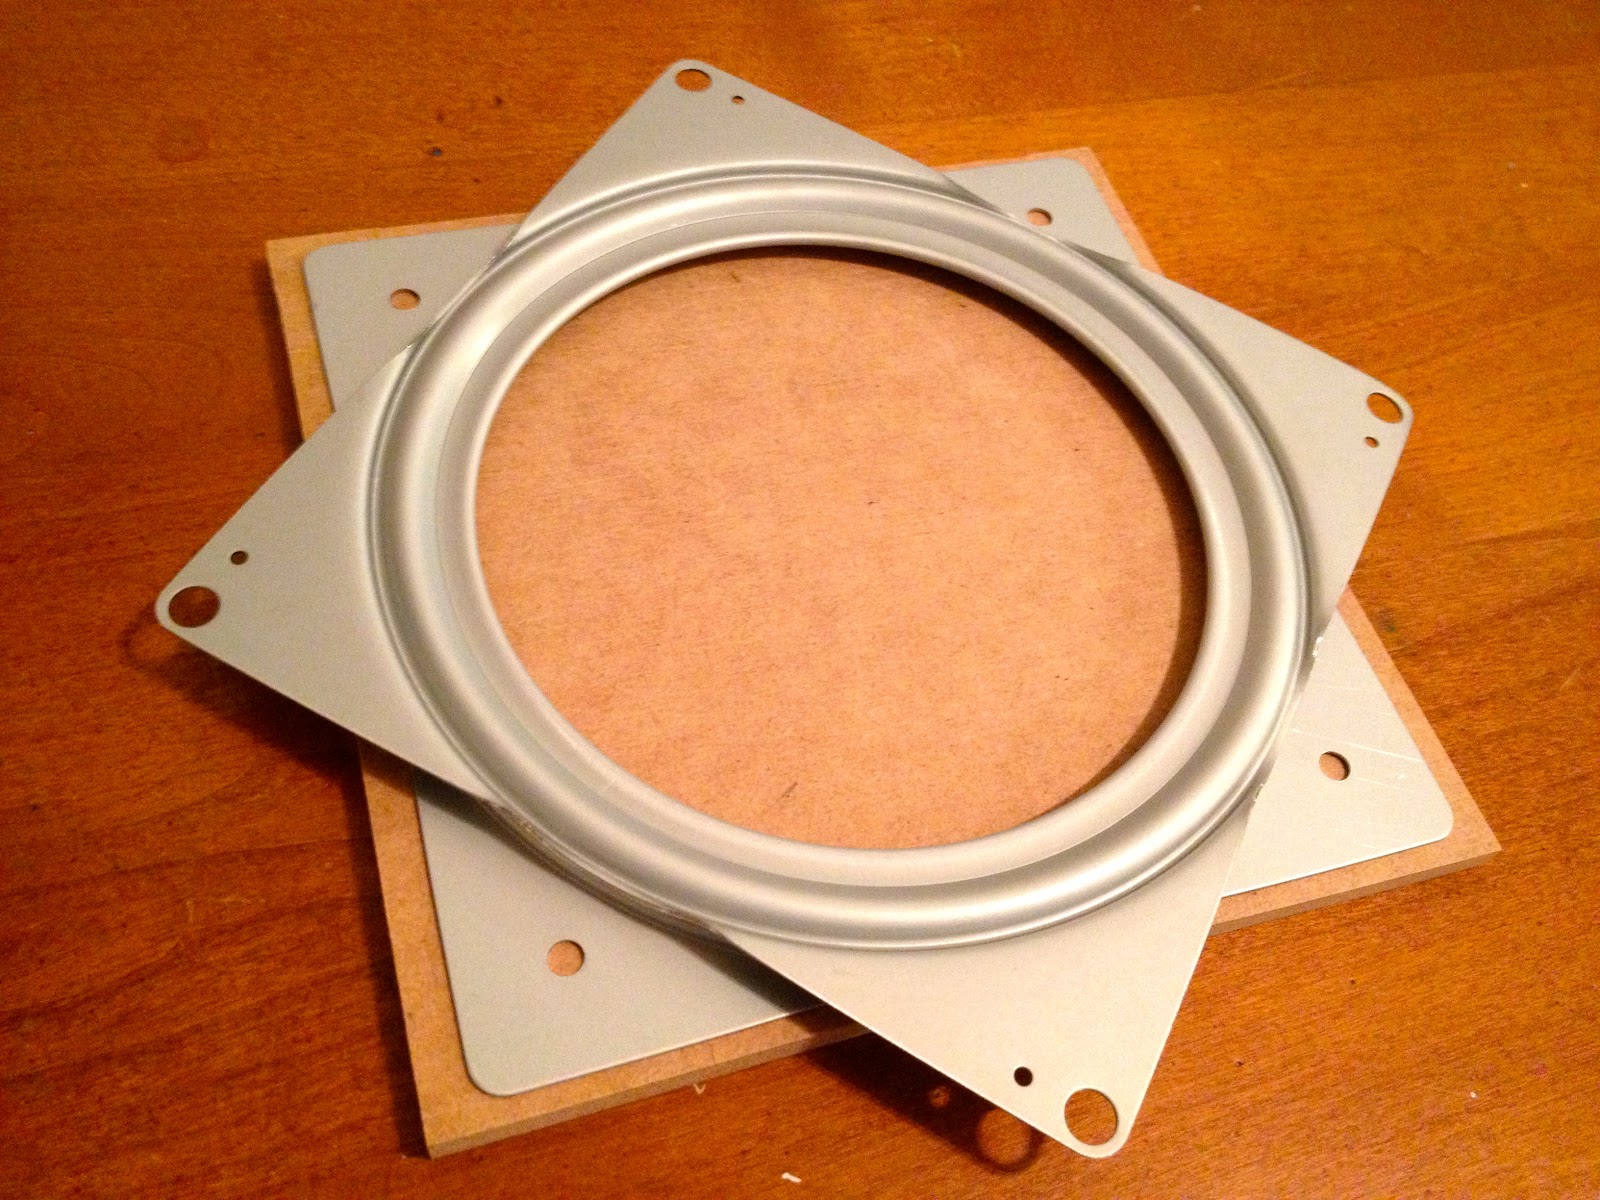
1 – 6″ lazy susan turntable hardware ($5)
1 – 3 5/8″ screw eye ($3)
1 – door hole filler plate ($5)
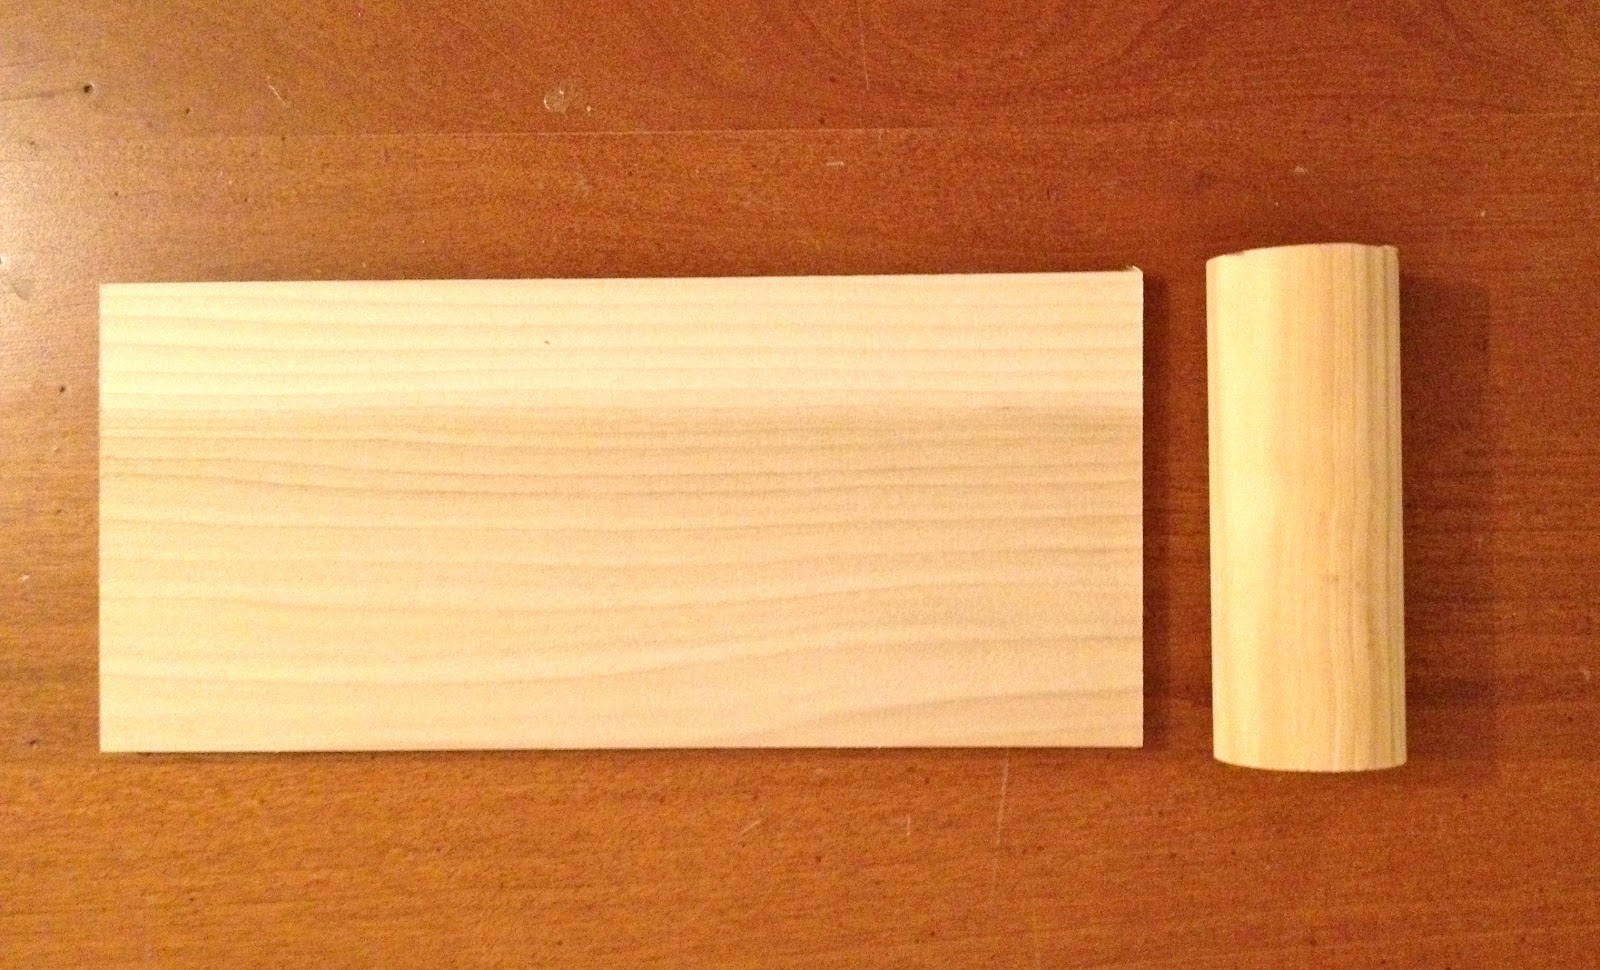
 1 – 1/4″ poplar boards (4″w x 4’l) ($4)
1 1/2″ dowel @ 4″l
stain
1″ finish nails
wood glue
clear chalking
total cost $40
(Or go for the Pottery Barn version for $129 plus shipping.)
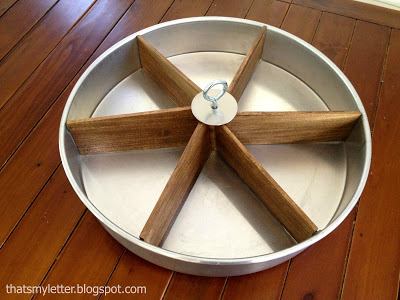
How to build the divided lazy susan:
 
1. Cut poplar dividers, mine are 7 3/4″ long each.
(Measure diameter of pan (17″) minus center dowel (1 1/2″) = 15.5 then divide in half = 7.75.)


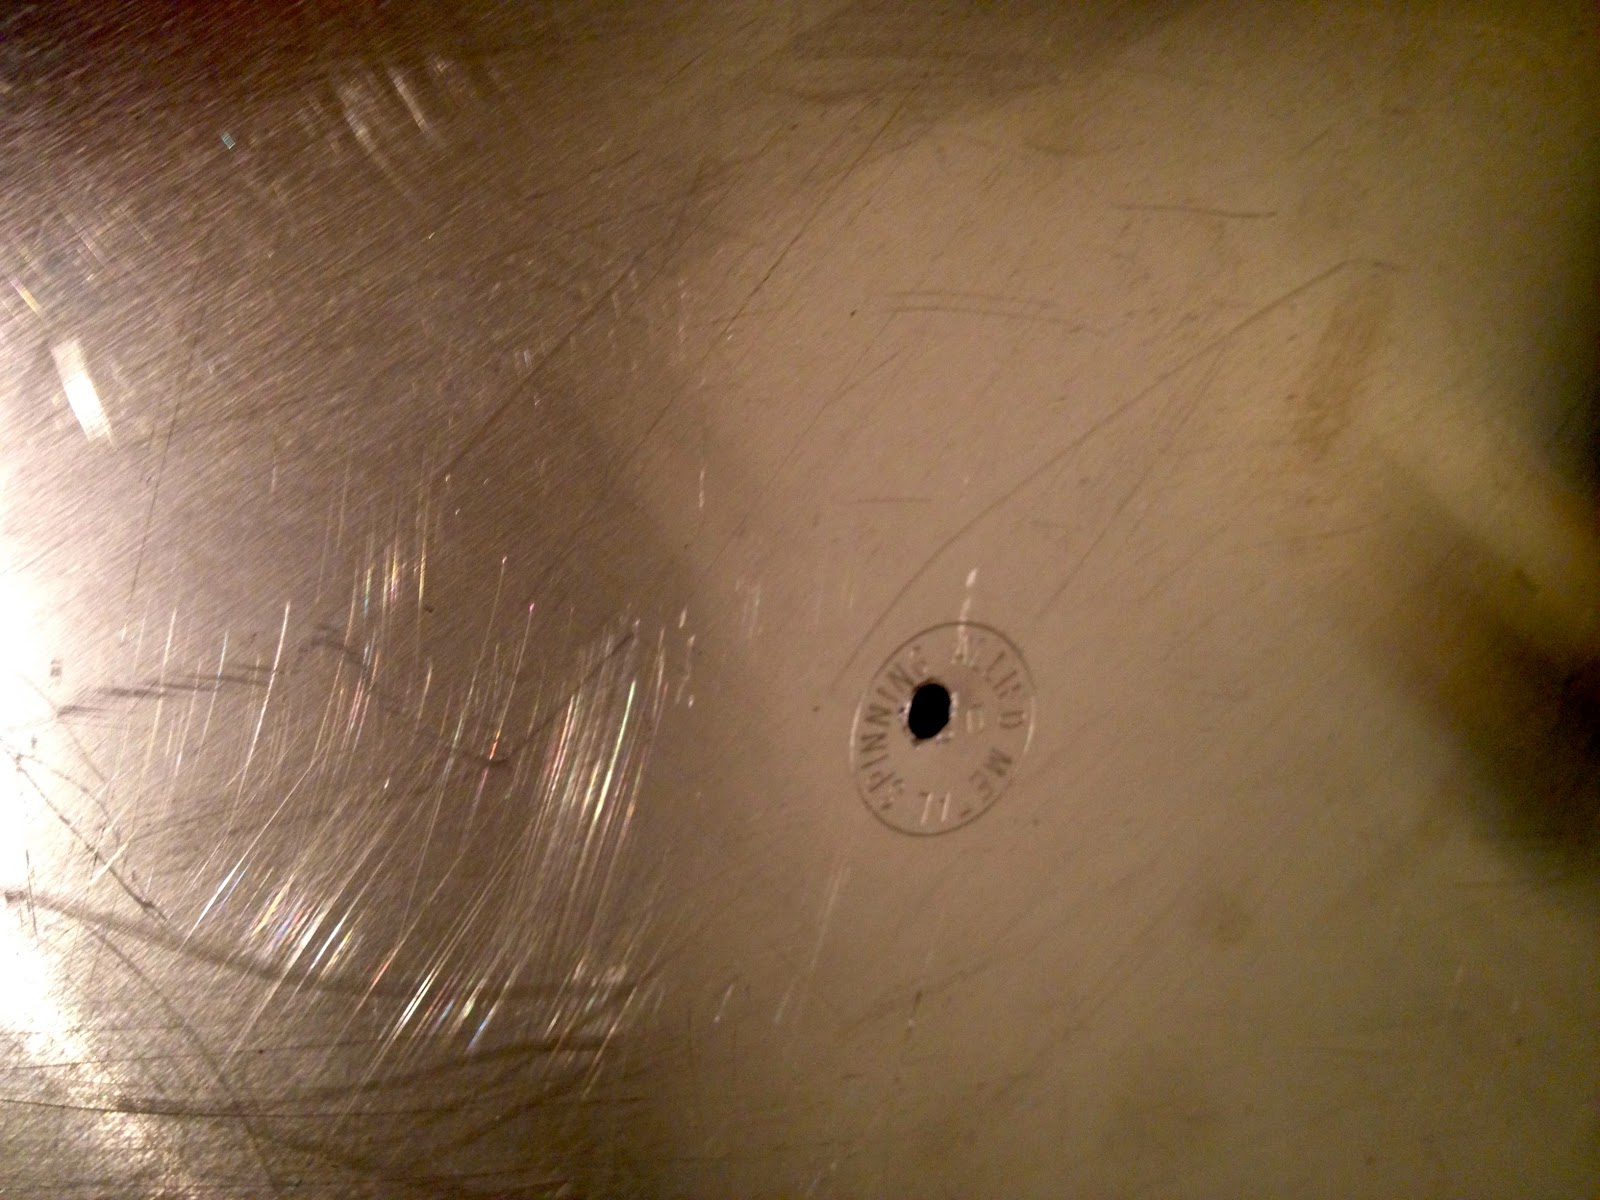
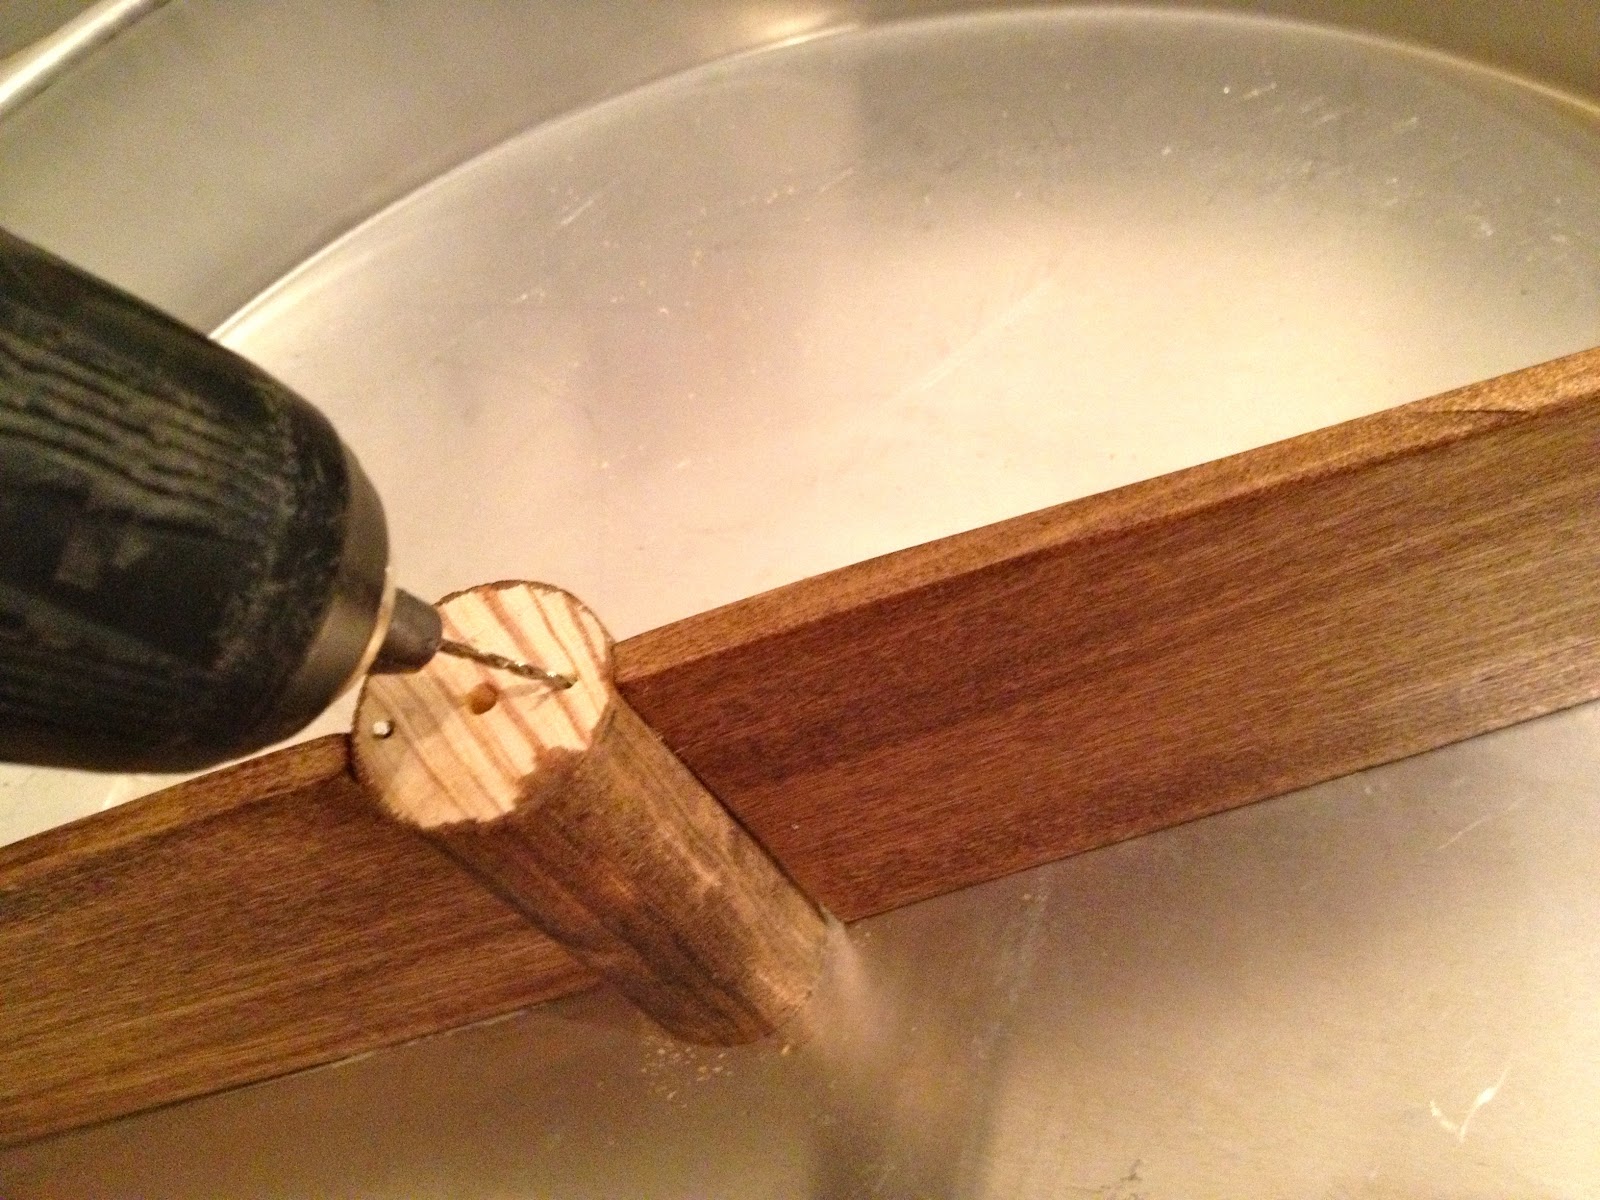
2. Predrill hole in center of cake pan:


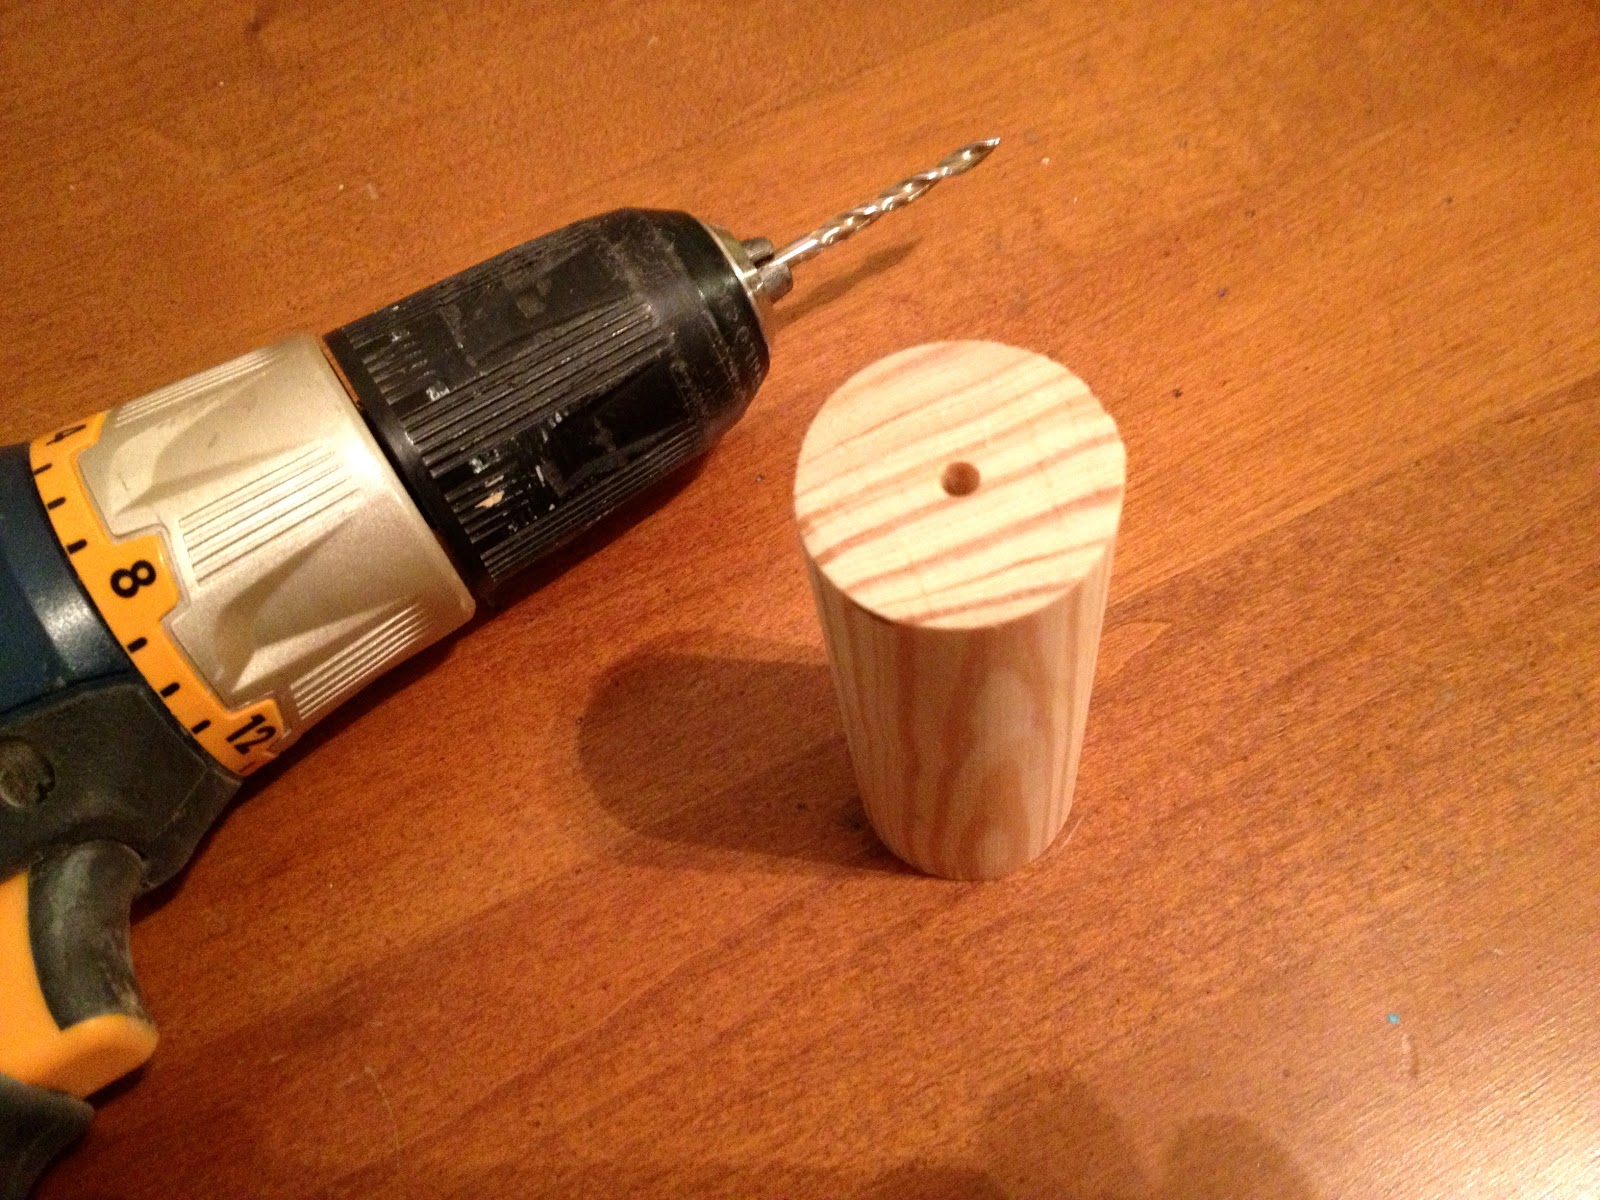
3. Predrill hole in center of dowel:


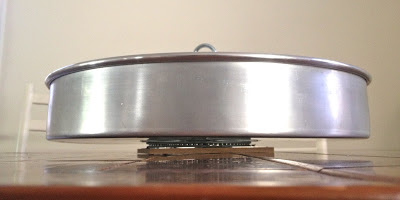
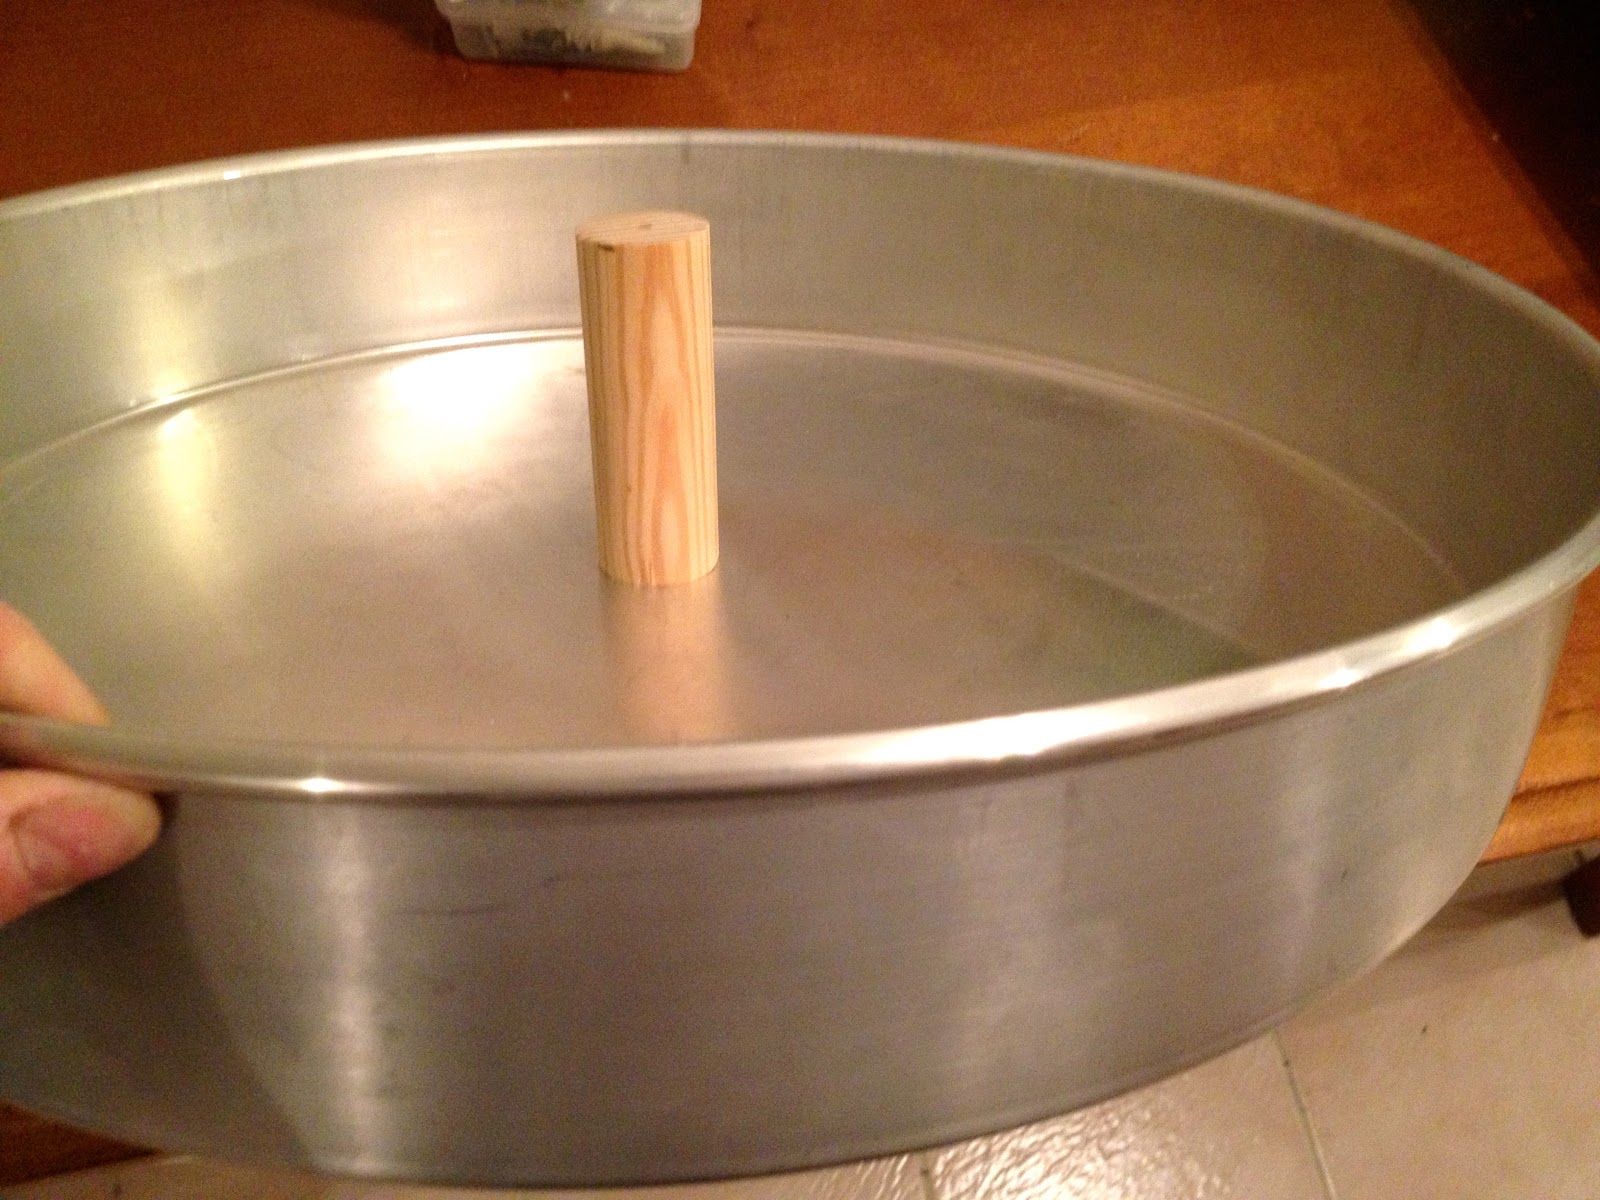
4. Glue and screw dowel in place with 2″ wood screw from underside of cake pan:
5. Prepare lazy susan base by attaching ‘table side’ to 1/2″ plywood or similar:


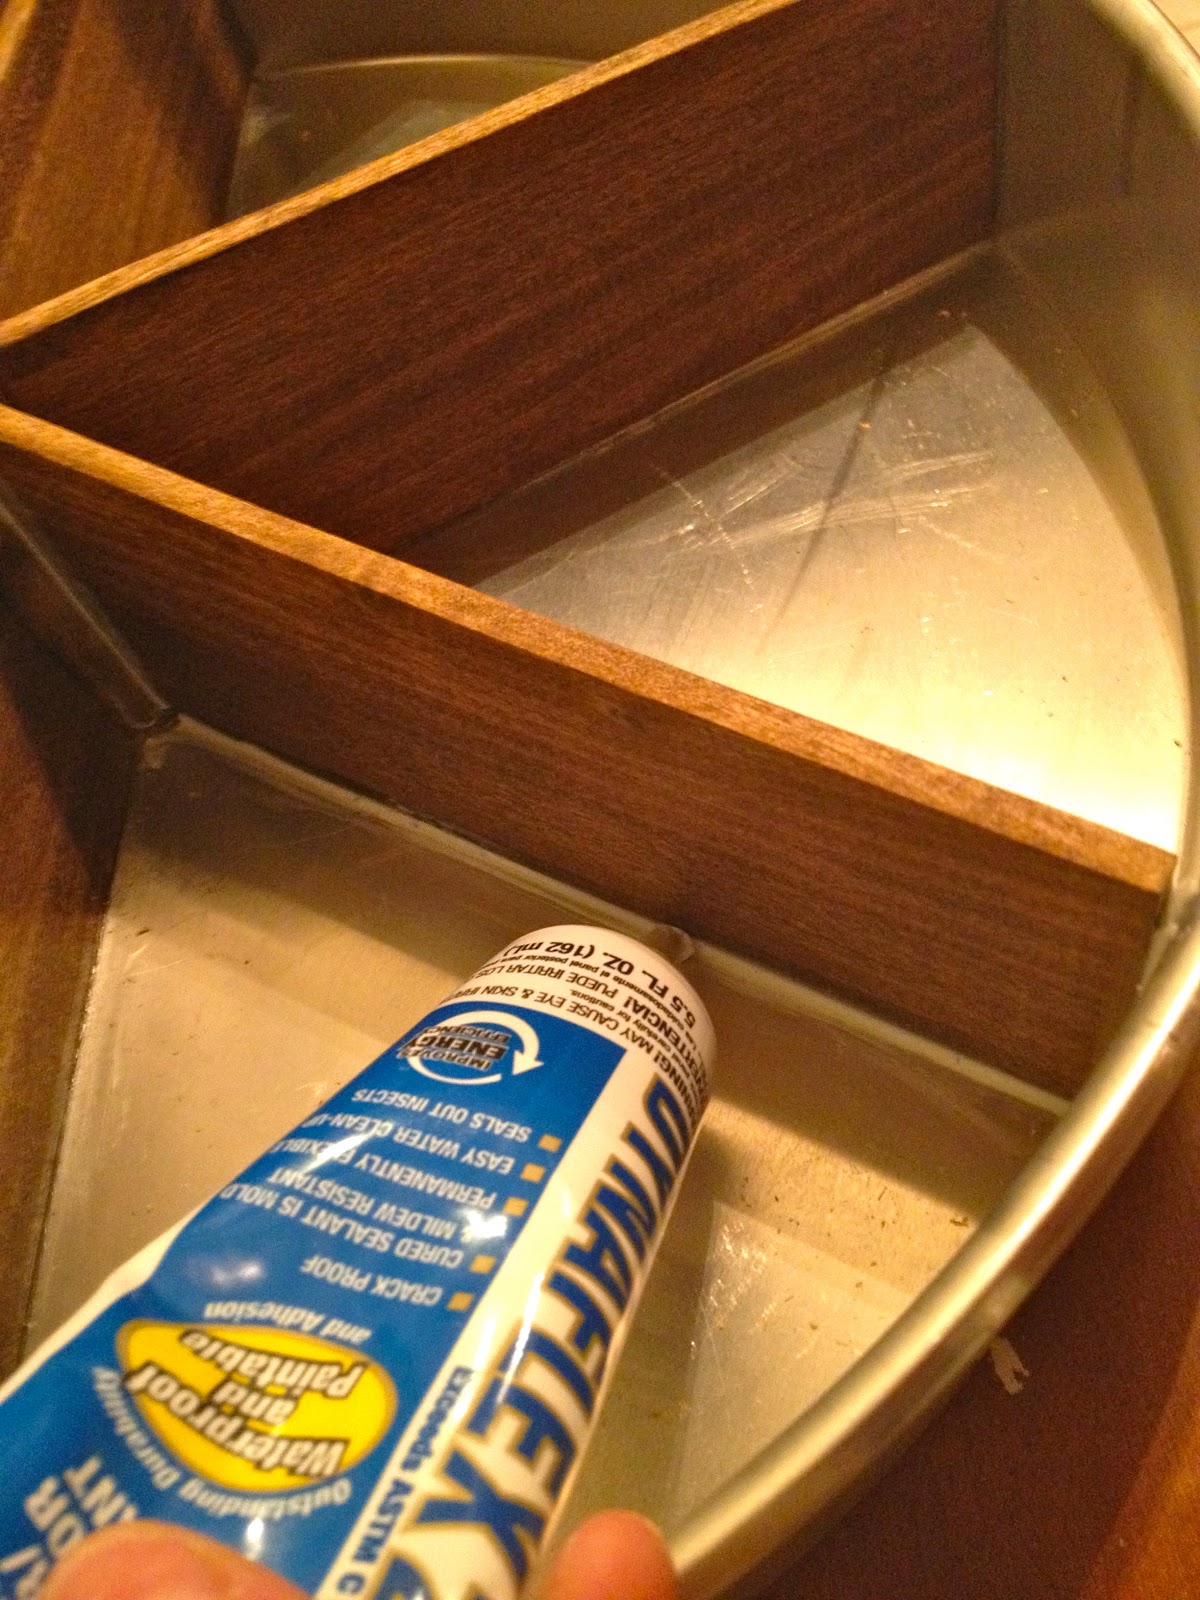
6. Secure other side of lazy susan hardware to base of cake pan using E6000 then weigh down pan while drying:


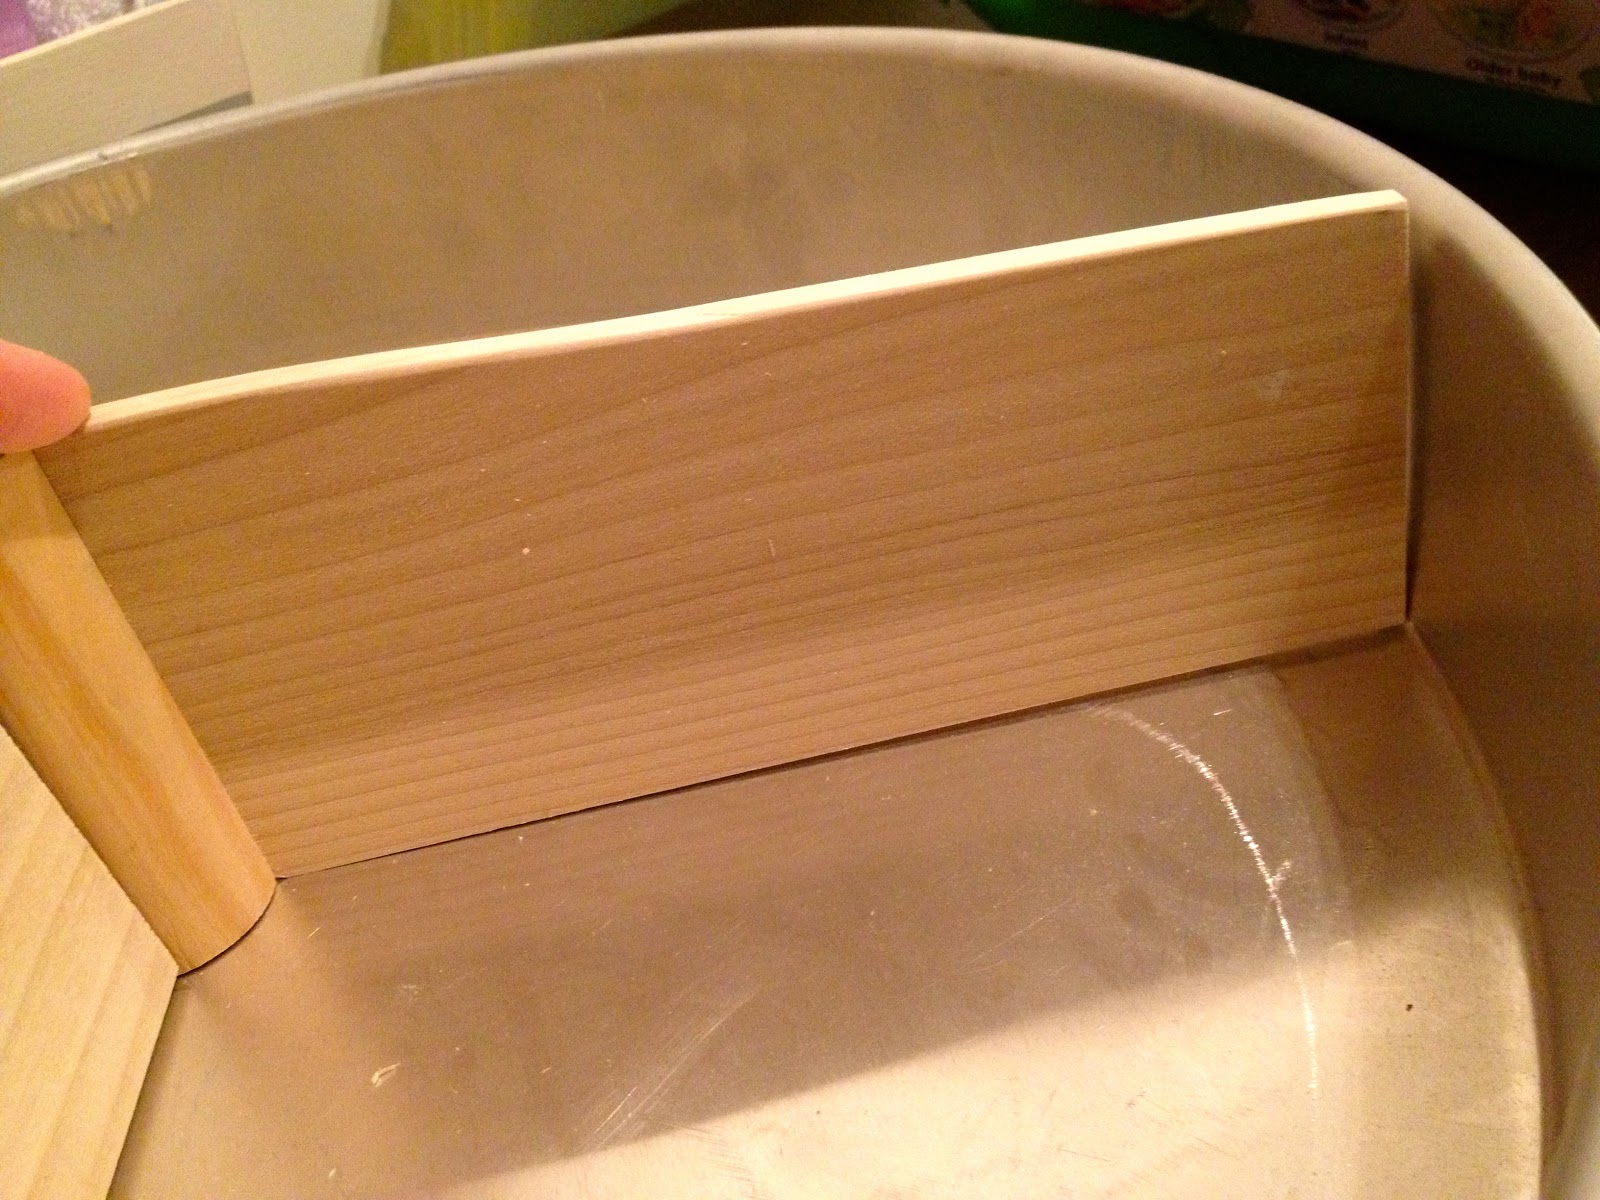
7. Place divider in position and note excess sticking above edge of pan:


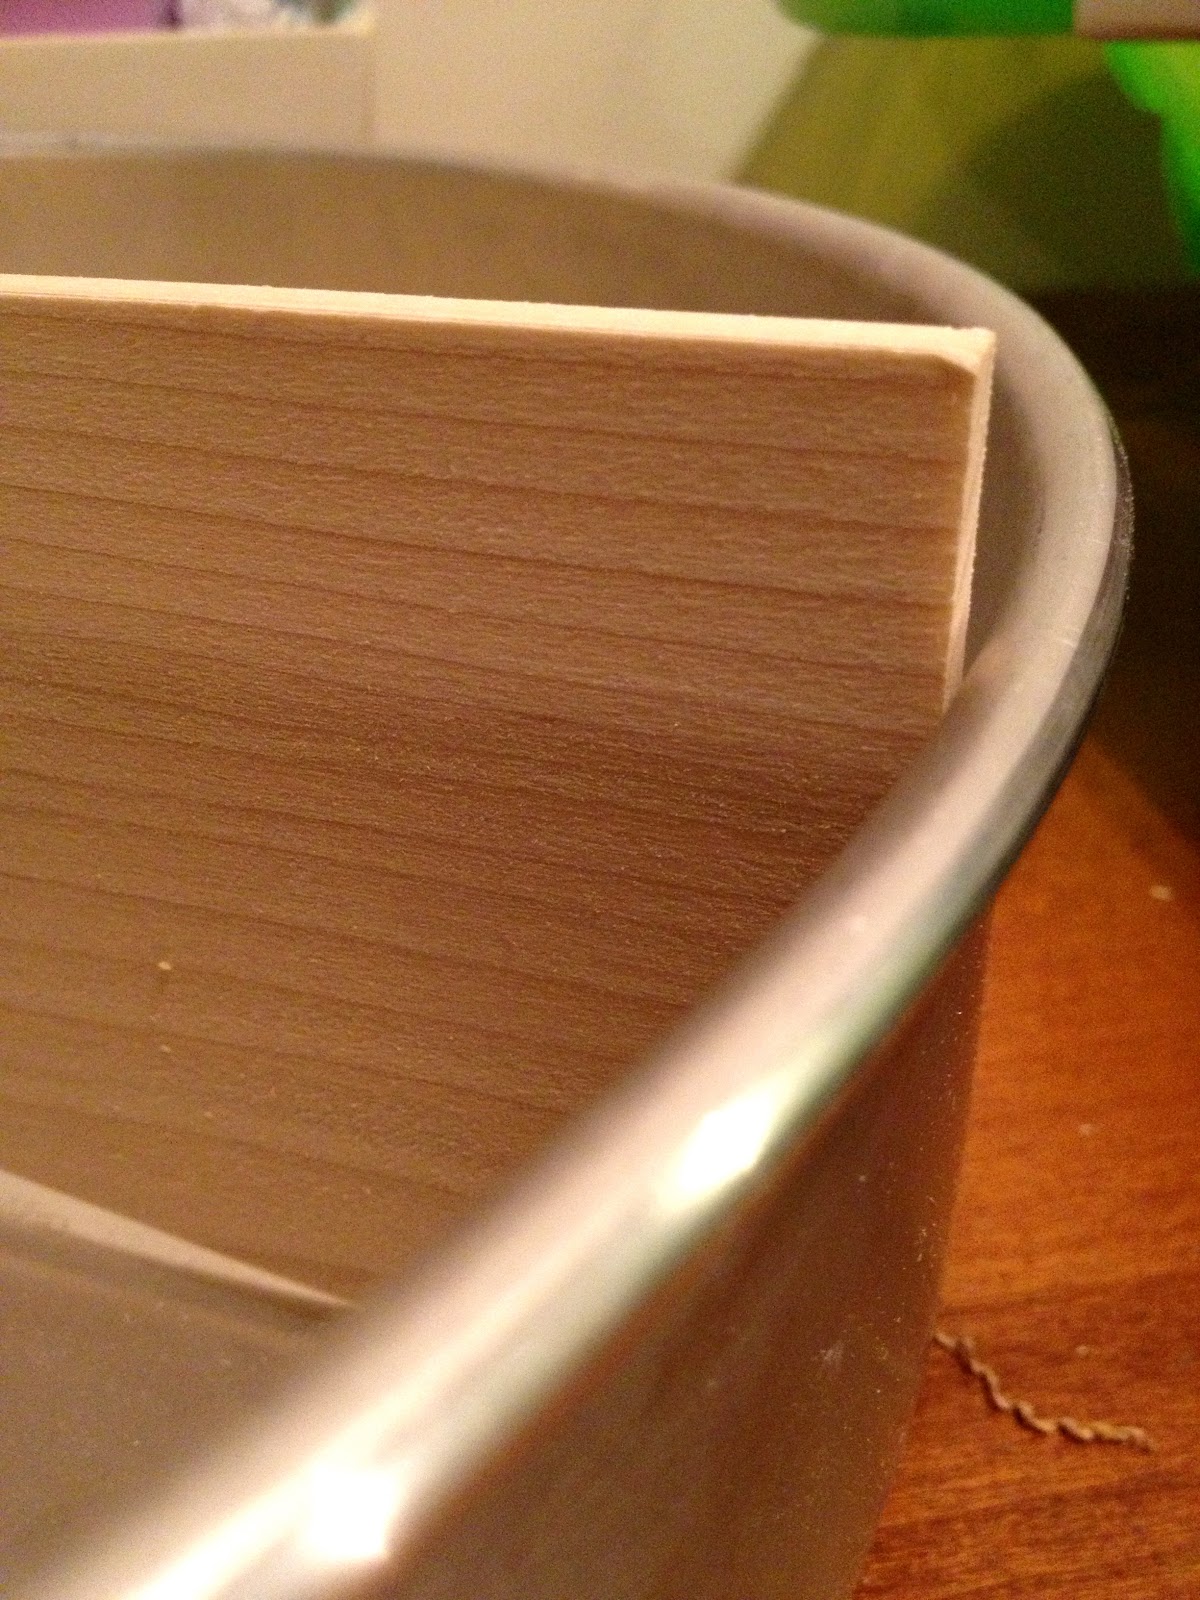
8. Mark divider and make an angled cut on each divider:


9. Stain all wood pieces Minwax Provincial.
** Before wood dividers are secure be sure to do a dry run lay out and mark the 6 positions for equal spacing. **
10. Predrill hole for finish nail through dowel:


Glue and nail in place.
11. Apply clear chalking to enhance hold and for a nice finish:


I placed the hammer like so to keep the divider in position while chalk was drying:


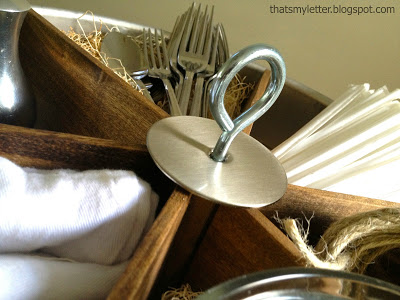
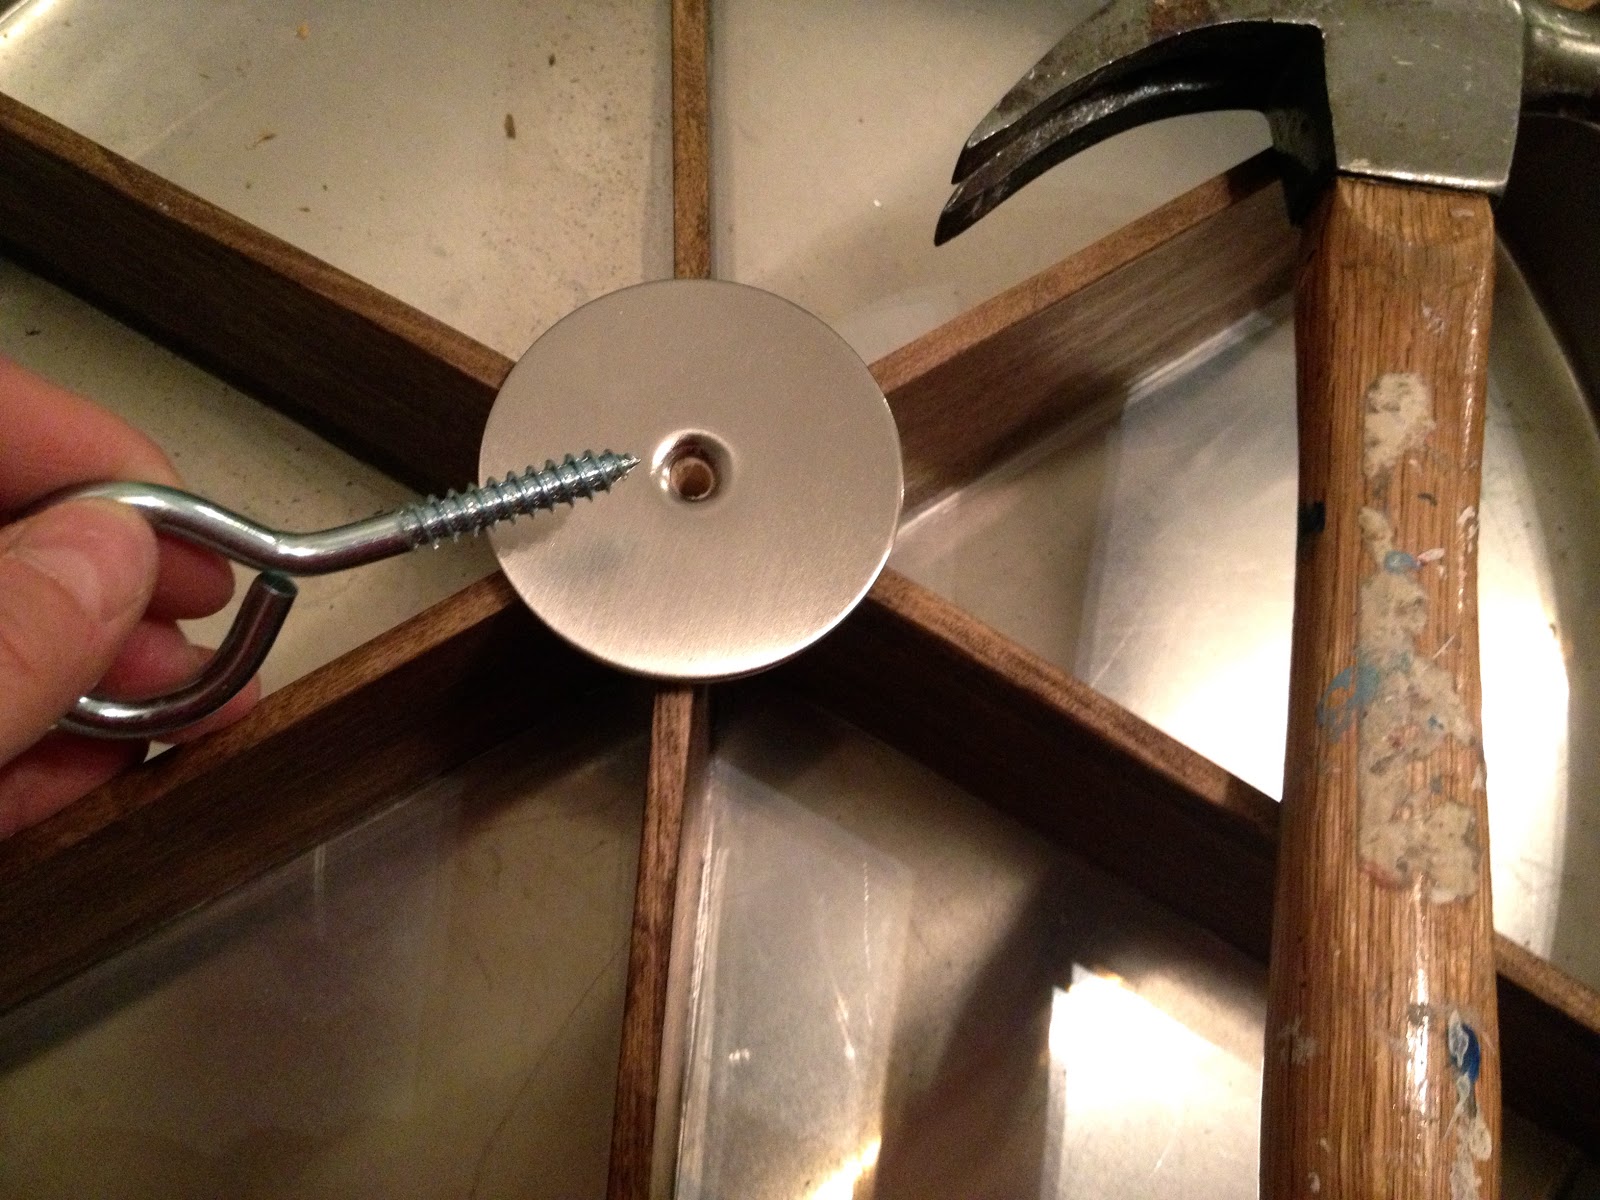
12. Predrill hole into dowel big enough to accommodate eye hook.
Glue door hole filler circle piece on underside then screw eye hook into place:


You may also like...

  • DIY Cupcake StandDIY Cupcake Stand
  • DIY Industrial Cupcake StandDIY Industrial Cupcake Stand
  • DIY Mini Croquet Mallet Food LabelsDIY Mini Croquet Mallet Food Labels
  • “K” is for Kids Step Stool“K” is for Kids Step Stool
Share this post:

Filed Under: BUILD, DIY, ORGANIZATION, STORAGE8 Comments

Reader Interactions

Comments

  1. Mariaelena says

    May 13, 2013 at 10:49 AM

    LOVE this idea…super creative and useful!!!…Looks great too…have a great day, Mariaelena
    PS: stop on over!!

    Reply
  2. DaiseyJayne.com says

    May 13, 2013 at 1:09 PM

    Best looking lazy Susan I have ever seen!

    Reply
  3. Diana W. says

    May 13, 2013 at 3:19 PM

    Wonderful! Fabulous! Love it!!! You are wonderfully creative and I am now permanently following you! Best wishes for many more projects for all of us to drool over!

    Reply
  4. Korrie@RedHenHome says

    May 13, 2013 at 4:47 PM

    WOW, Jaime! It looks amazing. You are SO good at these knock-offs!

    Reply
  5. Susan @ homeroad.net says

    May 13, 2013 at 9:51 PM

    OMG! I loved the PB one so much but didn't want to spend the $$$. I was actually trying to figure out how to make one myself and now I don't have to figure!
    Thanks for the DIY
    Yours came out awesome Jaime!!!
    I love it!
    Susan

    Reply
  6. Richelle Lynn Garn says

    May 14, 2013 at 3:59 PM

    So darling! This looks perfect for an outdoor BBQ. Thanks for the great inspiration. I love the idea of placing utensils inside.

    Love, Lynn + Lou

    Reply
  7. senovia says

    May 15, 2013 at 1:56 PM

    That's awesome!!

    Reply
  8. freckled laundry says

    May 15, 2013 at 10:13 PM

    You are pretty much a genius! I love it. I seriously could spend an entire year just making stuff that I've bookmarked from your blog, Jaime.

    Reply

Leave a Reply Cancel reply

Your email address will not be published. Required fields are marked *

Primary Sidebar

Hi! I’m Jaime

Jaime Costiglio

Hello!

Thank you for stopping by.
Join me for lots of DIY.

Read more

Get new posts via email

Handbuilt Holiday: Gift Project Plans

handbuilt holiday gift project plans

Collection of DIY gift project plans to build.

The Home Depot Tool Prospective

THD Prospective

Tools to consider for the DIYer.

Archives

The Home Depot Logo
Copyright © 2026 Jaime Costiglio · Custom site by Moonsteam Design

Privacy Policy